
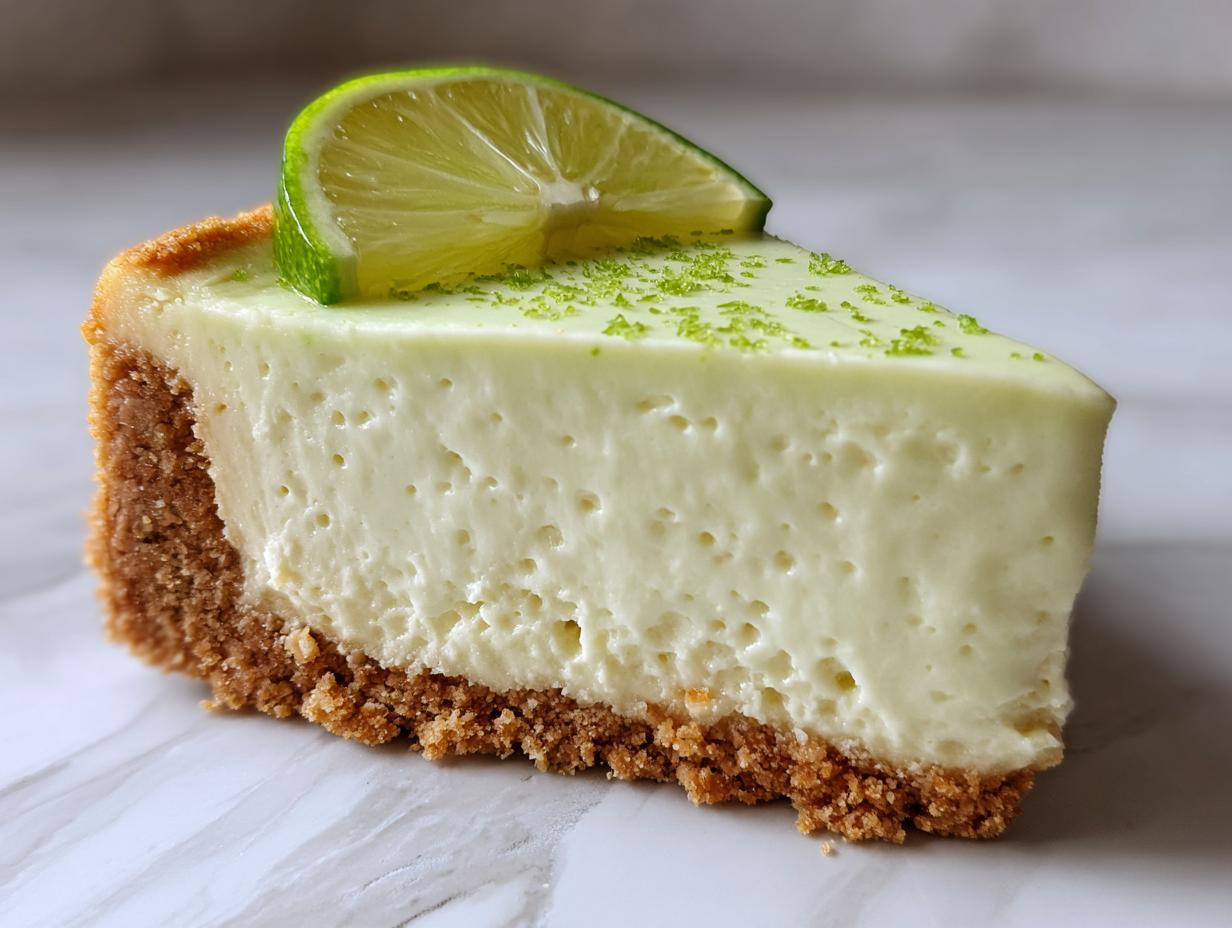

When the weather heats up, my mind always drifts toward something bright, zesty, and unbelievably refreshing. Forget heavy winter desserts; it’s time for tropical vibes! That’s why I’m sharing what I think is the absolute best key lime cheesecake recipe you’ll ever try. We’re making the “Easy, Creamy Baked Key Lime Cheesecake with Graham Cracker Crust,” and trust me, the tart punch of the lime against that rich, buttery filling is purely magical.
I love taking simple elements—cream cheese, butter, fresh citrus—and whipping them into something that feels truly special enough for a party. This recipe is about unlocking that deep, tangy flavor while ensuring you get that impossibly smooth texture. If you’re looking for that dessert that tastes like sunshine, you’ve found it! You can read more about my philosophy on turning simple ingredients into showstoppers over on my About Page.
- Why This Creamy Key Lime Cheesecake Recipe Works
- Ingredients for Your Easy Key Lime Cheesecake
- How to Prepare Your Baked Key Lime Cheesecake
- Tips for Your Best Key Lime Cheesecake
- Variations for Your Key Lime Cheesecake Recipe
- Serving Suggestions for This Tropical Cheesecake Recipe
- Storage and Reheating Instructions for Key Lime Cheesecake
- Frequently Asked Questions About Key Lime Cheesecake
- Estimated Nutritional Data for Key Lime Cheesecake
- Share Your Key Lime Cheesecake Creations
Why This Creamy Key Lime Cheesecake Recipe Works
When you want a dessert that sings, you need a recipe you can trust. This creamy key lime cheesecake isn’t just pretty; it’s built on technique that guarantees amazing flavor and that sought-after smooth consistency every time.
Here’s what makes this recipe a keeper:
- It delivers that wonderful bright, sharp flavor that defines a true tangy lime dessert.
- It’s easier than you think to get that flawless, lump-free top layer.
Achieving the Perfect Tangy Lime Dessert Flavor
Honestly, store-bought lime juice just won’t cut it here! The secret to that incredible, sharp tartness is using 100% fresh key lime juice. It truly captures the essence of a Florida Lime Dessert—bright, zesty, and absolutely unforgettable.
Tips for a Perfect Key Lime Cheesecake Texture
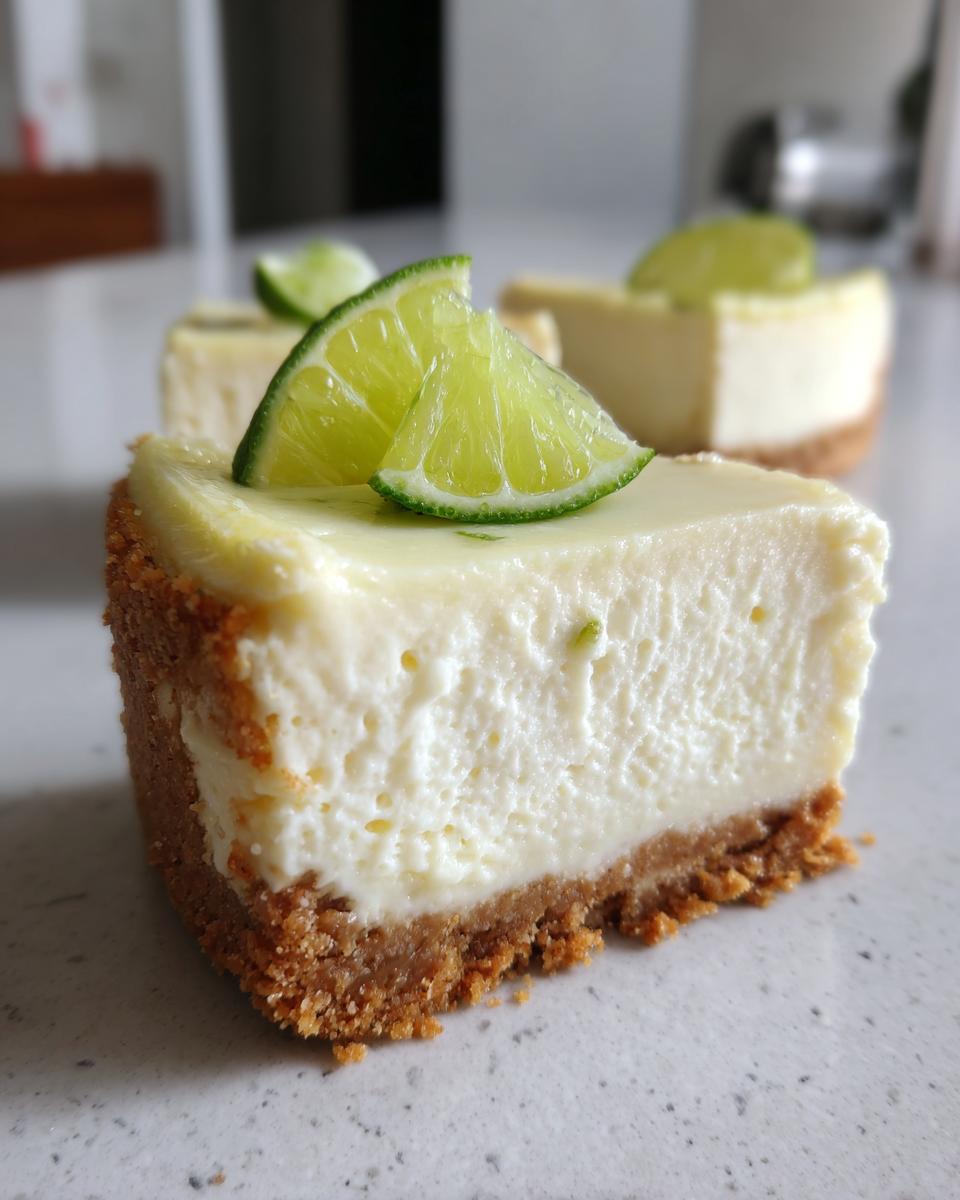
We are aiming for that dream Perfect Cheesecake Texture, right? The biggest confidence-booster is the water bath. Placing the pan in a larger pan of hot water while baking creates a humid oven environment. This slow, even heat is the foolproof method to keeping your cheesecake silky smooth and preventing those awful surface cracks!
Ingredients for Your Easy Key Lime Cheesecake
Gathering everything is half the battle, right? For our key lime cheesecake, fresh ingredients make all the difference, especially that key lime juice—don’t even think about using the concentrate if you want that authentic, vibrant flavor!
We’re broken down what you need so you can have everything ready to go before you start mixing.
Graham Cracker Crust Cheesecake Components
- 1 1/2 cups graham cracker crumbs
- 1/4 cup granulated sugar (for crust)
- 6 tablespoons unsalted butter, melted
Creamy Key Lime Cheesecake Filling Ingredients
- 3 (8 ounce) packages cream cheese, softened
- 1 1/2 cups granulated sugar (for filling)
- 1/4 cup all-purpose flour
- 1 teaspoon vanilla extract
- 1/2 teaspoon lime zest
- 1/2 cup fresh key lime juice (you’ll need about 10-12 limes!)
- 4 large eggs, room temperature please!
How to Prepare Your Baked Key Lime Cheesecake
Okay, now for the fun part! This recipe is structured to minimize stress and maximize that gorgeous, creamy result. Remember, even though this is a baked cheesecake, technique keeps it from cracking! I actually wrote down some of my best tips for preventing those cracks over here on my Cheesecake Baking Secrets post, but we’ll cover the big ones right now.
Building the Graham Cracker Crust Cheesecake Base
First things first, crank that oven up to 325 degrees Fahrenheit. Grab your 9-inch springform pan and wrap the entire outside bottom tightly with heavy-duty aluminum foil—like, really tightly! That foil is your insurance policy against water seepage during the water bath. Mix your crust ingredients—crumbs, sugar, melted butter—and press it firmly into the bottom. Bake that crust for 10 minutes, then let it cool down a bit before we move on.
Mixing the Creamy Key Lime Cheesecake Filling
Get your mixer out! Beat that softened cream cheese until it’s perfectly smooth, then slowly mix in the large amount of sugar and the flour. We want zero lumps here! Next, stir in the vanilla, zest, and that precious fresh key lime juice. My biggest rule for that smooth texture comes next: Add those four eggs one by one, mixing on LOW speed after each egg. You just want the yolk gone; stop mixing the moment it disappears. Seriously, do not overmix!
Baking the Key Lime Cheesecake with a Water Bath
Time to assemble! Pour that filling right over the cooled crust. Now, set the foil-wrapped pan inside a big roasting pan. Pour hot water into the roasting pan until it comes about halfway up the side of your cheesecake pan. Bake it for about 55 to 65 minutes. You’re looking for the edges to look set, but the very center should still wobble slightly if you nudge the pan. The baking isn’t done yet, though! Turn the oven off, crack the door open just a bit, and let it hang out in that warm oven air for a full hour. This slow cool-down prevents cracking like magic.
Chilling for the Best Key Lime Cheesecake
Once that hour is up, carefully take the pan out of the water bath and let it finish cooling completely on a wire rack. But don’t touch it yet! For the true flavor development and the firmest texture, this key lime cheesecake needs to chill in the fridge for a minimum of six hours, but I always leave mine overnight. Right before serving, gently release that springform ring. Perfection!
Tips for Your Best Key Lime Cheesecake
Listen, making a great key lime cheesecake isn’t just about following steps; it’s about loving your ingredients! I’ve got a couple of little secrets here—straight from my kitchen notes—that really elevate this from good to absolutely amazing. These tiny details help us nail that signature creamy body and that bright, tangy lime dessert punch.
Ingredient Temperature Matters for Creamy Key Lime Cheesecake
This is non-negotiable for that Perfect Cheesecake Texture: your cream cheese and eggs MUST be at room temperature! If they are cold, they won’t blend properly, and you end up with little lumps of cream cheese fighting their way through your smooth batter. Seriously, pull them out an hour or so before you plan to start. It’s worth the wait, I promise!
Water Bath Alternatives for Baked Key Lime Cheesecake
We love the water bath because it keeps everything gentle and moist, which is key for a baked key lime cheesecake. Now, if you’re thinking about skipping it because it seems fussy—I get it! But if you skip it, watch your cheesecake really closely. You risk the top browning a bit too much or possibly getting a slightly less uniform texture. For maximum creaminess, stick with the water bath!
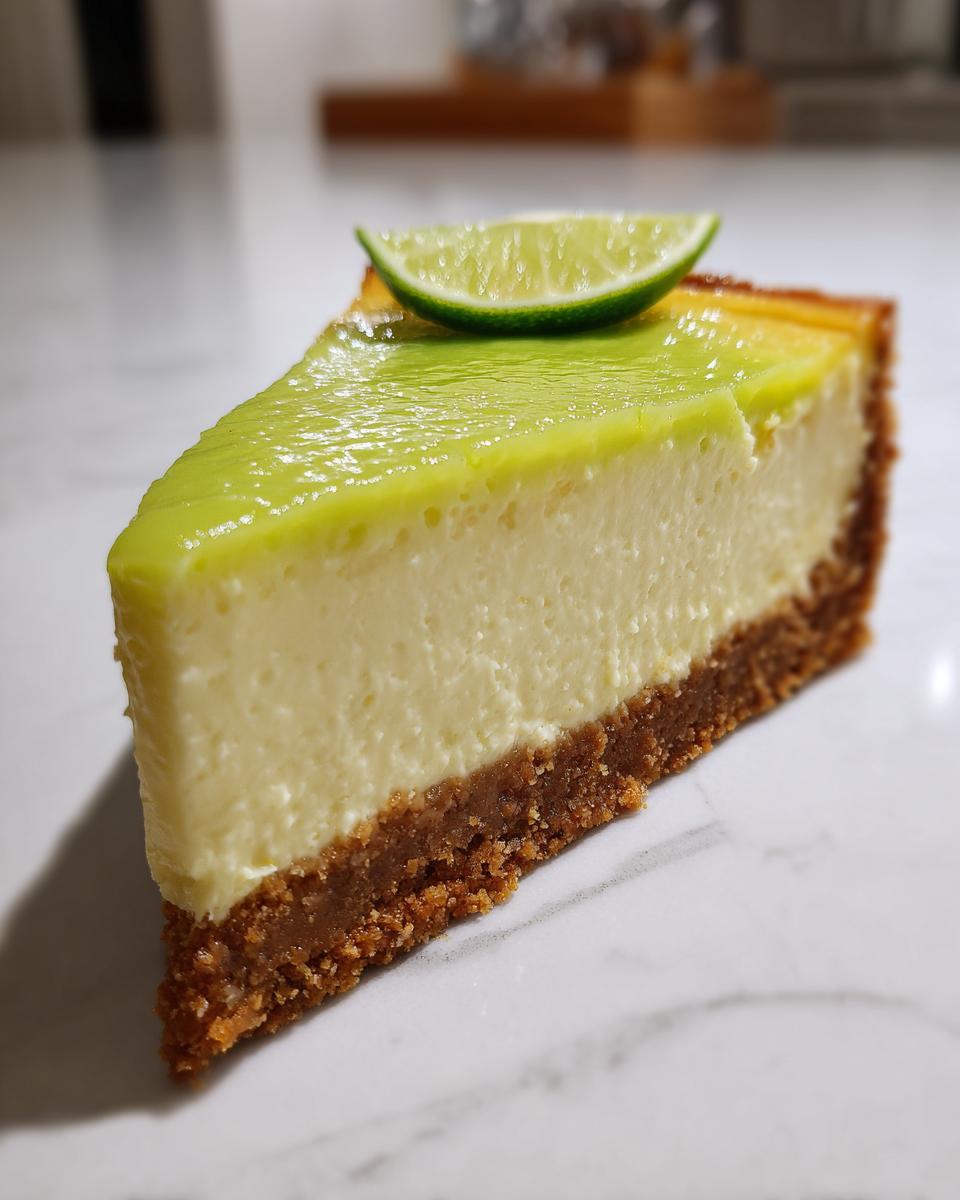
If you want to see tropical desserts that really shine, you should check out this incredible tangy tropical inspiration I found online! For my other favorites that rely on simple temperature and ingredient control, take a peek at my thoughts on fluffy pancakes—the principle of room temperature ingredients is the same!
Variations for Your Key Lime Cheesecake Recipe
Sometimes you need a slightly different approach, right? Even though this baked key lime cheesecake is my absolute favorite, I know you might be looking for something for a huge crowd or maybe something that sets up faster. We can totally adapt this recipe!
Making Mini Key Lime Cheesecakes
If you want individual servings—perfect for a big party spread or just portion control (ha!)—turn these into mini key lime cheesecakes! You’ll need a muffin tin lined with cupcake liners, of course. The biggest change is baking time. Since the heat reaches the center faster, you’ll need to bake them for only about 15 to 20 minutes. Check them early so they don’t dry out!
Creating a No Bake Key Lime Cheesecake Version
Looking for the easiest summer dessert? For a no bake key lime cheesecake, you need to skip the eggs entirely. Instead of baking, you’ll rely on ingredients that set up firmly when chilled, like blooming some gelatin or whipping heavy cream until stiff peaks form, folding that in for ultra airiness. That cuts the time way down and delivers a super easy, refreshing treat!
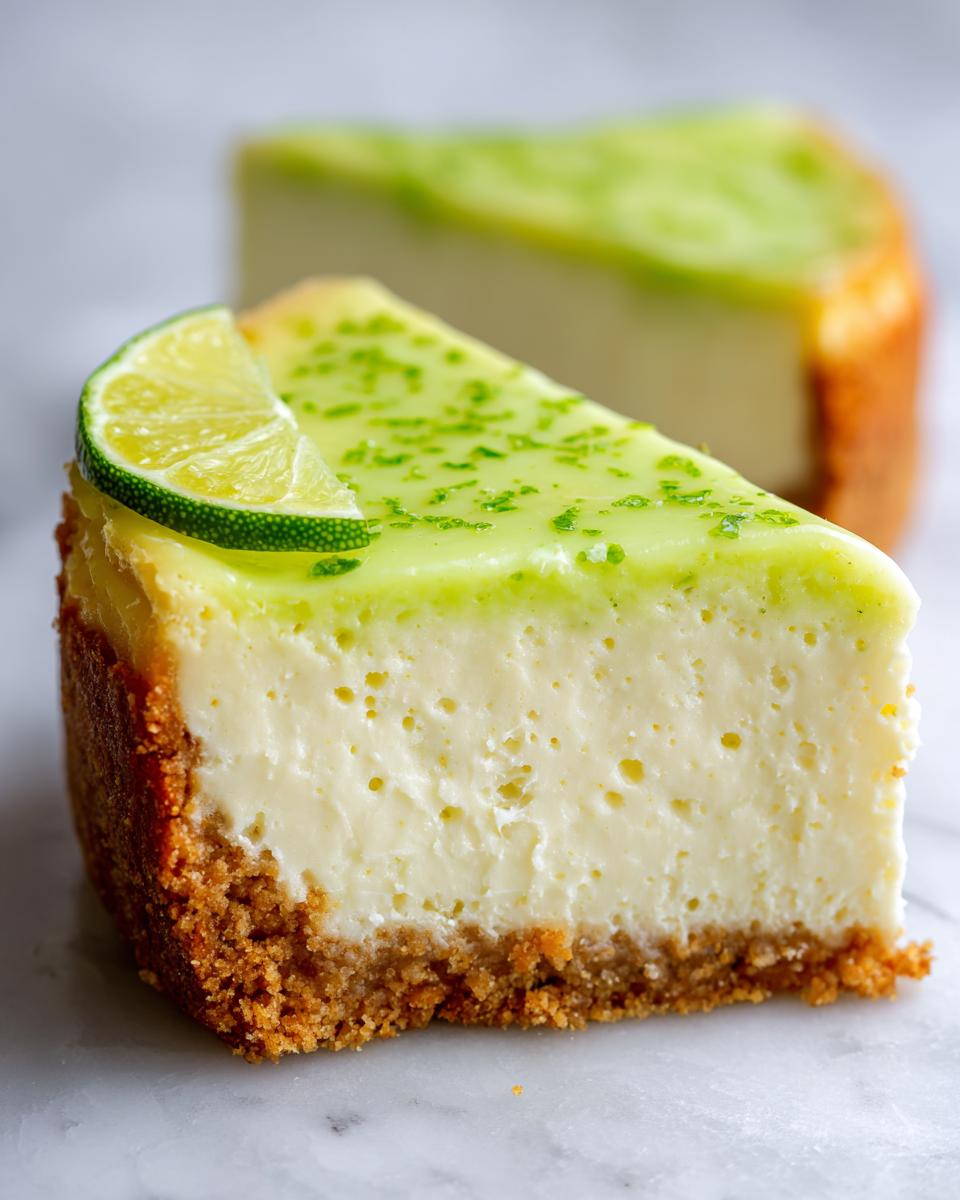
If you’re experimenting with smaller bites, check out my tips for mini vanilla cheesecake bites—the process is similar! And for some great inspiration on individual servings, I always look over at this mini recipe when planning large gatherings.
Serving Suggestions for This Tropical Cheesecake Recipe
Once that gorgeous, tangy key lime cheesecake is perfectly chilled, it’s time for the final flourish! A simple dollop of fresh, lightly sweetened whipped cream always looks beautiful. If you want to really lean into that citrus note, add a tiny bit of extra lime zest right on top of the cream—it just smells like vacation!
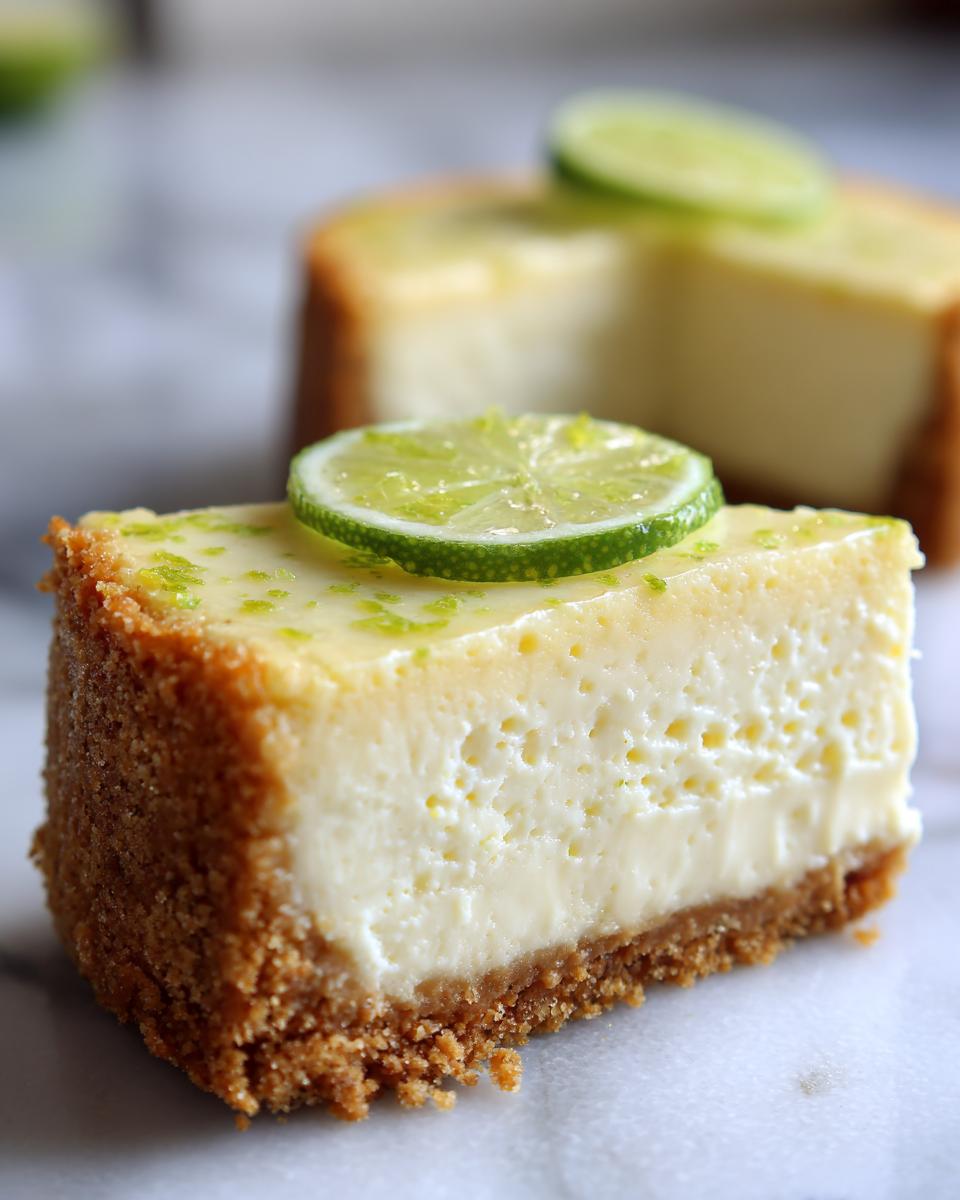
This is the ultimate lime dessert for parties. I often serve slices alongside something light, like my fresh fruit salad, to keep the palate feeling refreshed between bites. It’s a gorgeous, vibrant centerpiece for any summer gathering!
Storage and Reheating Instructions for Key Lime Cheesecake
This is the part where patience pays off again! Once you’ve gone through all the effort to get that truly creamy key lime cheesecake just right, you want to make sure it stays perfect. The good news is that cheesecake lasts a surprisingly long time if you treat it right in the fridge.
Since this dessert is so rich and full of dairy, we skip the toaster oven entirely—reheating cheesecake is really just asking for an oily mess! Instead, we focus on fantastic storage to keep that tangy flavor locked in.
Once your key lime cheesecake has chilled for that mandatory time (seriously, don’t cheat that chill time!), cover it loosely with plastic wrap. If you’re worried about any fridge smells migrating, you can spread a very thin layer of simple buttercream frosting around the edges before wrapping, but I usually just rely on a tight cover.
It holds up beautifully in the refrigerator for up to four to five days. If you happen to have leftovers that long, just make sure you wrap it again tightly after slicing into it so the exposed edges don’t dry out. It’s one of those desserts that tastes even better the second day, once those lime flavors have fully settled in!
Frequently Asked Questions About Key Lime Cheesecake
I always get so many questions when people try this recipe for the first time! It’s totally understandable; baking a perfect cheesecake feels a little intimidating sometimes. But don’t you worry, I’ve pulled the most common queries from my inbox and the comments below to set you up for success!
Can I use bottled lime juice in this Key Lime Cheesecake Recipe?
Oh, please, don’t! While I love shortcuts, bottled lime juice just won’t give you the true burst of flavor you need for this key lime cheesecake recipe. Bottled versions often have an artificial tang and can mess with the chemical balance of the dairy, potentially leading to a different texture. Stick to fresh key limes for that unforgettable, pure tangy lime dessert experience!
How do I prevent my Baked Key Lime Cheesecake from cracking?
This is the million-dollar question, isn’t it? If you want a beautiful, crack-free baked key lime cheesecake, you need two things: the water bath (which creates steam) and the gentle cool-down period. After baking, turning the oven off and leaving the cheesecake inside with the door propped for a full hour is your insurance policy. Slow temperature changes are the secret weapon against cracks!
Is this the Best Key Lime Cheesecake for summer parties?
Absolutely! I am fully confident that this is the best key lime cheesecake for any warm-weather gathering. The bright citrus cuts right through the richness of the cream cheese filling, making it such a wonderfully refreshing dessert. It’s certainly a guaranteed hit and a fantastic lime dessert for parties!
If you’ve got more burning questions about cheesecakes in general, feel free to browse through my broader baking adventures, or check out this popular recipe idea I found for a similar inspired dessert here!
Estimated Nutritional Data for Key Lime Cheesecake
Okay, let’s talk numbers. While I’m definitely more focused on making sure this key lime cheesecake tastes amazing than calculating every microgram, I know some of you are curious about the nutrition facts for planning purposes! Please remember that this is just an estimate. Every cream cheese brand, tiny difference in the amount of lime juice you use, or extra dollop of whipped cream can change these figures a little bit.
I based these numbers on the standard ingredients listed above for a single slice. It’s a rich treat, no doubt, but totally worth it for dessert perfection!
- Serving Size: 1 slice
- Calories: 410
- Sugar: 32g
- Fat: 26g
- Saturated Fat: 15g
- Carbohydrates: 38g
- Protein: 7g
- Cholesterol: 110mg
Consider this a general guide for your planning! The most important thing is the joy it brings when you serve this bright, citrus cheesecake.
Share Your Key Lime Cheesecake Creations
Now that you’ve gone through all the steps to make this incredible key lime cheesecake, I just have one more favor to ask! I absolutely live for hearing from you all, and seeing your beautiful desserts pop up across the internet is the ultimate reward.
When you make this recipe, please come back and let me know how it turned out! A quick rating lets me know how this recipe is performing in real-life kitchens. If you found this crust extra buttery or the filling perfectly tangy, please let the next reader know!
If you snap a photo of your finished slice—maybe sitting on your porch or shining under bright kitchen lights—please share it on social media and tag me! It truly means the world to me to see my recipes making it into your celebrations and quiet moments. It builds the community here at Cut Cook Taste that I cherish so much.
If you have any lingering questions that I might have missed, please don’t hesitate to use my contact page to reach out. I’m always happy to troubleshoot! And if you’re looking for more inspiration on creamy bakes, check out this delicious recipe idea I found from a fellow baker.
PrintEasy, Creamy Baked Key Lime Cheesecake with Graham Cracker Crust
You will make this creamy, tangy key lime cheesecake for your next gathering. This recipe delivers the perfect balance of tart citrus and rich filling on a buttery graham cracker crust.
- Prep Time: 25 min
- Cook Time: 60 min
- Total Time: 7 hours 25 min
- Yield: 12 servings 1x
- Category: Dessert
- Method: Baking
- Cuisine: American
- Diet: Vegetarian
Ingredients
- 1 1/2 cups graham cracker crumbs
- 1/4 cup granulated sugar (for crust)
- 6 tablespoons unsalted butter, melted
- 3 (8 ounce) packages cream cheese, softened
- 1 1/2 cups granulated sugar (for filling)
- 1/4 cup all-purpose flour
- 1 teaspoon vanilla extract
- 1/2 teaspoon lime zest
- 1/2 cup fresh key lime juice (about 10–12 limes)
- 4 large eggs
- Whipped cream or extra lime zest for topping (optional)
Instructions
- Preheat your oven to 325 degrees Fahrenheit. Wrap the outside bottom of a 9-inch springform pan tightly with heavy-duty aluminum foil.
- Prepare the crust: In a medium bowl, mix the graham cracker crumbs, 1/4 cup sugar, and melted butter until combined. Press the mixture firmly and evenly into the bottom of the prepared springform pan. Bake for 10 minutes. Remove from the oven and let it cool slightly.
- Prepare the filling: In a large bowl, use an electric mixer to beat the softened cream cheese until smooth. Gradually beat in the 1 1/2 cups of sugar and the flour until fully incorporated.
- Mix in the vanilla extract, lime zest, and key lime juice until just combined. Do not overmix.
- Beat in the eggs one at a time, mixing on low speed after each addition until the yolk disappears into the batter. Scrape down the sides of the bowl as needed.
- Pour the filling over the cooled crust in the springform pan.
- Bake using a water bath: Place the foil-wrapped springform pan inside a larger roasting pan. Carefully pour hot water into the roasting pan until the water reaches about halfway up the sides of the springform pan.
- Bake for 55 to 65 minutes, or until the edges are set but the center still has a slight jiggle.
- Turn off the oven, prop the door open slightly, and let the cheesecake cool inside the oven for 1 hour. This prevents cracking.
- Remove the cheesecake from the water bath and foil. Let it cool completely on a wire rack.
- Chill the cheesecake in the refrigerator for at least 6 hours, or preferably overnight, before serving. Remove the springform ring before slicing. Top with whipped cream or extra lime zest before serving.
Notes
- For the best, most intense flavor, use fresh key lime juice. Bottled juice changes the texture and taste.
- If you skip the water bath, reduce the baking time slightly and watch carefully to prevent the top from browning too much.
- To achieve a perfect cheesecake texture, bring your cream cheese and eggs to room temperature before starting.
Nutrition
- Serving Size: 1 slice
- Calories: 410
- Sugar: 32g
- Sodium: 280mg
- Fat: 26g
- Saturated Fat: 15g
- Unsaturated Fat: 11g
- Trans Fat: 0.5g
- Carbohydrates: 38g
- Fiber: 1g
- Protein: 7g
- Cholesterol: 110mg