
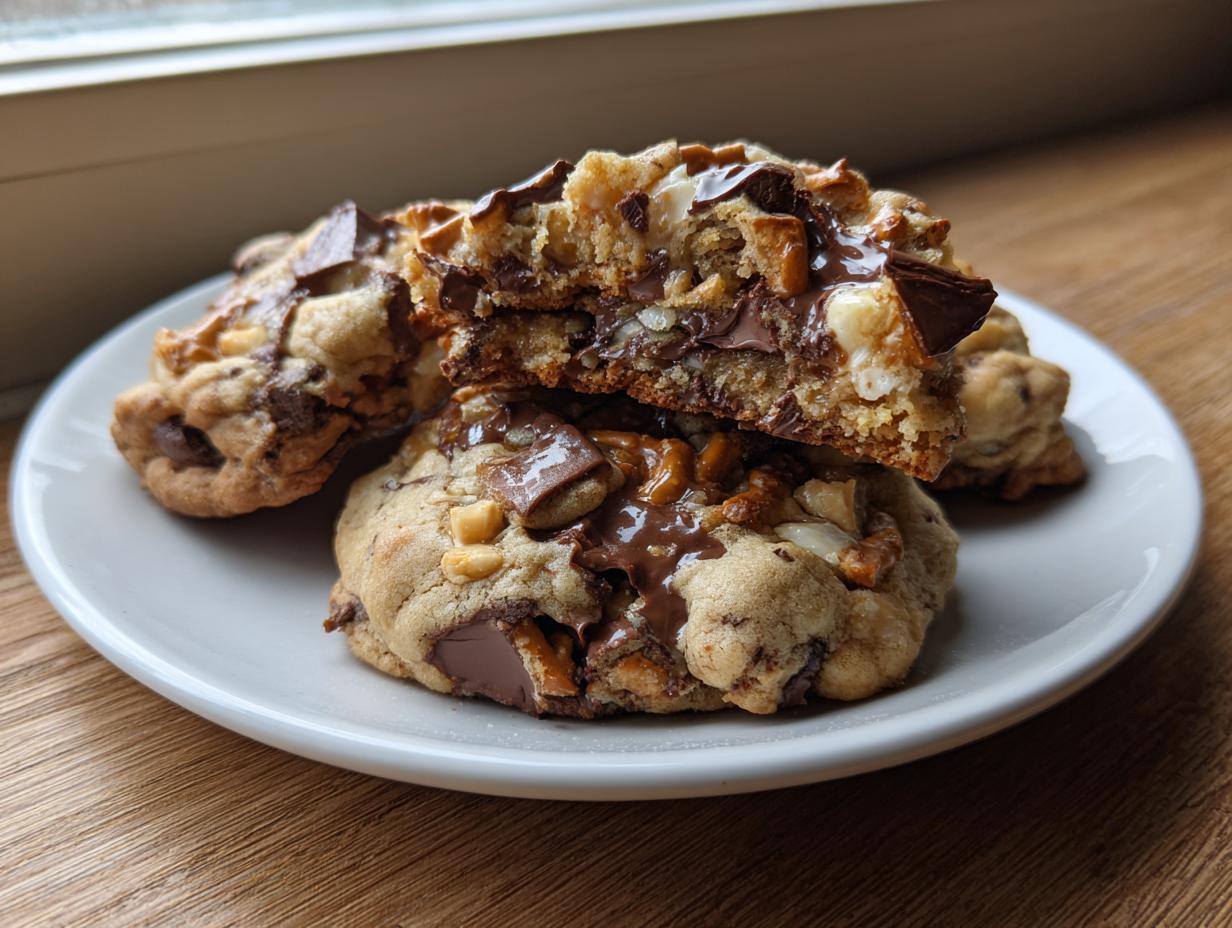

Oh, I absolutely love making cookies that look totally chaotic on the inside, but taste like perfection on the outside! If your pantry is full of half-bags of chips and leftover toffee bits, you’re ready for this recipe. Forget fussy rules; these kitchen sink cookies are my go-to for that ultimate everything-but-the-kitchen-sink moment. I spent years perfecting my baking methods, drawing on everything I learned from my dad’s celebratory feasting to my grandmother’s strict standards (you can read a bit more about my journey here). This recipe nails that essential sweet and salty balance with zero stress.
- Why These kitchen sink cookies Are the Ultimate Everything Cookies
- Gathering Ingredients for Your kitchen sink cookies
- Step-by-Step Instructions for the Ultimate Everything Cookies
- Making kitchen sink cookies for Holiday Baking Cookies and Parties
- Storage and Make-Ahead Tips for kitchen sink cookies
- Troubleshooting Common kitchen sink cookies Issues
- Frequently Asked Questions About kitchen sink cookies Recipe
- Estimated Nutritional Data for kitchen sink cookies
- Share Your Homemade Cookie Indulgence
Why These kitchen sink cookies Are the Ultimate Everything Cookies
Honestly, what’s not to love about a cookie named after throwing everything in? When I make these Ultimate Everything Cookies, I know I’m going to impress everyone without spending hours tinkering. They just happen to be the most reliable From Scratch Cookie Recipes I have. They disappear instantly at parties because they tick every single box. Seriously, I’ve got a whole section on how to tweak your classic chocolate chip cookies, but these are beyond that!
- The perfect sweet and salty combination that keeps you reaching for another one.
- They qualify as true One Bowl Cookies when you count the mix-ins separately—so easy for weeknights!
- Easily customizable, making them fun for holiday treats or just a fun bake.
- They create that amazing, thick, soft texture that makes you realize you don’t need any fancy store-bought stuff.
Achieving the Perfect Chewy Loaded Cookies Texture
The texture is everything here, right? We don’t want flat, crispy wafers. We want Chewy Loaded Cookies! The secret starts with making sure you thoroughly cream that butter and sugar until it’s truly light and fluffy. That process forces air into the dough, which keeps them tender. Then, when you add the flour, stop mixing the second you see it disappear. Overmixing builds gluten, and gluten makes cookies tough, not chewy. Trust me on this one—a little under-mixing actually works in your favor here!
Gathering Ingredients for Your kitchen sink cookies
Okay, let’s get to the fun part—the haul! This whole recipe is the perfect example of what happens when you’re inspired to clean out the pantry. That’s why these have such great momentum as Pantry Clean Out Cookies; you just toss in what you have lying around! We managed to whip up 24 perfectly loaded cookies in about 32 minutes total, which is seriously fast food dessert territory. Like my grandmother always said, if you start with quality basics, the final product will shine, even when it’s loaded with chips and candy. You can find more tips on making the most of what you have on my pantry cookie ideas page.
Ingredient Notes and Substitutions for kitchen sink cookies
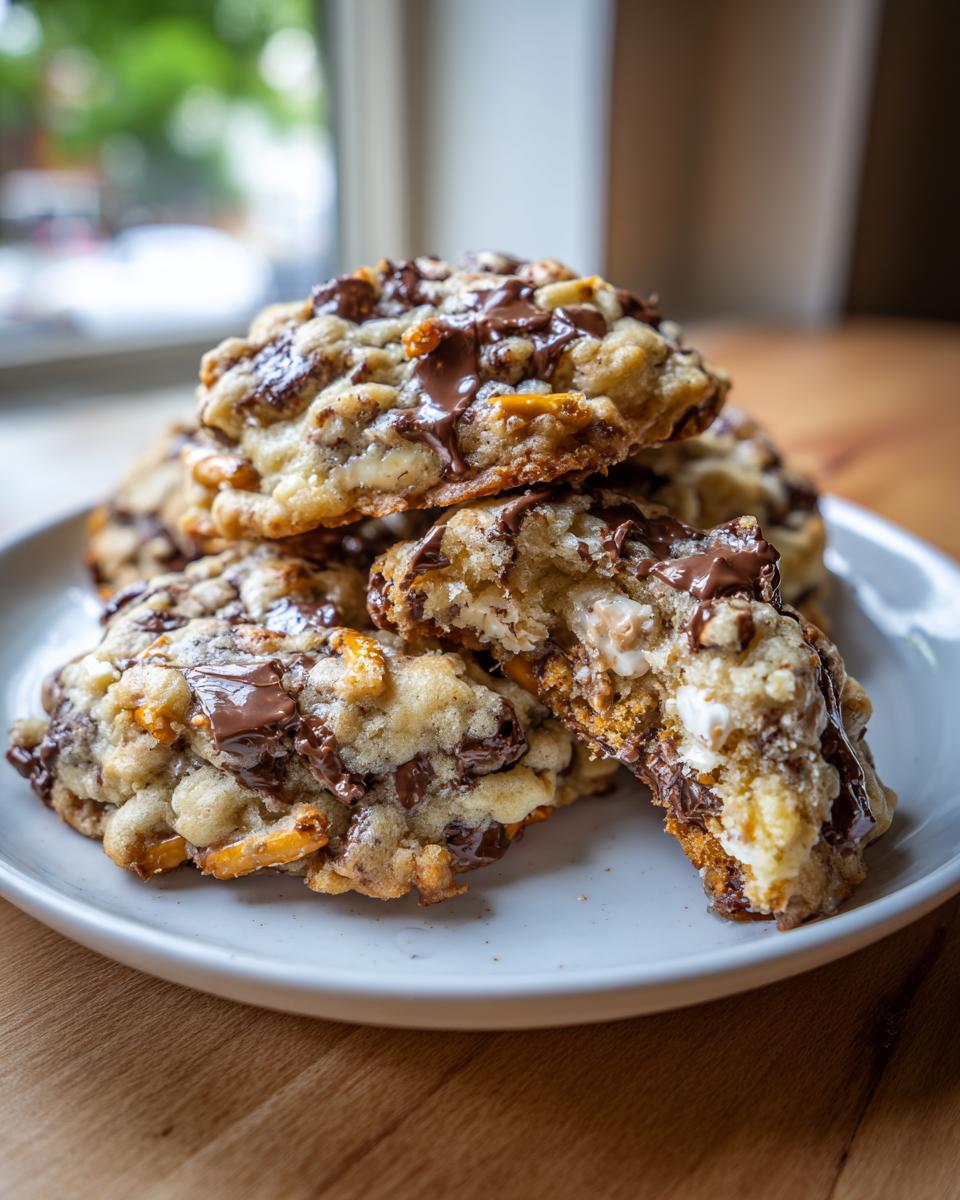
Because these kitchen sink cookies are all about what goes in, the way you handle those additions really matters. For the pretzels and potato chips, don’t just toss them in whole! You need to break those pretzels into nice little chunks—think bite-sized pieces, not dust. Same goes for the chips; crush them up a bit. This ensures you get that salty crunch in every single bite instead of just finding one giant soggy pretzel in the middle of the dough.
If you’re a nut person, go ahead and toss in those pecans or walnuts, but feel free to skip them if someone has an allergy or you just don’t keep them stocked. For the chocolate situation, I used three kinds because why choose? But if you only have semi-sweet, that’s fine! If you prefer a deeper, richer cookie flavor, definitely swap out the white chocolate chips for some nice dark chocolate chips instead. The goal here is delicious chaos, not rigid rules!
Step-by-Step Instructions for the Ultimate Everything Cookies
Alright, gear up, because this is where the magic happens! If you’re following along and craving a truly Easy Cookie Recipe that still manages to wow the crowd, pay close attention to these steps. I’m walking you through exactly how I turn simple ingredients into these fantastic kitchen sink cookies so they come out gorgeous every time, not messy puddles.
- First things first: get that oven heated up to 375°F (190°C). While it’s warming, grab a couple of baking sheets and line them with parchment paper. Trust me, pulling cookies off parchment beats scrubbing a hot metal tray any day!
- Now, back to basics. In a big bowl, you’re going to cream that softened butter with both the white and brown sugars. You want this mixture to look pale and seriously fluffy. This isn’t just churning; it’s fluffing the dough up so we get those perfect centers later on. Beat in your eggs one at a time, making sure each one is fully incorporated before you add the next, followed by your vanilla.
- In a separate, smaller bowl—yes, I know I promised one bowl, but separating the dry stuff is crucial—whisk your flour, baking soda, and salt together.
- Time to combine! Add the dry mixture to the wet mixture slowly, mixing on low speed in your stand mixer or by hand. Stop mixing the second you don’t see any more white streaks of flour. Seriously, stop! This keeps those cookies tender. If you’re looking for even more tips on managing dough, check out my thoughts on chocolate chip cookie variations—the principles are the same!
- Okay, this is the payoff moment! Fold *everything* else in: all three kinds of chocolate chips, those crunchy pretzel pieces, the toffee bits, and the salty crushed potato chips. Gently fold them through until they are just scattered evenly throughout the dough. They won’t look perfectly distributed, and that’s exactly how we want our Ultimate Everything Cookies to look!
- Here is a little secret, though it’s in my notes: If you have one extra minute, cover that big bowl and pop it into the fridge for 30 minutes now. Chilling the dough prevents them from spreading too much, which helps them stay nice and thick. If you’re in a super hurry, skip it, but know they might spread a tiny bit more.
- Scoop rounded tablespoons of dough onto your prepared sheets, leaving about two inches between each mound. If you want them extra substantial, just press down gently on the tops with your fingers.
Baking Tips for Thick Soft Cookies
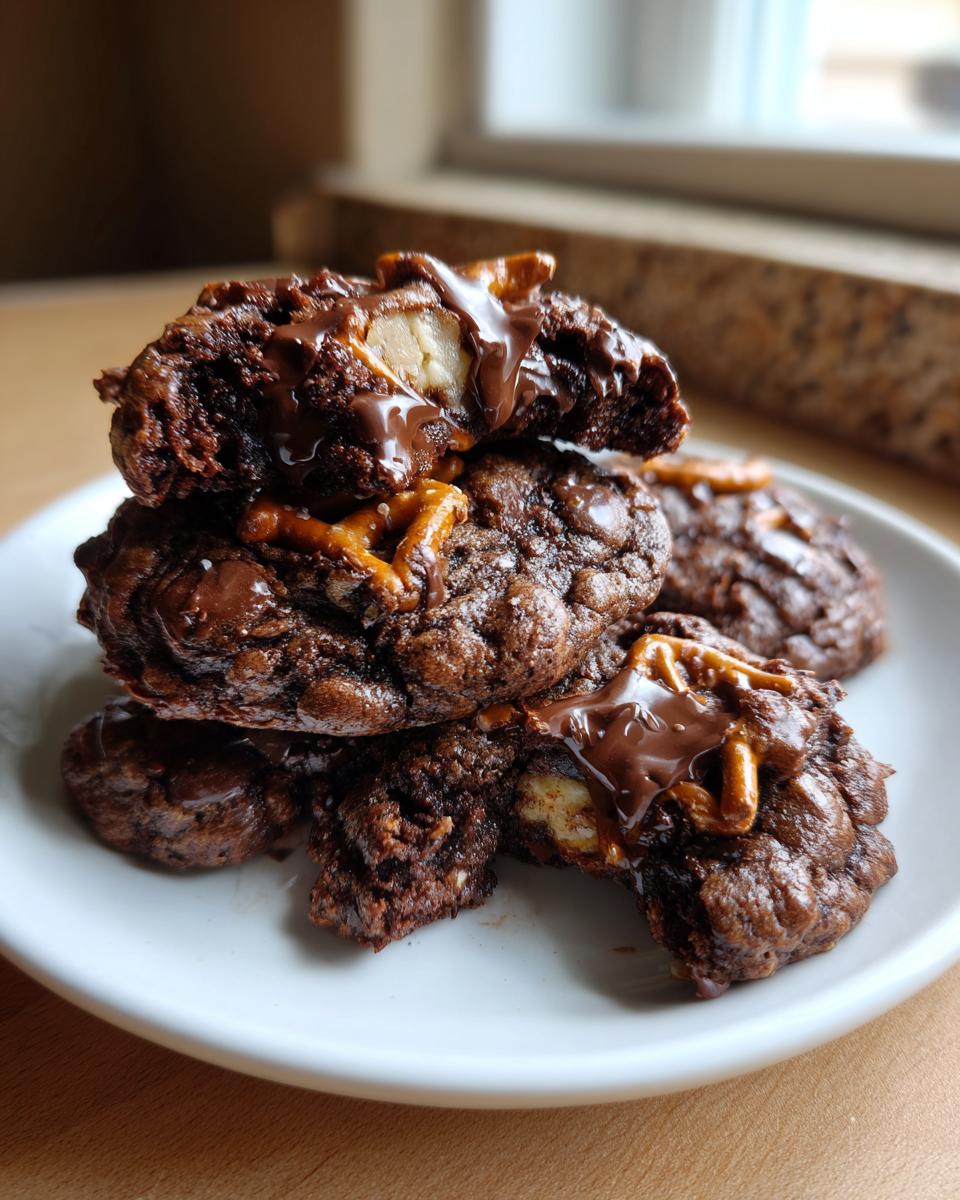
The baking time is tricky because of all those wonderful additions, so always watch the edges! We are aiming for 10 to 12 minutes in that 375°F oven. You’re looking for the edges to be beautifully golden brown—that crisp bite we love. But here’s the real key: the center should still look a tiny bit pale or soft when you pull them out. They keep cooking on the hot tray after they leave the oven, which is how we nail that soft cookie center.
The very last, non-negotiable step: As soon as those trays slide out of the oven, grab your flaky sea salt shaker. Sprinkle just a pinch over the top of each warm cookie. That first hint of pure salt hitting the melted top is what makes these sweet and salty cookies sing! Let them sit on the tray for five full minutes before you even *think* about moving them to a cooling rack. Patience, grasshopper!
Making kitchen sink cookies for Holiday Baking Cookies and Parties
You know, these kitchen sink cookies are absolutely brilliant for any kind of gathering. They are the definition of Fun Party Cookies because everyone digs through them trying to find their favorite chip or pretzel piece! They are especially fantastic when you are doing Holiday Baking Cookies, like for Christmas cookie exchanges. Because they are already loaded with texture, you don’t need to spend time dipping them in extra frosting or dealing with complicated decorating.
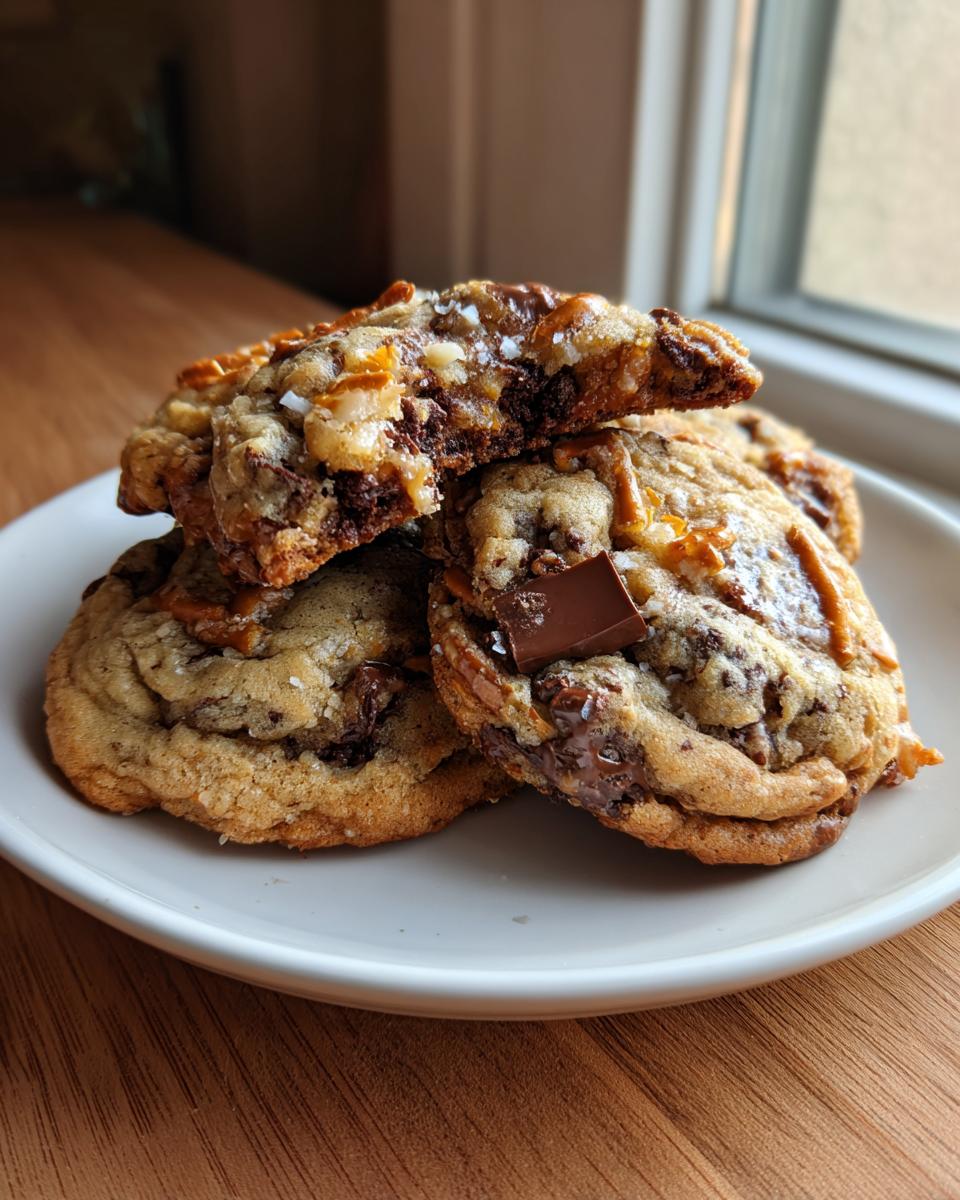
If you’re making these for a big crowd—maybe for a coworker swap or a school event—don’t divide the dough into tablespoons; use an ice cream scoop instead! This makes your batch go further and ensures they all bake up thick. You can even make them ahead of time, which is a lifesaver when you need great cookie exchange recipes on demand.
Storage and Make-Ahead Tips for kitchen sink cookies
One of the best things about whipping up a huge batch of these kitchen sink cookies is knowing you don’t have to eat them all in one sitting! Seriously, they stay fantastic. For short-term storage, just make sure they are completely cooled—and I mean completely cool—before popping them into a sturdy, airtight container. They do great sitting on the counter for about three or four days. I find they actually get even chewier after a day, which I love!
If you’re trying to manage your time better during busy weeks, this is where these cookies really shine compared to things like complex meal planning. You can completely prep ahead! Remember how I mentioned freezing the dough balls in my notes? That’s my favorite trick. Scoop the dough, place the balls on a baking sheet, freeze them solid for an hour or two, and then transfer those frozen lumps into a freezer-safe bag. You can keep them frozen for up to three months!
When you need a quick dessert—maybe for an unexpected visitor or just a late-night craving—you just pull out what you need. You can bake them straight from frozen, but you’ll just need to add about 2 to 4 extra minutes to the baking time. They come out almost identical to fresh-baked, which is amazing! If you want to get even more advanced with your prep, check out some of my tips for make-ahead breakfast burritos; planning ahead for desserts is miles easier!
If you have some already baked cookies that seem a little iffy after storage, don’t throw them out! Pop one in the microwave for just 10 seconds. It warms up that butter and chocolate just enough to bring them right back to life. You can see how others have enjoyed these amazing treats over at Daily Food Vibes, too!
Troubleshooting Common kitchen sink cookies Issues
Listen, even the best recipes sometimes throw curveballs, right? These kitchen sink cookies are already packed with so much stuff that consistency can sometimes be a little unpredictable if you aren’t paying attention. But don’t stress! Because I’ve made these so many hundreds of times, I know exactly what usually trips people up. We aren’t dealing with complex bread baking here; we’re fixing cookie chaos!
The most common issue I hear about is flat, greasy cookies that spread right across the whole pan. If that happens to you, there’s really only one reason: the dough wasn’t cold enough. Your butter melts too fast in the oven before the structure sets up. The solution is simple, even though I mentioned it in the tips section: you absolutely must chill your dough! Next time, try giving the dough at least an hour in the fridge. That little bit of chilling time makes a huge difference in getting those perfect Thick Soft Cookies.
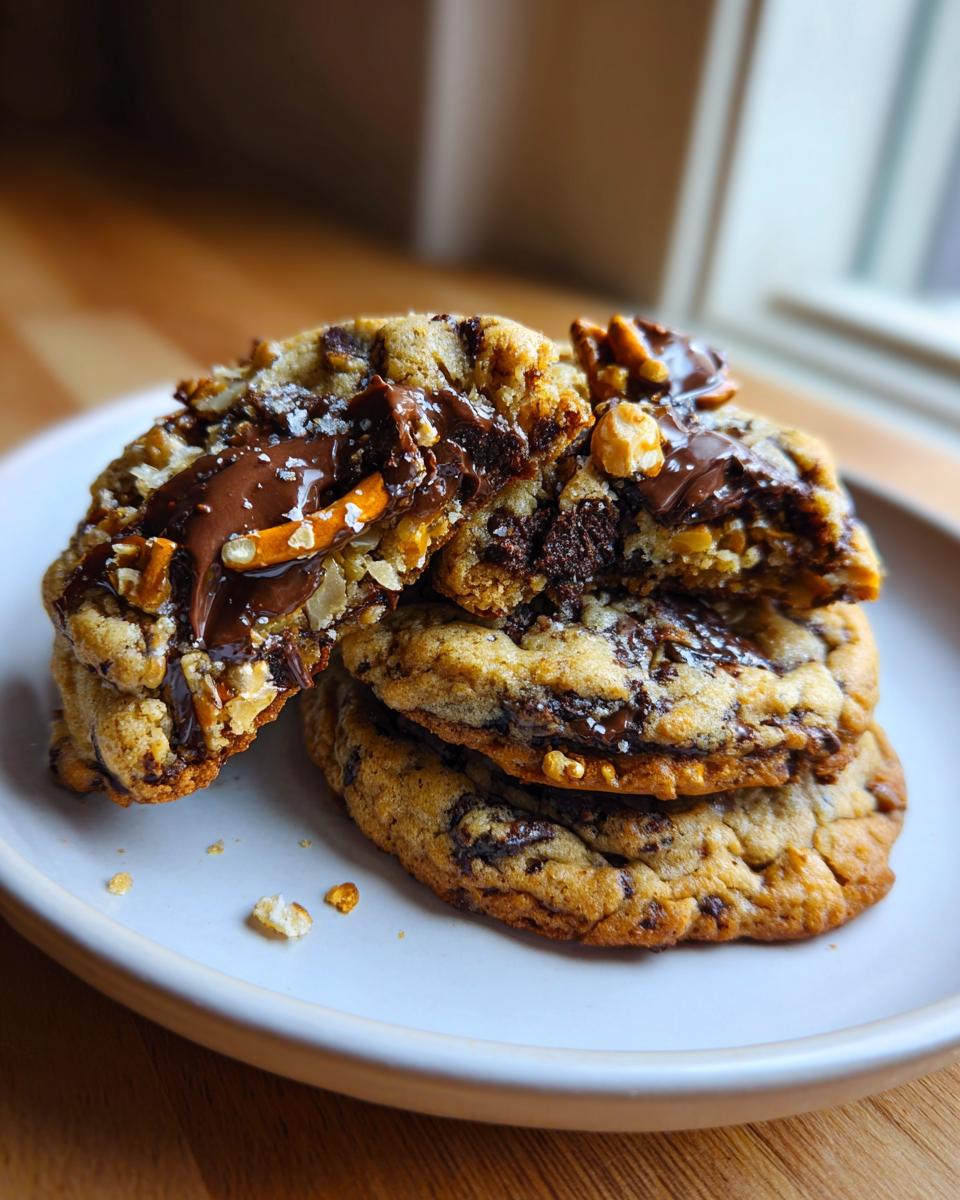
Another thing people worry about is dryness. Look, if you pull these out and they seem crumbly the next day, I guarantee you baked them too long. Remember that rule I shared? The edges should be golden, but the center needs to look slightly underdone or soft. They set up perfectly cooling on the hot pan. If you bake them until they look perfectly baked *in the oven*, they will be cardboard by the time they are room-toom temperature. Always err on the side of slightly underdone!
Finally, sometimes folks complain that all their good stuff—the toffee, the chips, the pretzels—sinks right to the bottom of the pan. That usually happens when you mix too much after adding the heavy ingredients. Once you fold in all the mix-ins for your Homemade Cookie Indulgence, put the spoon down! You just want those pieces gently incorporated. If you beat them in vigorously, they break apart and dissolve into the batter instead of staying chunky and distributed throughout the cookie.
Frequently Asked Questions About kitchen sink cookies Recipe
I know you must have questions! When you’re throwing this much goodness into one little dough ball, it’s natural to want reassurance. Asking questions is just smart baking! I pulled together the ones I get asked most often about these amazing kitchen sink cookies. If you still have burning questions, you can always check out my main blog archive for more tips!
Can I use different types of chocolate in my kitchen sink cookies?
Oh, absolutely, yes! That’s the beauty of baking from scratch—you control the chaos! I use three kinds just because I love the dimension, but if you only have semi-sweet, go for it. You can absolutely substitute mini chocolate chips if you want more of them distributed throughout, or even chop up some big chocolate bars into rustic chunks. If you like less overwhelming sweetness, dark chocolate chunks are fantastic here. Honestly, the different textures of chocolate make these so much more interesting!
What makes these Sweet and Salty Cookies so addictive?
It’s all about the contrast, my friend! These are the poster children for Sweet and Salty Cookies for a reason. We have the rich, deep sweetness coming from the brown sugar and the multiple types of chocolate melting in there, right? But then, BAM! You hit a chunk of salty pretzel or a crisp potato chip shard. That saltiness cuts through the sugar and makes your taste buds light up, forcing you to take another bite right away. That intense sweet-salty tug-of-war is why everyone devours these things!
How can I make these Pantry Clean Out Cookies even thicker?
If you love that wonderfully thick profile, like a true chunky dessert, then the chilling step is your best friend. I seriously recommend chilling the dough for at least an hour—though overnight turns them perfectly dense. That cold fat doesn’t melt as fast in the oven, keeping the cookie shape intact. If even after chilling you feel they are still spreading just a hair too much for your liking, try pulling back just one level of flour, maybe taking out the tablespoon of flour that you normally add, and see if that helps keep them that glorious stack of Thick Soft Cookies you’re aiming for!
Estimated Nutritional Data for kitchen sink cookies
Okay, let’s talk numbers! I know we bake these because they taste like pure joy, not because we’re counting macros, but it’s always good to have a general idea, especially if you’re planning treats around parties or events.
Here is the breakdown for one of these amazing, loaded kitchen sink cookies, based on the full batch yield of 24 cookies:
- Serving Size: 1 cookie
- Calories: 220
- Total Fat: 12g
- Carbohydrates: 28g
- Sugar: 15g
- Protein: 3g
Now, a big disclaimer because I want to be totally clear with you about these figures:
Because these are made with *everything but the kitchen sink*, these numbers are just estimates, okay? If you decide to use extra bags of toffee or decide to skip the chips, your final count will change. Also, the brands of potato chips or pretzels you pick up at the store—even the type of chocolate—can throw these numbers off a tiny bit. This list should just give you a helpful baseline for planning, but remember, the real nutrition here is all the happiness these Dessert Recipes to Wow A Crowd bring!
Share Your Homemade Cookie Indulgence
Whew! Now that you’ve got a tray full of what I honestly think are the best, most decadent kitchen sink cookies ever conceived, I need to hear about them! Baking is always better when we share the results, and I truly love seeing what combinations you all come up with.
If you made this recipe and it totally blew your family away—and I know it will—please come back here and leave a rating. Five stars if you ate the whole batch in one night, ha! More importantly, tell me what you decided to throw in! Did you use pretzels, potato chips, or maybe some fun holiday M&M’s? I’m always looking for new ideas for my next Homemade Cookie Indulgence, so drop your favorite mix-in combination in the comments below!
And if you’re snapping pictures (and you absolutely should be!), tag me on social media. It honestly makes my whole week to see my recipes showing up in your happy kitchens. If you have any final questions about ingredients or storage, don’t hesitate to reach out through my contact page. Happy baking, and enjoy that amazing salty-sweet crunch!
PrintUltimate Kitchen Sink Cookies

Make these loaded cookies packed with sweet and salty mix-ins for a chewy, satisfying treat perfect for any occasion.
- Prep Time: 20 min
- Cook Time: 12 min
- Total Time: 32 min
- Yield: 24 cookies 1x
- Category: Dessert
- Method: Baking
- Cuisine: American
- Diet: Vegetarian
Ingredients
- 1 cup (2 sticks) unsalted butter, softened
- ¾ cup granulated sugar
- ¾ cup packed light brown sugar
- 2 large eggs
- 1 tablespoon vanilla extract
- 2 ¼ cups all-purpose flour
- 1 teaspoon baking soda
- ½ teaspoon salt
- 1 cup semi-sweet chocolate chips
- 1 cup milk chocolate chips
- ½ cup white chocolate chips
- 1 cup pretzel pieces (broken into small chunks)
- ½ cup toffee bits
- ½ cup chopped pecans or walnuts (optional)
- ½ cup crushed potato chips (plain, salted)
- 1 teaspoon flaky sea salt, for topping
Instructions
- Preheat your oven to 375°F (190°C). Line baking sheets with parchment paper.
- In a large bowl, cream together the softened butter, granulated sugar, and brown sugar until light and fluffy. This step helps create a chewy texture.
- Beat in the eggs one at a time, mixing well after each addition. Stir in the vanilla extract.
- In a separate medium bowl, whisk together the flour, baking soda, and salt.
- Gradually add the dry ingredients to the wet ingredients, mixing on low speed until just combined. Do not overmix.
- Fold in all the mix-ins: semi-sweet chips, milk chocolate chips, white chocolate chips, pretzel pieces, toffee bits, nuts (if using), and crushed potato chips. Mix until evenly distributed.
- Drop rounded tablespoons of dough onto the prepared baking sheets, spacing them about 2 inches apart. For thicker cookies, press the dough balls slightly flatter on top.
- Bake for 10 to 12 minutes, or until the edges are golden brown but the centers still look slightly soft.
- Immediately sprinkle the tops of the hot cookies with flaky sea salt.
- Let the cookies cool on the baking sheet for 5 minutes before transferring them to a wire rack to cool completely.
Notes
- For the best texture, chill the dough for at least 30 minutes before baking. This prevents excessive spreading.
- You can customize the mix-ins based on what you have. Try adding M&M’s or different types of candy for holiday variations.
- These cookies are great for parties or cookie exchanges. If you are planning your weekly meals, consider making a double batch and freezing half the dough balls.
- If you are looking for simple weeknight solutions, this recipe is a great alternative to complex meal planning.
Nutrition
- Serving Size: 1 cookie
- Calories: 220
- Sugar: 15
- Sodium: 150
- Fat: 12
- Saturated Fat: 7
- Unsaturated Fat: 5
- Trans Fat: 0.1
- Carbohydrates: 28
- Fiber: 1
- Protein: 3
- Cholesterol: 30