
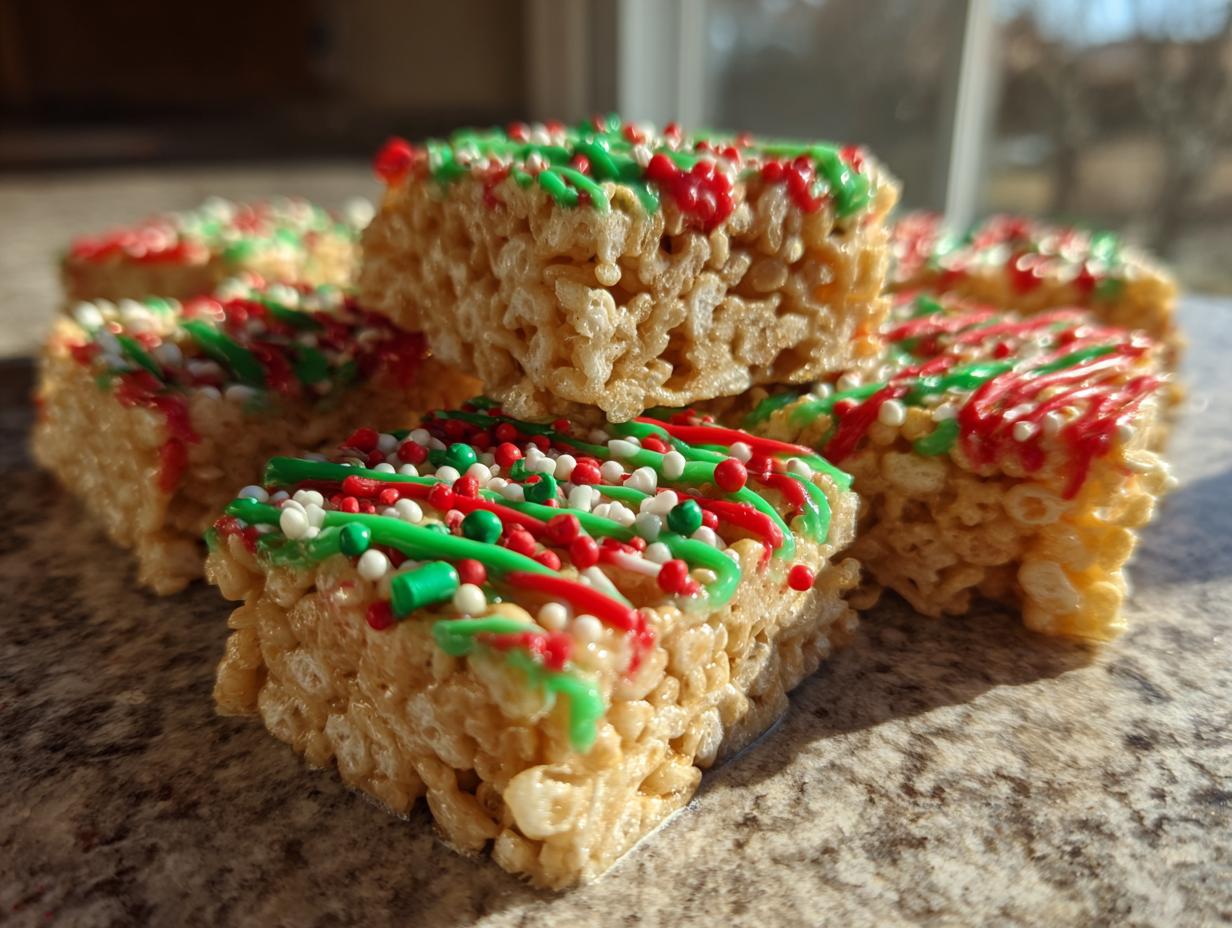

Oh, Christmas time! The air gets all sparkly and I can practically smell the pine needles and gingerbread, can’t you? While I absolutely adore the smell of cookies baking, sometimes, just sometimes, the thought of turning on the oven during the holiday rush can feel like a task. That’s where my absolute favorite no-bake Christmas treats come in! They’re like little bites of holiday magic that come together so quickly, you’ll have more time to actually enjoy all the festive cheer. My Grandma always said the best gifts were the ones made with love, and these sweets are perfect for sharing with friends, family, or just hoarding all to yourself (no judgment here!). Seriously, who needs an oven when you can whip up something this delightful and festive without breaking a sweat?
- Why You'll Love These Easy No-Bake Christmas Treats
- Gather Your Ingredients for No-Bake Christmas Treats
- How to Make These Festive No-Bake Christmas Treats
- Tips for Perfect No-Bake Christmas Treats
- Serving Suggestions for Holiday Party Desserts
- Edible Gifts: Packaging Your No-Bake Christmas Treats
- Frequently Asked Questions About No-Bake Christmas Treats
- Nutritional Information (Estimated)
- Share Your Festive Creations!
Why You’ll Love These Easy No-Bake Christmas Treats
Seriously, these treats are little miracles when the holidays get crazy! Here’s why I think you’ll be making them year after year:
- Super Speedy: We’re talking minutes to prep, not hours. Perfect for when you need a last-minute dessert or a quick edible gift.
- So Easy, Anyone Can Make Them: You don’t need to be a baking pro. If you can stir, you can totally whip these up!
- Crowd-Pleasers, for Sure: That perfect combo of sweet, crispy, and a little bit festive? Everyone devours these!
- Totally Festive Looking: With the colorful candy melts and sprinkles, they look like they came straight from a holiday wonderland.
- Holiday Party AND Edible Gift Ready: Double duty! They’re gorgeous on a party platter and make the sweetest homemade gifts.
Gather Your Ingredients for No-Bake Christmas Treats
Alright, let’s get our festive ingredients all ready! This is the fun part where we pull everything together. Trust me, having everything measured out makes the actual “making” part fly by. Here’s what you’ll need to gather:
- 1 cup butter, melted (this is our gooey base binder!)
- 1 (10 ounce) package mini marshmallows
- 1 teaspoon vanilla extract (just a splash for that classic flavor!)
- 6 cups crispy rice cereal (the star for that satisfying crunch!)
- Red and green candy melts (for all that festive color!)
- Sprinkles (because what are holidays without sprinkles?!)
How to Make These Festive No-Bake Christmas Treats
Alright, let’s get our hands a little sticky and make some magic happen! Honestly, the best part about these no-bake Christmas treats is just how gosh-darn easy they are. You’ll be done before you know it, leaving you with plenty of time to wrap presents or just sip some cocoa. Think of them as your secret weapon for holiday entertaining, kind of like how a good meal planning system saves the day!
Preparing the Base for Your No-Bake Christmas Treats
First things first, you’ll want to line a 9×13 inch baking pan with some parchment paper. Trust me, this makes cleanup a breeze and keeps your treats from sticking. Now, grab a big saucepan and melt your butter over low heat. Once it’s all liquid gold, toss in those mini marshmallows. Stir them around until they’re completely melted into a smooth, gooey cloud. This is key – you don’t want any stubborn marshmallow lumps! Take the pan off the heat and stir in that splash of vanilla extract. Now for the fun part: dump in the crispy rice cereal and gently stir it all together until every single piece is beautifully coated. It should look like a big, sticky, delicious mess! It reminds me a bit of making Christmas Chocolate Pie, needing that perfect smooth base.
Decorating Your No-Bake Christmas Treats
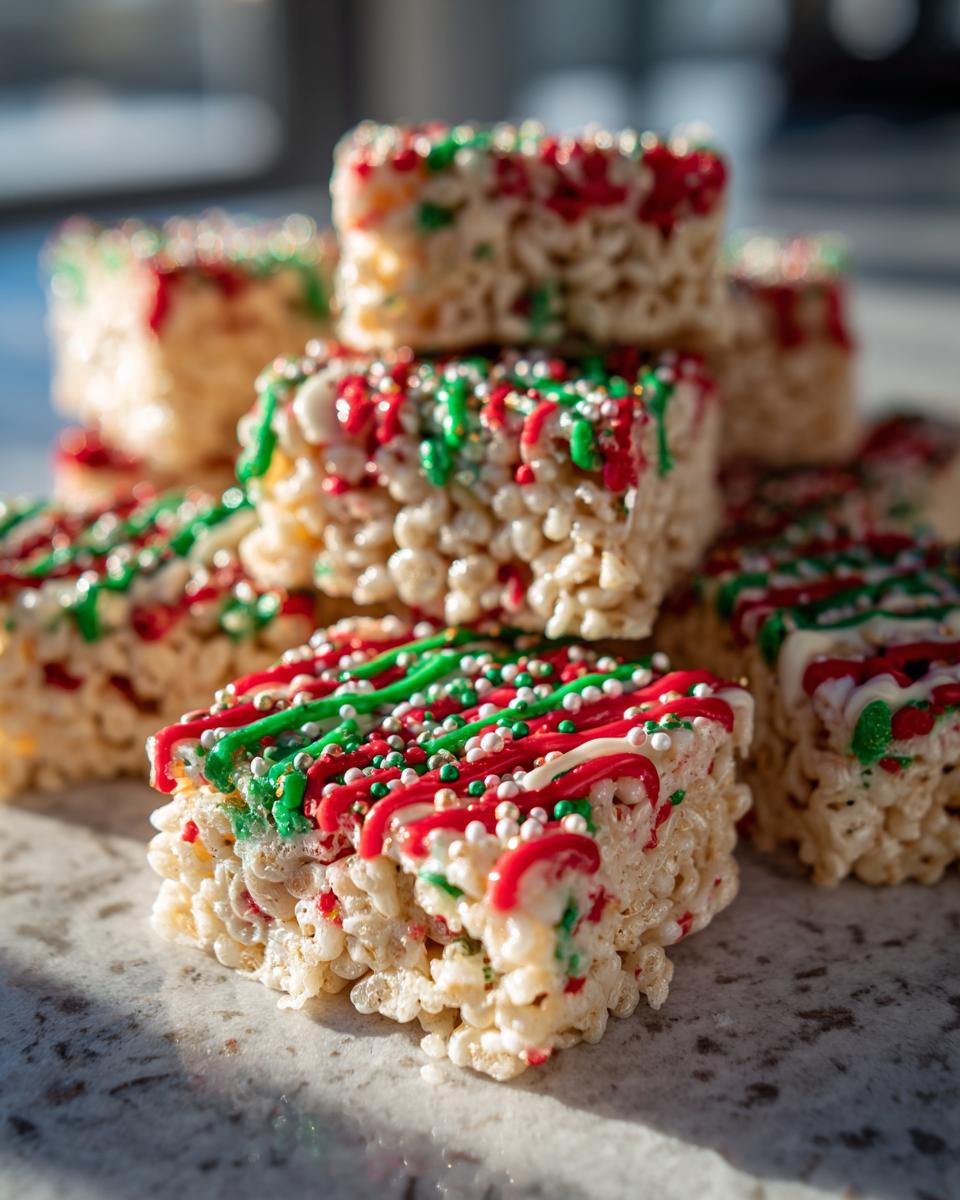
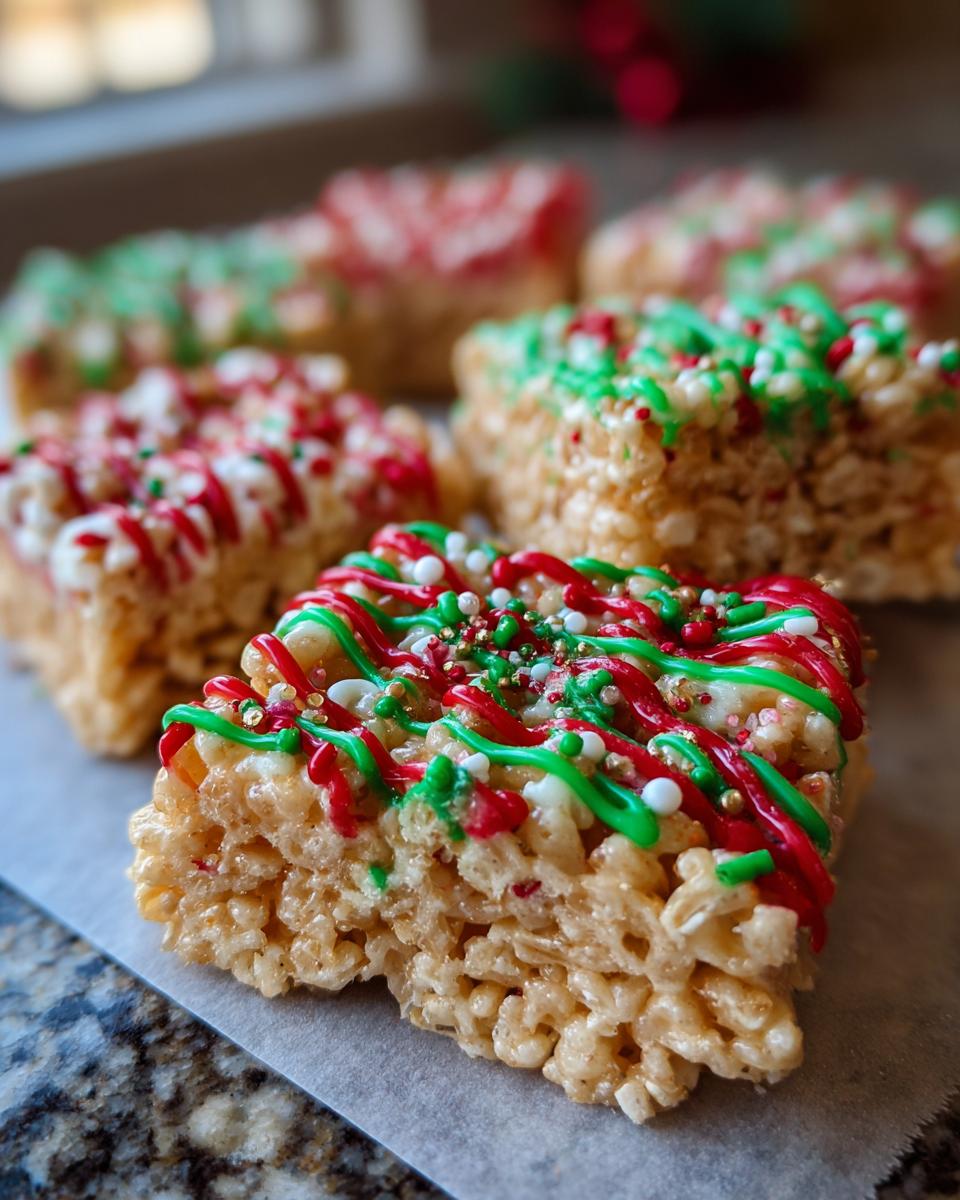
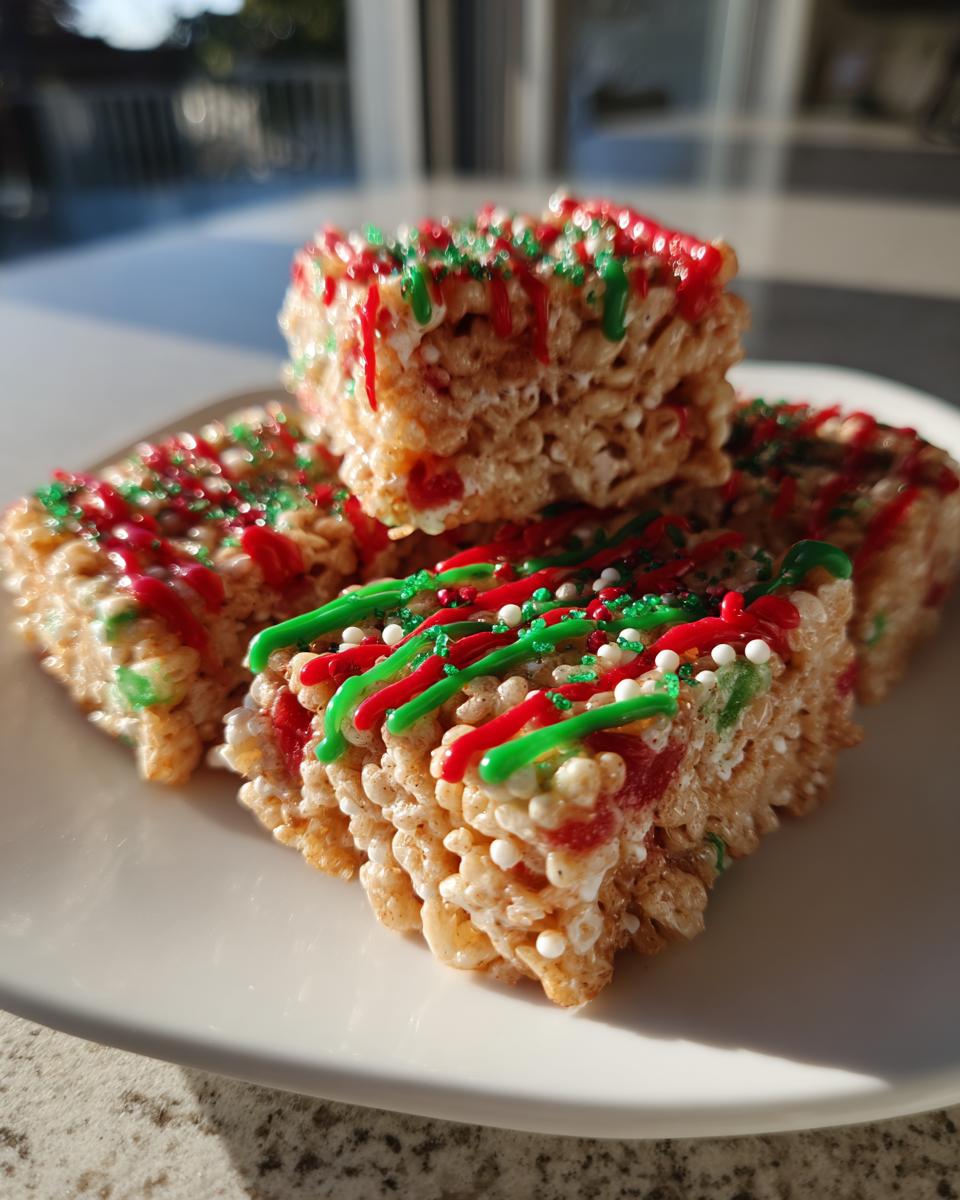
Okay, time to add some serious holiday sparkle! Melt your red and green candy melts according to their package directions. Sometimes I do this right in their little bags in the microwave, shaking them every 30 seconds – it’s so easy! Once they’re smooth and melty, grab a spoon or a piping bag and drizzle them all over your cereal mixture. Don’t be shy! Go wild with squiggly lines, zigzags, or whatever pattern makes you happy. The second your candy melts are on there, sprinkle, sprinkle, sprinkle! Now’s the time to use all those fun Christmas-themed sprinkles you’ve got. I love using little stars and jimmies for extra cheer. This is where you can really let your creativity shine, maybe even trying some patterns inspired by churro cracker candy!
Setting and Cutting Your Festive Sweets
Now for the suspenseful part – waiting for them to set! Let these beauties chill out at room temperature for a bit, or if you’re in a hurry (which, let’s be honest, is always during the holidays!), pop them in the fridge for about 30 minutes. You’ll know they’re ready when the candy melts are firm. Then, just take a sharp knife and cut them into squares. For an extra festive touch, you can totally use cookie cutters – think stars, trees, or even little gingerbread people shapes! Just make sure your cutters are clean and dry before you press them into the treats. This makes them look so special, almost like they came from a fancy bakery! These are just as fun as making a batch of puppy chow, but with a holiday twist!
Tips for Perfect No-Bake Christmas Treats
You know, sometimes even the simplest recipes have a little trick or two that makes them just… *perfect*. Over the years, I’ve picked up a few things that really make these no-bake Christmas treats shine. It’s all about paying attention to the little details, just like when I’m making cardamom shortbread cookies or cranberry sugar cookies.
Ingredient Substitutions and Variations
While the recipe is fantastic as is, feel free to get creative! If you’re not a fan of crispy rice cereal, you could totally try puffed corn cereal or even crushed pretzels for a sweet and salty kick. Some chopped nuts, like pecans or walnuts, folded into the cereal mixture before pressing it down add a wonderful crunch. And don’t forget dried cranberries or cherries for a little chewy surprise! It’s like adding your own special touch to these already amazing holiday party desserts.
Make-Ahead and Storage Instructions
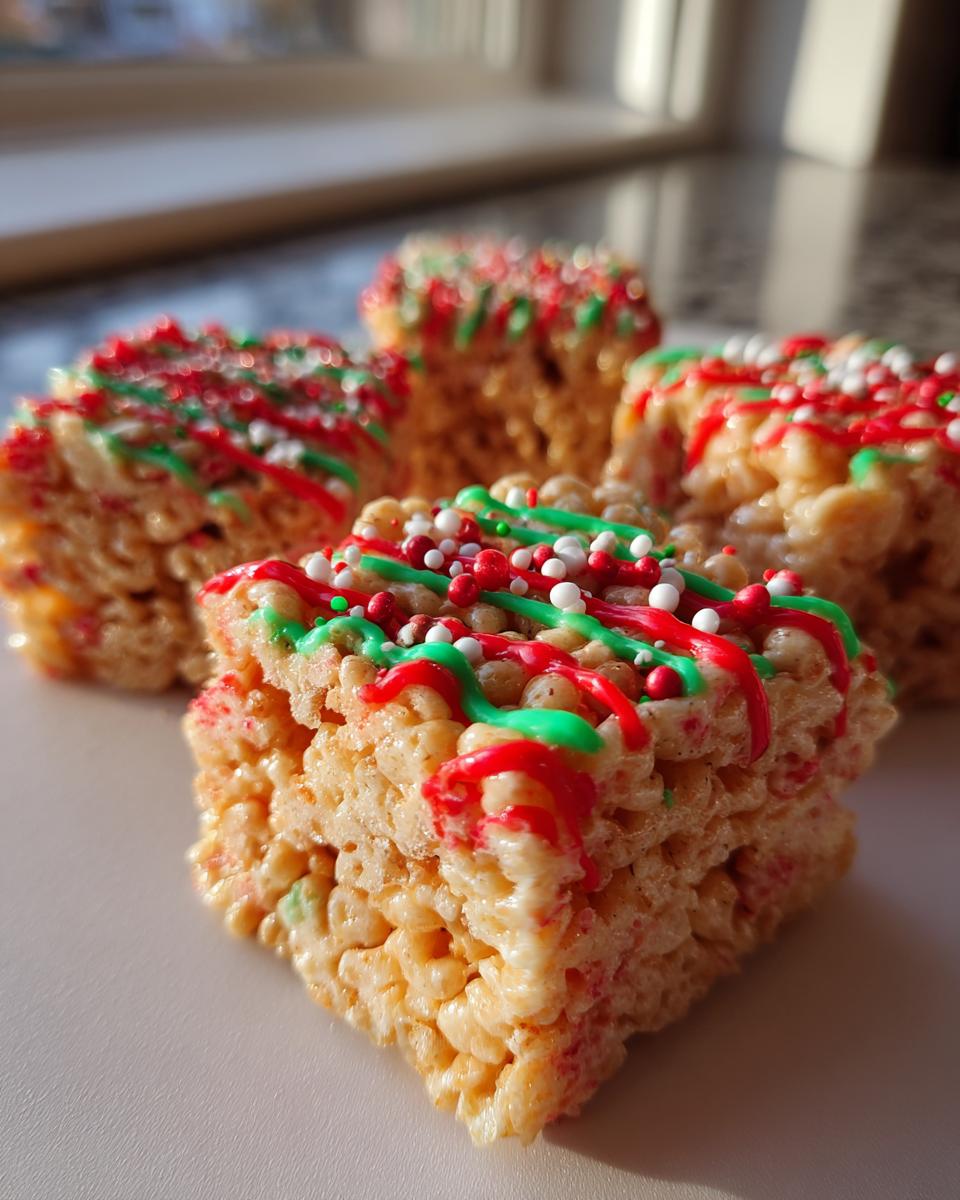
This is where these treats really earn their keep! You can easily make these a day or two in advance. Just let them set completely, cut them up, and store them in an airtight container at room temperature. They’ll stay fresh for about 3 days. If your kitchen tends to be warm, popping them in the fridge for a bit to set is a good idea, but they’re best served closer to room temperature so the candy melts aren’t too hard. It’s perfect for a busy host, just like these make-ahead breakfast burritos.
Serving Suggestions for Holiday Party Desserts
These festive treats are absolute stars on any holiday dessert table! Imagine them nestled next to a rich chocolate pie or scattered among a variety of cookies. They’re the perfect pop of color and fun, and everyone always grabs for them. Serve them up on a pretty platter alongside some of my favorite colorful drinks, like this Grinch Punch or a warm Autumn Punch, and watch them disappear!
Edible Gifts: Packaging Your No-Bake Christmas Treats
These little bites of happiness are just begging to be shared, making them absolutely perfect for edible gifts! Honestly, they look so pretty, people will think you spent hours slaving away – your secret is safe with me! Grab some cute cellophane bags and tie them up with festive ribbon, or pop them into little decorative boxes. They’re so much nicer than any store-bought gift, especially when they’re homemade with love. Pair them with some of my Christmas Jam recipe for an extra special touch!
Frequently Asked Questions About No-Bake Christmas Treats
Got questions about whipping up these festive goodies? I totally get it! Here are a few things people often ask:
Can I use different types of cereal?
Absolutely! While crispy rice cereal is my go-to for that perfect crunch, feel free to experiment. Puffed corn cereal works wonderfully, or even crushed pretzels for a yummy sweet and salty combination. Just make sure whatever you choose is nice and crispy!
How long do these treats last?
These make-ahead christmas sweets are pretty forgiving! They’ll stay fresh and delicious stored in an airtight container at room temperature for about 3 days. If your kitchen is super warm, you might want to pop them in the fridge to help them hold their shape a bit better.
Are these kid-friendly to make?
Oh, 100%! These no oven desserts are fantastic for getting little hands involved. Kids absolutely love stirring the cereal, pressing it into the pan, and, of course, decorating with sprinkles! It’s way less messy than a lot of other holiday baking. Think of it like making simple Oreo truffles or reindeer chow – pure fun!
Can I skip the candy melts?
You sure can! If candy melts aren’t your thing, you could definitely drizzle them with melted white chocolate or even just give them a good dusting of powdered sugar. They’ll still be delicious, but the candy melts really add that extra festive color pop that makes them feel so special for the holidays.
Nutritional Information (Estimated)
Just a heads-up, this is a fun treat, not exactly health food! The nutritional info below gives you a general idea of what’s in each square. Remember, it’s an estimate and can vary a bit depending on the exact brands of ingredients you use. These are based on 24 servings.
- Serving Size: 1 square
- Calories: 180
- Fat: 8g (with 5g saturated fat)
- Carbohydrates: 25g
- Sugar: 15g
- Sodium: 100mg
- Protein: 2g
Share Your Festive Creations!
I absolutely love seeing what you all create in your kitchens! If you whip up these fun no-bake Christmas treats, please drop a comment below and tell me how they turned out. Did you add any fun variations? If you snap a pic, tag me on social media – I’d be thrilled to see your festive masterpieces! You can always reach out on my contact page too. Happy Holidays!
PrintEasy No-Bake Christmas Treats
Quick and festive no-bake Christmas treats perfect for holiday parties and edible gifts. These crowd-pleasing sweets require no oven time and are simple to make.
- Prep Time: 15 min
- Cook Time: 5 min
- Total Time: 20 min
- Yield: 24 servings 1x
- Category: Dessert
- Method: No-Bake
- Cuisine: American
- Diet: Vegetarian
Ingredients
- 1 cup butter, melted
- 1 (10 ounce) package mini marshmallows
- 1 teaspoon vanilla extract
- 6 cups crispy rice cereal
- Red and green candy melts
- Sprinkles
Instructions
- Line a 9×13 inch baking pan with parchment paper.
- In a large saucepan, melt the butter over low heat.
- Add the mini marshmallows and stir until completely melted and smooth.
- Remove from heat and stir in the vanilla extract.
- Add the crispy rice cereal and stir until well coated.
- Press the mixture evenly into the prepared baking pan.
- Melt the red and green candy melts according to package directions.
- Drizzle the melted candy melts over the cereal mixture.
- Immediately add sprinkles before the candy melts set.
- Let the treats set completely at room temperature or in the refrigerator for about 30 minutes.
- Cut into squares or festive shapes.
Notes
- Store in an airtight container at room temperature for up to 3 days.
- For edible gifts, package in cellophane bags tied with festive ribbon.
- You can add chopped nuts or dried fruit to the cereal mixture for extra flavor and texture.
- Consider using cookie cutters to create fun holiday shapes like stars or trees.
Nutrition
- Serving Size: 1 square
- Calories: 180
- Sugar: 15g
- Sodium: 100mg
- Fat: 8g
- Saturated Fat: 5g
- Unsaturated Fat: 3g
- Trans Fat: 0g
- Carbohydrates: 25g
- Fiber: 1g
- Protein: 2g
- Cholesterol: 15mg