
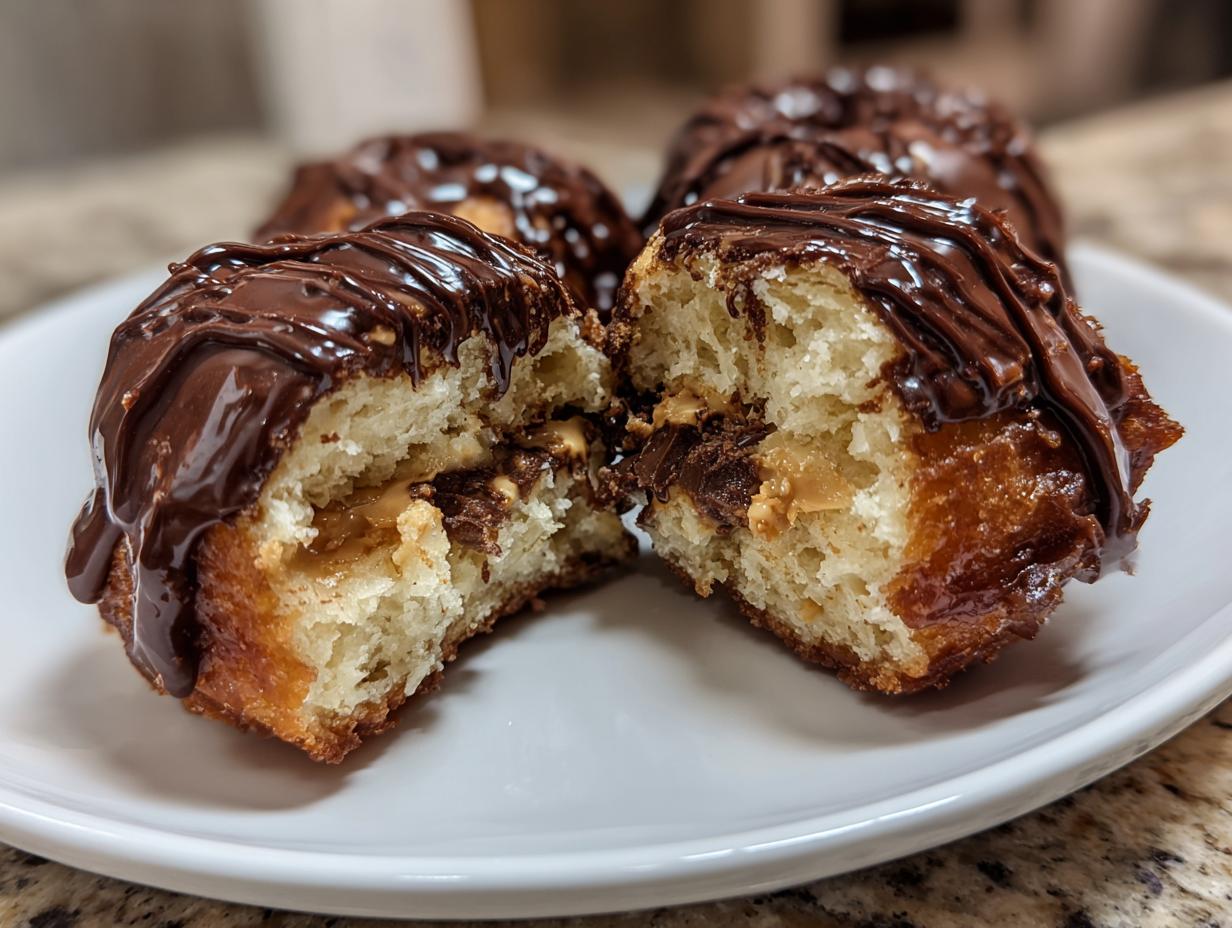

Oh, donuts! Just the word makes me smile. And when those donuts are stuffed with melty peanut butter cups and dripping with a rich chocolate glaze? Pure magic! Seriously, these Peanut Butter Cup Stuffed Donuts are the ultimate weekend treat. I remember sneaking one of these when we had donuts from the fancy bakery as a kid, and I always dreamed of making my own. They totally rival anything you’d get from a professional shop, truly bakery-style, and that gooey peanut butter cup center? It’s everything! Get ready for your kitchen to smell like heaven.

- Why You'll Love These Peanut Butter Cup Stuffed Donuts
- Ingredients for Your Peanut Butter Cup Stuffed Donuts
- Essential Equipment for Making Homemade Fried Donuts
- Crafting Your Peanut Butter Cup Stuffed Donuts: Step-by-Step
- Tips for Success with Peanut Butter Cup Stuffed Donuts
- Serving and Storing Your Decadent Donut Creations
- Frequently Asked Questions About Peanut Butter Cup Stuffed Donuts
- Estimated Nutritional Information
- Share Your Delicious Creations!
Why You’ll Love These Peanut Butter Cup Stuffed Donuts
Trust me, these aren’t just any donuts. They’re a labor of love that’s totally worth it! Here’s why you’ll be obsessed:
- Bakery-Quality Indulgence: Get that incredible, just-from-the-shop taste right in your own kitchen!
- Peanut Butter Cup Bliss: That surprise center of melty peanut butter cups? It’s pure heaven.
- The Ultimate Weekend Project: Perfect for filling your Saturday or Sunday with delicious fun.
- Seriously Decadent: These are homemade donuts at their finest – rich, fluffy, and utterly decadent.
- Impress Your Friends: Seriously, who wouldn’t be wowed by a donut like this?
- Totally Customizable: While we love PB cups, you can play with other fillings too!
Ingredients for Your Peanut Butter Cup Stuffed Donuts
Okay, gathering your supplies is half the fun! For these glorious peanut butter cup stuffed donuts, you’ll need a few things:
For the Donut Dough:
- 1 cup warm water (make sure it’s between 105-115°F, not too hot or cold!)
- 2 ¼ teaspoons active dry yeast
- ½ cup granulated sugar
- ½ cup milk
- ¼ cup unsalted butter, melted
- 2 large eggs
- 1 teaspoon vanilla extract
- 4 ½ cups all-purpose flour, plus a little extra for dusting your hands and counter
- 1 teaspoon salt
- Vegetable oil, enough to fill your pot about 3 inches deep for frying
- 12 peanut butter cups, unwrapped and cut in half – these are our treasure!
For the Glaze:
- 2 cups powdered sugar
- ½ cup unsweetened cocoa powder
- ½ cup milk
- 1 teaspoon vanilla extract
Essential Equipment for Making Homemade Fried Donuts
Alright, to make these amazing peanut butter cup stuffed donuts, you’ll want to have a few things ready to go. It really makes the process so much smoother! You’ll definitely need a large bowl for mixing up that lovely dough. If you have a stand mixer with a dough hook, that’s a lifesaver, but don’t worry, kneading by hand works beautifully too! For frying, a heavy-bottomed pot or Dutch oven is perfect for keeping a steady temperature. Then, you’ll want a slotted spoon for safely getting those donuts out of the hot oil, and a wire rack set over a baking sheet is ideal for letting them cool and for the glaze to set. Oh, and don’t forget parchment paper!
Crafting Your Peanut Butter Cup Stuffed Donuts: Step-by-Step
Alright, time to get hands-on! Making these Peanut Butter Cup Stuffed Donuts is such a fun process. It’s not hard, I promise, just takes a little patience. Let’s dive in!
Preparing the Donut Dough
First thing’s first, let’s get that beautiful dough going. In your big bowl, pour in the warm water and sprinkle the yeast over the top. Give it a gentle stir and let it sit for about 5 to 10 minutes until it gets nice and foamy – that means your yeast is happy and alive! Then, stir in the sugar, milk, melted butter, those two eggs, and the vanilla. In another bowl, whisk your flour and salt together. Now, gradually add the dry stuff to the wet stuff, mixing it all up until it’s just a soft dough. Dump it onto your floured surface and knead for about 5-7 minutes until it’s smooth and elastic. Seriously, it feels amazing!
First Rise and Shaping Your Peanut Butter Cup Donuts
Pop that smooth dough into a lightly oiled bowl, cover it up, and let it hang out in a warm spot for about 1 to 1.5 hours. You want it to get nice and puffy, like a cozy cloud. Once it’s doubled in size, gently punch it down – it’s so satisfying! Now, divide that dough into 12 equal pieces. Take each piece and flatten it out a bit in your hand, making a little disc. Pop one of those halved peanut butter cups right in the center. Carefully wrap the dough all around it, pinching the seams tight. You really want to make sure that peanut butter cup is totally sealed in, no peeking allowed! Place these little treasures on parchment paper, cover them again, and let them puff up for another 30-45 minutes. They’ll get nicely plump.

Second Rise and Frying Perfection
While those donuts are doing their second rise, get your oil ready. Heat about 3 inches of vegetable oil in your heavy-bottomed pot or Dutch oven until it reaches 350°F (175°C). This is super important for that perfect donut texture – not too greasy, not burnt! Carefully place 2 or 3 of the risen donuts into the hot oil. Let them fry for about 2-3 minutes per side, until they’re a beautiful golden brown. You can find more great breakfast ideas, but these fried beauties are special! Use a slotted spoon to gently scoop them out and place them on a wire rack over paper towels to drain. They’ll smell incredible!
Creating the Rich Chocolate Glaze
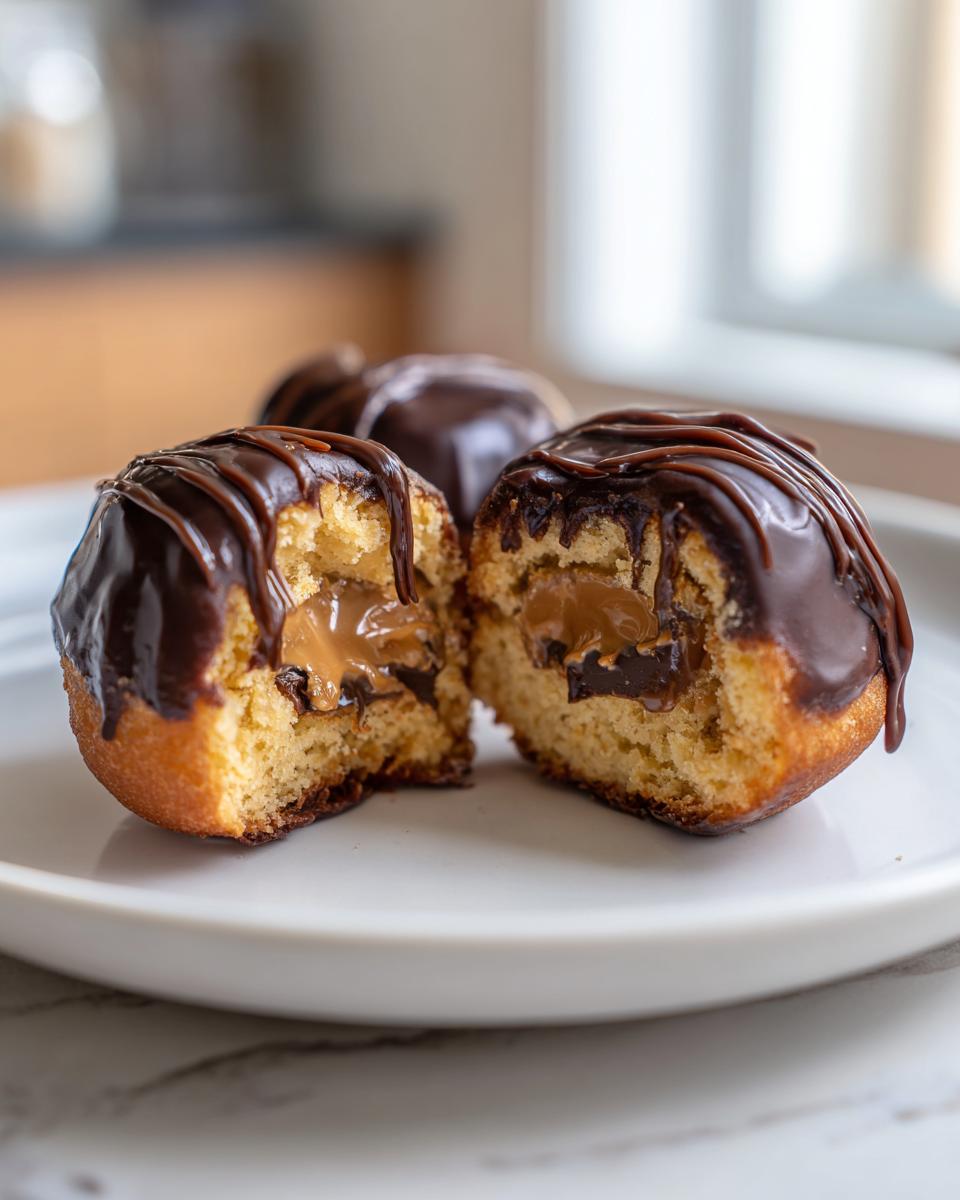
Now for the best part – the glaze! Grab a bowl and whisk together the powdered sugar and cocoa powder. Pour in the milk and vanilla extract. It might look a little thick at first, but keep whisking until it’s smooth, glossy, and utterly irresistible. You want it pourable but not too runny. Finding the perfect glaze is key, much like finding the perfect dessert!
Glazing and Finishing Your Stuffed Donuts
Once your donuts have cooled just a tiny bit (still warm is best for the glaze to grab on!), it’s time to dip them. Take each donut and gently dunk the top into that luscious chocolate glaze. Let any excess drip off for a second, then place them back on the wire rack to let the glaze set. Oh, the visual appeal! Seeing that glossy chocolate coating… *chef’s kiss*!

Tips for Success with Peanut Butter Cup Stuffed Donuts
Okay, let’s talk about making these Peanut Butter Cup Stuffed Donuts absolutely perfect! I’ve made a few batches (okay, maybe more than a few!), and I’ve learned a couple of tricks that really make a difference. It’s all about avoiding those little oops moments and getting amazing results every single time. If you want more tips on baking and cooking, you can always check out my blog!
Maintaining the Perfect Frying Temperature
This is probably the MOST important tip for amazing fried donuts. You really want to keep your oil right around that 350°F (175°C) mark. If it’s too cool, your donuts will soak up all that oil and get greasy. Nobody wants a greasy donut, right? If it’s too hot, the outside will get dark brown way too fast before the inside even cooks, and that peanut butter cup might just start leaking out too soon! I like to use a thermometer, but you can also test it by dropping a tiny bit of dough in – it should sizzle and float right up, not burn instantly or just sit there sadly.
Alternatives to Frying: Baked Donut Option
Now, I LOVE frying these donuts, there’s just something about that texture. But if frying isn’t your jam, or you want a slightly lighter treat, you can totally bake them! Just shape your dough around the peanut butter cups like we talked about, place them on a parchment-lined baking sheet, and bake them in a 375°F (190°C) oven for about 12 to 15 minutes. They won’t have that classic fried crunch, but they’ll still be wonderfully fluffy and delicious with the glaze and that surprise center!
Creative Filling Variations
Peanut butter cups are classic, I know! But don’t be afraid to get creative with these stuffed donuts. If you’re not a huge peanut butter fan, try a dollop of Nutella, some bits of your favorite candy bar, or even a swirl of jam in there instead of the peanut butter cups. Just make sure whatever you choose can handle getting nice and melty in the hot oil without making a huge mess. The key is to experiment and find what YOU love!
Serving and Storing Your Decadent Donut Creations
These Peanut Butter Cup Stuffed Donuts are honestly best enjoyed fresh, while the glaze is still a little soft and the donut itself is wonderfully fluffy. They’re perfect with a hot cup of coffee or a cold glass of milk, or even just on their own for a little afternoon pick-me-up! If you happen to have any leftovers (which is a big IF in my house!), just pop them into an airtight container. They’ll be fine at room temperature for a day or two, but if you want them to last a bit longer, a quick stint in the fridge is your best bet. For more amazing dessert ideas, you know where to look!
Frequently Asked Questions About Peanut Butter Cup Stuffed Donuts
Got questions about these fantastic stuffed donuts? I’ve got answers!
Can I make the donut dough ahead of time?
You sure can! You can make the dough, let it do its first rise, then cover it and pop it in the fridge overnight. Just let it sit at room temp for about 30 minutes before shaping.
What’s the best way to prevent the peanut butter from leaking?
The trick is to really seal the dough around the peanut butter cup. Pinch the edges together thoroughly, making sure there are no little gaps. A good, plump dough helps too!
Can I use a different candy bar for the filling?
Absolutely! While Reese’s peanut butter cups are divine, feel free to try chopped Snickers, Milky Way, or even chocolate chips! Just make sure they’re not too melty before you seal them in.
Estimated Nutritional Information
Just a heads-up, the nutrition info can really change depending on the brands you use and how big you make those adorable peanut butter cups. But, for one of these amazing homemade donuts, you’re looking at roughly 450 calories, around 25g of fat (with about 10g being saturated), 50g of carbs, 35g of sugar, and 6g of protein. Enjoy every bite!
Share Your Delicious Creations!
Did you try making these peanut butter cup stuffed donuts? I’d absolutely LOVE to hear all about it! Drop a comment below and tell me how they turned out, or even give them a star rating! If you snapped some pics, tag me on social media – I can’t wait to see your delicious creations! You can also reach out with any questions via my contact page!
PrintPeanut Butter Cup Stuffed Donuts
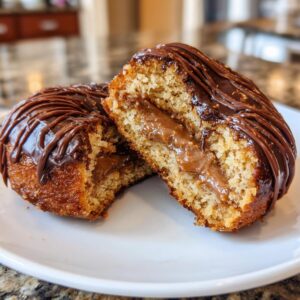
Make bakery-style donuts at home, filled with peanut butter cups and topped with a rich chocolate glaze. These donuts are a perfect weekend baking project.
- Prep Time: 45 min
- Cook Time: 30 min
- Total Time: 2 hours 15 min
- Yield: 12 donuts 1x
- Category: Dessert
- Method: Frying
- Cuisine: American
- Diet: Vegetarian
Ingredients
- 1 cup warm water (105-115°F)
- 2 ¼ teaspoons active dry yeast
- ½ cup granulated sugar
- ½ cup milk
- ¼ cup unsalted butter, melted
- 2 large eggs
- 1 teaspoon vanilla extract
- 4 ½ cups all-purpose flour, plus more for dusting
- 1 teaspoon salt
- Vegetable oil, for frying
- 12 peanut butter cups, unwrapped and halved
- For the Glaze:
- 2 cups powdered sugar
- ½ cup unsweetened cocoa powder
- ½ cup milk
- 1 teaspoon vanilla extract
Instructions
- In a large bowl, combine warm water and yeast. Let stand for 5-10 minutes until foamy.
- Stir in granulated sugar, milk, melted butter, eggs, and vanilla extract.
- In a separate bowl, whisk together flour and salt.
- Gradually add the dry ingredients to the wet ingredients, mixing until a soft dough forms.
- Turn the dough out onto a lightly floured surface and knead for 5-7 minutes until smooth and elastic.
- Place the dough in a lightly oiled bowl, cover, and let rise in a warm place for 1-1.5 hours, or until doubled in size.
- Punch down the dough and divide it into 12 equal pieces.
- Shape each piece into a ball and flatten slightly. Place a peanut butter cup half in the center of each flattened dough ball.
- Carefully wrap the dough around the peanut butter cup, sealing the edges completely. Ensure no peanut butter is exposed.
- Place the stuffed dough balls on a parchment-lined baking sheet, cover, and let rise for another 30-45 minutes.
- While the donuts are rising, prepare the glaze by whisking together powdered sugar, cocoa powder, milk, and vanilla extract until smooth.
- Heat about 3 inches of vegetable oil in a large pot or Dutch oven to 350°F (175°C).
- Carefully fry the donuts in batches, about 2-3 minutes per side, until golden brown.
- Remove donuts with a slotted spoon and drain on paper towels.
- Once slightly cooled, dip each donut into the chocolate glaze, ensuring it’s fully coated.
- Place glazed donuts on a wire rack to set.
Notes
- For a successful fry, maintain a consistent oil temperature. Too low and the donuts will be greasy; too high and they will burn before cooking through.
- If you prefer baked donuts, place the shaped dough balls on a parchment-lined baking sheet and bake at 375°F (190°C) for 12-15 minutes, or until golden brown. Glaze as directed.
- You can use other candy bar pieces or fillings if peanut butter cups are not your preference.
Nutrition
- Serving Size: 1 donut
- Calories: 450
- Sugar: 35g
- Sodium: 250mg
- Fat: 25g
- Saturated Fat: 10g
- Unsaturated Fat: 15g
- Trans Fat: 0g
- Carbohydrates: 50g
- Fiber: 2g
- Protein: 6g
- Cholesterol: 70mg