
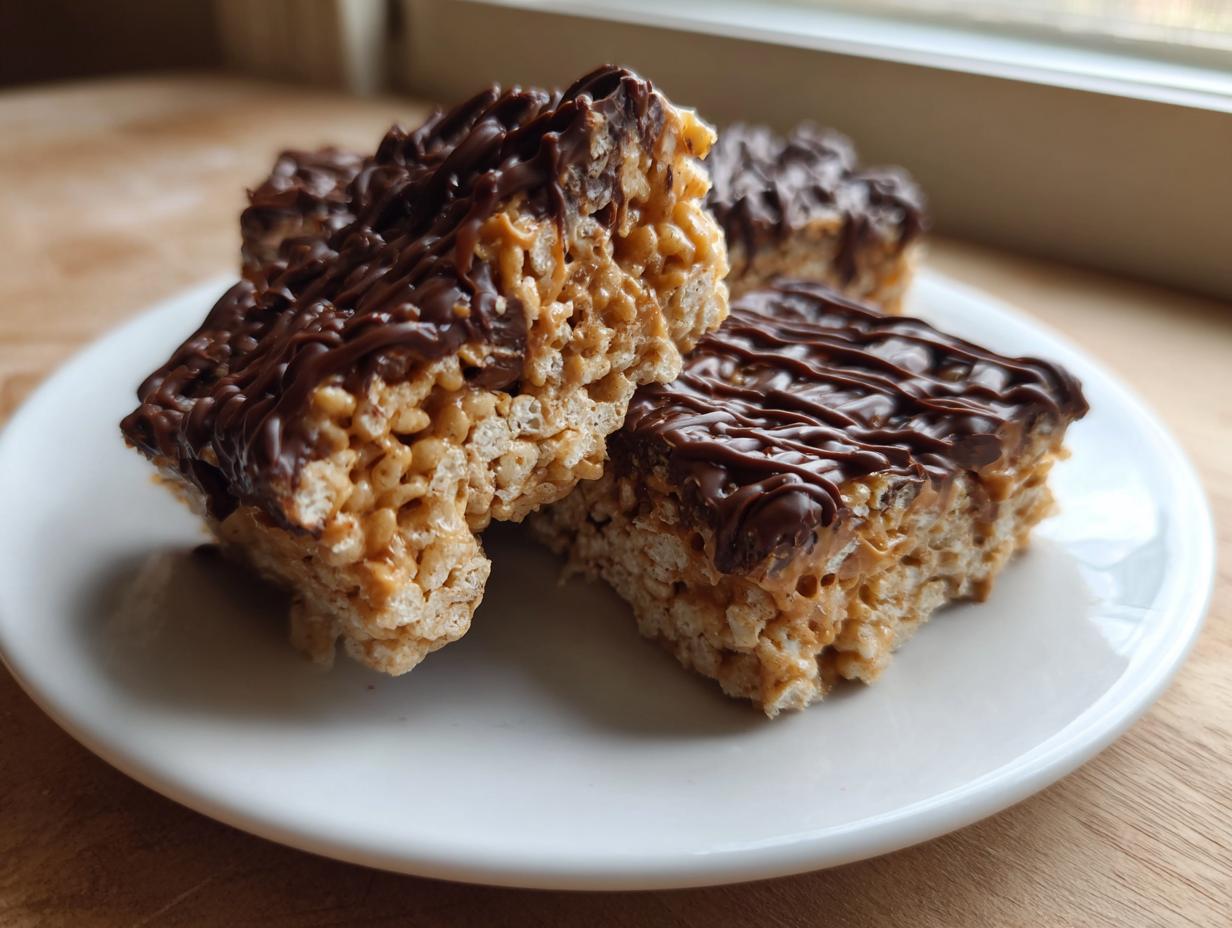

Oh, I have to tell you about these gooey, amazing bars! If you grew up craving those classic, no-fuss desserts that taste exactly like childhood memories, you are in the right place. Forget the hard, stale squares you sometimes get at events; we are making the Ultimate Easy, Chewy Peanut Butter Rice Krispie Treats, and trust me, they are superior. My style here at Cut Cook Taste is all about reliability and bringing people together, much like the solid, time-tested recipes my family always leaned on. For more reliable recipes you can always check out my main blog here. These treats are exactly what you need when you want big flavor right now without turning on the oven. They are simple, quick, and wonderfully nostalgic!
- Why You Will Make These peanut butter rice krispie treats Again and Again
- Essential Ingredients for Chewy peanut butter rice krispie treats
- Step-by-Step Instructions for the Best peanut butter rice krispie treats
- Tips for Perfect Chewy peanut butter rice krispie treats Every Time
- Creative peanut butter rice krispie treats Variations
- Storing and Serving Your peanut butter rice krispie treats
- Frequently Asked Questions About peanut butter rice krispie treats
- Estimated Nutritional Information for peanut butter rice krispie treats
- Share Your Homemade peanut butter rice krispie treats
Why You Will Make These peanut butter rice krispie treats Again and Again
Seriously, once you try these, you’ll realize why they’ve earned the top spot in my list of quick sweet snacks. They hit every mark a good comfort dessert should without any fuss whatsoever. They come together in practically the same time it takes to wait for water to boil!
- Totally No Bake Easy: That’s right—zero oven time required! These are perfect for those hot summer days or when you need a party snack idea in a huge hurry.
- They Are Genuinely Chewy: We nail the texture here. I’ll share my secrets later, but these aren’t stiff; they are delightfully soft, gooey cereal bars that pull perfectly apart.
- Kid Friendly Dessert Recipes Gold Standard: Kids absolutely devour these, and since they are so simple, they make for amazing lunchbox snack ideas that you can whip up in one evening.
- Packed with Peanut Butter Flavor: This isn’t just a hint of PB; we load these up! If you love peanut butter dessert recipes, consider this your new go-to quick fix. It’s an incredibly satisfying peanut butter cereal crunch!
Essential Ingredients for Chewy peanut butter rice krispie treats
Here is what you’ll need to whip up these fantastic, no-bake treats. I want every batch to be perfect, so make sure you grab the right kind of peanut butter—creamy is the absolute best choice here to ensure everything melts down smoothly into that luscious base. You can check out my crust-free pizza sauce recipe if you need a savory break from all this sugar later, but for now, let’s focus on this gooey magic! My simple pizza sauce just proves you don’t need an oven for great flavor.
- 6 cups puffed rice cereal
- 1 (10 ounce) package marshmallows
- 1/2 cup creamy peanut butter
- 3 tablespoons unsalted butter
- 1 teaspoon vanilla extract
For the Chocolate Topping (Optional)
If you want those beautiful, rich chocolate swirls or a full chocolate cap—which I highly recommend, especially for making them party snack ideas—you just need a few extra things. The little bit of coconut oil is essential; it helps the chocolate set up nicely without seizing up.
- 1/2 cup semi-sweet chocolate chips
- 1 tablespoon coconut oil or butter
Step-by-Step Instructions for the Best peanut butter rice krispie treats
Okay, gather your gear! This is where we pull together those simple ingredients into something truly delicious. Remember, the key to achieving those perfect, gooey cereal bars is to work quickly once the marshmallows are melted, but to be incredibly gentle when mixing everything together. Since this is one of my favorite 30 minute treats, you’ll be enjoying this snack before you know it! I like to have my cereal measured out and my pan ready to go before I even touch the stove. If you need a savory break after all this sweetness, maybe check out my 30-minute pepper steak stir fry!
Melting the Marshmallows and Butter
First things first: grab your big saucepan and make sure it’s greased, or line that 9×13 pan with parchment paper. We don’t want any sticking! Now, set your heat to low—and I mean *low*. Melt the 3 tablespoons of butter, and then toss in all those marshmallows. You have to stir constantly here. Don’t walk away! We need them completely smooth and liquidy, almost glossy. Scorching the bottom is the fastest way to ruin the flavor, so keep that heat low and steady.
Incorporating Peanut Butter and Cereal
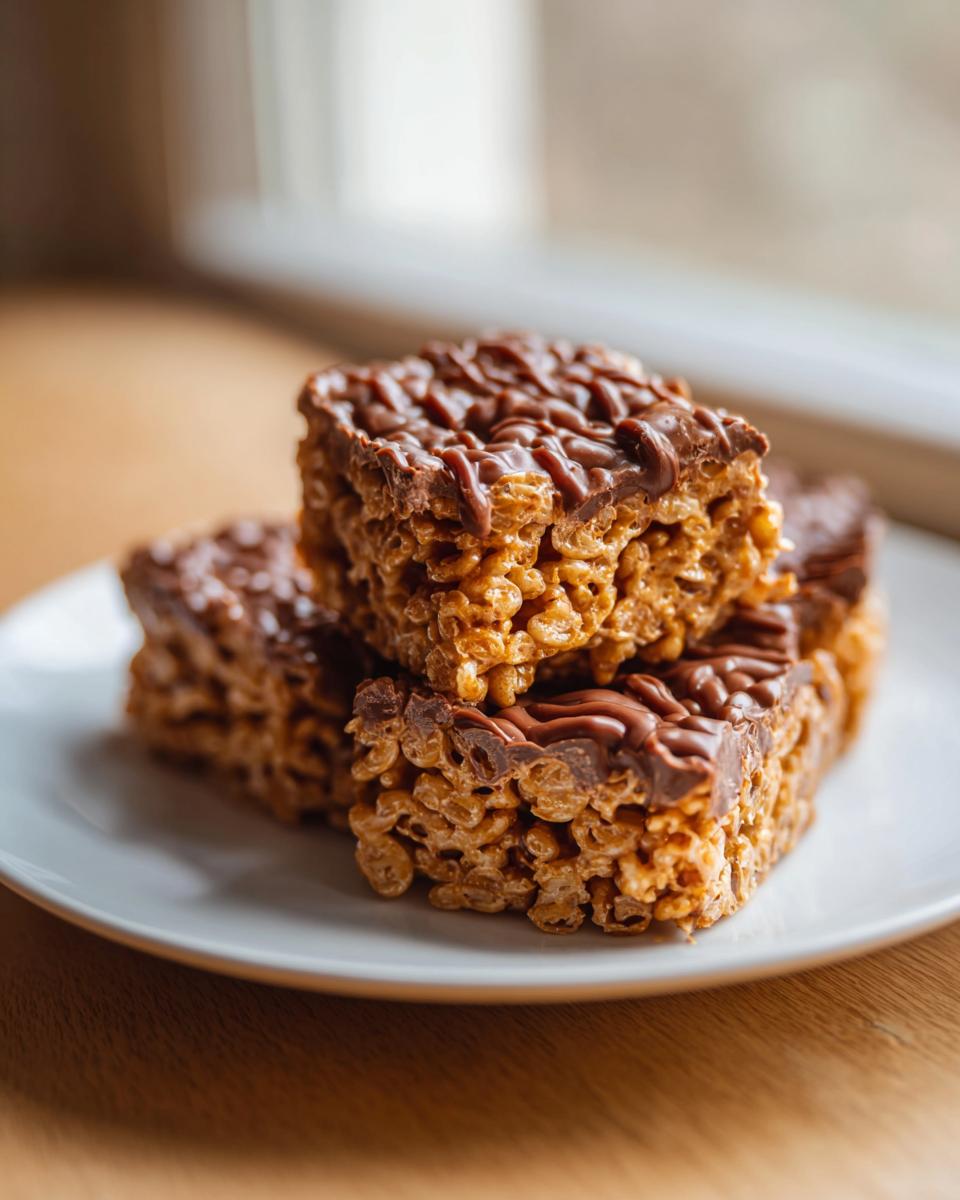
This step is crucial for texture, friends! As soon as the marshmallows are fully melted, take the pan completely off the burner. If you try to mix the peanut butter while it’s still over the heat, it gets stiff fast. Stir in your creamy peanut butter and vanilla until it’s one beautiful, uniform mixture. Then, add all six cups of cereal and fold it gently using a spatula. I mean it: gently. Overmixing will make your bars hard, and nobody wants that!
Pressing and Setting the peanut butter rice krispie treats
Transfer the whole sticky mess into your prepared pan. When pressing them down, resist the urge to jam them into the corners! That’s the secret to avoiding those rock-hard edges associated with firm gooey cereal bars. Lightly butter your spatula or use a piece of wax paper to gently coax the mixture evenly across the bottom. If you’re doing the optional chocolate topping, melt it down now using short bursts in the microwave, and drizzle it over the top before you let them cool completely for about an hour. That patience guarantees success!
Tips for Perfect Chewy peanut butter rice krispie treats Every Time
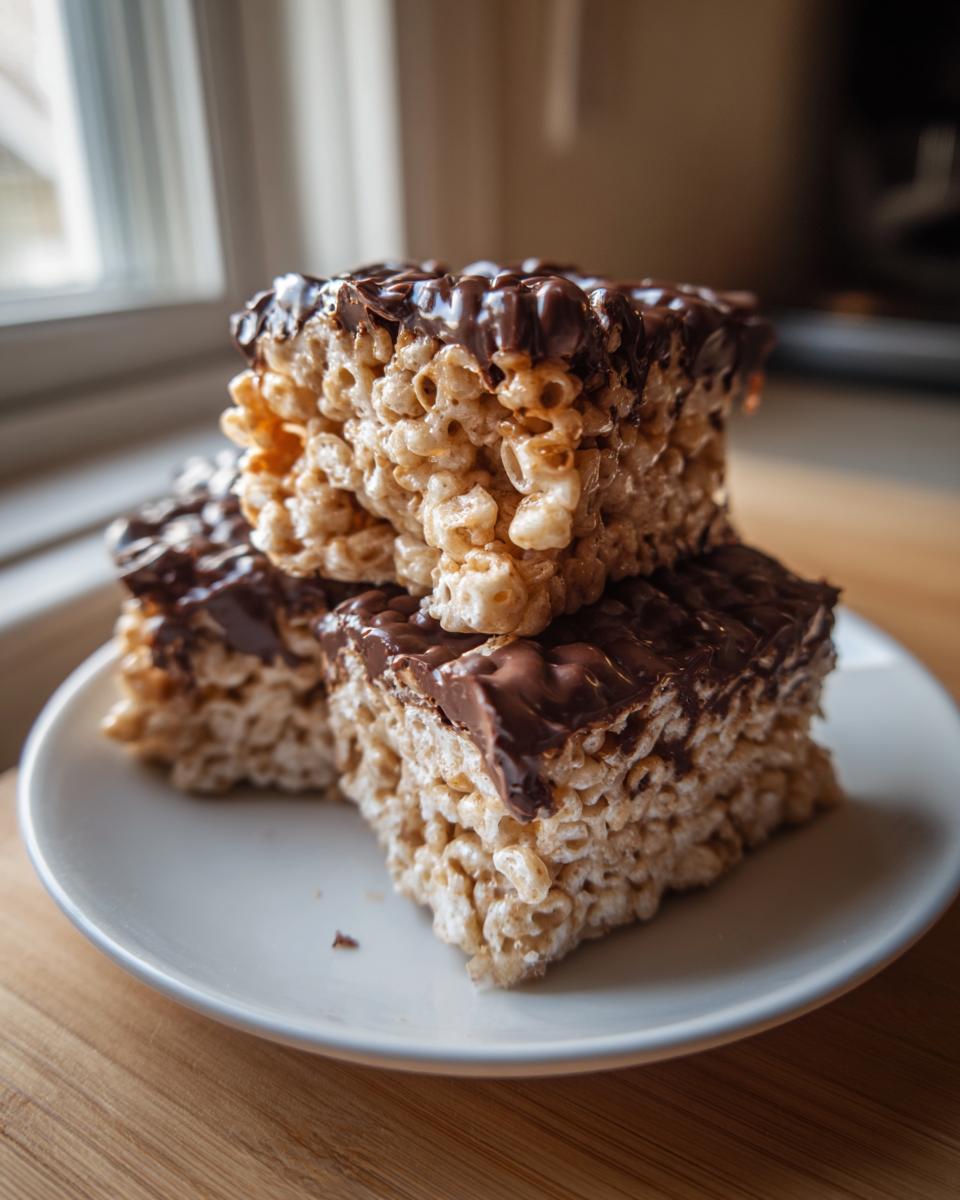
Listen, I’ve been there—I have a whole memory bank of batches that came out more like peanut butter hockey pucks than treats! That usually happens when you press too hard. My biggest struggle when I was first practicing these no bake treats easy was smashing the cereal down. Don’t do that! You want that light, airy texture that keeps them soft.
My number one tip, taken straight from my notes, is about the marshmallows. You have to use fresh ones. Stale marshmallows just don’t melt right, and they ruin the soft texture we are aiming for. Also, if you’re messing around with toppings, try what my friend does for a fun twist: she melts butterscotch chips along with the chocolate—it makes these bars taste like a dream. If you are looking for a non-sweet recipe to balance things out, my easy potato cheese soup recipe is pure comfort!
Creative peanut butter rice krispie treats Variations
The base recipe is legendary, but part of the fun of baking—even no-bake treats!—is making something that feels totally unique to you. Since these are such forgiving homemade rice krispie variations, you can really run wild with them. I’ve tested so many ways to dress these peanut butter rice krispie treats up!
If you want a little extra texture in the bar itself, just swap out half of the crispy rice cereal for crunchy peanut butter! That gives you an incredible double-dose of peanut flavor, but remember, if you use crunchy peanut butter, you might need an extra tablespoon of melted marshmallow mixture just to bind it all together. Don’t forget to check out my dreamy recipe for cream cheese brownies for another easy bar dessert!
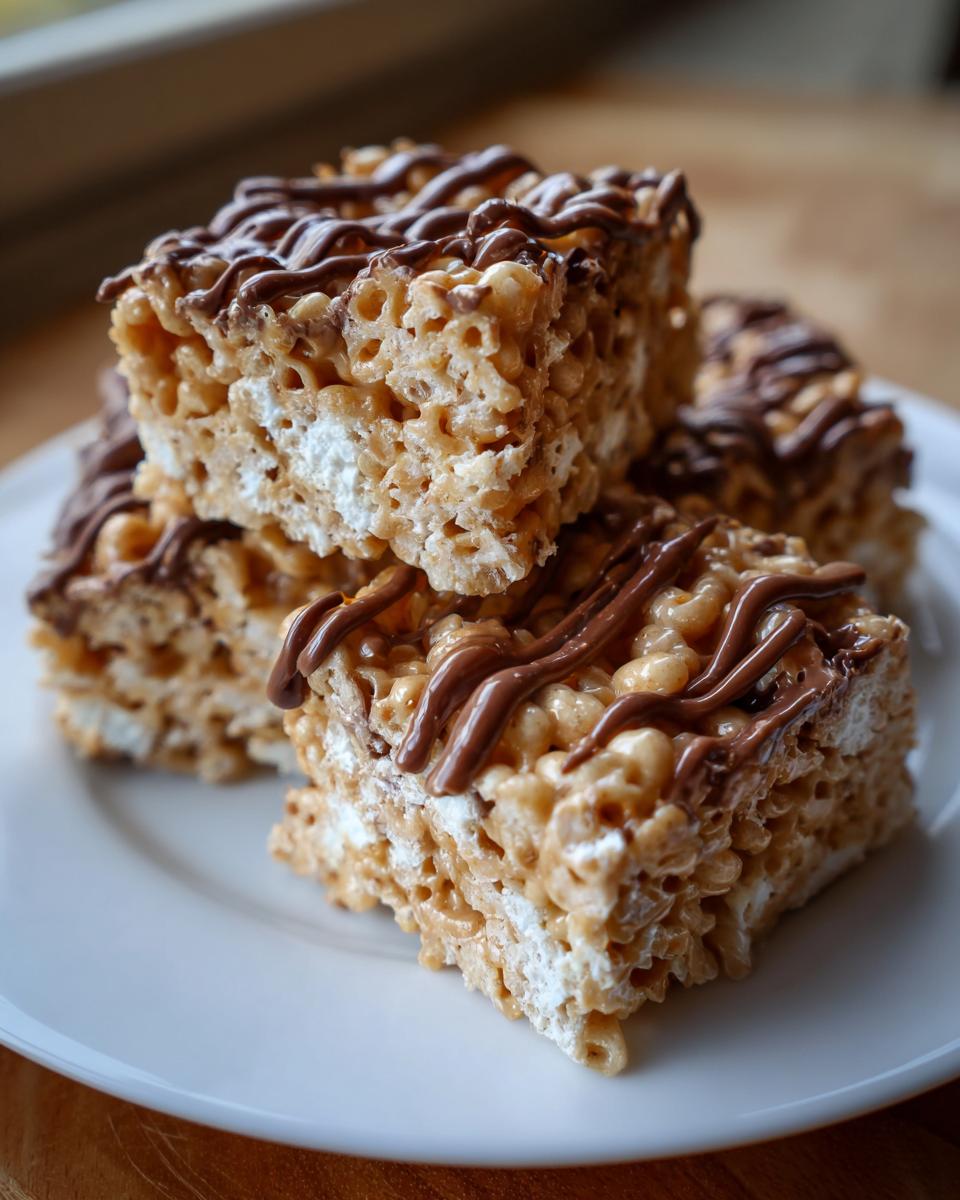
For those who love a little flair on top, here are my favorite tweaks:
- The Scotcheroos Inspired Recipe: You absolutely must try making a swirl! Melt about a quarter cup of butterscotch chips and gently drizzle them over the chocolate layer once it’s slightly firm. Use a knife to swirl them together for that classic, addictive flavor combination.
- Nutty Remix: Fold in a half cup of chopped peanuts along with the cereal. This is great if you aren’t worried about anyone having nut allergies, naturally!
- Hidden Chocolate Chips: Toss in small, dark chocolate chips into the cereal mixture right before you press it into the pan. Make sure they are room temperature so they don’t seize up when they hit that warm marshmallow goo.
- White Chocolate Drizzle: Sometimes I find the milk chocolate a little too heavy. White chocolate chips melt beautifully and offer a lovely color contrast against the dark peanut butter base.
Honestly, these are just jumping-off points. Because they are such simple dessert recipes, they handle a little extra love really well!
Storing and Serving Your peanut butter rice krispie treats
Storing these gooey cereal bars correctly is key to keeping them chewy! I always store mine in an airtight container at room temperature. Seriously, just leave them right there on the counter. If you try putting them in the fridge, they get really hard, and we just worked hard to avoid that stiff texture! They usually stay fresh for about three days—if they even last that long, which they never do in my house.
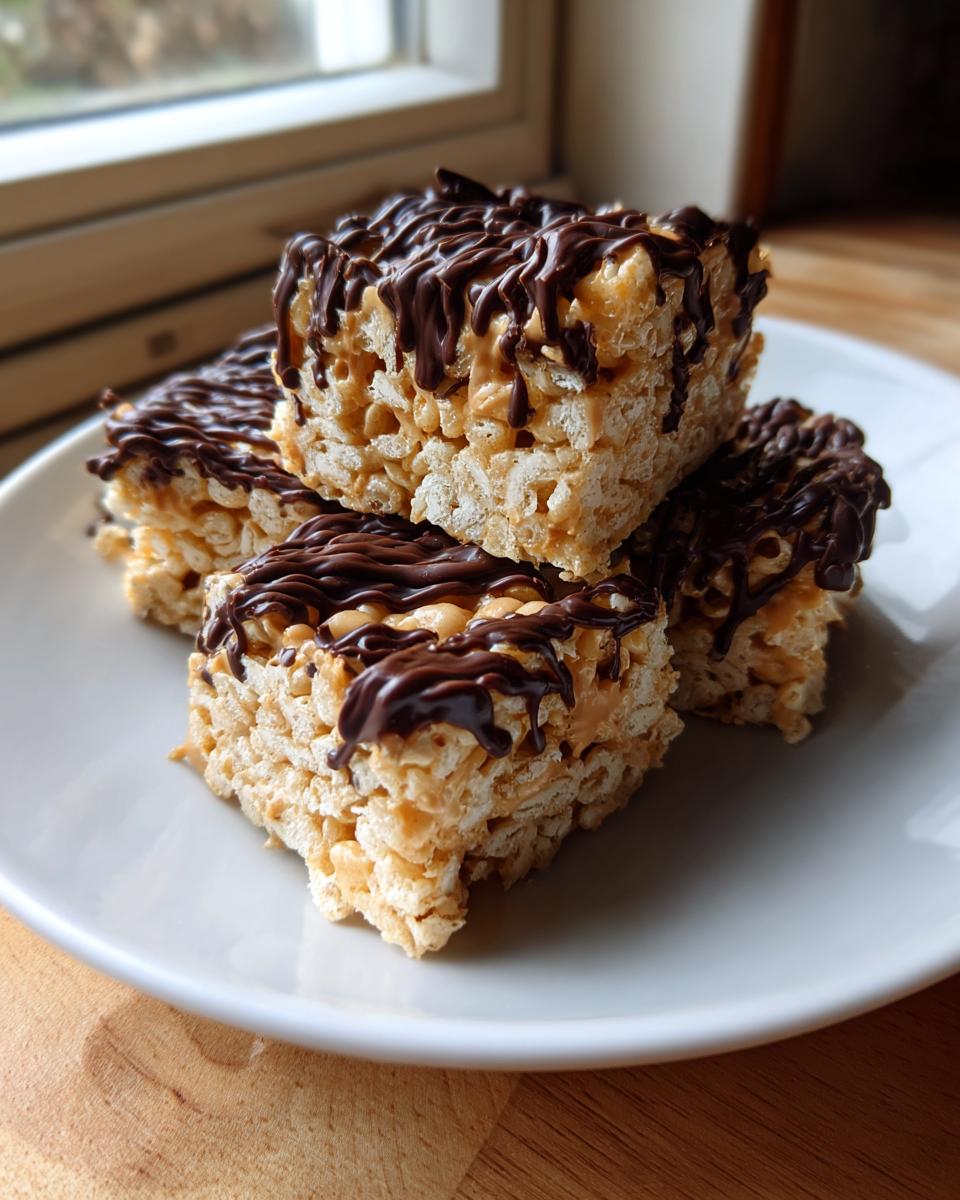
These are spectacular for so many things, especially since they are such great party snack ideas no oven required. I often make a huge batch for bake sales, and they travel so well in their container. Of course, they are also my secret weapon for grabbing amazing lunchbox snack ideas for the kids during the week. You can actually grab some great ideas for those lunches over here on my dedicated page!
Frequently Asked Questions About peanut butter rice krispie treats
It’s funny how such a simple recipe can generate so many questions! But honestly, I love it! When you’re trying to nail that perfect texture for these classic marshmallow squares recipe, every detail matters. I’ve gathered up the most common things folks ask me right here. You’ll find these answers make whipping up your next batch of no bake treats easy an absolute breeze.
Can I use natural peanut butter in my peanut butter rice krispie treats?
That’s a tricky one, and it’s where a lot of people run into trouble! Natural peanut butter—you know, the kind that separates and sends oil pouring out the top—is usually a no-go. The oil separation can make the marshmallow mixture break, and you end up with a greasy, crumbly mess instead of that smooth base we need for peanut butter dessert recipes. If that’s all you have, just stir the jar like crazy until it’s completely homogeneous before measuring. For best results, stick to a stabilized creamy peanut butter, like Jif or Skippy. It just binds together so much better!
How do I keep my peanut butter rice krispie treats soft and gooey?
This is the million-dollar question! There are two major checkpoints for softness. First, the marshmallows—use the freshest bag you can find. Stale marshmallows melt poorly and make the final product tough. Second, and this is huge, when you press the mixture into the pan, do it lightly! You are just coaxing it into shape, not compacting it. If you press too hard, you squeeze out all the air pockets we created, and poof—you’ve got a hard bar. We want squish, not cement!
Are these considered ‘Peanut Butter Baking Alternatives’?
Absolutely! That is one of the best things about them. Since these peanut butter rice krispie treats involve zero actual baking time in the oven, they are the ultimate peanut butter baking alternatives. They come together entirely on the stovetop and then just chill while they set up. It’s dessert magic without the heat, which is perfect for quick sweet snacks when you need something fast. I’ve got some other easy no-bake goodies you might love like my fluffy pancake recipe—wait, pancakes aren’t no-bake, but you get the idea, I love easy recipes!
Estimated Nutritional Information for peanut butter rice krispie treats
Now, I have to preface this by saying that I’m a cook, not a nutritionist! These are estimates, based on the standard ingredients list I use here. If you use a different brand of peanut butter or a different type of chocolate topping, those numbers might shift a little bit. I always say that when you’re making homemade things because you love them, you enjoy them guilt-free! But for those of you who like to keep track, here is a good general idea of what’s in these fantastic treats. If you’re ever looking for something savory to balance out all that sweetness, you should try my chicken satay recipe; the peanut sauce alone is incredible!
Bear in mind these figures are calculated for one standard square, yield adjusted for 18 bars:
- Serving Size: 1 bar
- Calories: 180
- Sugar: 15g
- Sodium: 120mg
- Fat: 8g
- Saturated Fat: 3g
- Carbohydrates: 25g
- Protein: 4g
Share Your Homemade peanut butter rice krispie treats
I truly hope you’ve made a batch already! There is nothing that fills me with more happiness than knowing one of my family’s favorite recipes is now sitting in your kitchen, making your house smell amazing. Cooking is all about connection, right? So, once you’ve cut these delightful peanut butter rice krispie treats into squares and they’ve cooled down, I really want to see them!
If you loved how chewy and easy these were, please leave me a star rating right down below—it helps other new bakers find reliable recipes like this one. And if you shared a photo on Instagram or Facebook, please tag me! Seeing your chocolate drizzles or your unique presentation makes my day. I love that this recipe can be part of your family traditions now, too. If you happen to be looking for another simple, reliable treat, check out my easy flaky cranberry scones next time you’re looking for something to bake!
PrintThe Ultimate Easy, Chewy Peanut Butter Rice Krispie Treats
Make the best peanut butter Rice Krispie treats. This no-bake recipe delivers gooey, chewy squares packed with peanut butter flavor. It is a simple dessert everyone loves.
- Prep Time: 10 min
- Cook Time: 5 min
- Total Time: 65 min
- Yield: 18 bars 1x
- Category: Dessert
- Method: No Bake
- Cuisine: American
- Diet: Vegetarian
Ingredients
- 6 cups puffed rice cereal
- 1 (10 ounce) package marshmallows
- 1/2 cup creamy peanut butter
- 3 tablespoons unsalted butter
- 1 teaspoon vanilla extract
- 1/2 cup semi-sweet chocolate chips (for optional topping)
- 1 tablespoon coconut oil or butter (for optional topping)
Instructions
- Lightly grease a 9×13 inch baking pan or line it with parchment paper for easy removal. Set aside.
- In a large saucepan, melt the 3 tablespoons of butter over low heat.
- Add the marshmallows to the melted butter. Stir constantly until the marshmallows are completely melted and smooth. Remove the pan from the heat.
- Stir in the peanut butter and vanilla extract until fully combined with the marshmallow mixture. Mix until you have a uniform, creamy mixture.
- Add the 6 cups of puffed rice cereal to the marshmallow mixture. Fold gently until the cereal is evenly coated. Do not overmix.
- Transfer the mixture to your prepared baking pan. Press the mixture down evenly using a piece of wax paper or lightly buttered spatula. Do not press too firmly, as this makes the treats hard instead of chewy.
- If using the optional topping, combine the chocolate chips and 1 tablespoon of coconut oil or butter in a microwave-safe bowl. Microwave in 30-second intervals, stirring between each, until smooth.
- Pour or drizzle the melted chocolate evenly over the top of the pressed cereal mixture. Spread quickly if desired.
- Allow the treats to cool and set completely, about 1 hour at room temperature.
- Cut into squares. These are easy no-bake treats perfect for lunchbox snack ideas.
Notes
- For the chewiest bars, use fresh marshmallows. Stale marshmallows result in harder treats.
- If you prefer a Scotcheroos inspired recipe, melt 1/2 cup of butterscotch chips with the chocolate chips for the topping.
- To prevent sticking when pressing the mixture, lightly grease your hands or the spatula you use.
- This recipe makes classic, gooey cereal bars that are a simple dessert recipe favorite.
Nutrition
- Serving Size: 1 bar
- Calories: 180
- Sugar: 15
- Sodium: 120
- Fat: 8
- Saturated Fat: 3
- Unsaturated Fat: 5
- Trans Fat: 0
- Carbohydrates: 25
- Fiber: 1
- Protein: 4
- Cholesterol: 5