
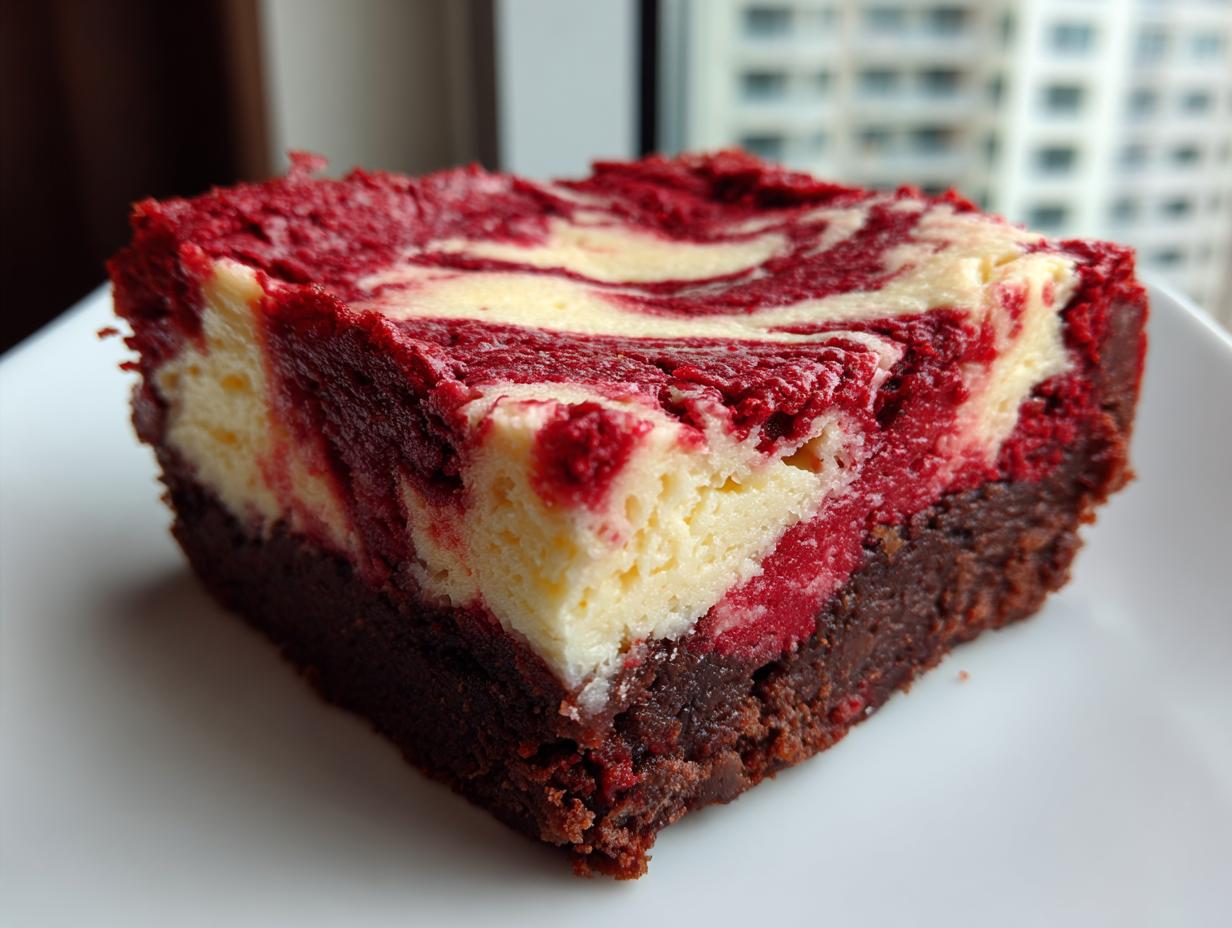

Welcome! I’m Sarah, and if you’re anything like me, you believe that desserts should be an event. They should be decadent, a little bit glamorous, and definitely memorable. That’s exactly what we have here today: the ultimate fusion dessert that never fails to stop people in their tracks. I’m talking about my recipe for red velvet cheesecake brownies.
This isn’t just a fudgy brownie with a cream-cheese ribbon; it’s a masterpiece that marries the rich, slightly chocolatey depth of red velvet with the cool, tart creaminess of classic cheesecake, all in one beautiful, marbled square. These treats promise incredible texture—so fudgy and so creamy all at once. I love sharing recipes that look like they took all day but come together with clear steps, because making wonderful food should always bring people together, not stress them out. Take a look, and let’s get baking!
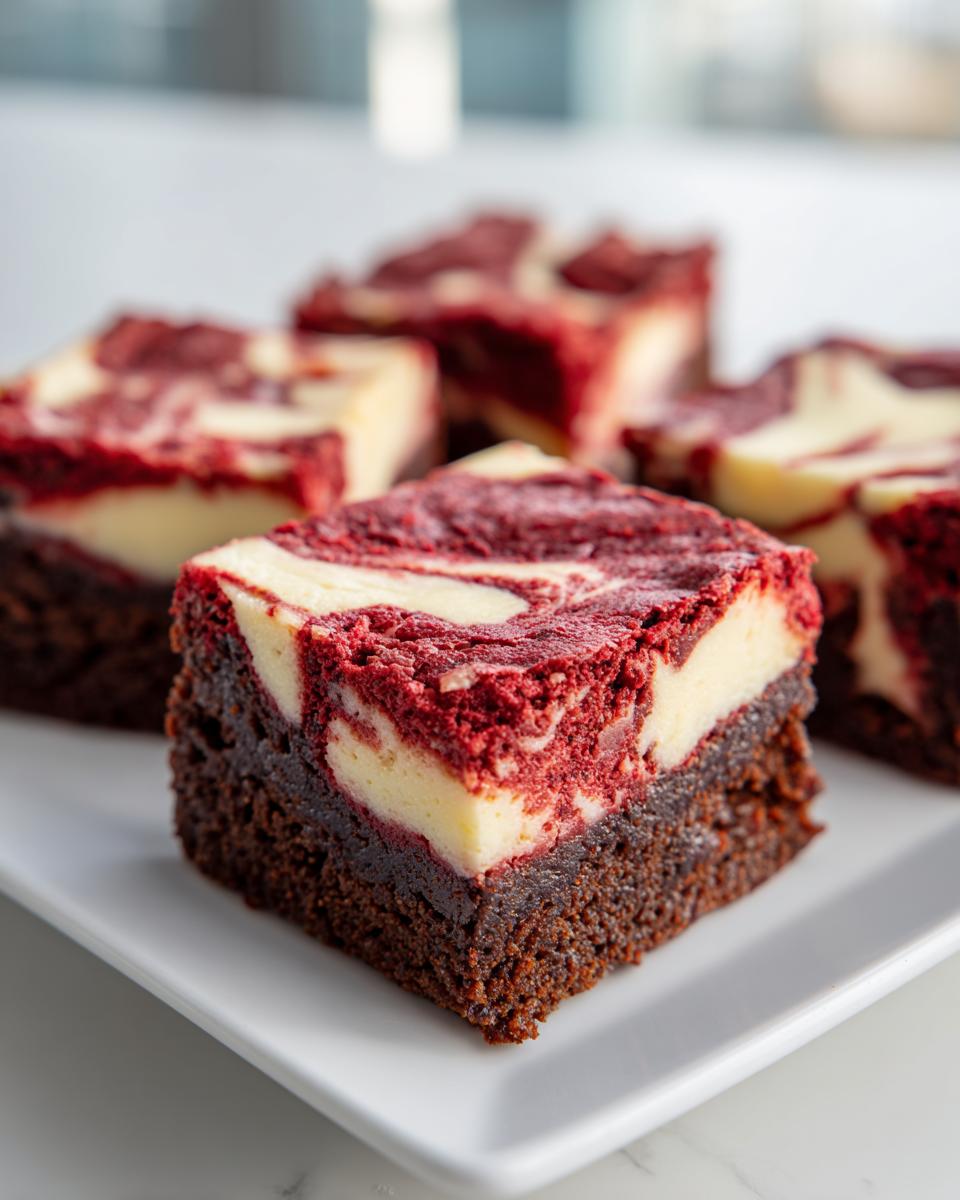
If you love treats like this, you should definitely check out all my other favorite dessert recipes while you’re here!
- Why You Will Love These Red Velvet Cheesecake Brownies
- Essential Ingredients for Perfect Red Velvet Cheesecake Brownies
- Step-by-Step Instructions for Your Red Velvet Cheesecake Brownies
- Tips for Fudgy Red Velvet Baking Success
- Variations for Your Red Velvet Cheesecake Brownies
- Serving Suggestions for Your Homemade Red Velvet Square
- Storage and Reheating Instructions for Red Velvet Cheesecake Brownies
- Frequently Asked Questions About Red Velvet Cheesecake Brownies
- Nutritional Information for These Decadent Swirled Dessert Bars
- Share Your Showstopping Baked Goods Experience
Why You Will Love These Red Velvet Cheesecake Brownies
Honestly, I don’t know anyone who could pass these up! If you’re looking for a dessert that photographs like a dream and tastes even better, this is it. Seriously, these are the definition of **showstopping baked goods**.
- Texture Heaven: You get the dense, fudgy bite of a perfect brownie base paired with that unbelievably smooth cheesecake.
- Flavor Balance: The slightly tart cheesecake cuts right through the sweetness of the red velvet batter—it’s perfectly balanced!
- Stunning Visuals: That crimson color swirled with white makes every piece look special, whether it’s for Valentine’s Day or just a Tuesday.
Essential Ingredients for Perfect Red Velvet Cheesecake Brownies
Okay, let’s talk ingredients! The secret to amazing **red velvet cheesecake brownies** (fusion desserts really rely on quality!) is making sure everything is exactly what it should be before you even turn on the oven. We have two main players here: the rich brownie base and that divine cheesecake layer. Pay attention to the color—we want truly vibrant red, so please use the gel coloring, trust me on this!
For the Fudgy Red Velvet Brownie Base
- 1 cup (2 sticks) unsalted butter, melted
- 2 cups granulated sugar
- 4 large eggs
- 1 teaspoon vanilla extract
- 1 teaspoon white vinegar
- 1 teaspoon red food coloring (gel preferred!)
- 1 1/4 cups all-purpose flour
- 1/2 cup unsweetened cocoa powder
- 1 teaspoon baking soda
- 1/2 teaspoon salt
- 1 tablespoon white vinegar (yes, a second dash for extra tang!)
For the Creamy Cheesecake Layer Dessert
This is where the magic happens for our **creamy cheesecake layer dessert** component. Everything needs to be softened here so it whips up beautifully smooth!
- 8 ounces cream cheese, softened
- 1/2 cup granulated sugar (for cheesecake layer)
- 1 large egg (for cheesecake layer)
- 1/2 teaspoon vanilla extract (for cheesecake layer)
Step-by-Step Instructions for Your Red Velvet Cheesecake Brownies
Now for the fun part! Putting together these **red velvet cheesecake brownies** is easier than you might think, but success comes down to following the order of operations. We are creating two distinct components here, so we need to handle them separately before bringing them together for that gorgeous finish that makes this a true **marbled brownie recipe** favorite.
Mixing the Brownie Batter and Cheesecake Filling
First things first: Line a 9×13 inch pan with parchment using an overhang—this saves your sanity later! Preheat the oven to 350°F (175°C). For the cheesecake layer (Step 2), just beat the cream cheese, half-cup sugar, egg, and vanilla until it’s totally smooth. Set it aside. Now for the red velvet base! Whisk your melted butter and the main mountain of sugar together. Add those four eggs one by one, making sure each is mixed in before adding the next. Then, incorporate your vanilla, vinegar, and that beautiful red coloring until everything is a uniform, gorgeous crimson.
In a separate bowl, quickly whisk the flour, cocoa powder, baking soda, and salt together. We always mix dry ingredients separately! Add those dry things to the wet mixture gradually, only stirring until they just disappear. Remember our rule for fudgy things: Do not overmix, or you’ll activate too much gluten and end up with cake instead of a brownie!
Layering and Creating the Perfect Cheesecake Swirl
Time to assemble! Spoon about half of that velvety red batter into the bottom of your prepared pan and smooth it out lightly. Next, you’re going to take spoonfuls of that creamy cheesecake filling and drop them randomly all over the red base. Don’t worry about perfection here; that’s the whole point of a swirl!
Carefully spread the *rest* of the red velvet batter right on top of the cheesecake dollops. This is where you create the signature look of these **easy cheesecake swirl brownies**. Take a butter knife or a thin skewer, and gently run it through the layers—only a few times! You just want to weave the two colors together to get that beautiful **rich chocolate cheesecake swirl**, not mix everything into one muddy pile. If you’re looking for other layered deliciousness, check out this strawberry cheesecake recipe for inspiration!
Baking and Cooling Your Two-Layer Dessert Bars
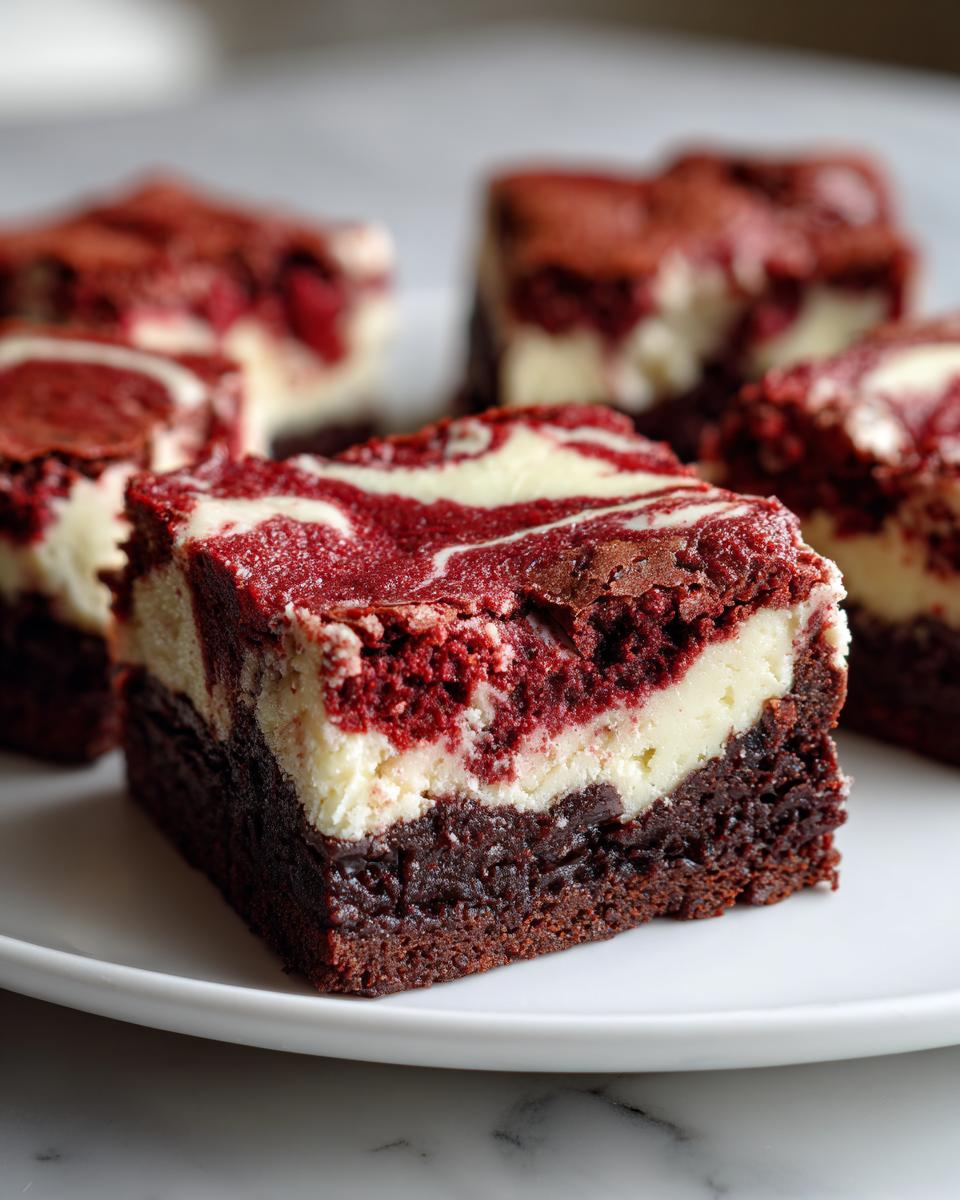
Pop that pan into your 350°F oven. They need about 30 to 35 minutes to bake. You’ll know they are done because when you insert a toothpick near the center, it should come out with moist crumbs attached—not wet batter! The cheesecake part should look mostly set, not jiggly.
Now, this is the step everyone rushes and regrets! You MUST let these **two-layer dessert bars** cool completely in the pan on a wire rack. If you try to cut them warm, the cheesecake will just ooze everywhere, and you’ll mess up that perfect swirl. Seriously, chilling them for at least two hours makes cutting those beautiful squares for your **best red velvet cheesecake bars** so much cleaner. For more great recipes, take a look at this example from Cheff Recipes: Red Velvet Cheesecake Brownies Recipe.
Tips for Fudgy Red Velvet Baking Success
Listen, making **red velvet cheesecake brownies** is about technique as much as it is about ingredients. I have learned these things the hard way, sometimes by ruining a perfectly good batch, which only makes me want to share the cheat codes with you all the more!
First, color payoff is everything. If you want that deep, classic red velvet that really pops against the white cheesecake, you absolutely must use a gel food coloring, not the thin liquid kind most people keep in their pantry. The liquid coloring uses too much water and can throw off the texture of your decadent base. A little dab of gel goes a long way toward making these **fudgy red velvet baking** bars showstoppers.
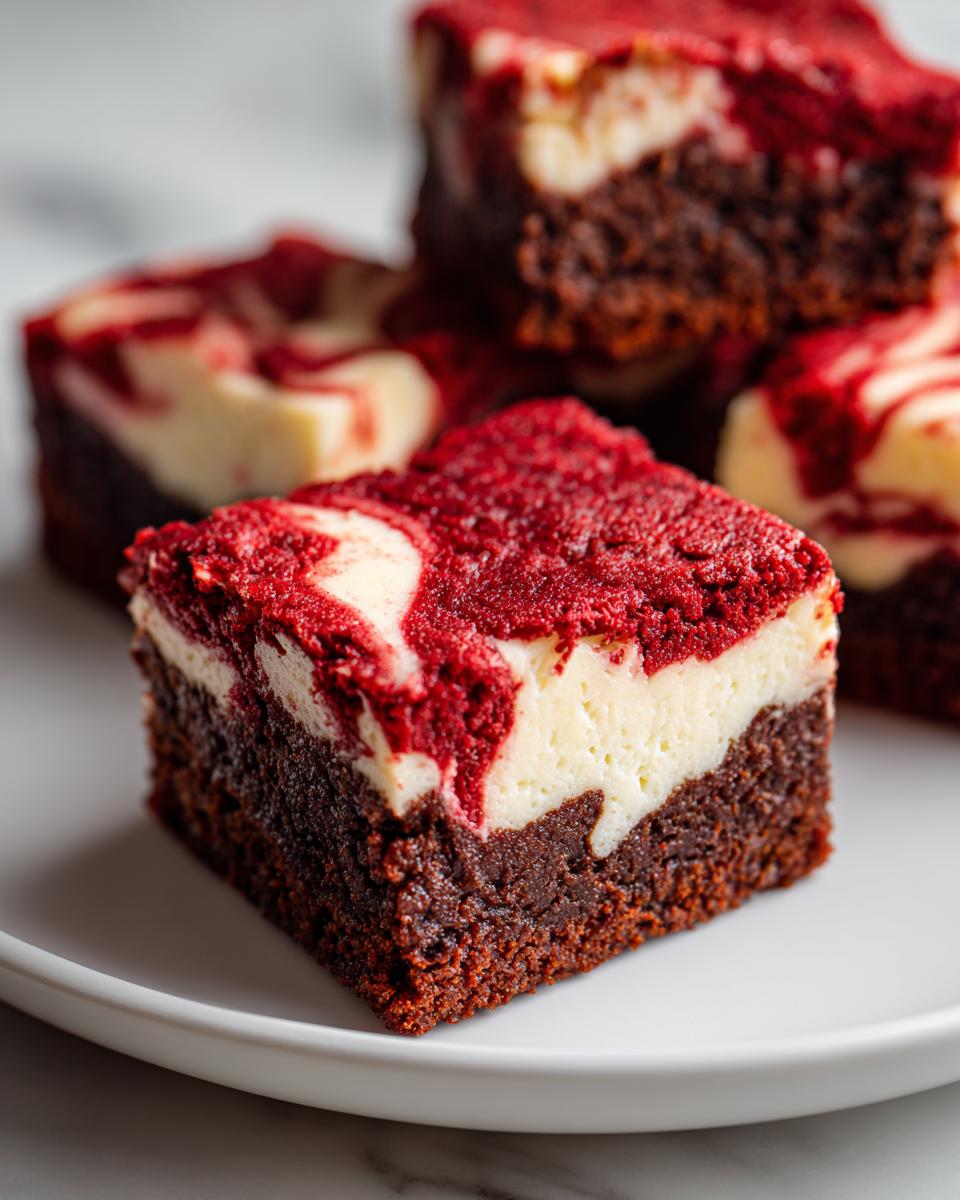
My biggest piece of advice, though, involves cooling. The very first time I made these, they looked so good, rich, and perfectly swirled, and I couldn’t wait to serve them. So I carefully lifted them out of the pan while they were still warm. Oops! Immediate disaster—the layers smeared, the cheesecake oozed, and I ended up with a beautiful red and white mess. Never again!
The secret to getting those clean, sharp edges that make this a true winner is patience. After they cool on the rack for an hour or two, you must chill them in the fridge for at least two hours, or even overnight. I promise slicing them when they are cold makes all the difference in achieving those perfect squares. You can explore similar fantastic textures in my chocolate caramel cake recipe, too!
If you want to see what another baker swears by for gorgeous visuals, check out the tips on Rich Red Velvet Cheesecake Brownies—they know how to make an impressive dessert!
Variations for Your Red Velvet Cheesecake Brownies
We all love a recipe that works perfectly right out of the gate—and these **red velvet cheesecake brownies** definitely do! But you know me; once you master the fundamentals, it’s fun to start tinkering. This amazing **Cheesecake Brownies fusion** is so versatile. You can easily jazz it up without losing that core fudgy/creamy balance we worked so hard to achieve.
I usually stick close to the recipe because it’s already a crowd-pleaser, but if you’re feeling adventurous, try these little twists next batch. They’re all simple little nudges that make the flavor profile just a little bit different.
For starters, if you love a little extra texture in your brownie layer, go ahead and fold in about half a cup of white chocolate chips right at the very end after you mix in the flour. They melt slightly during baking but leave these lovely pockets of creaminess that pair beautifully with the dark cocoa. Just be mindful not to add too many; we still want that rich red velvet flavor to shine through!
If you’re looking to elevate the cheesecake layer, think about adding a tiny something extra to the cream cheese mixture. A quarter teaspoon of almond extract works wonders—it gives the cheesecake a subtle, almost nutty complexity that cuts the sweetness even better than the vinegar does in the brownie batter. Or, if you want a slightly citrusy brightness, mix in just a tiny bit of orange zest right before you dollop the filling into the pan.
Also, don’t forget to check out my strawberry cheesecake recipe if you ever decide you want to infuse fruit flavor into that creamy layer instead of just sticking with vanilla. It gives you another brilliant color dimension, too!
Serving Suggestions for Your Homemade Red Velvet Square
We finally made it to the finish line! You have these gorgeous, chilled **red velvet cheesecake brownies** ready to go, and now you’re wondering how to serve them up to really make them shine. I always feel like with something this dramatic visually, you don’t need to do much work—the brownies do all the talking!
Since the cheesecake layer really sets up wonderfully when cold, I usually prefer serving these straight from the fridge, maybe letting them sit on the counter for about 15 minutes so they aren’t rock hard, but still cool. Serving them slightly chilled really highlights that wonderful contrast between the dense base and the creamy swirl. It keeps everything neat, too, which is always a win when you cut them into that perfect **homemade red velvet square** shape.
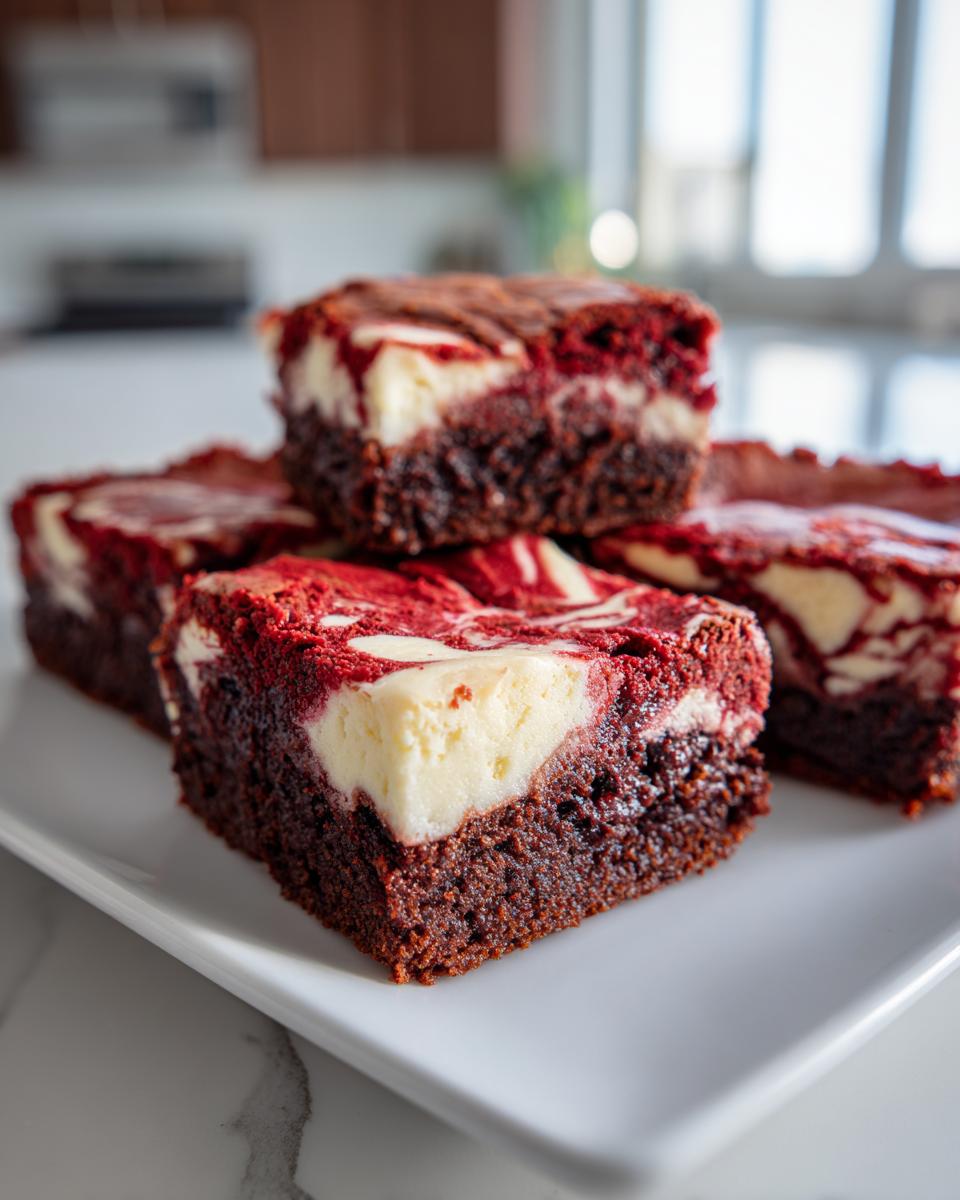
If you want to dress them up for a special occasion, forgo a heavy topping! The color is the star. A simple, light dusting of powdered sugar right before serving is my absolute favorite trick. It settles beautifully on the edges and really makes that deep red color pop against the white background. It’s elegant without masking the swirls.
If you want a little burst of fresh, contrasting flavor, you must try serving them alongside some fresh berries. Raspberries, in particular, are brilliant. Their slight tartness cuts through the richness of the chocolate and cream cheese perfectly. A few fresh raspberries scattered on the plate next to your square, or even a small dollop of fresh whipped cream, turns this simple bar into something worthy of a fancy restaurant dessert. It’s all about those little touches!
Storage and Reheating Instructions for Red Velvet Cheesecake Brownies
I know sometimes you just can’t eat all 16 squares of these beautiful **red velvet cheesecake brownies** in one sitting—though I truly commend anyone who tries! These bars store really well, which is another reason I love baking them for gatherings; you can make them ahead of time!
Since we have that tangy cream cheese layer in here, moisture control and keeping things sealed up tight is key. You have a couple of options depending on how soon you plan on serving them.
For short-term storage, like if you baked them in the morning and want to serve them the next day, leaving them at room temperature is fine, provided your kitchen isn’t scorching hot. Just make absolutely sure they are completely cooled down—remember the lesson we learned about cutting them warm? Cover the pan tightly with plastic wrap or transfer the cooled, cut squares into an airtight container.
If you want them to last longer, or if your kitchen is humid, slip them into the refrigerator. The fridge helps keep that cheesecake layer perfectly firm and fresh. Store them in an airtight container separated by sheets of parchment paper so the layers don’t stick together. They should stay wonderfully fresh for up to five days this way.
Now, about freezing—I generally advise against it if you can help it. While you *can* freeze them, the texture of the cheesecake swirl doesn’t always fare well coming back to life after thawing. But, if you absolutely must, here is what I do: After cutting them into individual squares, wrap each one individually in plastic wrap, then place them all into a heavy-duty freezer bag. They should be good for up to a month.
When it comes time to serve them after storage, remember this: If they’ve been refrigerated or frozen, they need a little time out! If you serve these **red velvet cheesecake brownies** straight from the cold, the brownie part will be too hard. Let them sit on the counter for about 30 minutes before serving. That little bit of time lets that fudgy texture soften up just right, making them taste almost freshly baked!
Frequently Asked Questions About Red Velvet Cheesecake Brownies
I always get questions about this recipe because baking a fusion dessert can seem tricky! It’s totally normal to wonder how to keep everything separate and tasting just right. Here are the things I hear most often from bakers trying out these decadent **red velvet cheesecake brownies** for the first time. Hopefully, these little tips help you feel super confident before you even preheat the oven!
Can I make these red velvet cheesecake bars without cocoa powder?
Oh, that’s a good question, especially if you are trying to adjust ingredients based on what you have! My short answer is: please don’t skip the cocoa powder if you want the real deal. For these **red velvet cheesecake bars**, the cocoa is what gives the base that deep, fudgy, brownie quality we are aiming for. Red velvet cake is already a little bit red-colored cake, but when you add cocoa and use the brownie method (more fat, less leavening), that chocolate depth comes through.
If you leave out the cocoa powder entirely, you are essentially making a red velvet cake batter on the bottom instead of a dense brownie, and it won’t have that same rich mouthfeel. It won’t ruin the dessert, but it definitely changes the whole concept of the **Cheesecake Brownies fusion**! If you’re curious about the science behind making great brownies, feel free to read up on my general baking thoughts over at my baking posts.
How do I prevent my cheesecake layer from cracking?
Cracking is the nemesis of every cheesecake lover, right? Luckily, since this is swirled into a brownie, it’s much more forgiving than a full, traditional cheesecake. But we still want that smooth texture! The number one reason cheesecake cracks is usually a combination of overbaking and rapid temperature change.
For the best result on your **rich chocolate cheesecake swirl**, make sure you are pulling these bars out of the oven as soon as they are *almost* done—that means just moist crumbs on the toothpick, not wet batter, but definitely not dry!
Secondly, patience during cooling is vital. Do not rush them! Let them cool slowly on the counter, away from any cold drafts. The gradual cooling lets the custard set without shrinking suddenly, which causes cracks. If you want guaranteed smooth layers, chilling them completely before cutting, as I mentioned before, is the final safeguard. For more visually perfect bakes, take a look at how Aerie Cooks handles her swirl presentation—it’s gorgeous!
If you want to stick to the reliable classics, check out what I use when I bake Red Velvet Cheesecake Brownies when I’m feeling traditional.
Nutritional Information for These Decadent Swirled Dessert Bars
Alright, let’s talk numbers. I always say that when you’re making something this luxurious, you should just enjoy every single bite, but I totally get it—sometimes you want a rough idea of what’s in your amazing **decadent swirled dessert bars**!
Please keep in mind that since these **red velvet cheesecake brownies** are homemade, these are just estimates based on dividing the total ingredients across the 16 servings we get from a 9×13 pan. If you use a different brand of cream cheese or skip the sugar in the cheesecake layer, those numbers will wiggle around a bit!
But for a general guide based on the recipe above, here is what you can generally expect per bar:
- Serving Size: 1 bar
- Calories: Approximately 350
- Total Fat: Around 20g
- Carbohydrates: About 40g
- Protein: Roughly 5g
These are certainly an indulgence, but honestly, every single calorie is worth it for that swirl of creamy tang next to the rich, fudgy red velvet. It’s my favorite kind of treat after a delicious dinner. Enjoy them responsibly—or don’t! That’s what holidays (and weekends) are for!
Share Your Showstopping Baked Goods Experience
Seriously, now that you’ve made these gorgeous **red velvet cheesecake brownies**, I would be so thrilled to hear all about it! This is the best part of my whole process, seeing what you all create in your own kitchens. It makes all the testing and tasting worth it!
When you finish up baking, please, please come back here and leave a rating. Five stars if you loved that perfect, decadent swirl! And if you have a few extra minutes, leaving a brief comment really helps other home bakers on the fence decide to try the recipe. Did your swirl turn out perfect? Did you add white chocolate chips? Let me know what you thought!
I absolutely love seeing these vibrant squares popping up on Instagram or Facebook. If you snap a picture of your **showstopping baked goods**—especially those clean slices—tag me! You can find me sharing my daily kitchen adventures and linking back right here to help you find more great bakes.
If you have any lingering questions that I didn’t cover, or perhaps you found a variation that blew you away, don’t hesitate to reach out through my contact page. I always love hearing new ideas!
And hey, if you want to see another stunning example of how others make these incredible bars, you should check out the presentation ideas over on Savor Queen—they make the squares look phenomenal!
Thank you again for baking with me today. Keep cutting, keep cooking, and keep tasting the good things in life!
PrintThe Ultimate Fudgy Red Velvet Cheesecake Brownies with Perfect Cream Cheese Swirl
Make these decadent red velvet cheesecake brownies for a showstopping dessert. You get a perfect combination of tart cheesecake layered with moist, rich red velvet brownie batter for a memorable bite.
- Prep Time: 20 min
- Cook Time: 35 min
- Total Time: 55 min
- Yield: 16 servings 1x
- Category: Dessert
- Method: Baking
- Cuisine: American
- Diet: Vegetarian
Ingredients
- 1 cup (2 sticks) unsalted butter, melted
- 2 cups granulated sugar
- 4 large eggs
- 1 teaspoon vanilla extract
- 1 teaspoon white vinegar
- 1 teaspoon red food coloring (gel preferred)
- 1 1/4 cups all-purpose flour
- 1/2 cup unsweetened cocoa powder
- 1 teaspoon baking soda
- 1/2 teaspoon salt
- 1 tablespoon white vinegar (for brownie batter)
- 8 ounces cream cheese, softened
- 1/2 cup granulated sugar (for cheesecake layer)
- 1 large egg (for cheesecake layer)
- 1/2 teaspoon vanilla extract (for cheesecake layer)
Instructions
- Preheat your oven to 350°F (175°C). Line a 9×13 inch baking pan with parchment paper, leaving an overhang on the sides for easy removal. Lightly grease the paper.
- Prepare the cheesecake layer: In a medium bowl, beat the softened cream cheese with 1/2 cup sugar, 1 egg, and 1/2 teaspoon vanilla extract until smooth. Set aside.
- Prepare the red velvet brownie batter: In a large bowl, whisk together the melted butter and 2 cups of sugar until combined.
- Whisk in the 4 eggs one at a time until incorporated. Mix in 1 teaspoon vanilla extract, 1 teaspoon vinegar, and the red food coloring until the mixture is uniformly red.
- In a separate bowl, whisk together the flour, cocoa powder, baking soda, and salt.
- Gradually add the dry ingredients to the wet ingredients, mixing just until combined. Do not overmix.
- Spread half of the red velvet batter evenly into the prepared pan.
- Carefully dollop spoonfuls of the cheesecake mixture over the brownie batter.
- Spread the remaining red velvet batter over the cheesecake layer.
- Take a knife or skewer and gently swirl the cheesecake layer into the brownie batter to create a marbled effect.
- Bake for 30 to 35 minutes, or until a toothpick inserted near the center comes out with moist crumbs attached, not wet batter. The cheesecake portion should be mostly set.
- Let the brownies cool completely in the pan on a wire rack before lifting them out using the parchment overhang.
- Cut into squares and serve your homemade red velvet square bars.
Notes
- For the most vibrant color, use a high-quality gel food coloring instead of liquid drops.
- If you want a fudgier texture, slightly underbake them by 2-3 minutes.
- Chill the brownies for at least 2 hours before cutting for clean slices.
Nutrition
- Serving Size: 1 bar
- Calories: 350
- Sugar: 35
- Sodium: 250
- Fat: 20
- Saturated Fat: 12
- Unsaturated Fat: 8
- Trans Fat: 0.5
- Carbohydrates: 40
- Fiber: 1
- Protein: 5
- Cholesterol: 80