
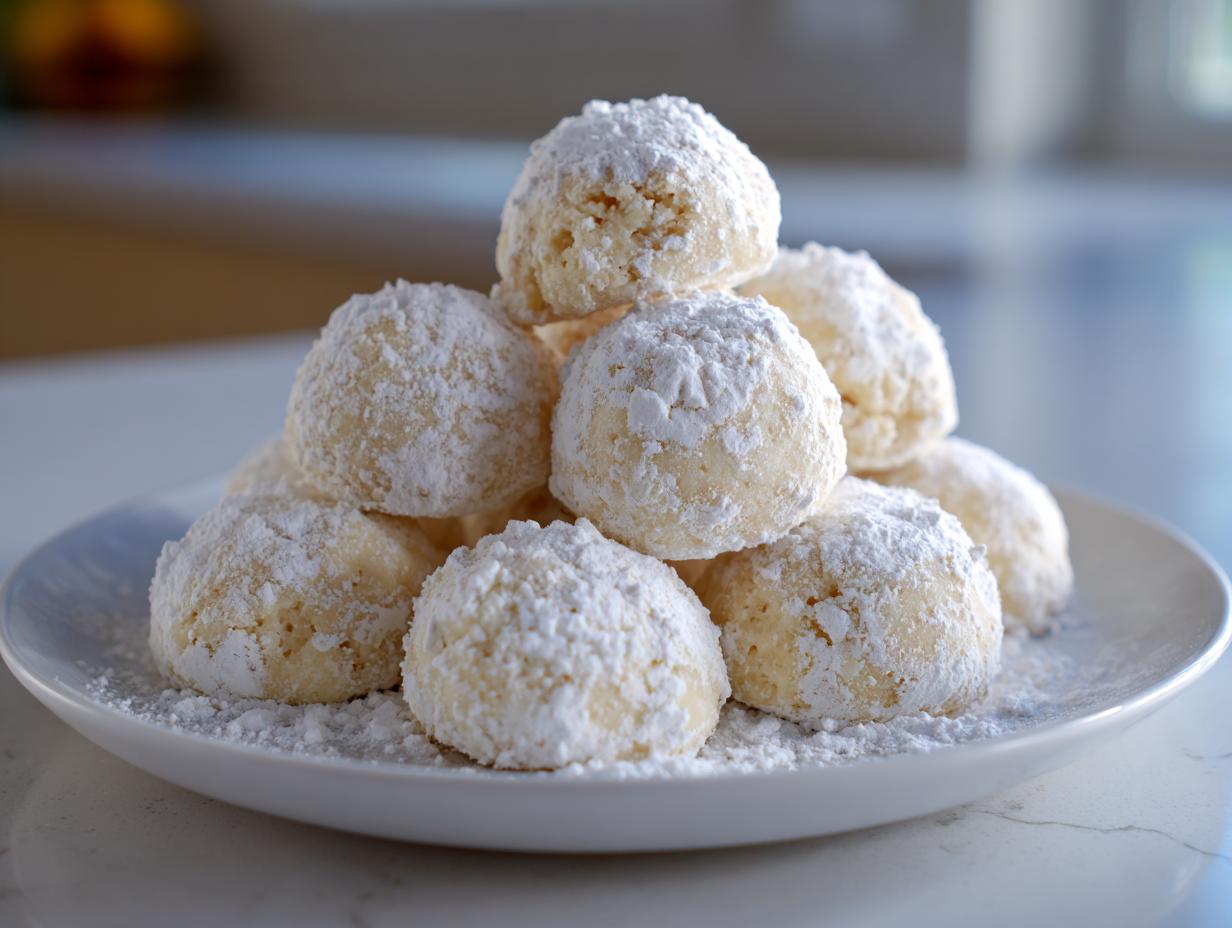

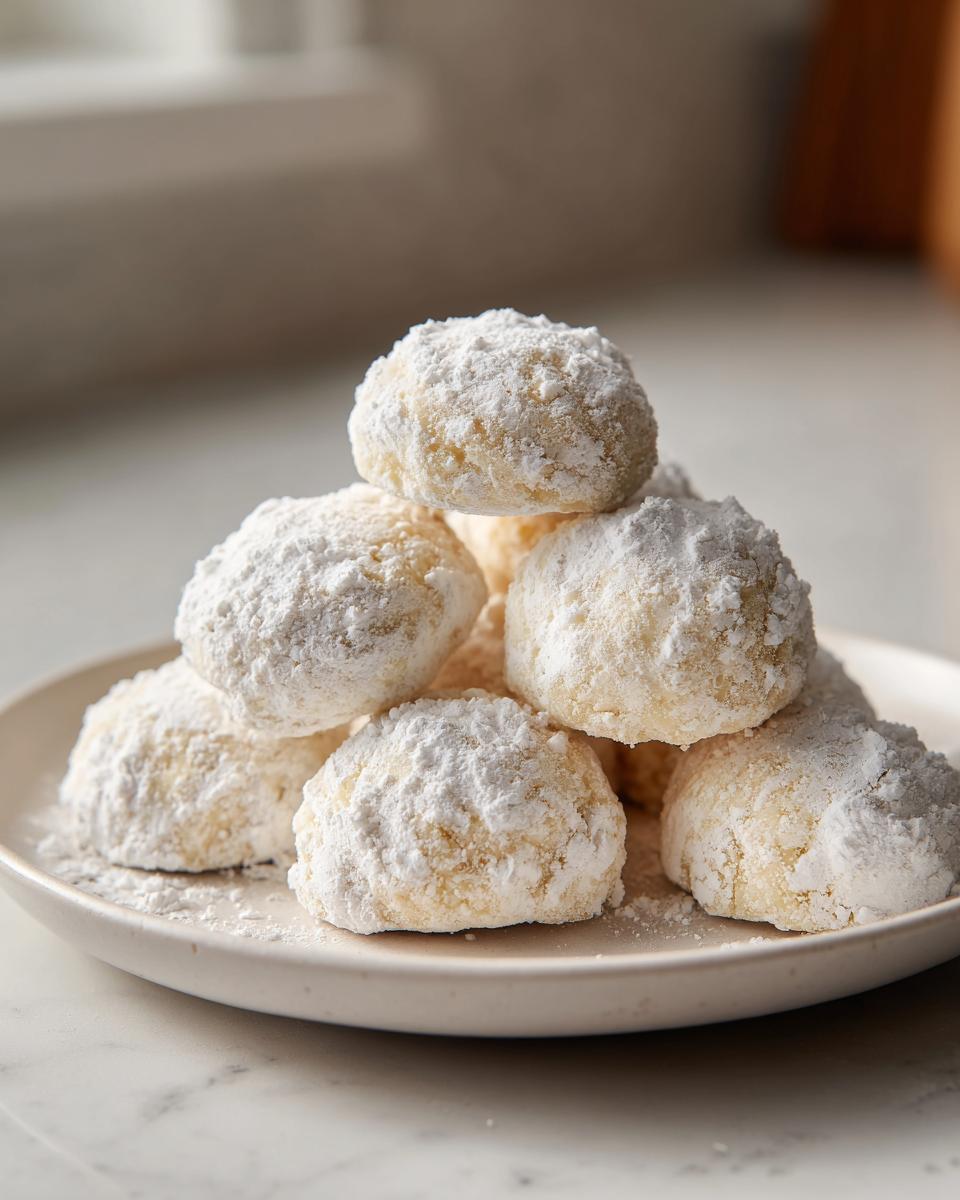
Oh my gosh, let’s talk sweets! When the weather turns chilly or I need that perfect little something to serve with an afternoon cup of tea, nothing beats making a batch of these incredible little snowballs. These are, hands down, my favorite cookies to make when I want something truly special—I’m talking about those delicate, buttery Russian Tea Cakes that practically dissolve the second they hit your tongue. I inherited the love for traditional baking from my grandmother; she always understood that the best holiday baking starts with simple, quality ingredients. This recipe guarantees that signature melt-in-your-mouth texture every single time, and trust me, they disappear faster than you can finish dusting them! If you want to know more about my food philosophy and how that started, check out my about page!
- Why These Russian Tea Cakes Are the Ultimate Melt in Your Mouth Cookies
- Essential Ingredients for Classic Russian Tea Cakes Recipe
- Step-by-Step Instructions for Perfect Russian Tea Cakes
- Tips for Mastering Your Russian Tea Cakes (Expert Advice)
- Variations on Traditional Russian Cookies
- Making Snowball Cookies for Holiday Baking Treats
- Storage and Making Ahead for Your Russian Tea Cakes
- Frequently Asked Questions About Butter Ball Cookies
- Estimated Nutritional Data for These Classic Tea Cakes
Why These Russian Tea Cakes Are the Ultimate Melt in Your Mouth Cookies
What sets these little beauties apart? It’s all about that texture! Forget dry, crumbly cookies; these truly are the best Melt in Your Mouth Cookies you’ll ever try. They’re rich, delightful, and surprisingly easy to get perfect.
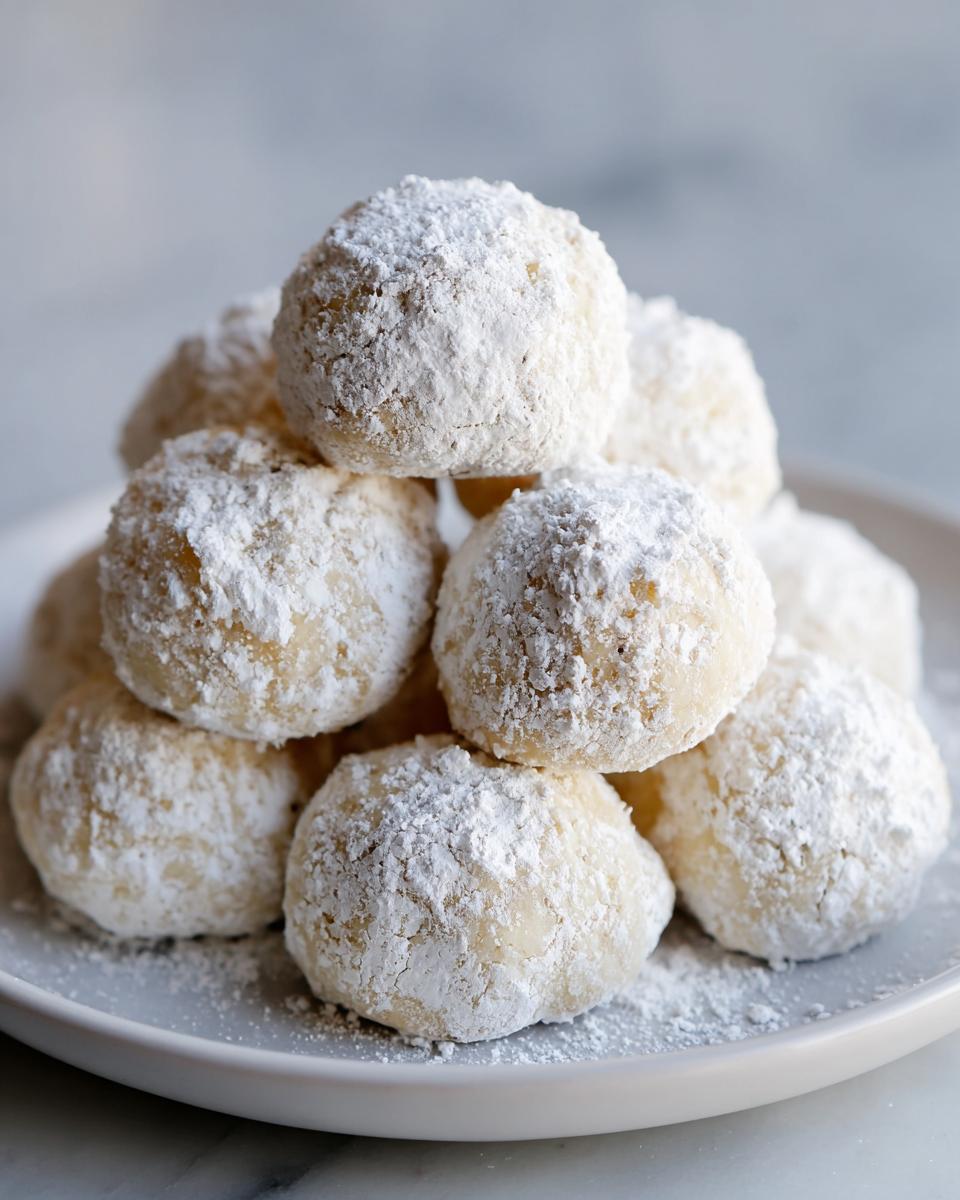
- Incredibly buttery flavor thanks to using only real butter.
- Wonderful, delicate texture that isn’t too sweet.
- Fantastic as Buttery Nut Cookies when you add pecans or walnuts.
Achieving the Perfect Snowball Cookie Texture
The secret weapon behind that delicate, sandy texture is twofold: finely chopped nuts and diligent creaming. When you beat the soft butter and sugar together until it’s truly light and fluffy, you’re incorporating essential air. That air keeps the finished cookie from becoming dense and hard, guaranteeing that perfect, tender crumb.
Essential Ingredients for Classic Russian Tea Cakes Recipe
When we talk about making a truly classic Russian Tea Cakes Recipe, you can’t cut corners, but thankfully, the ingredient list is short and sweet! My goal for these cookies is that delicate, tender snap—you know, the one that makes you immediately reach for another? To get that picture-perfect texture, the temperature of your butter is non-negotiable. It needs to be perfectly softened, not melted; soft enough to press your finger into easily, but still holding its shape. This attention to detail is what separates a good shortbread from a spectacular one. For more basic baking like biscuits, I keep my Cardamom Shortbread Cookies recipe handy, but for these babies, we stick to the basics!
- 1 cup (2 sticks) unsalted butter, softened to just the right temperature!
- 1/2 cup confectioners’ sugar, plus 1 full cup reserved later for coating.
- 1 teaspoon pure vanilla extract (don’t skip the pure stuff!).
- 1/4 teaspoon salt to balance all that richness.
- 2 cups all-purpose flour, measured correctly, please.
- 1 cup finely chopped pecans or walnuts—make sure they are finely chopped so they don’t poke through the dough!
Step-by-Step Instructions for Perfect Russian Tea Cakes
Alright, let’s get these gorgeous little snowballs rolling toward cookie nirvana! Baking these isn’t hard at all, but timing is everything, especially with how we handle the powdered sugar later. Make sure your oven is at 350°F (175°C) before you even touch the mixer. Line those baking sheets with parchment paper; it makes cleanup a breeze, which I definitely appreciate after a long baking session. If you’re looking for other easy baking wins, don’t miss out on my Snickerdoodle Cookies easy no-chill recipe!
- Cream the softened butter with 1/2 cup of confectioners’ sugar until it looks pale and fluffy—this is foundational! Then, mix in your salt and vanilla.
- Now, add the flour slowly on low speed. I always watch this part closely. Once it’s *almost* combined, I stop the mixer.
- Stir in those chopped nuts by hand right at the end.
- Roll them into 1-inch balls and place them about an inch apart on your prepared sheets. They won’t spread much, but we still want a little elbow room!
- Bake for about 12 to 15 minutes. Look for the bottoms to be *barely* kissed with gold—the top should stay white!
- Let them sit on that hot pan for exactly 5 minutes. This is crucial before you move them or the structure might get compromised.
- While still warm, roll them gently in the remaining cup of powdered sugar until they’re totally covered.
- Cool completely, and then—this is my favorite part—roll them through the sugar one *more* time for that thick, snowy effect.
Mixing the Buttery Dough for No Spread Cookies
The main thing to remember here is to treat the flour kindly! If you overmix once the flour goes in, you develop gluten, and suddenly, your tender, melt-into-your-mouth cookies turn into little hockey pucks. That’s why I always stop the electric mixer as soon as I see the last streak of flour disappear and finish incorporating everything else by hand with a spatula. This helps us achieve those wonderful No Spread Cookies.
The Double Dusting Technique for Powdered Sugar Cookies
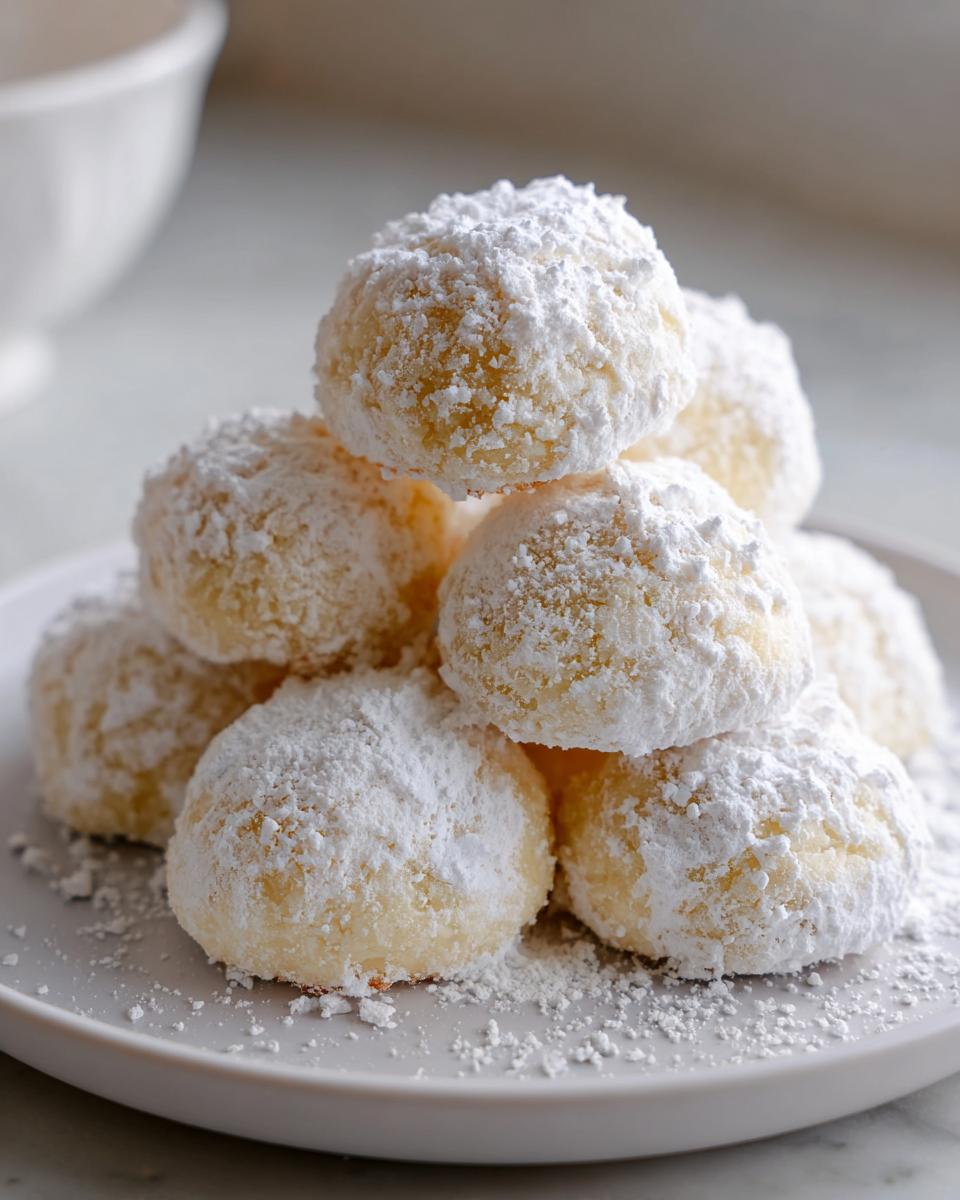
Don’t skimp on the sugar coating! If you try to roll these after they are completely cold, the sugar won’t stick right. Rolling them while they are still warm (after that 5-minute rest) melts the sugar slightly, creating a nice sealant layer. Then, letting them cool allows that seal to set up before you give them that second, heavier coating. That second coat is what gives you that classic, beautiful look associated with Powdered Sugar Cookies.
Tips for Mastering Your Russian Tea Cakes (Expert Advice)
Even with a great recipe, sometimes a little troubleshooting is needed, right? Since these Classic Tea Cakes rely so much on fat content and baking temperature, knowing how to adjust makes all the difference. The absolute biggest tip I can give you is regarding spreading: if your kitchen is warm—and trust me, when I’m elbow-deep in holiday baking, my kitchen gets toasty—always stop and chill the dough for about 30 minutes before you roll it out. This firms up that butter so our little Butter Ball Cookies hold their shape beautifully while baking. For great alternatives on buttery baked goods, you might enjoy checking out my coffee butter cookies!
The key to keeping them wonderfully moist, even days later, is ensuring they are heavily coated in that second layer of sugar—it locks everything in!
Nut Substitutions for Pecan Tea Cakes
While I love the slight bitterness that pecans bring to our Pecan Tea Cakes, you certainly don’t have to stick to them! Walnuts are a fantastic, super-easy swap; they usually have a slightly stronger flavor, so they stand up well to the butter. If you need to avoid tree nuts completely, you can rely on the texture from the flour and butter, but the flavor profile changes significantly. Or, if someone in your family is sensitive to pecans but okay with other nuts, finely ground almonds make a lovely, delicate substitute. Just make sure whatever nut you choose is chopped super fine!
Variations on Traditional Russian Cookies
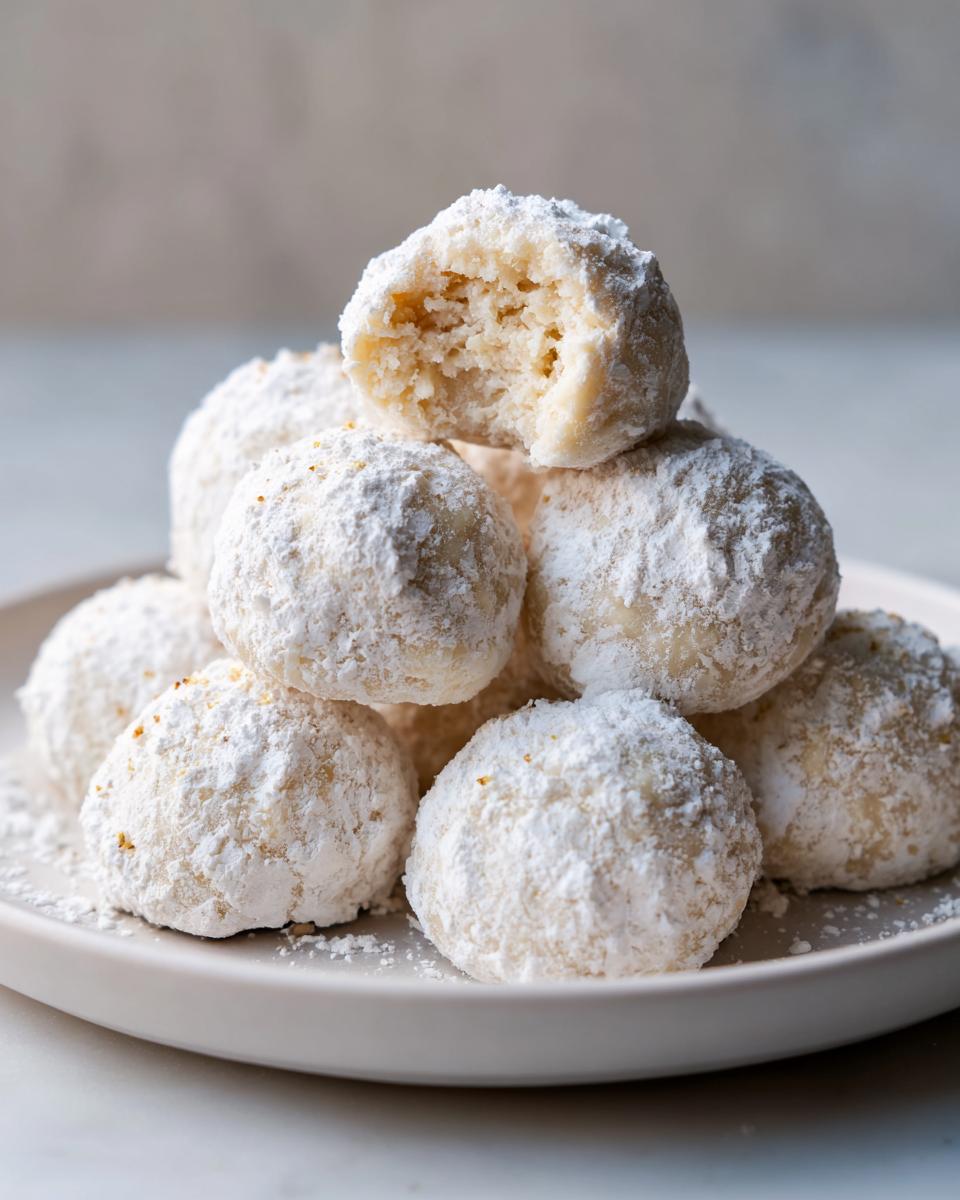
While this classic recipe is perfect just the way it is, I love experimenting a little once I master the basic structure! It’s fun to see how small additions can completely change the vibe of these little bites. Since we use vanilla extract here, it’s super easy to switch things up with different flavor accents. For example, adding just 1/2 teaspoon of almond extract instead of (or along with) the vanilla gives them a whole different depth. You could also sprinkle in a tiny dash of nutmeg or cardamom with your dry ingredients, which really highlights that buttery quality inherent in Traditional Russian Cookies.
Oh, and if you’re looking for brighter flavors, a little finely grated lemon zest mixed in with the butter and sugar makes these taste incredible, almost like a mini glazed tea cake! Speaking of bright flavors, sometimes I use these techniques when I make my lemon poppy seed muffins, just swapping the texture for something crumbly!
Making Snowball Cookies for Holiday Baking Treats
These little gems are truly the kings and queens of the Christmas cookie platter. Honestly, when I’m looking at my big holiday baking to-do list, the wonderful thing about these Snowball Cookies is that you can make them totally ahead of time! They actually taste better the next day, which is a huge win when you’re juggling tons of recipes. I usually bake them the weekend before gifting them out. If you are planning big family meals or need structure for your nutrition goals during the busy season, getting organized with meal planning ahead of time really helps keep the stress down so you have plenty of time for fun baking like this!
Because they are so rich and buttery, they keep beautifully in an airtight container, making them prime Holiday Baking Treats. When I need inspiration for the rest of my menu, I always peek at recipes like this Russian Tea Cakes recipe to see what others are loving, but then I always circle back to my own simple version!
If you’re looking for even easier options, make sure you look at the no-bake Christmas treats on the site too—sometimes you just need simplicity!
Storage and Making Ahead for Your Russian Tea Cakes
One of the best secrets to loving these little guys is knowing how to store them! If there are, by some miracle, any Russian Tea Cakes left over after your first afternoon of baking, you are in luck. They actually keep getting better! The texture stays wonderfully delicate and that melt-in-your-mouth quality really develops as the flavors settle.
You can store them in a simple airtight container at room temperature, and they are usually fantastic for at least a week. I try to leave maybe two inches between the layers, using parchment paper to separate them so nothing sticks. If you must stack them higher than two layers, always use parchment dividers—you don’t want to ruin all that beautiful sugar coating!
Freezing is another winner! I always freeze mine *without* the second sugar coat, though. Roll them once while still warm, let them cool slightly, and then flash freeze them on a baking sheet. Once they are solid little orbs, pop them into a heavy-duty zip-top bag. When you feel like having a fresh batch, just pull out exactly how many you need, let them sit on the counter for about 20 minutes, and then roll them twice in the powdered sugar. It’s like instant fresh-baked goodness! If you need some ideas for make-ahead desserts that aren’t cookies, check out my recipe for apple cider cinnamon bread—it freezes like a dream too.
Frequently Asked Questions About Butter Ball Cookies
I always get a flood of questions when people try these for the first time, especially around the holidays! Since everyone wants those perfect, snow-dusted spheres for their holiday platter, let’s tackle the most common concerns right here. These tips should help you manage your batch of what some folks call Easy Holiday Cookies with total confidence!
Can I make Russian Tea Cakes without nuts?
You absolutely can, although I personally think the nuts contribute a lot to that amazing crumb structure! If you have an allergy or just aren’t a fan, you can leave them out entirely. Just be aware that since the nuts take up some of the volume, you might find the dough is slightly softer, and you might not get quite as many cookies out of the batch. Feel free to chill the dough a bit longer if you skip the pecans—it’ll help them hold their shape perfectly.
What makes Mexican Wedding Cookies different from Butter Ball Cookies?
Honestly? Almost nothing, and that’s the fun of baking history! These names—Mexican Wedding Cookies, Butter Balls, Snowballs, and Russian Tea Cakes—all refer to virtually the same buttery, nutty, powdered sugar-coated shortbread cookie. The naming usually just depends on regional tradition or which cookbook your family picked up! The core technique and ingredients are so similar that you can usually swap recipes without noticing much difference at all. It just shows how much love there is for this simple, perfect cookie no matter where you are!
If you ever feel like moving into something chunkier and more decadent after mastering these delicate tea cakes, I have a decadent recipe for pumpkin cheesecake bars that is perfect for showing off!
Estimated Nutritional Data for These Classic Tea Cakes
I always want to give you guys as much information as possible, because knowing what’s in your gorgeous homemade treats is important, right? Just keep in mind that since we are working with real ingredients here—butter amounts can shift slightly based on how you pack your measuring cup, and nuts vary—these numbers are a really solid estimate based on standard measurements for just one cookie.
If you’re trying to keep track of things like carbs or fat, especially around the holidays when you’re busy trying to organize your whole eating schedule, seeing these numbers upfront helps! Remember, this recipe is rich because it’s full of real butter and nuts, not fillers. For more general baking ideas and kitchen insights, you can always check out my main blog page.
- Serving Size: 1 cookie (Yields about 3 Dozen)
- Calories: Approximately 110
- Fat: About 8g
- Saturated Fat: About 4g
- Carbohydrates: Approximately 9g
- Sugar: Around 7g
- Protein: About 1g
- Sodium: Roughly 35mg
This data reflects the classic recipe using pecans and standard all-purpose flour. If you make substitutions, like doubling up on the sugar coating or using a different type of nut or flour, these figures will shift a little, so treat this as your trustworthy baseline!
PrintThe Ultimate Melt-in-Your-Mouth Russian Tea Cakes (Classic Snowball Cookie Recipe)
Follow this easy recipe to make classic Russian Tea Cakes, also known as Snowball Cookies. These buttery, nutty cookies have a delicate, melt-in-your-mouth texture and are finished with a generous dusting of powdered sugar, making them perfect for holiday baking or tea time.
- Prep Time: 20 min
- Cook Time: 15 min
- Total Time: 35 min
- Yield: About 3 dozen cookies 1x
- Category: Dessert
- Method: Baking
- Cuisine: American/Traditional
- Diet: Vegetarian
Ingredients
- 1 cup (2 sticks) unsalted butter, softened
- 1/2 cup confectioners’ sugar, plus 1 cup for coating
- 1 teaspoon vanilla extract
- 1/4 teaspoon salt
- 2 cups all-purpose flour
- 1 cup finely chopped pecans or walnuts
Instructions
- Preheat your oven to 350°F (175°C). Line baking sheets with parchment paper.
- In a large bowl, cream together the softened butter and 1/2 cup of confectioners’ sugar until light and fluffy.
- Beat in the vanilla extract and salt.
- Gradually add the flour, mixing on low speed until just combined. Do not overmix.
- Stir in the chopped nuts by hand.
- Roll the dough into small balls, about 1 inch in diameter. Place them 1 inch apart on the prepared baking sheets.
- Bake for 12 to 15 minutes, or until the bottoms are very lightly golden. The tops should remain pale.
- Remove from the oven and let the cookies cool on the baking sheet for 5 minutes.
- While the cookies are still warm, gently roll them in the remaining 1 cup of confectioners’ sugar until fully coated.
- Let the cookies cool completely on a wire rack. Once cool, roll them a second time in the confectioners’ sugar for a thick, snowy coating.
Notes
- For the best melt-in-your-mouth texture, use room temperature, softened butter.
- Chill the dough for 30 minutes before rolling if your kitchen is warm; this helps prevent spreading.
- For a different flavor profile, substitute the nuts with finely ground almonds.
- If you are interested in structured eating plans, look into meal planning options.
Nutrition
- Serving Size: 1 cookie
- Calories: 110
- Sugar: 7
- Sodium: 35
- Fat: 8
- Saturated Fat: 4
- Unsaturated Fat: 4
- Trans Fat: 0
- Carbohydrates: 9
- Fiber: 0
- Protein: 1
- Cholesterol: 18