
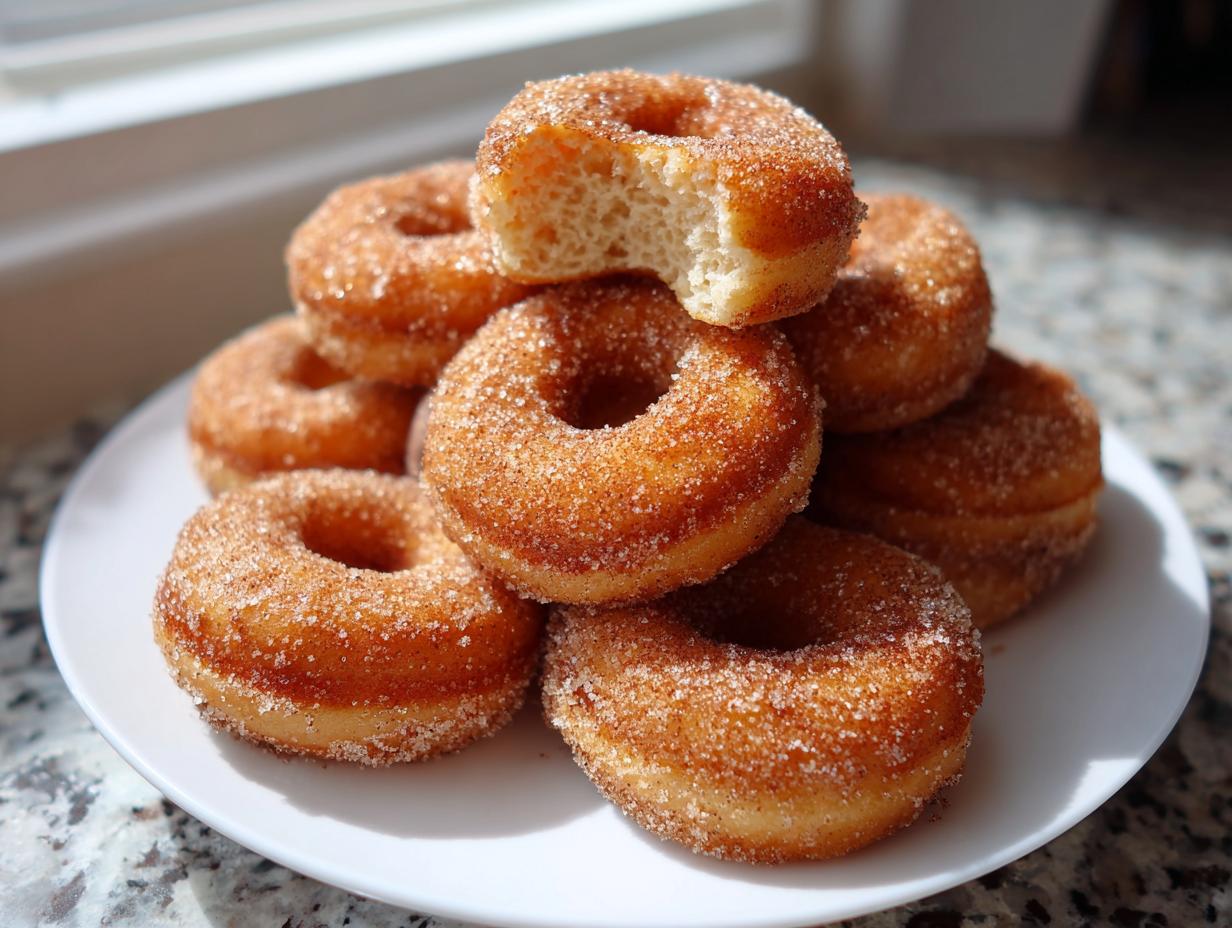

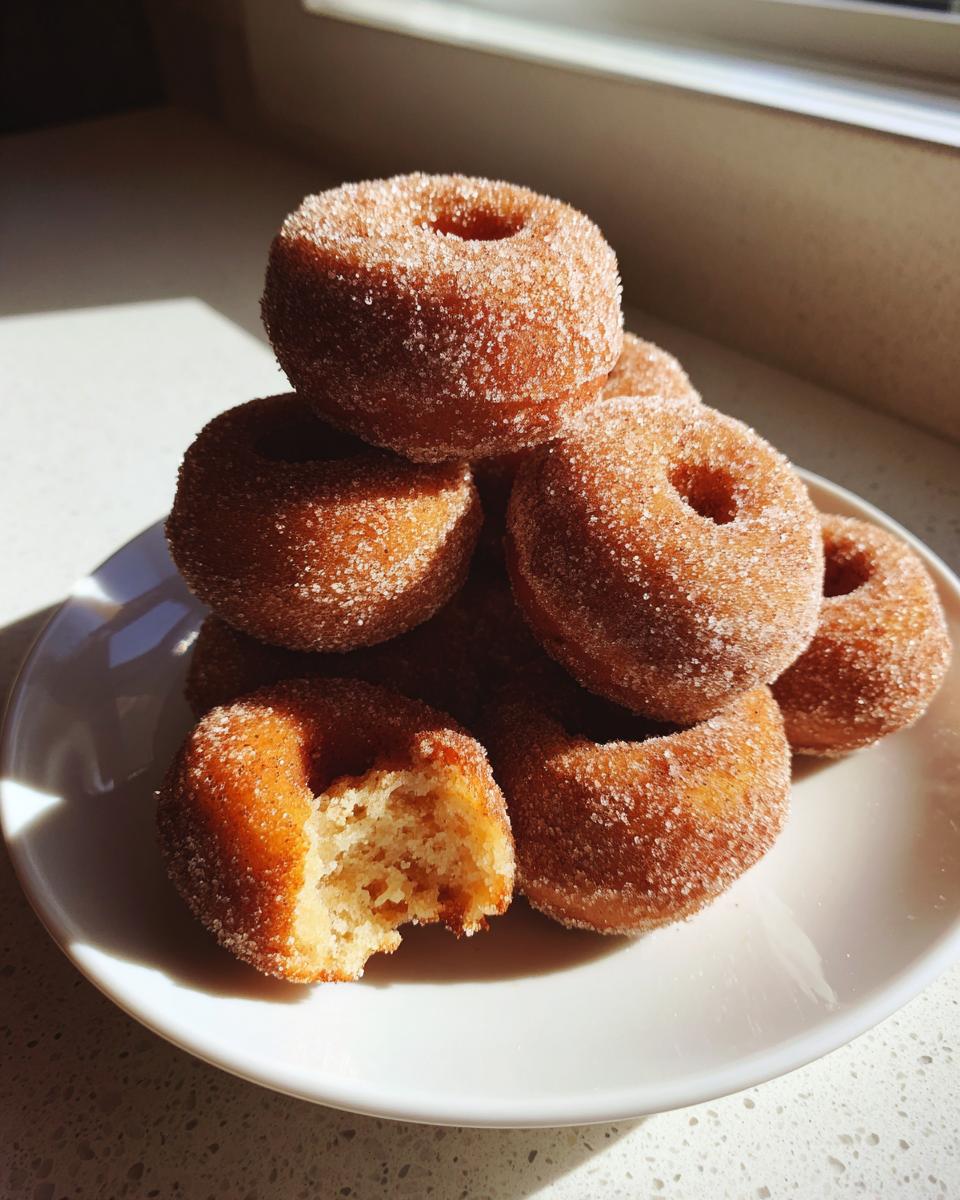
Sometimes, you just need that sweet, comforting taste of a donut, but you absolutely do not have the time (or the desire!) to deal with vats of hot oil. Believe me, I get it! That’s why I developed these Quick Baked Cinnamon Sugar Mini Donuts. They are fluffy, perfectly bite-sized, and hit that warm, sugary spot every single time. My grandmother always taught me that the best recipes are the ones that bring joy with ease, and this one is pure comfort baked right into a tiny cake form. As I talk about over on my About Page, cooking is all about tradition and love, and these mini donuts carry that feeling forward. We’re skipping the fryer entirely and getting beautiful, tender donuts on the cooling rack in under 20 minutes. These are the kind of sweet breakfast treats or party snack ideas that make everyone feel instantly happy.
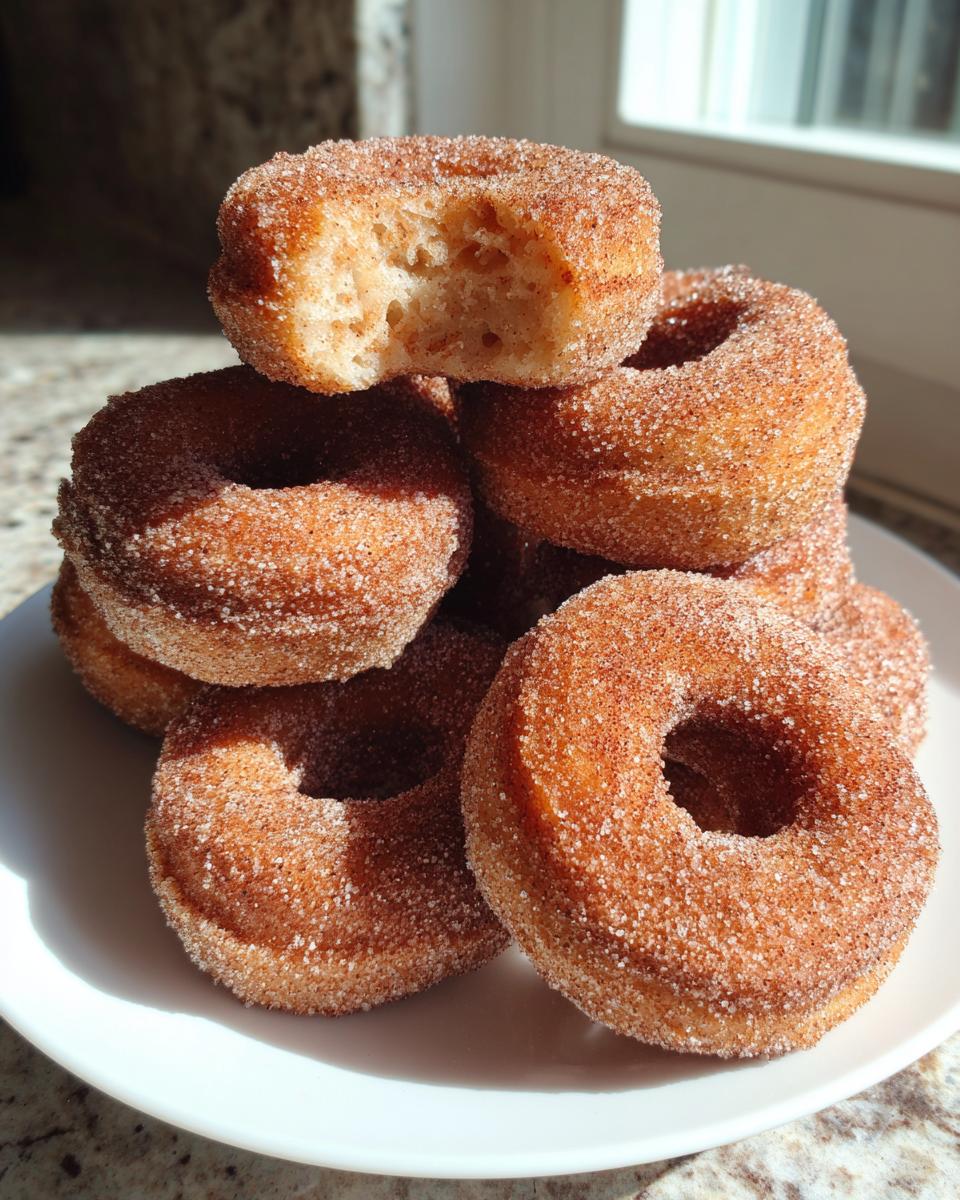
- Why You Will Love These Baked Cinnamon Sugar Mini Donuts
- Gathering Ingredients for Your Homemade Mini Donuts
- Step-by-Step Instructions for Quick Donuts
- Tips for Perfect Fluffy Donuts Every Time
- Variations for Your Mini Donut Recipe
- Making Mini Donut Maker Recipes Work
- Serving Suggestions for These Bite Sized Donuts
- Storage and Reheating Instructions for Leftover Mini Donuts
- Frequently Asked Questions About Mini Donuts
- Estimated Nutritional Data for These Dessert Bites
- Share Your Baking Creations
Why You Will Love These Baked Cinnamon Sugar Mini Donuts
Seriously, what’s not to love about these little guys? They are absolutely perfect for when you need a quick sweet fix. Trust me, once you see how fast these come together, they’ll be in your regular rotation!
- Incredibly fast: Ready in about 20 minutes total!
- Baked, not fried: All the flavor, none of the messy oil.
- Perfect texture: They are wonderfully fluffy donuts, not dry or heavy.
- Bite sized donuts perfection: They are the ideal snack size for little hands and big cravings.
Gathering Ingredients for Your Homemade Mini Donuts
Making these mini cake donuts is so simple because they use mostly pantry staples. We need ingredients for three different stages: the actual batter, the sugar coating, and then the melted butter dip that helps that sugar stick! It’s much easier than heading out to the store, I promise. Here is exactly what you need—precision matters here, especially with the baking powder!
For the Mini Donut Batter
- 1 1/2 cups all-purpose flour
- 3/4 cup granulated sugar
- 1 1/2 teaspoons baking powder
- 1/2 teaspoon salt
- 1/2 cup milk
- 1 large egg
- 1/4 cup unsalted butter, melted
- 1 teaspoon vanilla extract
For the Cinnamon Sugar Coating
Remember, we need butter twice! Once in the batter, and then this separate amount for dipping to make those coatings perfect.
- 1/2 cup granulated sugar (for coating)
- 2 tablespoons ground cinnamon (for coating)
- 1/4 cup unsalted butter, melted (for dipping)
Step-by-Step Instructions for Quick Donuts
This is where the magic happens, and you’ll see just how fast these become reality! Since the total time is only about 20 minutes, we really need to keep moving once the mixing starts. First thing, get that oven warming up to 350°F (175°C) and make sure that mini donut pan is greased well. I usually use a little bit of cooking spray, nothing too heavy!
Mixing the Mini Donut Batter
We mix dry ingredients first—flour, the main sugar, baking powder, and salt—just whisk them up in a big bowl. Then, in a separate bowl, I whip the milk, egg, melted butter (the first portion!), and vanilla. When you combine them, listen to your grandma, right? Mix until things are *just* combined. If you see a few streaks of flour, that’s fine! Overmixing ruins the texture, making them tough instead of giving you those lovely fluffy donuts we adore. Spoon or pipe the batter into your greased cavities, filling them only about two-thirds full. Don’t overfill them, or you’ll have one big donut blob instead of perfect mini donuts.
Baking and Preparing the Coating
Pop those babies into the preheated oven for about 8 to 10 minutes. They are done when that little toothpick comes out clean. While they bake, this is your moment to shine! Whisk together that remaining 1/2 cup of sugar and the 2 tablespoons of cinnamon in a shallow dish—this is the coating that gives them that classic fairground flavor. You can check out my recipe for fluffy homemade pancakes if you want another quick breakfast idea while waiting!
Dipping and Coating Your Mini Donuts
This part is crucial for getting that gorgeous crust. Let the donuts cool in the pan for just about five minutes—they need to be warm, not piping hot. Melt that final 1/4 cup of butter. Carefully lift each warm donut out and dip it first into the melted butter. Immediately follow that dip by rolling it all over in the cinnamon sugar mix until it’s totally coated. Serve them right away when they are still warm for the absolute best result!
Tips for Perfect Fluffy Donuts Every Time
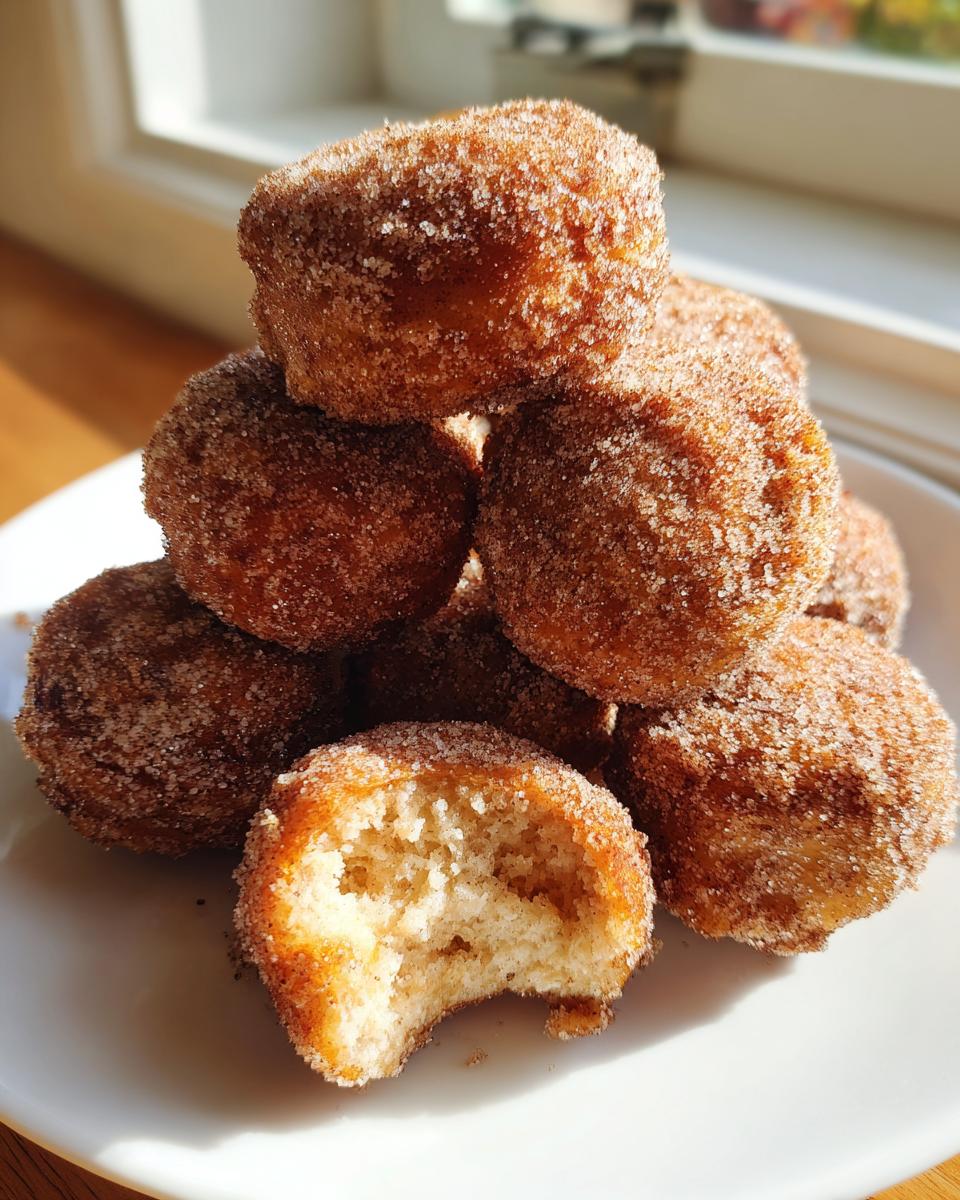
Getting those gorgeously fluffy donuts every single time takes just a couple of little tricks I picked up over the years. The biggest pitfall with any mini donuts recipe, even baked ones, is overmixing the batter. Seriously, stop stirring as soon as the flour disappears! If you stir too long, you develop gluten, and you end up with something more like a tough biscuit than a tender cake donut.
Also, don’t let those donuts get cold before you coat them. The warmth is what makes the melted butter sticky enough to grab all that glorious cinnamon sugar. If they cool down, the first dip won’t adhere properly, and you end up with a sad, powdery coating.
Here’s a sneaky way to boost the flavor if you have a minute: substitute buttermilk for regular milk in the batter. It reacts wonderfully with the baking powder and gives you an even lighter crumb. Speaking of great crumb texture, if you want to check out another recipe that nails moistness, my pecan pie muffins follow a similar ‘don’t overwork it’ rule!
Variations for Your Mini Donut Recipe
This base recipe for mini donuts is fantastic as is—that cinnamon sugar coating is classic for a reason! But you know me; I always love seeing what other flavors we can sneak into the mix. Since this is a simple donut recipe, it takes really well to little tweaks. Don’t forget this recipe is already a no fry donuts approach, so we keep things easy!
If you are looking to shake things up, try swapping out the topping entirely:
For a Simple Glazed Donut Touch:
Forget the butter dip and the cinnamon sugar! Instead, once the donuts are cooled completely—and I mean *cooled*—you can whip up a quick glaze. Just mix about 1 1/2 cups of powdered sugar with about 3 tablespoons of milk and a splash of vanilla until it’s smooth and pourable. Remember, if you want that slightly tangy flavor profile that pairs so well with spice, add a teaspoon of lemon juice instead of some of the milk! Dip the tops of your cooled donuts in that glaze and let them set up on the rack. These turn into fantastic glazed donuts instantly.
Leaning into Autumn Flavors:
We love spices around here! If you’re pulling this recipe out when the leaves start turning, try swapping out the standard cinnamon for a mix of pumpkin pie spice. Use about 1 1/2 teaspoons of pumpkin pie spice mixture for that warm, cozy feeling! You could even dust them with powdered sugar instead of the butter/sugar combo, which is a little lighter. If you’re interested in more cozy spice recipes, you have to check out my guide on super moist spice cake; the principles for getting that aroma just right are the same!
And hey, if you have any leftover glaze from my cakes, you can absolutely use that here too! It makes for incredibly decadent dessert bites.
Making Mini Donut Maker Recipes Work
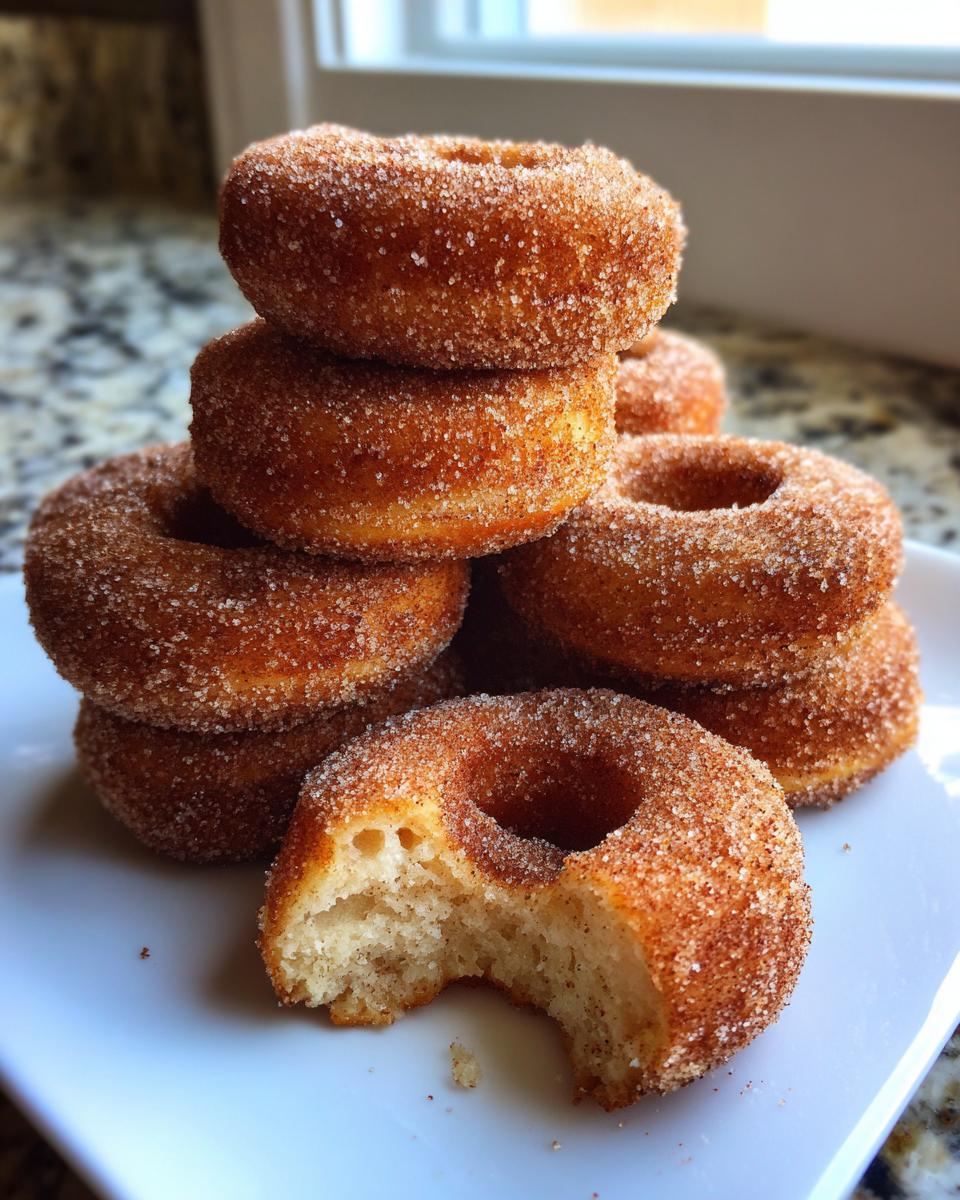
Okay, so I know not everyone has a dedicated mini donut pan for the oven—and that’s totally fine! Lots of people have these little countertop donut makers now, like the ones from Betty Crocker, and they are super fun for getting homemade mini donuts fast. It’s great that people are looking into these because they offer such variety in mini donut maker recipes.
If you have one of those machines, you can absolutely use the batter from this recipe! The key difference here is that you’re generally cooking with direct heat from both sides, so the timing changes completely. You won’t have to worry about the buttery dipping step quite as much, either, since these pans are usually non-stick enough to release easily, though a quick spray never hurts.
When you transition from the oven to the maker, you want to preheat the appliance fully. Most of these makers are heating up pretty quickly, often only needing 5 minutes. Then, you spoon your batter into the wells. Remember what I always say about not overfilling? Same rule applies here, maybe even more so! You only want to fill the molds about two-thirds of the way full, otherwise, you get those funny little donut wings that stick out.
The baking time will be way shorter! While the oven takes 8 to 10 minutes, the machine heats things up fast. Seriously, watch them like a hawk the first time you try this specific batter. Most recipes online suggest cooking for anywhere from 3 to 5 minutes, tops. You want them golden and cooked through. Once they pop up, pull them out and go straight into the butter and cinnamon sugar mixture while they are hot. It’s a different method, but it still produces wonderful, sweet dessert bites! If you want more general tips on my baking philosophy, stop over and check out my main blog page!
If you’re still looking for more specific inspiration for that equipment, I saw a great roundup of Betty Crocker mini donut maker recipes that might give you some fun ideas for next time!
Serving Suggestions for These Bite Sized Donuts
Now that you have a fresh batch of these utterly addictive bite sized donuts, the next big question is: when do you serve them? Because they come together so fast, truly any time works! They’re small treasures, perfect for piling high on a platter.
These are absolute winners when it comes to party snack ideas. Forget fussy appetizers; just set a big bowl of these warm, sweet rings next to some savory toothpicks, and watch them disappear first. They are the perfect little something sweet without being a massive commitment like a full slice of cake.
They truly shine at brunch treats, though. Imagine setting these out while everyone is still yawning over their coffee. They pair so beautifully with something hot to drink to balance out that lovely cinnamon sugar coating. If you need a fantastic, cozy drink recipe to go alongside them, you have to try my recipe for best creamy homemade hot chocolate recipe!
Honestly, though, my favorite suggestion is just having them ready when the kids get home from school. They’re quick donuts, so they’re made faster than you can decide between making a sandwich or unpacking the groceries. It’s little moments like that which make all the baking worthwhile!
Storage and Reheating Instructions for Leftover Mini Donuts
Look, I’m going to be honest with you. These homemade mini donuts are so good, the leftovers usually last about five minutes in my house. That buttery cinnamon sugar coating is best when it’s fresh and warm, and I encourage you to eat as many as you can right away!
But, because we are all about making things practical here, if you *do* manage to have some left over, storage is super easy. You definitely want to keep them in an airtight container. If you try to store them in a plastic bag or half-covered plate, that lovely coating will get stale and crunchy in a bad way, and the donut itself starts to dry out fast. An airtight container will keep them tasting fresh for about two days.
Now, how do you get that fresh-from-the-pan magic back? You can’t leave them sitting out overnight hoping they’ll be magically refreshed! You need a little bit of heat to wake that butter flavor back up.
The best way to refresh them is briefly in the oven or the microwave. If you use the microwave, only give them about 8 to 10 seconds. Any longer, and they’ll get tough very quickly—we want warm and soft, not rubbery! For the very best results, lay them out on a baking sheet and pop them into a warm oven (about 275°F, just barely warm) for about 3 minutes. That gentle heat softens the crumb beautifully and brings back that melt-in-your-mouth quality. Enjoy your second-day dessert bites!
Frequently Asked Questions About Mini Donuts
I know you might still have a few little questions buzzing around before you dive into mixing! That’s okay! These mini donuts are simple, but getting them perfect means knowing those little insider secrets. I’ve gathered the ones I hear asked the most frequently about making these quick, bite sized donuts.
Can I make these mini donuts without a donut pan?
Oh, I wish I could say yes easily, but that specially shaped pan is what gives us that classic donut ring shape, you know? We bake these, so we need something to hold the batter in that shape. If you don’t own a mini donut pan, your best bet is to grab a standard mini muffin tin instead. You’ll need to fill those cups a little less—maybe only halfway—and the baking time will definitely be shorter, so keep an eye on them! Piping onto a baking sheet with parchment paper will just give you more like little rounded mounds, which are essentially donut holes, and still tasty, but not quite the same look!
Are these truly No Fry Donuts?
Absolutely, 100% yes! This is one of the biggest reasons I love this recipe so much, and why I’m so happy this simple approach is so popular now. We are baking these babies in the oven, which means you get that soft, fluffy texture and that gorgeous cinnamon sugar coating without ever turning on the deep fryer. It keeps cleanup ridiculously easy and makes them a much better option for a last-minute brunch treat. It really is the perfect no fry donuts solution!
We are all about reliable, delicious food here. If you’re looking for other reliable recipes that are just as straightforward—think less fuss, more flavor—you should definitely take a peek at my recipe for easy sausage hashbrown egg bake, which is another one of those dishes that looks fancy but comes together in a snap!
Estimated Nutritional Data for These Dessert Bites
I always like to give you a head’s up on what you’re munching on, even when we’re enjoying silly, fun treats like these dessert bites. Now, remember, since we are making everything from scratch, these numbers are just estimates! The fat content can definitely shift depending on the exact brand of flour or butter you grab. Use these figures as a general guide, okay?
This chart breaks down the approximate nutrition you’ll find if you enjoy two of these warm, sugary mini donuts.
- Serving Size: 2 donuts
- Calories: 180
- Sugar: 14g
- Sodium: 120mg
- Fat: 8g
- Saturated Fat: 5g
- Unsaturated Fat: 3g
- Trans Fat: 0g
- Carbohydrates: 25g
- Fiber: 1g
- Protein: 2g
- Cholesterol: 25mg
It’s pretty great that we get that classic flavor without any trans fats, that’s for sure! And honestly, 180 calories for a satisfying, warm, homemade treat feels like a win to me!
Share Your Baking Creations
Okay, now that you’ve got the batter mixed, baked, and that heavenly cinnamon-sugar coating done, I seriously want to see what you made! This is my favorite part of sharing recipes—seeing how they look in *your* kitchen. Did you dust them perfectly? Did the kids steal them before you could even snap a picture?
If you loved these mini donuts as much as my family does, please take a moment to head back up and leave me a rating! Just five stars if you thought they hit the spot. Your feedback really helps other home bakers know that this easy mini donut recipe is worth trying.
And if you took a photo because they looked too good not to share (which they totally will!), please tag me on social media! Seeing those bite-sized treats pop up on my feed brings me so much happiness. It’s like having a little slice of my kitchen right there with you. Happy baking, and don’t forget to enjoy them while they’re warm!
PrintQuick Baked Cinnamon Sugar Mini Donuts
Make these fluffy, bite-sized mini donuts at home without frying. They are coated in cinnamon sugar for a classic, comforting flavor.
- Prep Time: 10 min
- Cook Time: 10 min
- Total Time: 20 min
- Yield: 24 mini donuts 1x
- Category: Dessert
- Method: Baking
- Cuisine: American
- Diet: Vegetarian
Ingredients
- 1 1/2 cups all-purpose flour
- 3/4 cup granulated sugar
- 1 1/2 teaspoons baking powder
- 1/2 teaspoon salt
- 1/2 cup milk
- 1 large egg
- 1/4 cup unsalted butter, melted
- 1 teaspoon vanilla extract
- 1/2 cup granulated sugar (for coating)
- 2 tablespoons ground cinnamon (for coating)
- 1/4 cup unsalted butter, melted (for dipping)
Instructions
- Preheat your oven to 350°F (175°C). Lightly grease a mini donut pan.
- In a large bowl, whisk together the flour, 3/4 cup sugar, baking powder, and salt.
- In a separate bowl, whisk together the milk, egg, 1/4 cup melted butter, and vanilla extract.
- Pour the wet ingredients into the dry ingredients and mix until just combined. Do not overmix the batter.
- Spoon or pipe the batter into the mini donut pan cavities, filling each about two-thirds full.
- Bake for 8 to 10 minutes, or until a toothpick inserted into the center comes out clean.
- While the donuts bake, combine the 1/2 cup sugar and cinnamon in a shallow dish for the coating.
- Remove the donuts from the oven and let them cool in the pan for 5 minutes before carefully transferring them to a wire rack.
- Melt the remaining 1/4 cup butter in a small bowl.
- Dip each warm donut first into the melted butter, then immediately roll it in the cinnamon sugar mixture until fully coated.
- Serve warm. These are a great alternative to complex meal planning for a quick treat.
Notes
- If you own a mini donut maker, you can use that appliance instead of the oven, following the manufacturer’s suggested cooking time.
- For a richer flavor, substitute buttermilk for regular milk.
- These are excellent party snack ideas for gatherings.
Nutrition
- Serving Size: 2 donuts
- Calories: 180
- Sugar: 14g
- Sodium: 120mg
- Fat: 8g
- Saturated Fat: 5g
- Unsaturated Fat: 3g
- Trans Fat: 0g
- Carbohydrates: 25g
- Fiber: 1g
- Protein: 2g
- Cholesterol: 25mg