
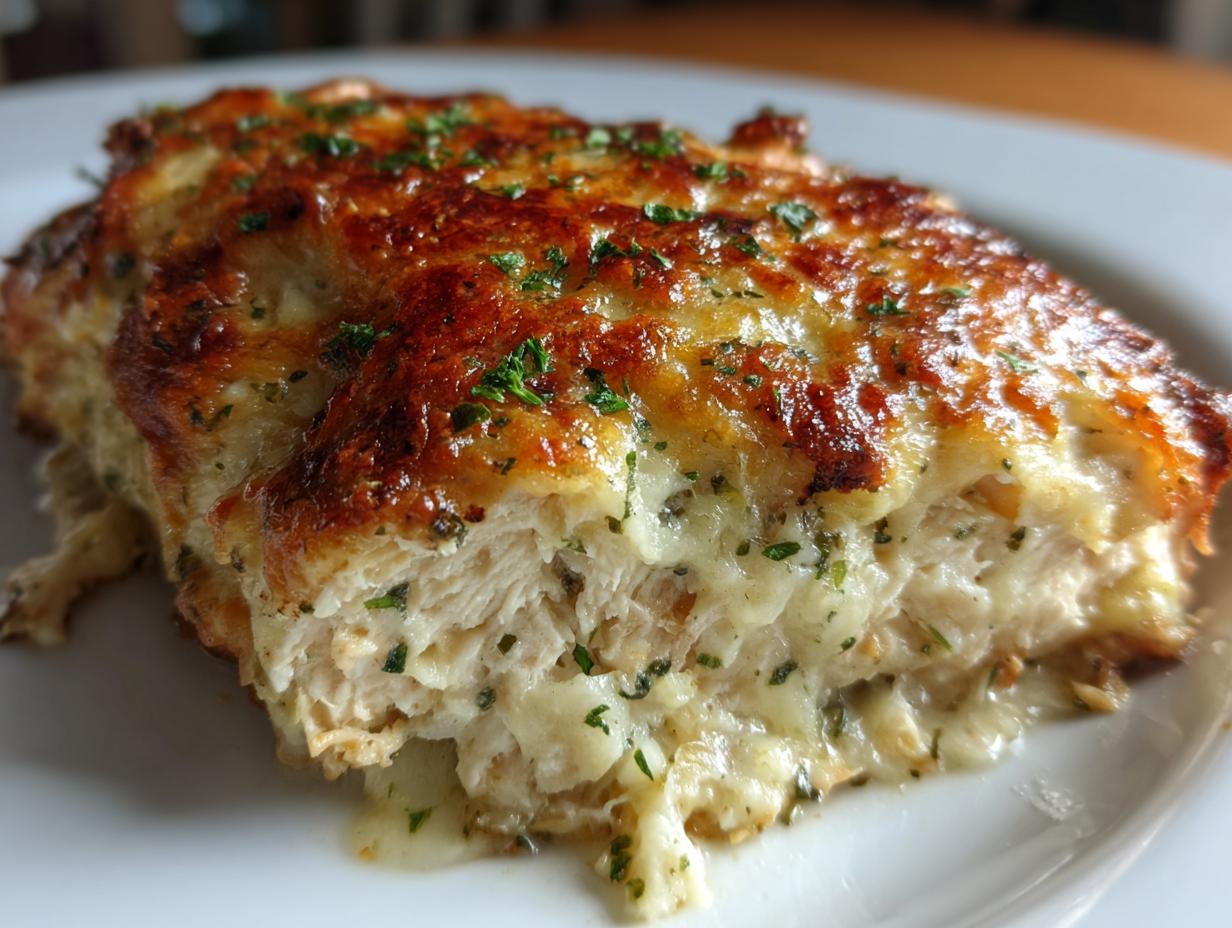

Does thinking about dinner after a long day ever just feel exhausting? I totally get it. That was me on the West Coast—trying to balance a full-time marketing job with my real passion for cooking. If you’re craving something cozy but don’t have an hour to spend standing over the stove, then listen up! This **caesar chicken** is my emergency weeknight fix. It’s creamy, it’s ridiculously flavorful, and honestly, it tastes like it took way more effort than it actually does. Trust me, this is exactly the kind of reliable, family-friendly comfort food I learned to perfect over years stirring pots in my Midwestern kitchen, which you can read more about on my About page.
- Why This Easy Baked Creamy Caesar Chicken is a Weeknight Must-Have
- Gathering Ingredients for Your Caesar Chicken
- Step-by-Step Instructions for Perfect Caesar Chicken
- Expert Tips for No Fail Caesar Chicken Every Time
- Serving Suggestions for Your Creamy Caesar Chicken Recipe
- Storing and Reheating Your Delicious Caesar Chicken
- Frequently Asked Questions About Caesar Chicken
- Estimated Nutritional Snapshot for Caesar Chicken
- Share Your Melt In Your Mouth Chicken Creations
Why This Easy Baked Creamy Caesar Chicken is a Weeknight Must-Have
When I started baking recipes for this site, I desperately needed options for those nights when 5 PM hits and you realize you have zero dinner plans. This **Creamy Caesar Chicken Recipe** is what I turn to when I need true comfort food fast. It checks every box: it’s baked, it’s cheesy, and it comes out unbelievably tender. I’ve tested this recipe countless times—it’s genuinely a no-fail setup for a delicious **Easy Baked Chicken Dinner** that holds up beautifully!
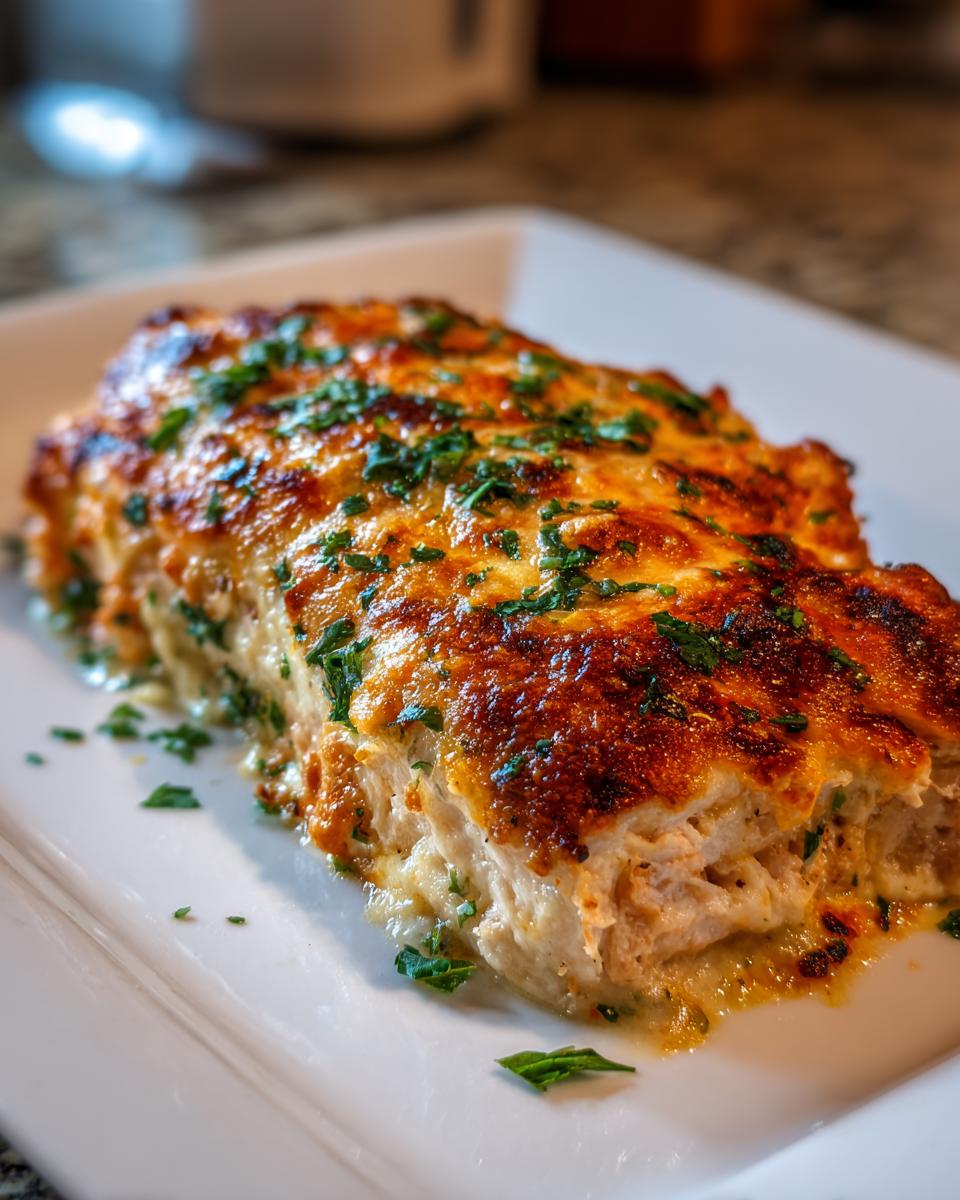
Achieving That Melt In Your Mouth Chicken Texture
The secret to really getting that hallmark tender quality is the coating. We aren’t just spooning dressing on top; we mix it with sour cream and Parmesan first. That little combination acts like a moisturizing blanket while the chicken bakes. It stays juicy, preventing the dreaded dry edges. That’s how we guarantee that **Melt In Your Mouth Chicken** experience every single time.
Simple Preparation for a Quick Weeknight Chicken Meal
If you’ve got ten minutes to mix things up, you’ve got dinner handled. Seriously, the prep is that quick! Since this is an oven-based method, you aren’t stuck stirring anything on the stovetop. That’s why I label this a true **Quick Weeknight Chicken** option. You pop it in the oven and then you have time to relax or get the side dishes ready. You can browse all my reliable dinner favorites while it bakes!
Gathering Ingredients for Your Caesar Chicken
Okay, gathering supplies! Because this is such a simple bake, your ingredients really need to shine. Think of this as a **Gluten Free Caesar Chicken** dish waiting to happen, which is a huge bonus for my friends who dine gluten-free. You’ll notice we aren’t using breadcrumbs or tons of bread fillers, so it’s naturally cleaner eating when paired with veggies. Here’s exactly what you need for four solid servings:
- 4 boneless, skinless chicken breasts
- 1/2 cup creamy Caesar dressing
- 1/2 cup sour cream or Greek yogurt
- 1/2 cup grated Parmesan cheese, plus extra for topping
- 1 teaspoon garlic powder
- 1 teaspoon black pepper
- 1 tablespoon olive oil
- Fresh parsley, chopped (for garnish)
- Lemon wedges (optional, for serving)
Ingredient Notes and Substitution Tips
A few quick pointers on what I look for at the store! Make sure your Caesar dressing is a thicker, really creamy style. If you use a watery one, the topping won’t set up right. Also, don’t be afraid to swap out the sour cream for Greek yogurt if you prefer a **Healthy Caesar Chicken Option**. I do this all the time when I want something a little lighter, and honestly, you can barely taste the difference once it melts in the oven!
Step-by-Step Instructions for Perfect Caesar Chicken
Following the steps exactly is how we turn simple ingredients into restaurant-quality comfort food. Since we’re relying on the oven to do the heavy lifting, preheating correctly is crucial. Get that oven going to 375°F (190°C) before you do anything else, and make sure your baking dish gets a light little wipe-down with olive oil. This is hands-down one of the most reliable dinner recipes you’ll ever try; just follow my lead!
Preparing the Creamy Caesar Chicken Coating
Before we touch the sauce, grab some paper towels and pat those chicken breasts bone-dry on both sides. I know, it seems like a small thing, but dried chicken lets the seasonings stick better. Then, just mix your dressing, sour cream, and Parmesan in a bowl until it’s super smooth. Think of this mixture like high-quality cement—it needs to be evenly spread over every inch of the chicken.
Baking Tips for Golden Perfection on Your Caesar Chicken
Spread that creamy topping evenly over the breasts nestled in your dish and give them a whisper of extra Parmesan on top for a nice crust. Stick them into the 375°F oven for about 25 to 30 minutes. Here’s the big trust signal for safety: you need an instant-read thermometer to confirm they’ve hit 165°F internally. If they look pale afterward, pop them under the broiler for just two or three minutes—but watch them like a hawk so you don’t burn that beautiful coating!
Expert Tips for No Fail Caesar Chicken Every Time
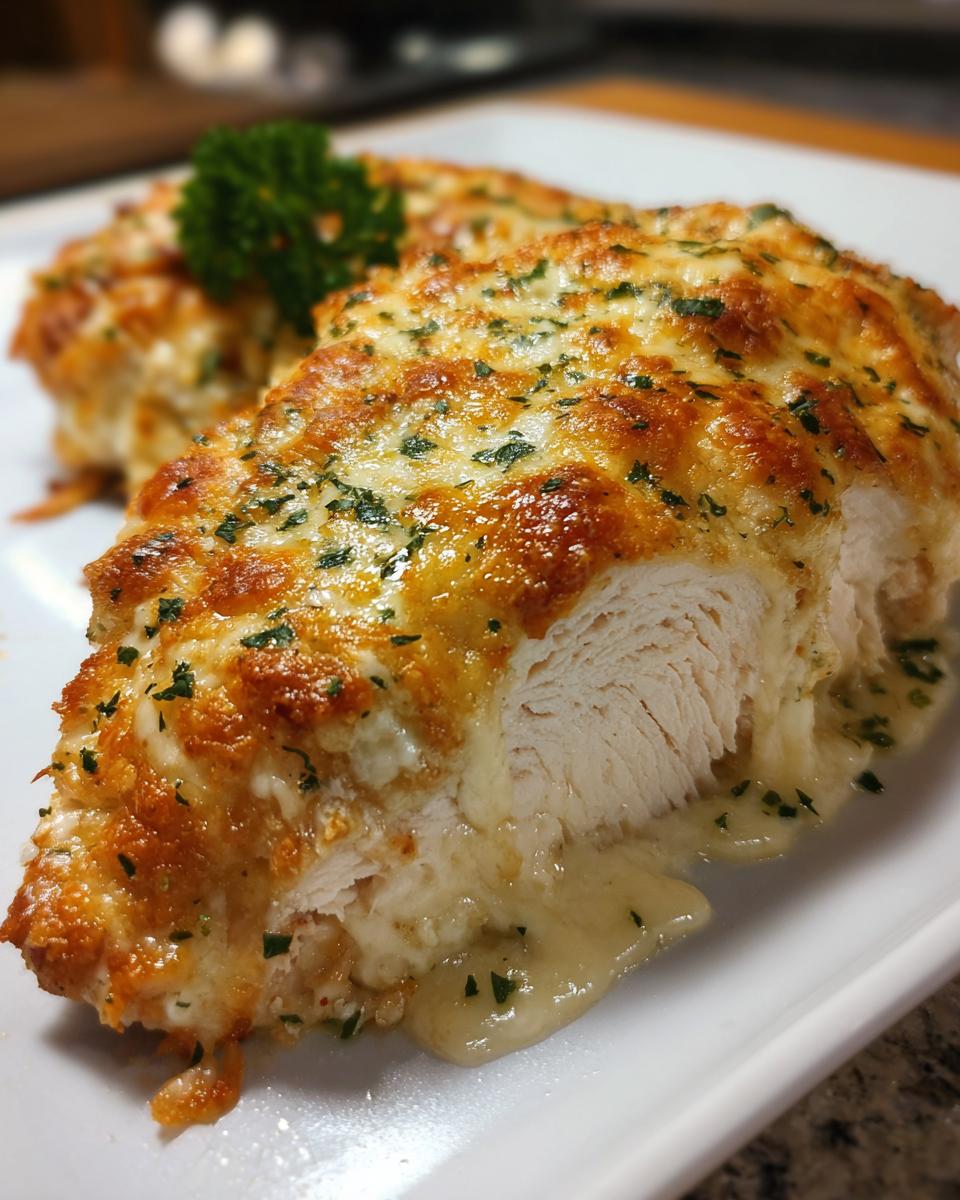
You know I pride myself on sharing recipes that just work, every single time you pull them out. Getting that perfect **caesar chicken** isn’t really about fancy equipment; it’s about knowing the little tricks that make the difference between dry takeout and a juicy, comforting homemade meal. Since I started cooking alongside my dad perfecting barbecue and my grandma perfecting baking, I learned that paying attention to the details separates a good dish from a great one. Read my latest thoughts on my blog for more kitchen wisdom!
Avoiding Dry Chicken When Making Caesar Chicken
Okay, the number one fear with baking chicken breasts is drying them out, right? You need a super thick coating—almost like spreading frosting on a cake—to shield the meat. Once it comes out of the oven at 165°F, you absolutely must let it rest! Tent it loosely with foil for five minutes. This resting period allows the juices, which are currently pushed to the center by the heat, to redistribute throughout the meat. Seriously, don’t skip the rest; it’s crucial for that **juicy baked chicken breasts** texture.
Building Flavor: Enhancing Your Caesar Chicken
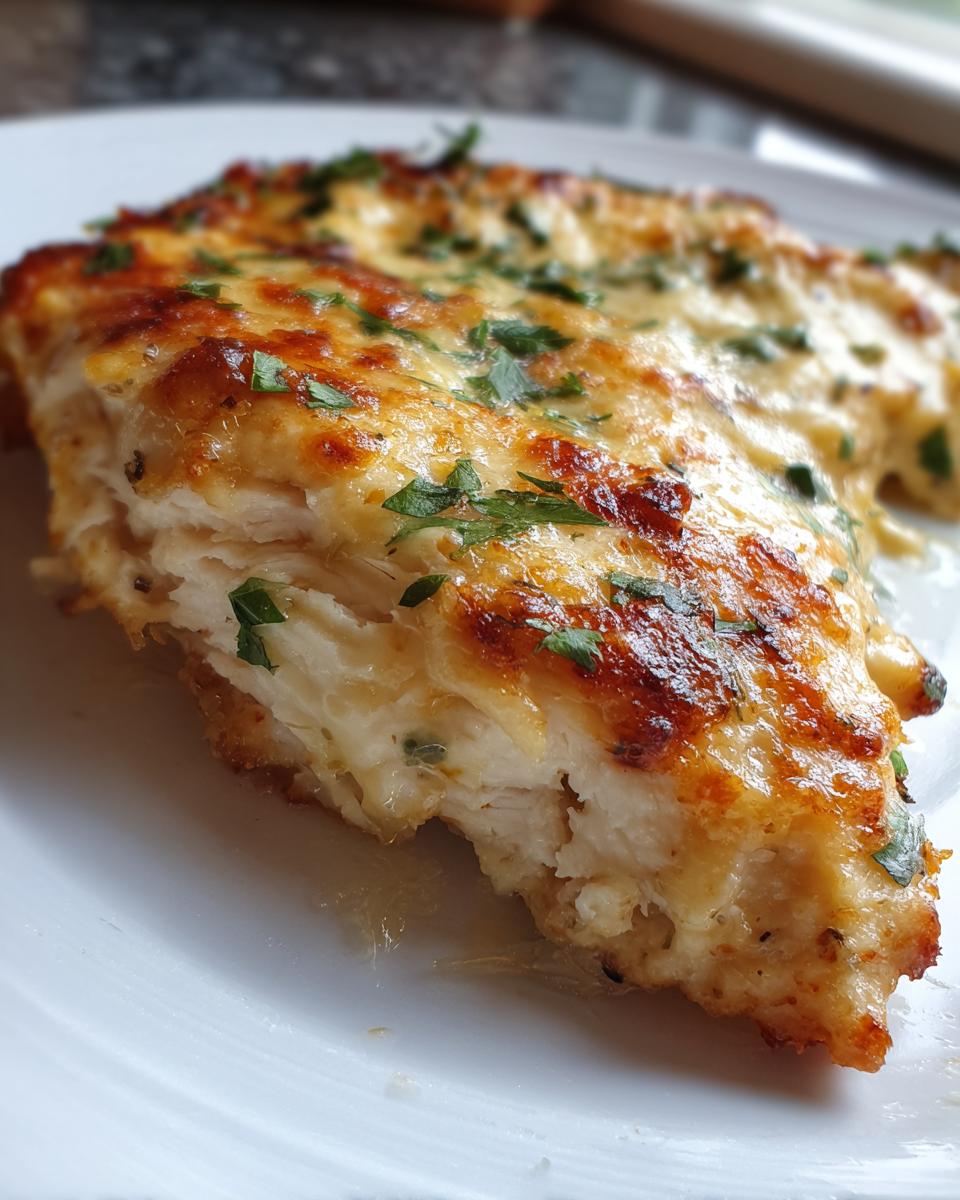
The dressing is great, but if you want this to taste like you slaved over it all day, you need punch! I always sneak in about half a teaspoon of Dijon mustard into that creamy sauce mixture. It doesn’t taste explicitly like mustard, but it cuts through the richness of the cream and Parmesan beautifully. Also, ditch the pre-ground pepper if you can. Freshly cracked black pepper makes a huge difference in aromatic depth for this simple **comfort food chicken recipe**.
Serving Suggestions for Your Creamy Caesar Chicken Recipe
Now your chicken is cooked, it’s golden, and it smells amazing! What happens next is just as important as the baking itself—deciding what to serve it with to make a complete meal. Honestly, this **caesar chicken** is so rich and flavorful, it stands up really well to hearty sides, making it a perfect **Family Friendly Chicken** centerpiece.
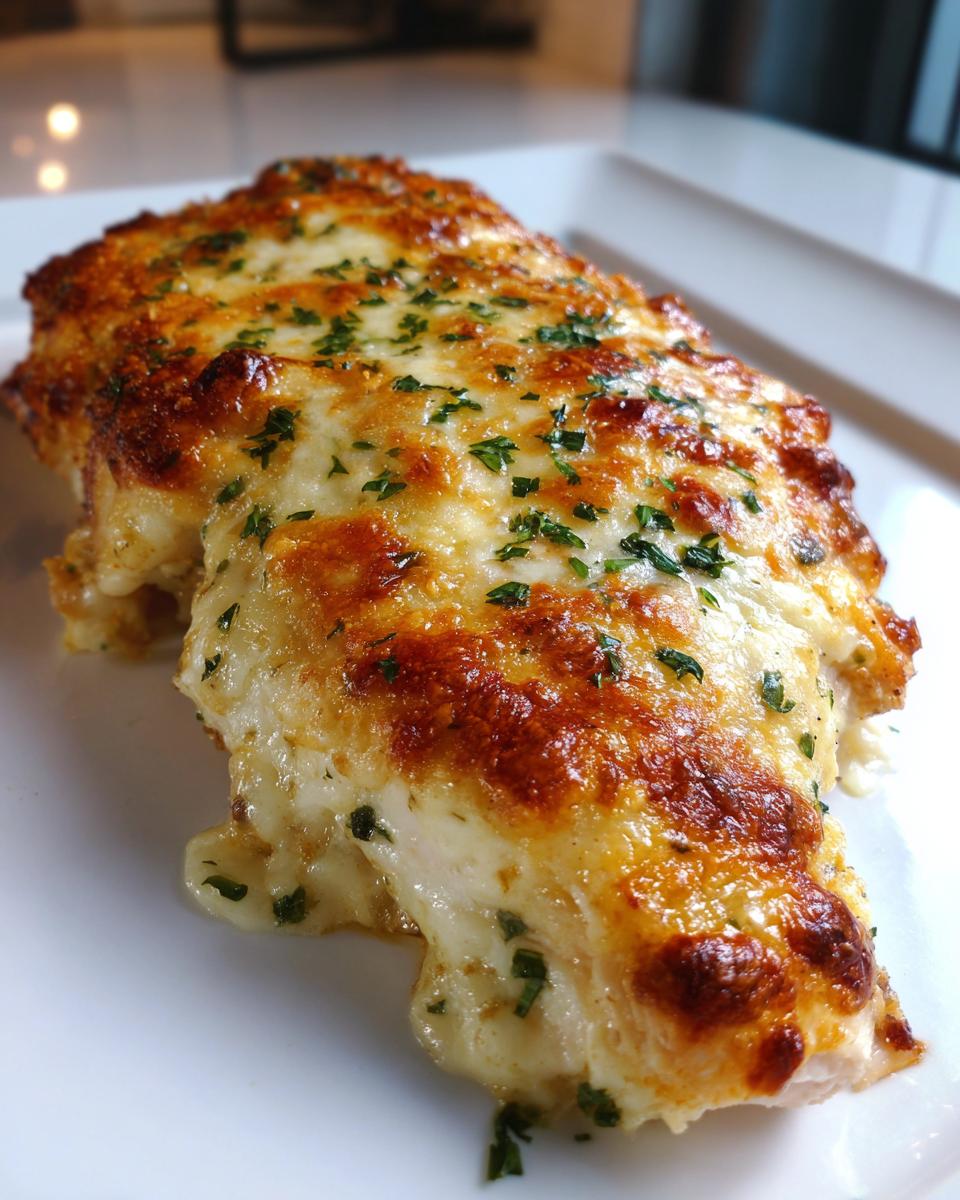
If you’re going for the ultimate comfort vibe, I always suggest mashed potatoes or buttered egg noodles. The pan sauce that naturally forms in the dish underneath the chicken is incredible when spooned over those carbs—don’t let any of that goodness go to waste! Another great pairing, especially when you need a lighter approach, is roasted vegetables. Broccoli, asparagus, or even just some simple oven-roasted root veggies are fantastic because they soak up any leftover Caesar sauce.
And of course, you *have* to serve it with a crisp salad! I have a copycat version of my favorite restaurant salad dressing on the site if you want to dive deep into fresh greens to balance out this amazing richness. You can see my recipe for the copycat Olive Garden salad dressing here!
Storing and Reheating Your Delicious Caesar Chicken
I love leftovers, which means our **caesar chicken** has to reheat well, or I just won’t bother making it! Good news: because this chicken breast stays so juicy, it freezes and refrigerates like a dream. You can keep leftovers in an airtight container in the fridge for up to three days. When you’re ready to eat it, please skip the microwave if you can, or it might get a little rubbery!
For the best experience, just place the leftover chicken in a small oven-safe dish and warm it at 300°F (150°C) until heated through. If it looks a little dry, add just a tablespoon of water or maybe a touch of extra broth to the bottom of the dish before tenting it with foil. That little bit of steam gets it back to melt-in-your-mouth status in about 15 minutes. It truly prevents any disappointment!
Frequently Asked Questions About Caesar Chicken
I know you might have a few questions bubbling up—I always do when I try a new recipe! It’s important to me that you feel 100% confident making this dish, which is why I wanted to cover a few things that come up often when people try out this **Parmesan Crusted Chicken** idea for the first time.
Can I make this Caesar Chicken recipe ahead of time?
You absolutely can assemble this ahead of time, which is a lifesaver! Mix up the creamy sauce and coat the chicken completely, just as the recipe says. Do that assembly step the night before, cover the whole dish tightly, and just pop it in the fridge. Then, when you get home from work, all you have to do is preheat the oven and bake it. Just add about 5 to 10 minutes to your baking time since it’s going in cold.
What is the best way to use meal planning for Caesar Chicken?
Honestly, this **caesar chicken** is my favorite thing to rely on when I’m trying to stick to a budget and skip those expensive **meal planning** subscription boxes. You don’t need complicated weekly schedules for this one! If you make a double batch on Sunday, you’ve already covered lunch for two days. You just portion out four ounces per serving, and you have an amazing, flavorful, protein-packed lunch ready without paying for **best meal delivery services**.
Is this Parmesan Crusted Chicken recipe suitable for meal prep?
Yes, it’s wonderful for meal prep! Because the coating is so rich and moisturizing, it holds up so much better than plain baked chicken. When reheating leftovers, treat them gently—pop them in the oven like I discussed earlier. They stay tender enough to qualify as **comfort food chicken recipes**, even on day three. It’s become one of my staple **simple chicken dinner ideas** for packing lunches!
Estimated Nutritional Snapshot for Caesar Chicken
I always like to give you guys a heads-up about what’s in the dish—it’s important to know what you’re eating, even when it’s pure comfort food! Since I’m not a registered dietitian standing in a commercial kitchen, these figures are just my best estimates based on the ingredients listed in the recipe. They are meant to give you a general idea, okay?
When I ran the numbers for a single serving of this **caesar chicken** breast, here’s what roughly popped out:
- Calories: About 320 kcal
- Total Fat: Around 18 grams
- Protein: A healthy 35 grams! That’s why it’s a great dinner centerpiece.
- Carbohydrates: Very low, just about 4 grams
Just remember, the actual counts can shift depending on which brand of Caesar dressing you grab or whether you swap the sour cream for Greek yogurt—that yogurt swap definitely nudges the fat down a bit more. These numbers confirm this is a satisfying, high-protein meal and a great lean option compared to relying on bulkier **weight loss programs**!
Share Your Melt In Your Mouth Chicken Creations
Whew! Now that you’ve got this incredibly easy, unbelievably creamy **caesar chicken** baking away, I really want to know what you think. This is my kitchen, yes, but it becomes *ours* when you all start making these recipes. Did it turn out as juicy and tender as you hoped? Did you love skipping the hassle of **meal-planning** for a perfectly satisfying night?
Please, please leave me a comment down below! Tell me how long you baked it for, if you used yogurt or sour cream, or what you served alongside it. Your feedback helps everyone else feel confident trying this **Easy Baked Chicken Dinner** too. I read every single comment because I truly value hearing about your home cooking triumphs.
And if you’re sharing photos on Instagram or Facebook—tag me! I love seeing my recipes come to life in your homes. Use the hashtag #CutCookTaste so I can easily find your beautiful, golden-topped chicken bakes. If you have any burning questions I didn’t cover, you can always drop a line using my contact form too. Let’s keep this delicious community growing!
PrintEasy Baked Creamy Caesar Chicken

Make this melt-in-your-mouth Caesar chicken for a simple, creamy weeknight dinner. This baked chicken recipe uses common ingredients for a flavorful meal.
- Prep Time: 10 min
- Cook Time: 30 min
- Total Time: 40 min
- Yield: 4 servings 1x
- Category: Dinner
- Method: Baking
- Cuisine: American
- Diet: Gluten Free
Ingredients
- 4 boneless, skinless chicken breasts
- 1/2 cup creamy Caesar dressing
- 1/2 cup sour cream or Greek yogurt
- 1/2 cup grated Parmesan cheese, plus extra for topping
- 1 teaspoon garlic powder
- 1 teaspoon black pepper
- 1 tablespoon olive oil
- Fresh parsley, chopped (for garnish)
- Lemon wedges (optional, for serving)
Instructions
- Preheat your oven to 375°F (190°C). Lightly grease a baking dish with olive oil or nonstick spray.
- Pat the chicken breasts dry using paper towels. Season both sides with garlic powder and black pepper.
- In a bowl, mix the Caesar dressing, sour cream (or Greek yogurt), and 1/2 cup of grated Parmesan cheese until the mixture is smooth.
- Place the seasoned chicken breasts in the prepared baking dish. Spread the creamy Caesar-Parmesan mixture evenly over the top of each chicken breast, coating them completely.
- Sprinkle a little extra Parmesan cheese on top of the coating.
- Bake uncovered for 25 to 30 minutes, or until the internal temperature reaches 165°F (74°C) and the topping is golden brown.
- Remove the chicken from the oven and let it rest for 5 minutes before serving.
- Garnish with chopped parsley and serve with lemon wedges if desired. This recipe is a great alternative to using meal planning services.
Notes
- For a crispier top, place the dish under the broiler for the last 2 to 3 minutes, watching closely to prevent burning.
- If you are watching your fat intake, substitute Greek yogurt for sour cream in the sauce mixture.
- Serve this chicken with roasted vegetables or buttered noodles for a complete meal.
Nutrition
- Serving Size: 1 breast
- Calories: 320
- Sugar: 2
- Sodium: 450
- Fat: 18
- Saturated Fat: 7
- Unsaturated Fat: 11
- Trans Fat: 0
- Carbohydrates: 4
- Fiber: 0
- Protein: 35
- Cholesterol: 100