
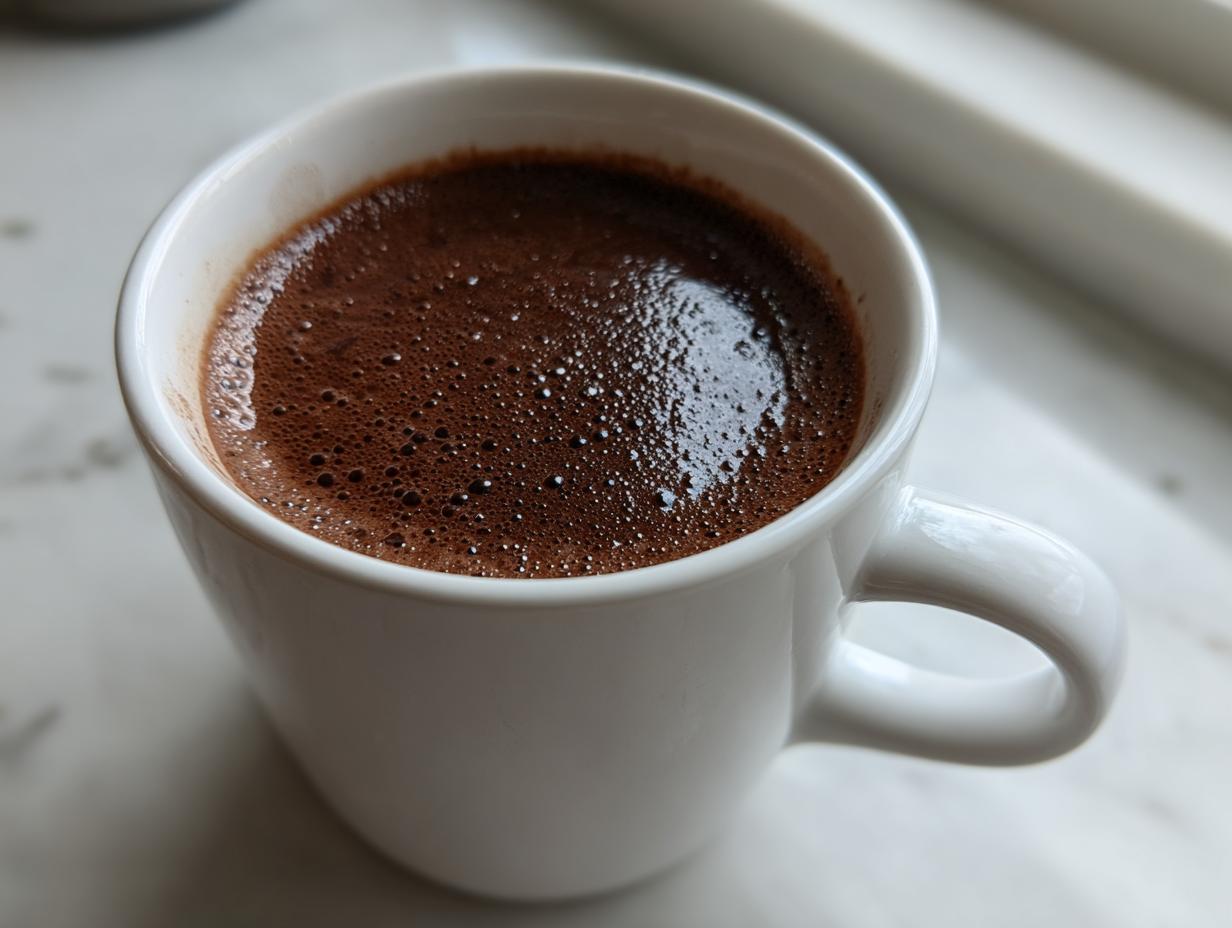

Oh, there is just nothing better than that first crisp day of winter when the only thing you want is something warm, rich, and utterly comforting, right? Forget those dusty packets you stir into hot water; we are going straight for the good stuff today. I’m showing you my absolute secret for the **thickest and creamiest homemade hot chocolate** you will ever taste. My dad loved hosting big backyard parties, and he taught me early on that shortcuts often mean skipping flavor. That’s why, here at Cut Cook Taste, we always commit to real ingredients, a philosophy I learned watching my grandmother bake. This recipe uses actual chocolate and heavy cream to create a velvety, luxurious mug of joy that tastes like a five-star dessert. Get ready to toss out the powder forever! If you want to read more about my cooking journey, you can always check out my About Page.
- Why This Homemade Hot Chocolate Recipe Is Superior to Powdered Mixes
- Ingredients for the Thickest and Creamiest Hot Chocolate
- Step-by-Step Instructions for Perfect Stovetop Hot Cocoa
- Tips for Success When Making Gourmet Hot Chocolate
- Alternative Methods: Slow Cooker Hot Chocolate for Parties
- Serving Suggestions for Your Rich and Creamy Hot Chocolate
- Storage and Reheating Instructions for Leftover Hot Chocolate
- Frequently Asked Questions About Making Hot Chocolate
- Estimated Nutritional Data for This Hot Chocolate
Why This Homemade Hot Chocolate Recipe Is Superior to Powdered Mixes
Honestly, once you try making **real chocolate hot cocoa** this way, you will never go back to the stuff in the blue tin, I promise. That powdery stuff is fine in a pinch, but it’s thin, and it just doesn’t have that deep, satisfying chocolate backbone. When I moved out West and started hitting those fancy coffee shops with their seasonal menus, I realized how badly I missed that comforting warmth from home. I decided right then that my cozy winter drinks needed an upgrade. That’s when I started treating my basic cocoa like a dessert—something that deserved real, quality ingredients.
This isn’t just about making a slightly better winter warm drink; it’s about creating an indulgent chocolate drink experience. Moving away from that powdered mix approach means you get real flavor depth. We are talking about using actual chocolate bars, not just sugar and cocoa dust. This **non-powder hot chocolate** is what your cold evenings deserve.
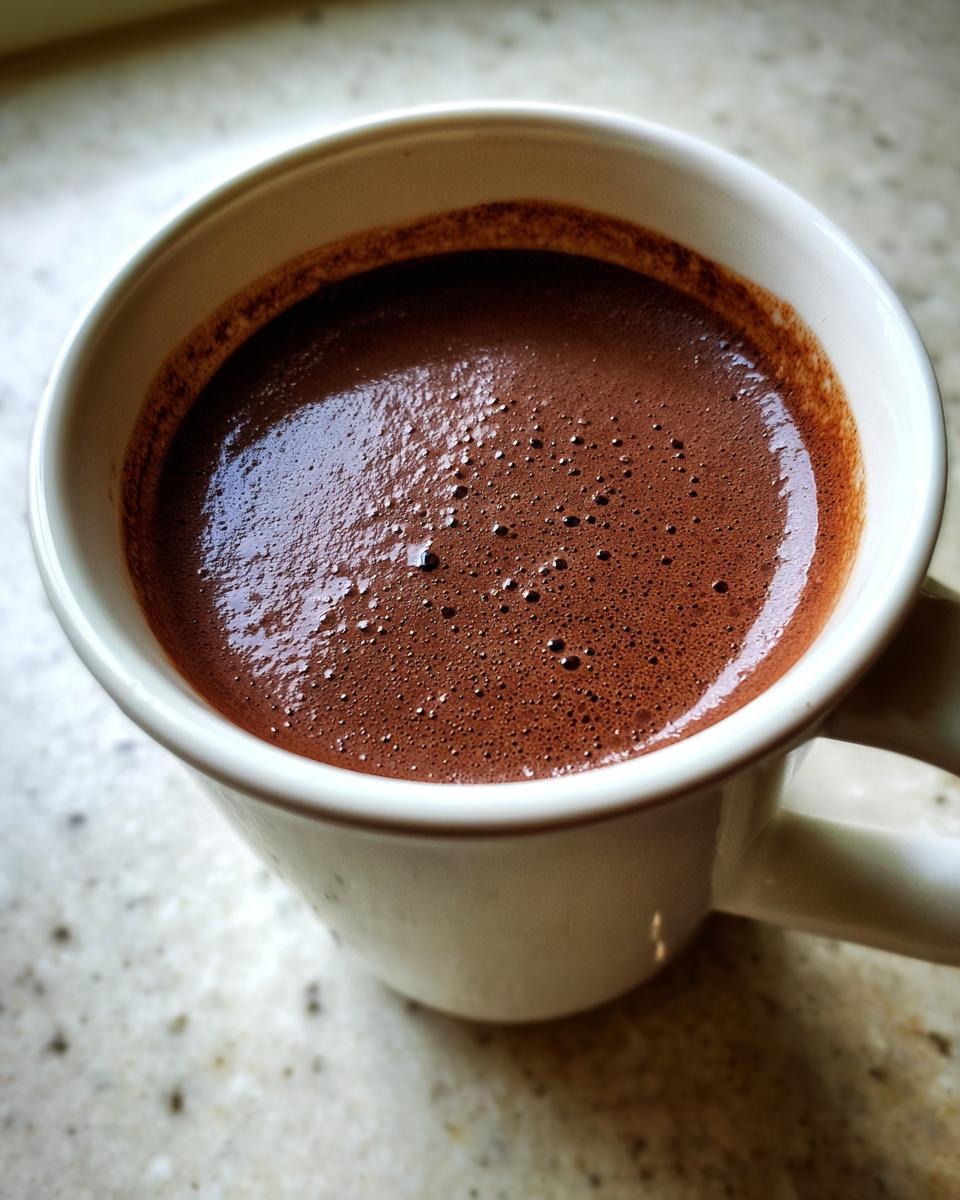
Achieving Rich and Creamy Hot Chocolate Texture
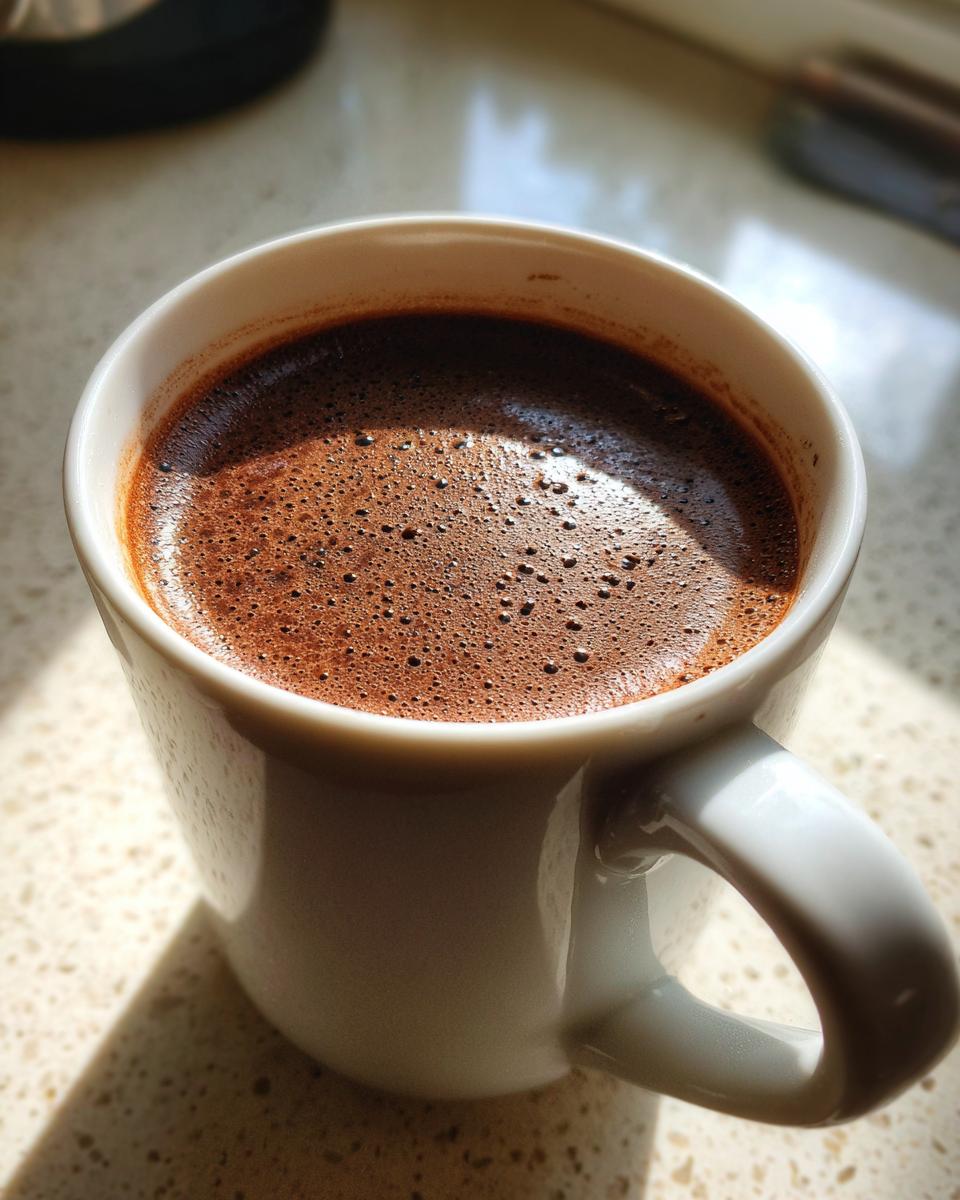
So, how do we get that almost-pudding-like texture? It all comes down to the dairy, folks. We use a cup of heavy cream mixed with the whole milk. This fat content is crucial; it carries the chocolate flavor better, making every sip feel velvety smooth on your tongue. Then, the key is patience—we warm it gently, just until steam appears, never letting it boil! Boiling ruins the milk proteins, and you end up with a watery drink, which is the opposite of what we want here. That slow-cooked technique is how we build that incredible, luxurious consistency meant for deep winter sipping.
Ingredients for the Thickest and Creamiest Hot Chocolate
Okay, now let’s talk about what actually goes into this magic cup! For the best results, you need to stick to this list pretty closely. Remember, since we are avoiding those convenient packets, the quality of these core elements is what determines the whole flavor profile for this amazing winter treat. I always buy the best quality ingredients I can find, knowing that they are the foundation of this recipe. Getting the chocolate just right—chopped really fine—is the first step toward that unbelievably smooth finish we are aiming for.
- 4 cups Whole Milk
- 1 cup Heavy Cream
- 6 ounces Semi-sweet or Dark Chocolate, finely chopped
- 1/4 cup Granulated Sugar
- 1 teaspoon Vanilla Extract
- Pinch of Salt
Step-by-Step Instructions for Perfect Stovetop Hot Cocoa
Making this incredible **stovetop hot cocoa** is really straightforward, but timing is everything—that’s where the magic happens! First thing, grab a medium saucepan. You’re going to pour in your whole milk and heavy cream and set the heat to medium. We just want to warm this up until you see gentle wisps of steam forming around the edges. Seriously, stop right there; we are not boiling this mixture! A boil changes the texture, and we worked too hard to get that amazing creaminess! If you like quick stovetop recipes, check out my take on banana oatmeal; the principle of gentle heating is the same.
Once you hit that perfect temperature, pull the pan completely off the burner. Now, dump in your finely chopped chocolate and the sugar. Here’s a pro move: let it just sit there, untouched, for a full two minutes. This lets the warm dairy soften all that solid chocolate underneath the surface. Don’t rush it! After those two minutes, grab your whisk and gently whisk everything until it looks like one beautiful, smooth chocolate puddle. It should have no lumps at all.
Next, put the pan back on the stove, but keep the heat really low. We’re going to whisk constantly for about three to five minutes. This slow heating is what thickens the drink just enough to give it that wonderful, velvety mouthfeel. Once you feel it starting to cling slightly to the whisk, pull it off for good, stir in the vanilla and salt, and get ready to serve!
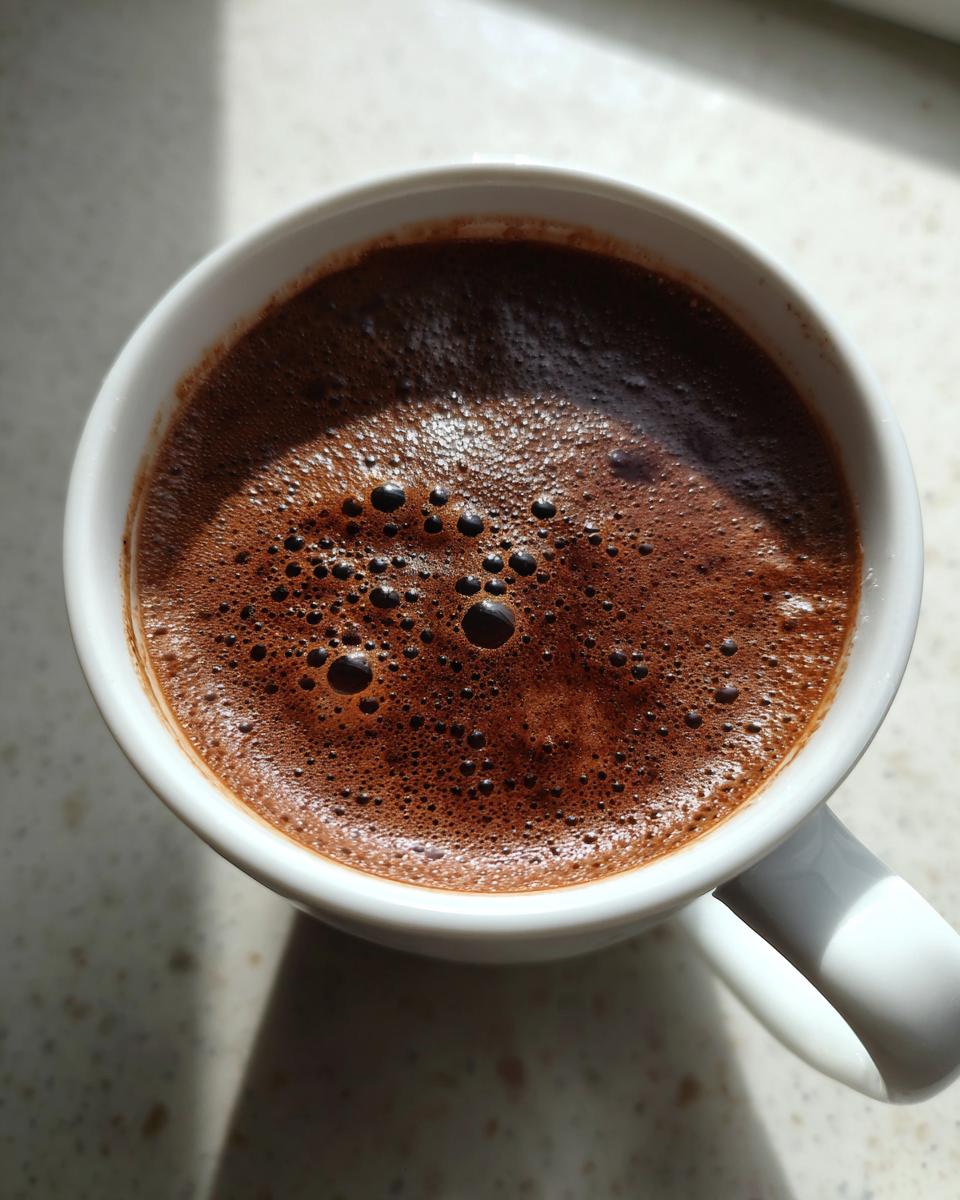
The Critical Melting and Whisking Stage for Smooth Hot Chocolate
I always tell people that the two minutes you let the chocolate sit off the heat are non-negotiable. If you start whisking before the chocolate has softened, you risk creating little bits that don’t melt completely, resulting in a grainy texture instead of that perfectly smooth sip we are craving. When I put it back on low heat later, the whisking prevents scorching on the bottom of the pan. You need to keep that liquid moving constantly, especially as it gets thicker. See how it coats the whisk? That’s the sign that your chocolate is totally dissolved into the milk and cream, creating one homogenous, luxurious drink. It’s all about gentle agitation to keep everything happy and combined!
Tips for Success When Making Gourmet Hot Chocolate
We’ve nailed the base recipe for this **Gourmet Hot Chocolate**, but since this is meant to be an **indulgent chocolate drink**, let’s talk about how to really elevate it beyond just the core ingredients. Always trust your gut when tasting, too—if it needs just a *tiny* bit more sweetness or a pinch more salt to make the chocolate pop, add it! I learned this from my dad with his barbecue marinades: tasting as you go is key.
If you need to make a huge batch for a crowd, you can easily scale up these measurements and transition this right over to your slow cooker set to low; it keeps it warm beautifully. Also, remember that to get the absolute thickest texture, you simply must use a quality chocolate bar rather than chips. Chips often contain stabilizers to help them keep their shape when baking, which we absolutely do not want here!
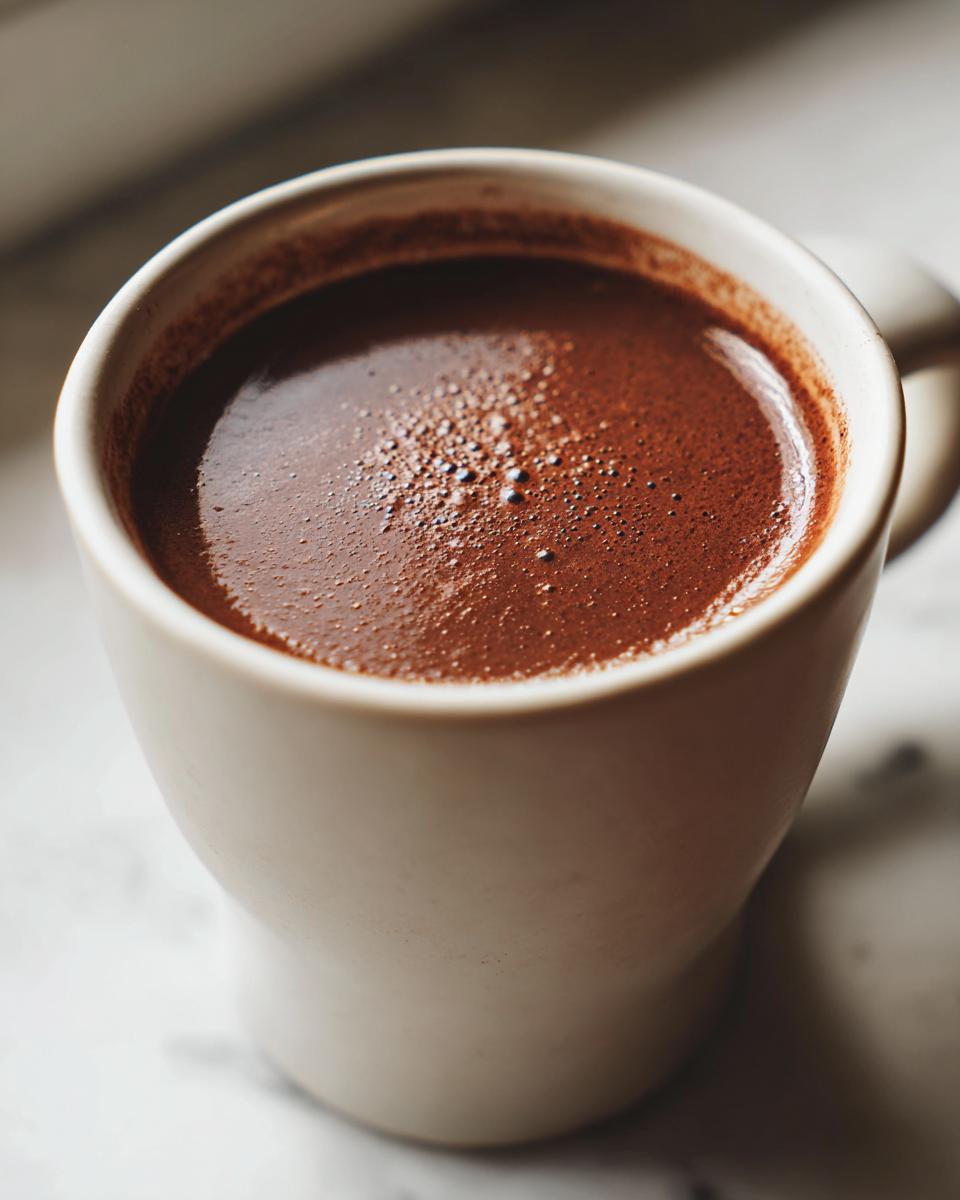
Flavor Twists for Your Next Hot Chocolate Batch
Once you master the basic velvety texture, you can start playing around! For a little warmth, a dash of nutmeg or a scraping of orange zest near the end makes a huge difference. If you want to lean into a **Vanilla Hot Chocolate**, just increase that vanilla extract by half a teaspoon. If you’re feeling fancy and want a **Salted Caramel Hot Chocolate**, just swap out about a quarter of your sugar for some really good caramel sauce right when you add the vanilla. These simple additions make your homemade treat feel extra special. If you love simple flavor enhancements, you should check out my easy Thai peanut sauce recipe; it uses a similar principle of balancing strong flavors!
Alternative Methods: Slow Cooker Hot Chocolate for Parties
Okay, so maybe you’re hosting a big gathering, like a neighborhood Christmas party or just having the whole book club over. In that case, standing over the stove stirring for 40 minutes isn’t exactly relaxing, right? That’s where the magic of the **Slow Cooker Hot Chocolate** comes in handy! You can absolutely take the ratios from this recipe—just remember to scale them up significantly for a larger pot.
You combine all the liquids and the chopped chocolate in your cooker, skip the initial stovetop warming step, and just let it melt on LOW. Then, you stir every 30 minutes or so. My only warning is that you need to monitor it closely so it doesn’t stick to the bottom, even on low. This makes serving a breeze for getting that perfect **Crockpot Cocoa** ready for everyone to enjoy all evening long. If you want to see another great use for your slow cooker, check out this slow cooker method for more inspiration.
Serving Suggestions for Your Rich and Creamy Hot Chocolate
Now that you’ve made this spectacular **hot chocolate**, presentation matters! Since we aimed for that thick, almost dessert-like texture, feel free to treat this like a very decadent treat. For classic American style, you absolutely need a huge dollop of real whipped cream—none of that aerosol stuff, if you can help it! Mini marshmallows are always a fun addition, too, especially stirred in quickly so they just start to melt into the top layer.
Because this is such a rich and satisfying drink, it stands perfectly on its own, but it also pairs wonderfully with my favorite simple American **comfort food drinks** fare. Think about serving this alongside a bowl of my easy chicken chili on a snowy night. The salty-savory balance is just divine. It’s truly the perfect ending to a cozy, casual meal!
Storage and Reheating Instructions for Leftover Hot Chocolate
If you are lucky enough to have any of this rich and creamy stuff leftover—which, honestly, I rarely am!—you need to treat it properly so it tastes just as good the next day. Chocolate and dairy mixtures don’t always love being stored, so a little care goes a long way here.
First, make sure it cools down quickly. Pour any remaining hot chocolate into an airtight container. It keeps beautifully in the refrigerator for up to three days, easily. I always label the container with the date, because sometimes my brain skips a beat!
When you are ready to reheat it, please, I beg you, skip the microwave! The microwave heats unevenly and can cause that creamy texture to separate or scorch the milk. Instead, pour the cooled hot chocolate back into a small saucepan. Put it over very low heat. You want to keep stirring gently, almost constantly, until it’s warmed through and smooth again. It will thicken up slightly as it reheats, which is totally normal because of the real chocolate we used. If it seems a little too thick for your liking after warming, just whisk in a tiny splash of extra milk until you hit that perfect consistency again. Easy peasy!
Frequently Asked Questions About Making Hot Chocolate
It’s natural to have questions when you move away from relying on those boxed mixes. I get asked similar things all the time when folks comment on my recipes! Here are the things I hear most often about nailing this **homemade hot chocolate recipe** every single time.
Can I use cocoa powder instead of chopped chocolate in this hot chocolate recipe?
You absolutely *can*, but if you do, you’re moving away from what makes this recipe so amazing—that deep, velvety richness! Cocoa powder alone won’t deliver the same **thick hot chocolate** texture because the fat content is missing. If you have to use powder, I suggest using about 1/3 cup of high-quality unsweetened cocoa powder, and then you MUST replace a good portion of the fat by using half-and-half instead of whole milk, or even adding a tablespoon of softened butter when you stir everything together. It’ll be good, but it won’t be this *thick*.
What is the best way to make this hot chocolate dairy-free?
This is a popular question, especially when entertaining! Making this recipe dairy-free is totally achievable for those **cozy beverage** needs. The key is fat content, just like we discussed. Instead of whole milk, reach for a rich, full-fat oat milk—they tend to steam and blend the best. For the heavy cream, look for a high-quality thick soy cream substitute or maybe even a coconut cream substitute if you don’t mind a subtle background note. The final texture relies on that heavy fat, so just make sure whatever you swap in has a similar fat percentage to what we used here!
Can I make this ahead of time for a party?
Well, yes and no, which is why the slow cooker method is so brilliant for parties! If you make this **rich and creamy hot chocolate** ahead of time, it will definitely solidify slightly once it chills because of all that real chocolate in there. It won’t be liquid anymore! You must store the leftovers in the fridge and reheat them gently on the stovetop (low heat, constant stirring) until smooth. For keeping it hot for hours, use that Crockpot method I mentioned in the main post—it prevents that film from forming on top!
Estimated Nutritional Data for This Hot Chocolate
It’s only fair to talk about what goes into these special treats, right? Because we are using heavy cream and good quality semi-sweet chocolate, this **hot chocolate** is certainly more decadent than the powdery stuff, which means the numbers are higher, but wow, is it worth it!
Keep in mind, these figures are just estimates based on the core four servings outlined in the recipe—they don’t account for any of your fabulous toppings like extra whipped cream or those tiny marshmallows you absolutely must add for texture! Just like when I talk about my weekly meal planning, I always advise folks to look at suggested nutrition as a starting point, not a hard rule.
Here is the breakdown:
- Calories: 350
- Fat: 22g
- Carbohydrates: 32g
- Sugar: 30g
- Protein: 8g
We are showing decent protein from the milk and a good amount of satisfying fat, which is what makes this drink feel so much more like a proper dessert than a glass of milk. If you were to add alcohol, switch to skim milk, or use different chocolate, these numbers would shift, so treat this table as a helpful guide for this incredibly rich and comforting beverage!
PrintThe Thickest and Creamiest Homemade Hot Chocolate
Make rich, comforting hot chocolate using real chocolate and heavy cream. This stovetop recipe delivers a velvety texture superior to any powder mix.
- Prep Time: 5 min
- Cook Time: 10 min
- Total Time: 15 min
- Yield: 4 servings 1x
- Category: Dessert Drink
- Method: Stovetop
- Cuisine: American
- Diet: Vegetarian
Ingredients
- 4 cups Whole Milk
- 1 cup Heavy Cream
- 6 ounces Semi-sweet or Dark Chocolate, finely chopped
- 1/4 cup Granulated Sugar
- 1 teaspoon Vanilla Extract
- Pinch of Salt
Instructions
- Combine the whole milk and heavy cream in a medium saucepan over medium heat. Warm the mixture until steam appears around the edges, but do not let it boil.
- Remove the saucepan from the heat. Add the finely chopped chocolate and sugar to the warm milk mixture.
- Let the chocolate sit undisturbed for two minutes to soften.
- Whisk the mixture slowly until the chocolate is completely melted and the liquid is smooth.
- Return the saucepan to low heat. Whisk constantly for about 3 to 5 minutes until the hot chocolate thickens slightly. Do not allow it to boil.
- Remove from heat and stir in the vanilla extract and salt.
- Pour the hot chocolate into mugs. Top with whipped cream or marshmallows if desired.
Notes
- For an even richer flavor, substitute half of the whole milk with half-and-half.
- If you are planning your weekly meals, this recipe pairs well with simple comfort food dinners.
- To achieve the thickest texture, use a high-quality chocolate bar instead of chips.
- This recipe is easily scaled up for parties using a slow cooker set to low.
Nutrition
- Serving Size: 1 cup
- Calories: 350
- Sugar: 30g
- Sodium: 80mg
- Fat: 22g
- Saturated Fat: 14g
- Unsaturated Fat: 8g
- Trans Fat: 0g
- Carbohydrates: 32g
- Fiber: 2g
- Protein: 8g
- Cholesterol: 75mg