
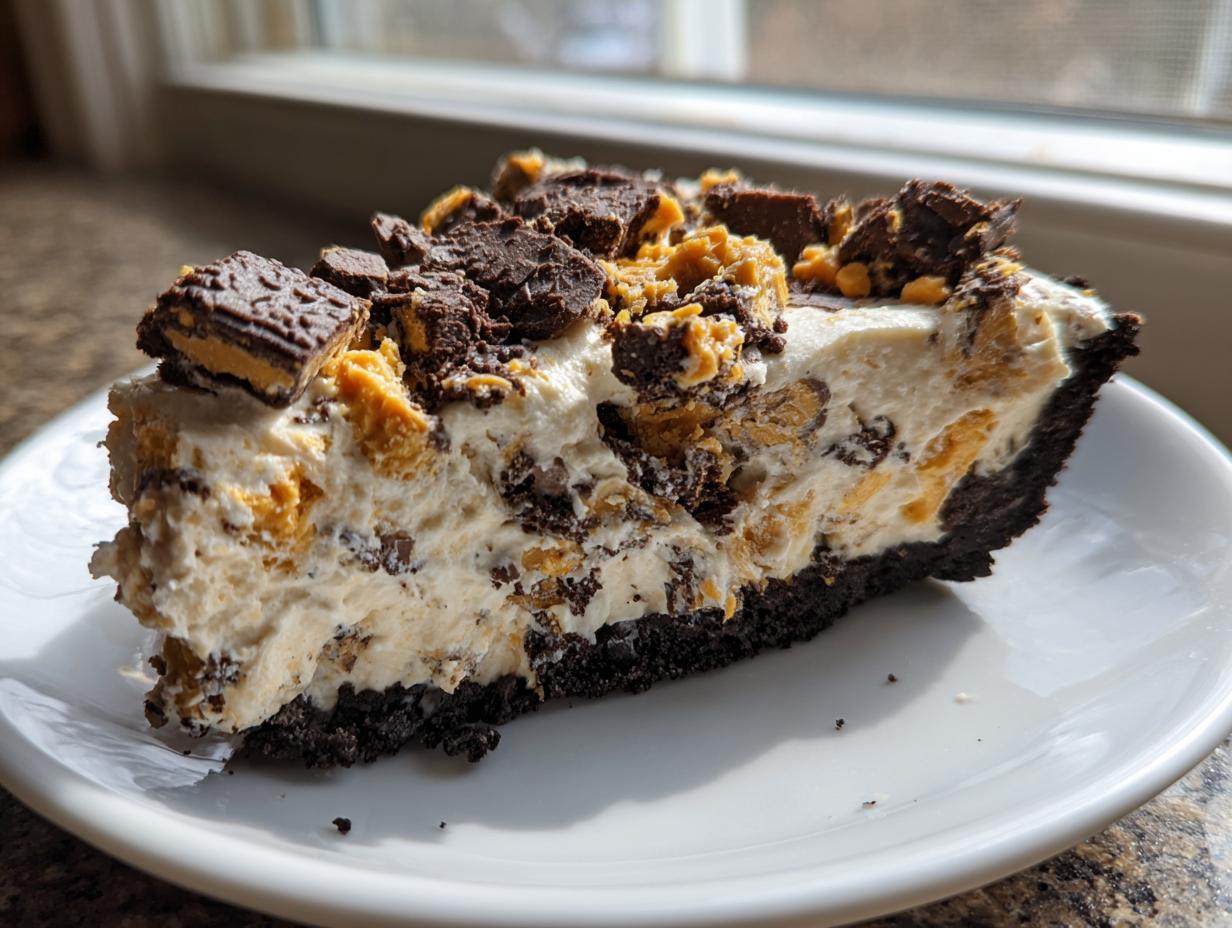

If you’re like me, sometimes you need a dessert that tastes absolutely incredible but doesn’t require firing up the oven, especially when the house is already too warm! My goal here at Cut Cook Taste is always to give you reliable, can’t-miss recipes that bring folks together, just like my grandmother taught me. That’s why I am so thrilled to share what I think is the ultimate solution for quick indulgence: the Butterfinger Pie.
Seriously, this recipe is a dream come true when you need something rich, requires minimal fuss, and tastes intensely nostalgic. Forget complicated layers; this is a cool, creamy, no-bake showstopper. It’s the perfect party savior because it uses accessible ingredients and delivers pure candy bar joy in every bite. You are going to love how easy this comes together!
- Why This No Bake Butterfinger Pie Recipe Works So Well
- Gathering Ingredients for Your Butterfinger Pie
- Step-by-Step Instructions for the Perfect Butterfinger Pie
- Tips for Success Making Your Butterfinger Pie
- Serving Suggestions for This Potluck Dessert Recipe
- Storage and Make Ahead Desserts Tips for Your Butterfinger Pie
- Frequently Asked Questions About This Easy No Bake Butterfinger Pie
- Nutritional Estimates for Your Butterfinger Pie Slice
- Share Your Experience with This Quick Candy Dessert
Why This No Bake Butterfinger Pie Recipe Works So Well
When I bring this pie to a gathering, I always get asked if I spent all day over a hot stove. The answer is a massive no! That’s the beauty of a great no bake butterfinger pie—it delivers max flavor with minimal effort. Since there’s no oven involved, it’s perfect for summer potlucks or when you just don’t want to heat up the kitchen.
This recipe truly stands out because it hits that sweet spot between luxurious and simple. It’s one of those ultimate easy no bake desserts that feels fancy.
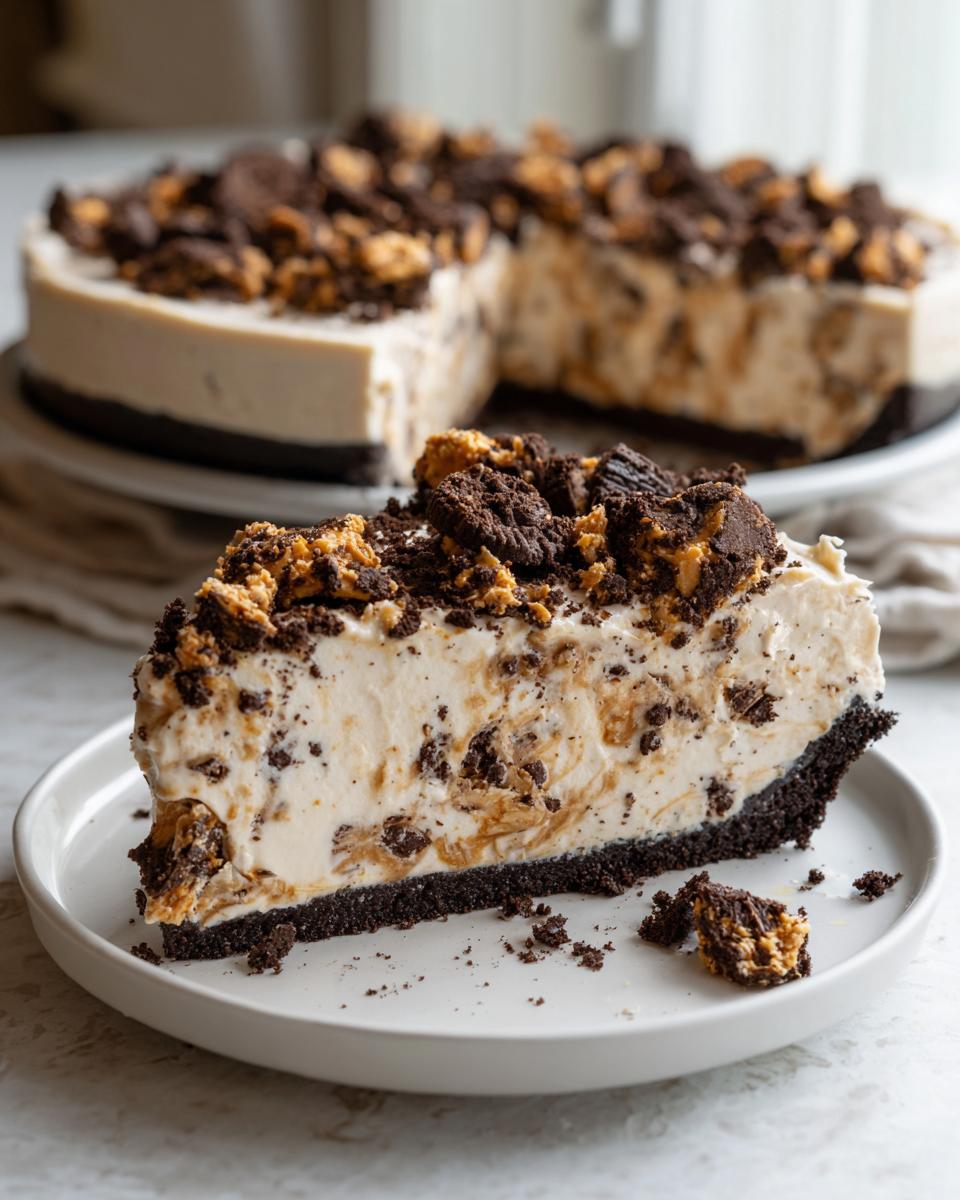
The Ultimate Creamy Butterfinger Dessert Experience
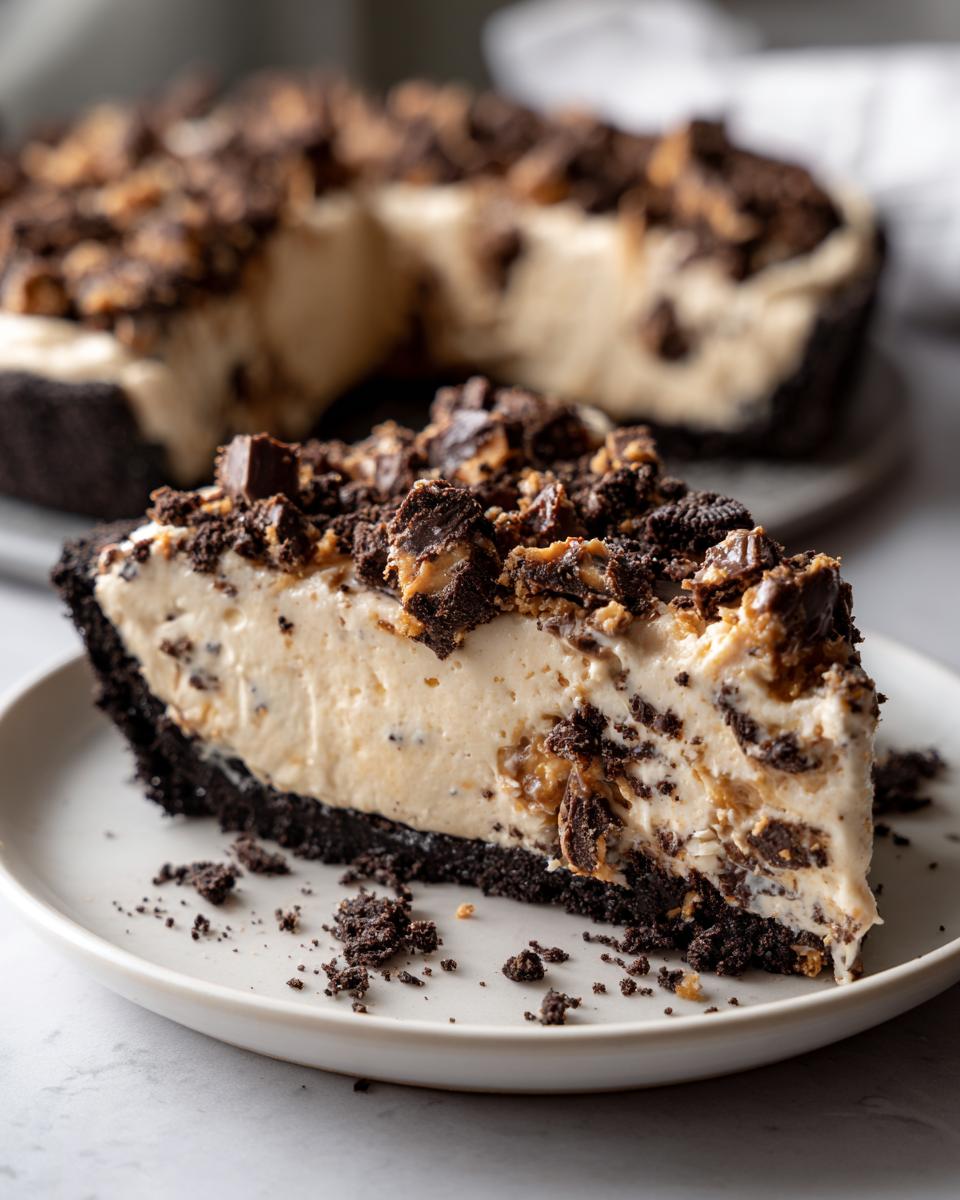
The texture here is everything! We’re talking about a super smooth, cool filling that practically melts in your mouth. That creamy base, made with peanut butter and cream cheese, is the perfect counterpoint to the crunch you get from the candy. It’s honestly one of the most satisfying creamy butterfinger dessert experiences you can have. It’s rich without being heavy, which makes it dangerous!
Speed and Simplicity: The Easy Butterfinger Pie Recipe
Let’s talk timing, because I know you’re busy. The actual hands-on prep time for this easy butterfinger pie recipe is right around 20 minutes. That’s unbelievable for something that tastes this decadent! This recipe proves that you don’t need hours to create something spectacular. It quickly earned its spot as one of the best no bake pie recipes we keep in our rotation.
Gathering Ingredients for Your Butterfinger Pie
At Cut Cook Taste, we love recipes built from ingredients you probably already have, or can grab easily at the store. That’s my whole philosophy—great food doesn’t have to be complicated! This butterfinger pie relies on just a handful of simple items to create that amazing combination of chocolate, peanut butter, and candy crunch.
If you are really in a rush, remember the note section mentions you can skip making the crust from scratch and grab a pre-made frozen pie crust dessert shell. But trust me, the homemade Oreo crust here is worth the extra two minutes of crushing cookies!
Oreo Crust Pie Recipe Components
For the base of this amazing dessert, you need about 25 Oreos, crushed up fine—that gives you the perfect amount for our 9-inch plate. You’ll mix those crumbs with 6 tablespoons of unsalted butter that you’ve melted down. Make sure those two things are really well combined before you press it into the dish. It needs to be firm so it holds up to that rich filling!
Crafting the Creamy Peanut Butter Filling
The filling ingredients need a little prep, so pay attention here. You absolutely must start with an 8-ounce block of cream cheese that is completely softened—not melted, just soft! You’ll also need one cup of powdered sugar and half a cup of creamy peanut butter. The key to getting that lovely creamy peanut butter filling is making sure your 12-ounce container of whipped topping is fully thawed before you gently fold it in at the end. Don’t overmix that topping, or you’ll deflate all the air we need!
Step-by-Step Instructions for the Perfect Butterfinger Pie
Okay, now that we have all our wonderful components ready, let’s put this masterpiece together! Since this is a no-bake recipe, the steps are really straight-forward, but timing and proper mixing are key to getting that beautiful, firm slice we’re aiming for. Watch carefully, because no one wants a sloppy pie when they bring it to desserts for parties!
Preparing the Chocolate Cookie Crust and Chilling
First things first, our foundation! Take your crushed Oreos mixed with the melted butter and press that mixture evenly into the bottom and slightly up the sides of your 9-inch pie plate. I like to use the bottom of a glass or a measuring cup for this because it helps me get a really firm, tight crust. If the crust is loose, the filling runs everywhere, and nobody wants that heartbreak! Once it’s packed down nicely, pop that whole plate into the freezer. We want it rock solid before we add anything wet, so give it a good 10 minutes in the cold while you work on the filling.
Mixing the Filling and Folding in Butterfinger Candy Dessert Pieces
Grab your big mixing bowl for the filling. Beat together your softened cream cheese, that powdered sugar, the peanut butter, and vanilla until it looks absolutely smooth—no lumps allowed! This needs to be perfectly creamy. Next, take half of your thawed whipped topping and gently fold it in. Be gentle here! We want to keep all that lovely air we just beat in. Once that’s just combined, fold in about a cup of your chopped Butterfinger candy pieces. These crunchy bits will be suspended perfectly in the creamy goodness of your Butterfinger Pie.
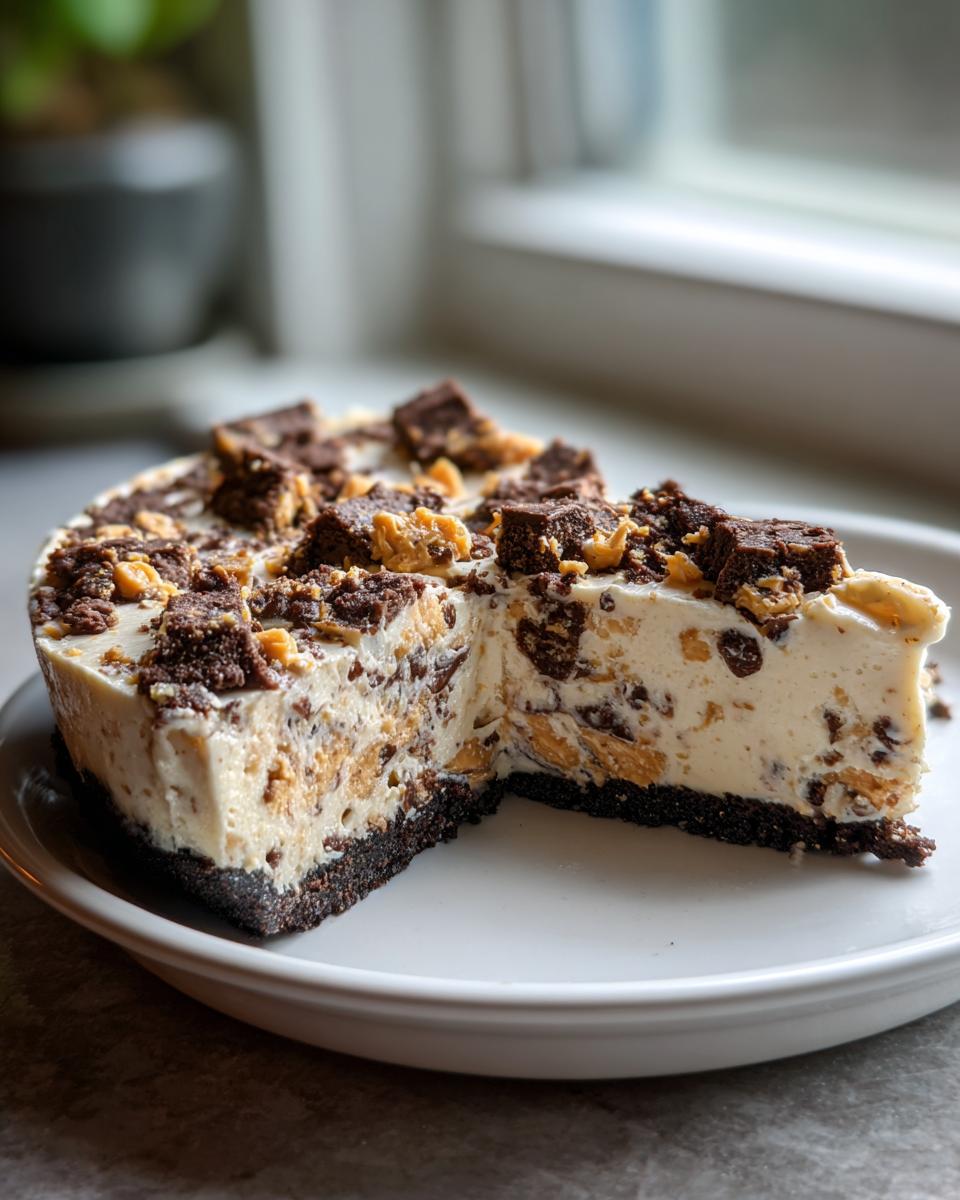
Assembling, Chilling, and Garnishing Your Butterfinger Pie
Pull that firm crust out of the freezer. Now, gently pour all that creamy filling right into the center, spreading it to the edges with an offset spatula. It should sit perfectly in place because of the cold crust. Now comes the hardest part: waiting! You need to cover this loosely and let it chill for a minimum of 4 hours in the refrigerator. If you cut it early, the filling won’t set, and you’ll ruin the slice structure. Once it’s firmed up, spread that remaining whipped topping on top, sprinkle with the rest of your chopped candy, and maybe even some chocolate chips if you’re feeling extra dramatic!
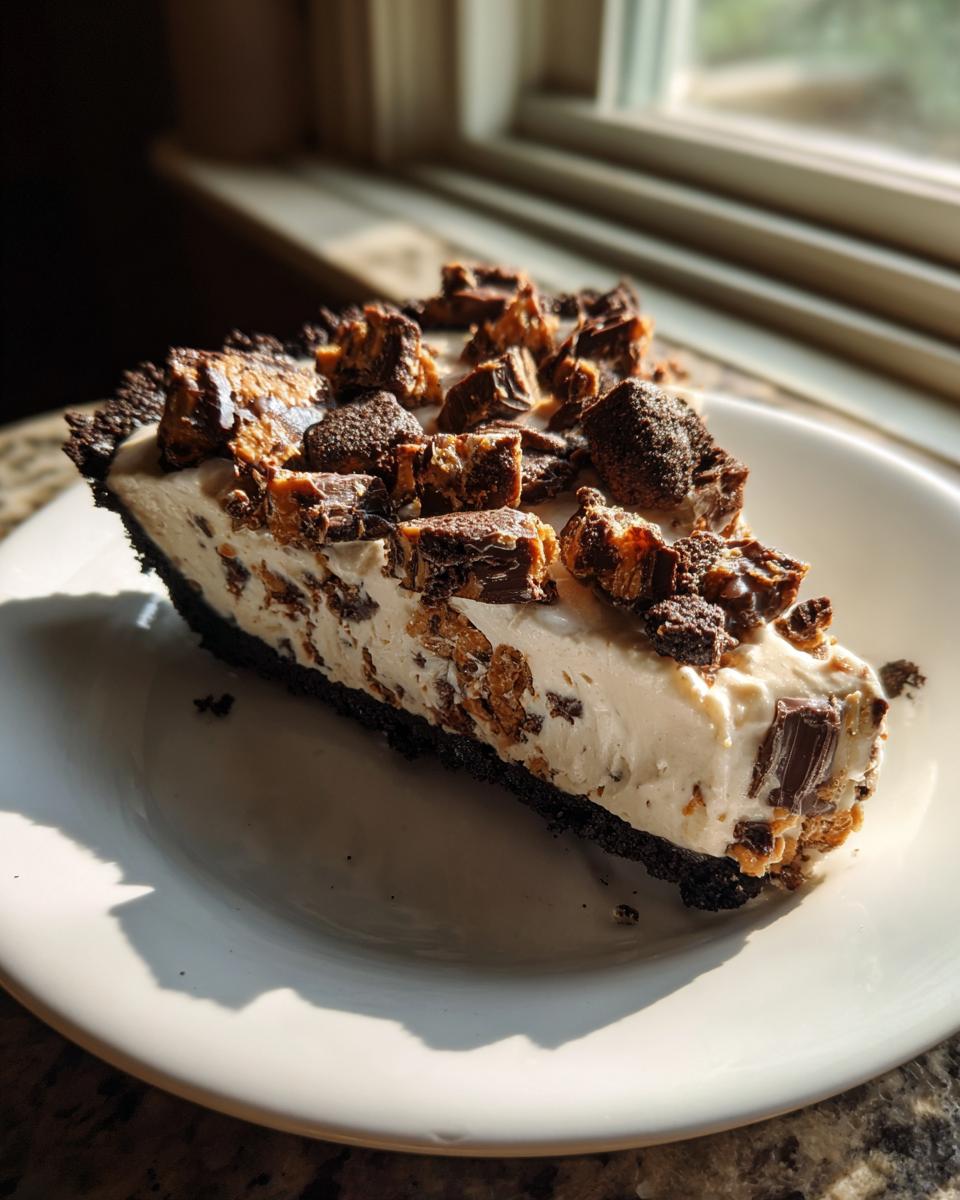
Tips for Success Making Your Butterfinger Pie
I’ve made this Butterfinger Pie more times than I can count, and I learned a few things the slightly messy way so you don’t have to! The biggest thing I can stress is temperature control. Remember how I mentioned the cream cheese needs to be *softened*? If it’s even a tiny bit too cold, you end up with little cream cheese lumps in your beautiful filling, and nobody wants that surprise texture in their dessert.
Also, when you’re chopping your Butterfinger bars, try to do it quickly or even toss them in the freezer for 15 minutes beforehand. When the candy is cold, it stays crunchy when you fold it in, giving you that wonderful, crispity contrast against the smooth peanut butter base. Don’t skip the minimum chilling time, either! It’s tempting to sneak a slice early, but those four hours are essential for making sure this no-bake wonder sets up perfectly for serving.
Serving Suggestions for This Potluck Dessert Recipe
This Butterfinger Pie doesn’t need much showing off because it’s already a total showstopper! But since it’s such a rich, indulgent dessert, sometimes a little something extra on the side can elevate it when you’re planning family gathering desserts.
If I’m serving this at a big party or a casual gathering, I love keeping the accompaniments simple so the pie remains the star. Since we already have rich chocolate and peanut butter built in, adding another heavy sauce can feel like overkill. Instead, I usually opt for something light and bright.
Here are a couple of things that always go over well alongside a slice:
- A small dollop of fresh, barely sweetened whipped cream. The lightness cuts through the richness perfectly.
- A few fresh raspberries or strawberries served on the side. The slight tartness wakes up your palate after all that sweet peanut butter goodness.
- I’ve mentioned my easy homemade chocolate sauce before, but sometimes I just drizzle a tiny bit over the plate, not the whole pie, just for visual appeal when I’m plating it up for guests.
Honestly, though, this pie is designed to be a crowd-pleaser all on its own. It’s a perfect addition to any potluck dessert recipes lineup because people usually know exactly what they are getting—pure candy satisfaction!
Storage and Make Ahead Desserts Tips for Your Butterfinger Pie
One of the best things about this Butterfinger Pie is how wonderfully it acts as a make ahead dessert. Seriously, plan ahead so you can enjoy the party too! Because it’s a no-bake version, we need to keep it cold to maintain that amazing creamy structure.
Once your pie is fully set—I mean, really firm after those 4 hours or more in the fridge—it holds up beautifully. You can cover it tightly with plastic wrap, making sure the wrap doesn’t stick right down onto the whipped topping if you already garnished it. I find that if you wait to add the final layer of whipped topping and the extra candy crunch until just before serving, it looks fresher, but it’s not strictly necessary.
How Long Does Butterfinger Pie Last in the Fridge?
Stored properly, this pie will keep well in the refrigerator for about four to five days. Because of the dairy in the cream cheese and whipped topping, you definitely don’t want to leave it out at room temperature for more than maybe an hour or two, especially if you’re serving it outdoors.
Now, since this is a refrigerated dessert, you won’t be reheating it at all—that would be a melty disaster! You just need to pull it out of the fridge about 10 or 15 minutes before you plan to slice it. That tiny bit of time softens the filling just enough to make it perfectly sliceable while still feeling refreshingly cool in your mouth. It’s ready to go anytime you need a quick fix!
Can You Freeze This No Bake Butterfinger Pie?
You absolutely can freeze this butterfinger pie, yes! If you need to make it even further ahead, say a week out, freezing is your friend. Make the pie completely, right down to the final topping if you want, cover it really well with a couple of layers of plastic wrap, and then maybe foil over that. I like to stick the whole thing in a large Tupperware container just to protect the edges.
When you’re ready to eat it, move it from the freezer to the refrigerator and let it thaw slowly for about 8 to 10 hours. It thaws perfectly! If you notice the whipped topping looks a little waterlogged after thawing (it happens sometimes!), just scrape off the old topping and frost it with a fresh batch of whipped cream before serving. It’s an amazing candy lover desserts secret weapon!
Frequently Asked Questions About This Easy No Bake Butterfinger Pie
It’s so common to have questions when trying a new recipe, especially when you’re relying on a perfect chill time instead of an oven timer! I’ve gathered the most common things people ask me about making this classic easy no bake butterfinger pie so you can feel totally confident starting yours. I want this to be one of your go-to make ahead desserts!
Can I use a different crust for this butterfinger pie recipe?
Yes, you absolutely can switch up the crust! If you’re in a real pinch, skipping Step 1 and using a store-bought frozen pie crust dessert shell works just fine. Just make sure it’s a graham cracker or a chocolate-flavored crust—something sturdy. If you don’t have Oreos, you could crush vanilla wafers or Nilla Wafers and treat them just like the Oreos, mixing them with the melted butter. It won’t have that deep chocolate background, but it will still hold that gorgeous creamy peanut butter filling perfectly!
Is this creamy butterfinger dessert suitable for freezing?
It really is! If you want this ready for a holiday party next week, freezing is a great option. I recommend chilling it completely in the fridge first until it’s firm, then wrapping it tightly in plastic wrap and foil. When you’re ready to serve, just move it directly to the refrigerator the day before. It needs about 8 to 10 hours to thaw slowly. Please do not try to rush it on the counter or in the microwave, or you’ll end up with a soupy mess instead of a perfect slice of butterfinger pie!
Nutritional Estimates for Your Butterfinger Pie Slice
Now, I have to give you the grown-up details before you dive in! Here are the estimated numbers for one slice based on the recipe ingredients we used. Remember, this is just an estimate because once you start sneaking tastes, the numbers change faster than you can blink! This is definitely more of an indulgent dessert than an every-day treat, so enjoy it responsibly.
Serving Details
- Serving Size: 1 slice
- Calories: 450
- Sugar: 35g
- Fat: 30g
- Carbohydrates: 40g
- Protein: 7g
The fat content looks high, of course, given all that lovely cream cheese, peanut butter, and butter in the crust, but just think of it as fuel for the joy the pie brings! These numbers are based on 8 even slices from the full butterfinger pie.
Share Your Experience with This Quick Candy Dessert
I truly hope you loved making this ridiculously easy quick candy dessert! It would make my whole week if you tried it out. Please hop down to the comments section below and leave me a rating—did it set up well for you? I’m always eager to hear how you customized it or how much fun you had making this amazing Butterfinger Pie for your crew. Happy tasting!
PrintEasy No-Bake Creamy Butterfinger Pie with Oreo Crust

Make this cool and creamy Butterfinger Pie with a chocolate cookie crust. It is a simple, no-bake dessert perfect for parties or family gatherings.
- Prep Time: 20 min
- Cook Time: 0 min
- Total Time: 4 hr 20 min
- Yield: 8 servings 1x
- Category: Dessert
- Method: No-Bake
- Cuisine: American
- Diet: Vegetarian
Ingredients
- 1 1/2 cups crushed Oreo cookies (about 25 cookies)
- 6 tablespoons unsalted butter, melted
- 1 (8 ounce) package cream cheese, softened
- 1 cup powdered sugar
- 1/2 cup creamy peanut butter
- 1 teaspoon vanilla extract
- 1 (12 ounce) container frozen whipped topping, thawed
- 1 1/2 cups Butterfinger candy bars, chopped
- 1/2 cup semi-sweet chocolate chips (optional, for topping)
Instructions
- Prepare the crust: Mix the crushed Oreo cookies and melted butter in a bowl until combined. Press the mixture firmly into the bottom and up the sides of a 9-inch pie plate. Place the crust in the freezer while you prepare the filling.
- Make the filling base: In a large bowl, beat the softened cream cheese, powdered sugar, peanut butter, and vanilla extract until the mixture is smooth and creamy. You can use a hand mixer for this step.
- Fold in topping: Gently fold half of the thawed whipped topping into the cream cheese mixture until just combined.
- Add candy: Fold in about 1 cup of the chopped Butterfinger pieces into the filling.
- Assemble the pie: Pour the filling into the chilled Oreo crust and spread it evenly.
- Chill: Cover the pie loosely and refrigerate for at least 4 hours, or until firm. This chilling time is necessary for the best texture.
- Garnish and serve: Before serving, top the pie with the remaining whipped topping, the rest of the chopped Butterfinger pieces, and the optional chocolate chips. Slice and serve cold.
Notes
- For the easiest preparation, consider this recipe as a great alternative to complex meal planning when you need a quick, satisfying treat.
- If you do not have Oreo cookies, you can use a store-bought frozen chocolate pie crust to save time.
- Chop the Butterfinger bars just before adding them to the filling to keep them crunchy.
Nutrition
- Serving Size: 1 slice
- Calories: 450
- Sugar: 35g
- Sodium: 300mg
- Fat: 30g
- Saturated Fat: 12g
- Unsaturated Fat: 18g
- Trans Fat: 0.5g
- Carbohydrates: 40g
- Fiber: 2g
- Protein: 7g
- Cholesterol: 45mg