
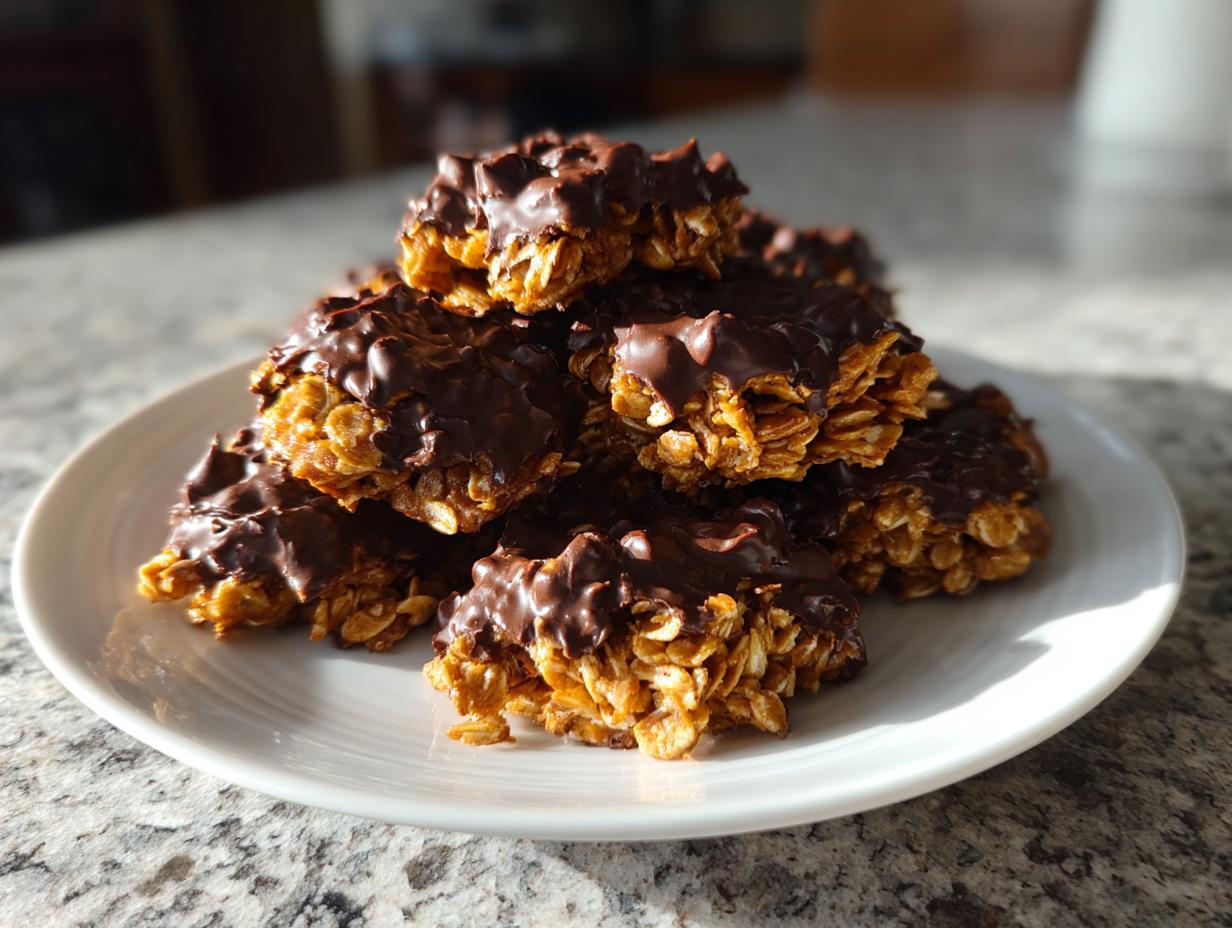

Oh, I know that feeling! It’s 3 PM, the kids are bouncing off the walls demanding a snack, or maybe you just finished a long day and need something chocolatey but the thought of preheating the oven makes you pause. When those sudden sweet cravings hit, you need magic that happens fast. That’s where my absolute favorite rescue recipe steps in: the classic chocolate peanut butter oat no bake cookies.
When I started Cut Cook Taste, I promised myself I’d share recipes that truly work—the ones you can trust when life gets busy. This recipe is pure comfort and reliability, just like my grandmother taught me about good, honest cooking. It’s rich, it’s chewy, and it’s a phenomenal family tradition that requires zero oven time. Seriously, you won’t believe how simple these become!
- Why These Are the Best No Bake Cookies You Will Ever Make
- Gathering Your Ingredients for Classic No Bake Cookies
- Step-by-Step Instructions for Perfect No Bake Cookies
- Troubleshooting Common No Bake Cookies Issues
- Making Ahead Sweet Treats: Storage for No Bake Cookies
- Variations on Classic No Bake Cookies
- Frequently Asked Questions About No Bake Cookies
- Nutritional Snapshot of Your No Bake Cookies
- Share Your No Bake Cookie Success
Why These Are the Best No Bake Cookies You Will Ever Make
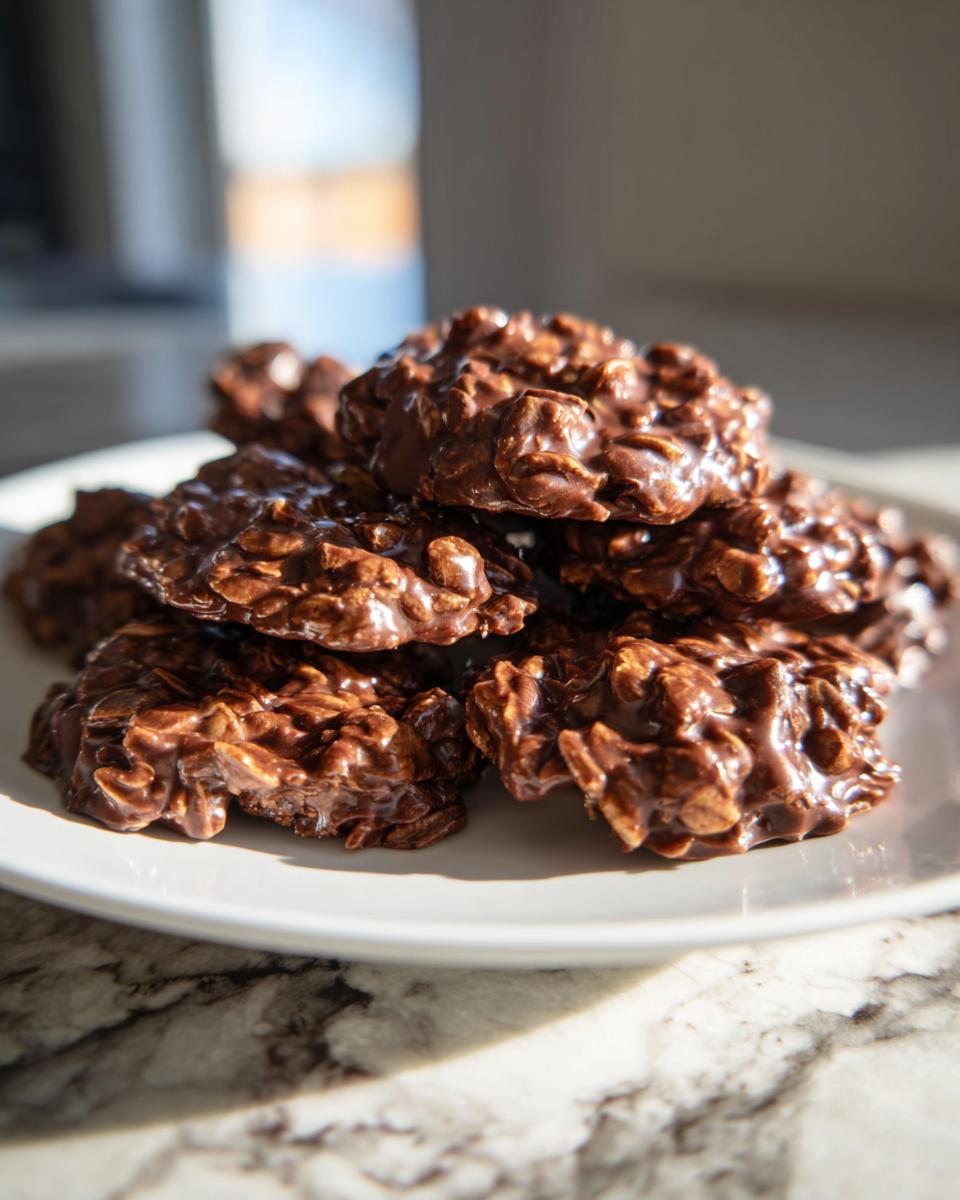
If you’re looking for a truly fantastic quick dessert recipe, stop searching right now. These no bake cookies nail the texture every single time. They strike that perfect balance: ultra-chocolatey, deeply peanut buttery, and packed with satisfyingly chewy oats. We aren’t messing around with dry, crumbly failures here!
My secret, which I learned from testing batches until my stovetop was sticky, is the boil time. You must bring that sugar mixture to a full, rolling boil and leave it there for *exactly* one minute. No more, no less! This precision is what turns them into perfect, chewy no bake bites instead of soft mush or hard sawdust. Trust me on this one timing detail—it’s key to homemade success!
Fast Homemade Cookies: Ready in Under an Hour
What I love most about these is that within about 45 minutes total, you have a full batch cooling on the counter. They are the ultimate no oven required sweets. If you suddenly realize you need a delightful treat for a gathering tonight, these are your go-to! They are the definition of fast homemade cookies and make perfect last minute cookie ideas.
Gathering Your Ingredients for Classic No Bake Cookies
Okay, let’s talk ingredients! Since these no bake cookies don’t spend any time in the oven to develop flavor, the quality of what you use really shines through. We are relying on pantry staples here, so let’s make sure they are the right ones for a successful simple pantry staple recipes batch. You’ll need a few things measured out precisely, especially the sugar, milk, butter, and unsweetened cocoa powder.
For that rich, deep chocolatey no bake dessert taste, don’t skimp on the cocoa or the butter! If you can use a nice quality butter, it makes a real difference in the final creamy texture when everything melts together.
Ingredient Notes and Simple Pantry Staple Recipes Substitutions
The most important ingredient to pay attention to is the oats. You absolutely must use the quick-cooking rolled oats, not the big, hearty old-fashioned ones. The quick-cooking oats absorb that hot, sugary liquid almost instantly, which is what helps these firm up quickly on the counter. If we use the others, they just won’t set right when you need them to—it’s one of those non-negotiable things!
You’ll notice this recipe uses classic ingredients you probably already have hanging around. That’s the beauty of making these easy afternoon treats; no specialty store trip needed!
Step-by-Step Instructions for Perfect No Bake Cookies
Alright, the fun part! Since we aren’t using the oven, everything happens right on the stovetop, and you need to move quickly towards the end. I always get my wax paper or parchment paper sheets laid out *before* I even turn the burner on. This is how I guarantee those easy cleanup desserts—no scrubbing sticky bottoms!
First, measure everything out! These cookies are fast and forgiving once you start adding ingredients to the pot, but you don’t want to be fumbling for the vanilla when you should be stirring the oats. Get your oats sitting right next to your stove, waiting patiently.
The Crucial Stovetop Cooking Phase for No Bake Cookies
We start by melting the sugar, milk, cocoa, and butter together in one saucepan over medium heat. You’ll stir this until everything dissolves and it starts bubbling happily. Now listen closely: once that mixture hits a full, rolling boil—meaning you can’t stir the bubbles down—you let it boil for *exactly* one minute. Seriously, set a timer!
If you boil it too long, your cookies will turn out dry and sandy—they’ll be crumbly before you even take a bite. If you pull it off the heat too soon, they will stay soft and gooey on the counter. That 60 seconds is the magic window that sets up that perfect texture. Don’t overthink it, just stick to that minute!
Mixing and Dropping Your Chewy No Bake Bites
The second that minute is up, yank that pot off the heat! Immediately dump in your peanut butter and vanilla. Stir quickly until those blobs melt into the chocolate base, giving you these gorgeous, creamy no bake snacks. Now the clock is ticking even faster!
Toss in your three cups of quick oats and stir like you mean it! You need to coat every single oat quickly before the mixture starts seizing up. Once everything looks evenly coated—it will be thick and gorgeous—start dropping spoonfuls immediately onto your prepared paper. Don’t wait for it to cool down; it needs to set up fast!
Troubleshooting Common No Bake Cookies Issues
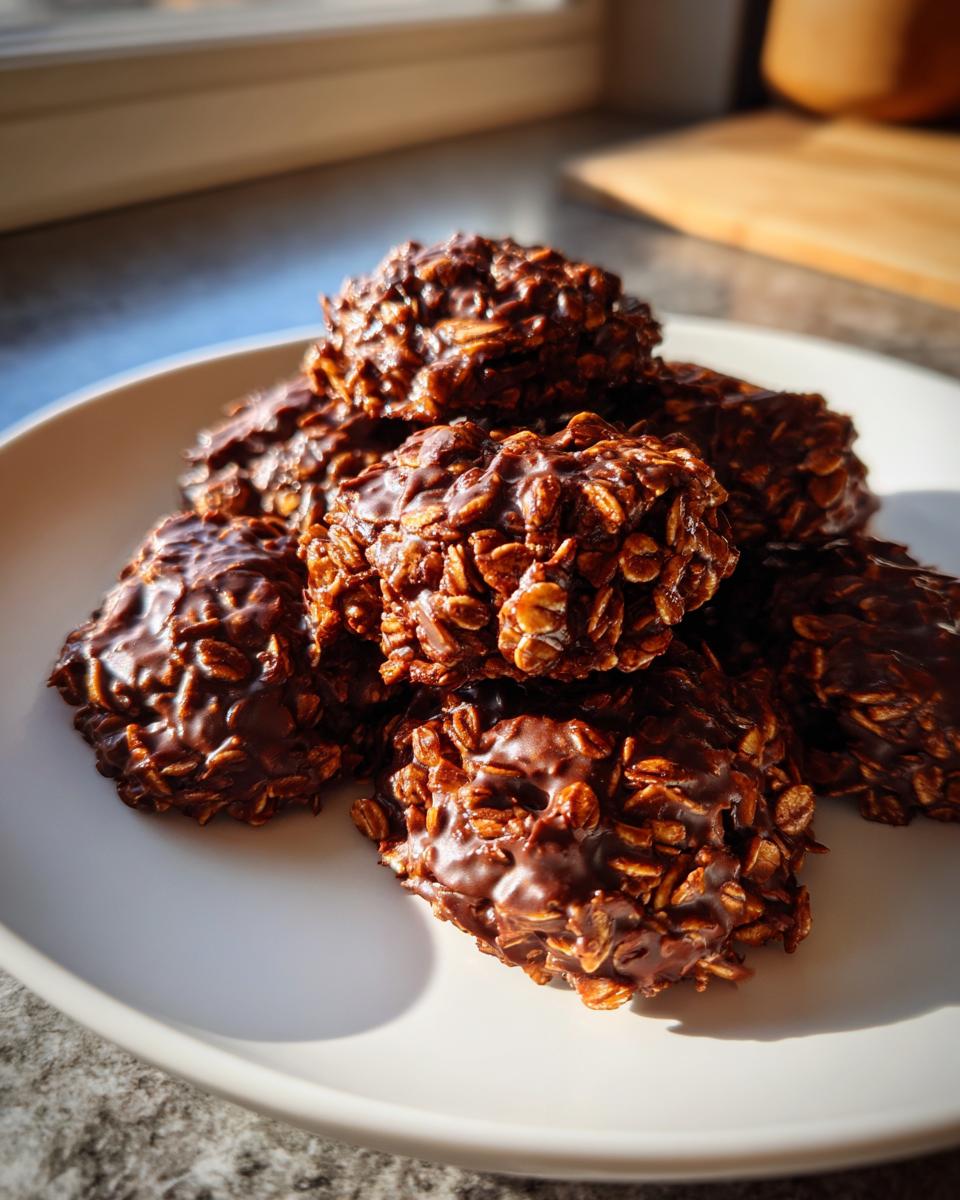
Even with the best instructions, sometimes something goes a little sideways, right? That’s okay! We’ve all been here, staring at a tray of oddly textured no bake cookies and wondering where we went wrong. Don’t toss the whole batch! Almost every common issue can be traced back to the temperature of that crucial one-minute boil.
If you find your beautiful batches are too soft when you go back for a second one in an hour, that usually means the sugar mixture didn’t cook long enough. It didn’t crystallize quite right, so it hasn’t ‘set’ properly. For your next batch, make sure that mixture hits a *hard, rolling* boil and that you time that minute perfectly on the dot!
Now, what if they are crumbly? This is the flip side of that coin—you probably over-boiled it, or maybe you waited just a moment too long after taking it off the heat before stirring in the oats. If the mixture cools even slightly on the stovetop before you mix in the oats, it starts trying to harden in the pan instead of sticking to the oats outside the pan. Next time, have your oats ready to hit that melted peanut butter mixture the second it comes off the flame!
If for some reason you’ve got a sticky mess on your parchment paper, pop the whole sheet into the fridge for 15 minutes. Sometimes a quick chill can “shock” them into firmness, even if the initial mixture wasn’t quite right. It’s not perfect, but it saves the snack!
Making Ahead Sweet Treats: Storage for No Bake Cookies
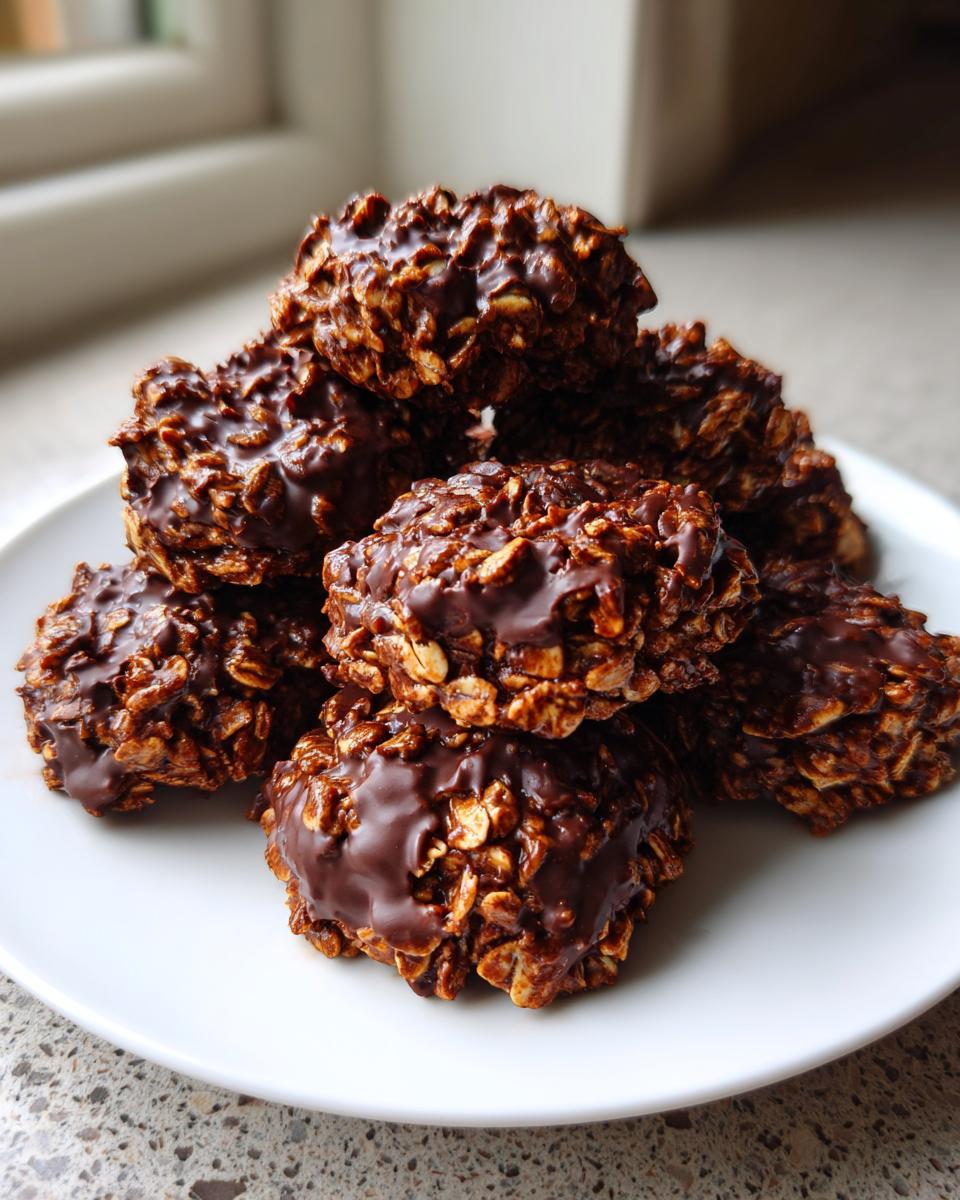
The best part about these phenomenal no bake cookies is that they are fantastic make ahead sweet treats! Since they set up so well on the counter, I really prefer leaving them out at room temperature.
Just keep them in an airtight container on the counter for about three to four days. They stay wonderfully chewy sitting out like that. Now, if you live somewhere super tropical or it’s blazing hot in your kitchen, go ahead and pop them in the fridge—but watch out! Cold temperatures can sometimes make these rich peanut butter treats a little harder than I like. Room temp is where they shine!
Variations on Classic No Bake Cookies
While this classic chocolate and peanut butter combination is, in my opinion, unbeatable for no bake cookies, I know we all like to jazz things up sometimes! These recipes are so simple that they are perfect bases for easy tweaking. It’s fun to see how just one small addition can turn it into a totally new easy gluten-free dessert experience.
First off, if you feel like your batch is almost perfect but maybe just a *touch* too sweet, try adding about 1/4 teaspoon of fine sea salt right at the end with the vanilla. It doesn’t make them taste salty, it just cuts through that intense sugariness and helps those peanut butter and chocolate flavors really pop. It’s a game-changer!
You can also swap out your peanut butter! Feel free to use almond butter or sunflower seed butter if you have allergies or just feel like a change. Remember, though, that nut butters have different fat contents, so these might set up slightly differently. You might need to let them sit an extra 10 minutes if they seem too loose after the first drop.
For texture, sometimes I sneak in some extras. About 1/2 cup of shredded, unsweetened coconut mixed in with the oats works beautifully if you like that tropical hint. Or, if you’re looking at gluten free no bake options, you simply need to make sure that tub of oats you are grabbing is certified gluten-free. The stovetop method works perfectly fine underneath that banner!
These are also a great vehicle for those who want dairy free cookie recipes too. Just use your favorite non-dairy milk and swap the butter out for a high-quality shortening or vegan butter stick that you know sets up well. Enjoy experimenting!
Frequently Asked Questions About No Bake Cookies
I always get asked questions when people try this recipe for the first time because it feels like cheating! It’s so easy, people worry they must be missing a step. Here are the things I hear most often about making these wonderful no bake cookies.
Can I substitute old-fashioned oats for quick-cooking oats in no bake cookies?
Oh, I really, really advise against it if you want that perfect texture! Quick-cooking oats are cut thinner and absorb all that hot, sugary milk mixture almost immediately. This absorption is what helps set the cookie fast, giving you that classic chewy bite. If you use the old-fashioned, heartier ones, they don’t absorb the liquid as fast. You’ll end up with cookies that are much chewier—maybe too chewy—and they might just stay soft and gooey on the counter even after several hours. For the absolute best results for these peanut butter sweet recipes, stick to the quick-cooking kind!
How long do no bake cookies need to set?
This is where patience comes in after all that rushing on the stove! Generally, if your kitchen isn’t too warm, your no bake cookies should be firm enough to handle after about 30 minutes sitting out at room temperature. I lay them on parchment paper and just leave them alone. However, if you’re having a heatwave or your kitchen is humid—you know how humidity messes with baking!—they might need a little extra time, maybe 45 minutes, or you can carefully pop them into the fridge for 15 minutes to speed things along. They are great for easy afternoon treats once they firm up!
Can I make these no bake cookies dairy free?
Yes, you absolutely can! This recipe is super adaptable for dairy free cookie recipes. The milk is the easiest swap; use unsweetened almond, soy, or oat milk instead. Since we are relying on the milk and butter fat to reach the right setting temperature, you do need to be careful swapping the butter. You can use a good quality vegan butter stick rather than using oil. The fat content is very important here for your final creamy no bake snacks, so make sure whatever you use is solid at room temperature!
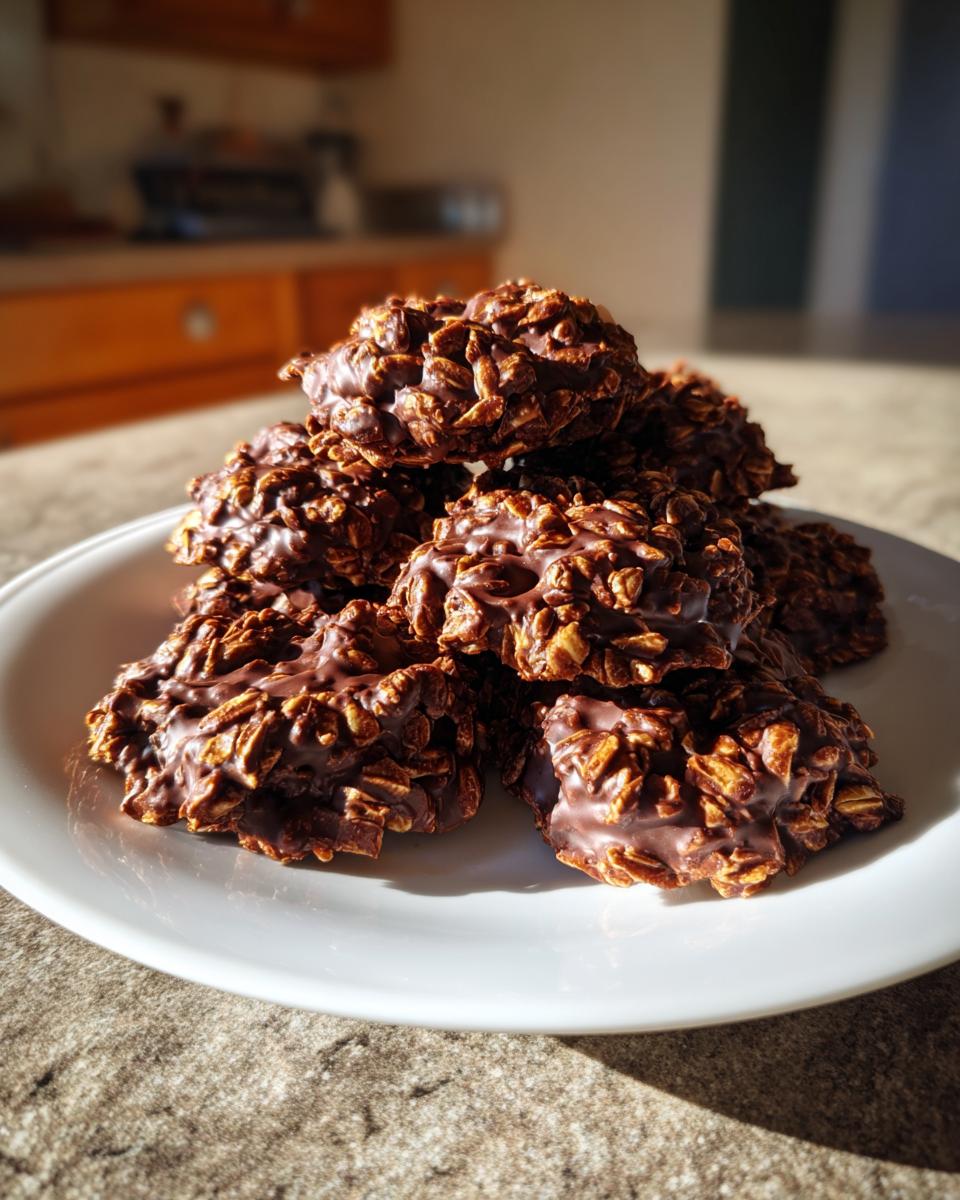
Nutritional Snapshot of Your No Bake Cookies
Now, I always tell folks that my goal here at Cut Cook Taste is to focus on flavor and memories, not obsessing over numbers! But I realize that when you’re making things for the family or watching your intake, having even a general idea helps. So, just remember, these figures are my best estimates based on the classic measurements of sugar, butter, and oats.
Think of this as a fun little bonus, not strict diet tracking for these amazing quick weeknight dessert bites. These are definitely a sweet treat, but getting them done in fifteen minutes of active time is a huge win!
- Calories: Around 180 per cookie (Yep, that’s pretty decent for this level of chocolatey goodness!)
- Total Fat: About 9 grams
- Protein: Right around 4 grams (Thanks to that peanut butter and those hearty oats!)
- Total Carbohydrates: Roughly 25 grams
I always advise baking these no bake cookies with the knowledge that moderation is key. They set up so nicely, making them dangerously easy to stack on a plate. Enjoy them for what they are: a fantastic, quick, homemade comfort food!
Share Your No Bake Cookie Success
Well, that’s it! We’ve covered everything from the crucial one-minute boil to how to store your finished batch of no bake cookies. Now the best part, the ‘Taste’ part of my philosophy, is up to you!
I truly believe cooking is about sharing those sweet moments, whether you’re making these for a busy weeknight treat or setting them out for friends. I spent so much time perfecting this recipe so that you don’t have to stress about whether they’ll set up right.
So, please, if you whip up a batch of these incredible, fast, chocolatey bites, come back here and tell me how it went! Drop a rating below, let me know in the comments if you stuck to the classic recipe or tried a variation, and share your favorite way to enjoy this ultimate quick weeknight dessert. I love hearing your success stories! Your feedback helps me keep sharing the best, most reliable recipes from my kitchen to yours. Happy snacking!
PrintClassic Chocolate Peanut Butter Oat No-Bake Cookies
Make these classic no-bake cookies quickly using simple pantry staples. They are chewy, chocolatey, and require no oven time.
- Prep Time: 10 min
- Cook Time: 5 min
- Total Time: 45 min
- Yield: 24 cookies 1x
- Category: Dessert
- Method: Stovetop Cooking
- Cuisine: American
- Diet: Vegetarian
Ingredients
- 2 cups granulated sugar
- 1/2 cup milk
- 4 tablespoons unsweetened cocoa powder
- 1/2 cup unsalted butter
- 1/4 cup peanut butter
- 1 teaspoon vanilla extract
- 3 cups quick-cooking rolled oats
Instructions
- Combine the sugar, milk, cocoa powder, and butter in a medium saucepan.
- Bring the mixture to a full, rolling boil over medium heat, stirring constantly. Boil for exactly one minute. Do not overcook.
- Remove the saucepan from the heat immediately. Stir in the peanut butter and vanilla extract until fully combined and smooth.
- Quickly stir in the rolled oats until they are evenly coated with the chocolate mixture. Work fast, as the mixture will set quickly.
- Drop rounded tablespoons of the mixture onto wax paper or parchment paper laid on a baking sheet.
- Let the cookies cool completely at room temperature, about 30 minutes, until firm.
Notes
- For best results, use quick-cooking oats, not old-fashioned or steel-cut oats.
- If you are looking for easy cleanup desserts, line your work surface with parchment paper before dropping the cookies.
- This recipe is great for last minute cookie ideas since it sets quickly.
- If you are interested in meal planning for quick weeknight desserts, these require minimal active time.
Nutrition
- Serving Size: 1 cookie
- Calories: 180
- Sugar: 22g
- Sodium: 55mg
- Fat: 9g
- Saturated Fat: 4g
- Unsaturated Fat: 5g
- Trans Fat: 0g
- Carbohydrates: 25g
- Fiber: 2g
- Protein: 4g
- Cholesterol: 10mg