


Hi, I’m Sarah, and if you’ve ever spent hours perfectly cutting out your favorite sugar cookies only to have the frosting turn into a sticky, tacky mess, you know the pain! We’ve all been there, right? You want that beautiful, bakery-style look, especially when you’re getting ready for holiday baking or packing up treats for friends. Well, guess what? After way too many frustrating batches, I finally nailed it. This recipe for sugar cookie icing that hardens is my personal secret weapon. It truly takes less than ten minutes to mix up and leaves you with a finish that’s glossy, durable, and ready to handle stacking. Trust me, after lots of testing, this version is completely foolproof. If you haven’t found the perfect cookie base yet, you absolutely have to check out my recipe for soft cutout sugar cookies—they are the perfect canvas for this amazing icing!
- Why This is the Best Sugar Cookie Icing That Hardens
- Ingredients for Your Hard Setting Cookie Icing
- Step-by-Step Guide to Sugar Cookie Icing That Hardens
- The Drying Process: How Sugar Cookie Icing Hardens
- Tips for Stackable Cookie Frosting Success
- Making Your Sugar Cookie Icing That Hardens Ready for Gifting
- Serving Suggestions for Decorated Cookies
- Frequently Asked Questions About Foolproof Cookie Decorating Icing
- Sharing Your Beautifully Iced Creations
- Sharing Your Beautifully Iced Creations
Why This is the Best Sugar Cookie Icing That Hardens
I know you’re looking for icing that actually works, and that’s exactly what this recipe delivers. Forget delicate decorations that smudge the second you try to move them. This hard setting cookie icing is designed for real life—for cookie swaps, long drives, and gift boxes! If you’re already planning your next big bake, these Christmas sugar cookie bars would be perfect with this bright, hardening topping!
- It sets up solid, which means you can stack your cookies without worrying about them sticking together.
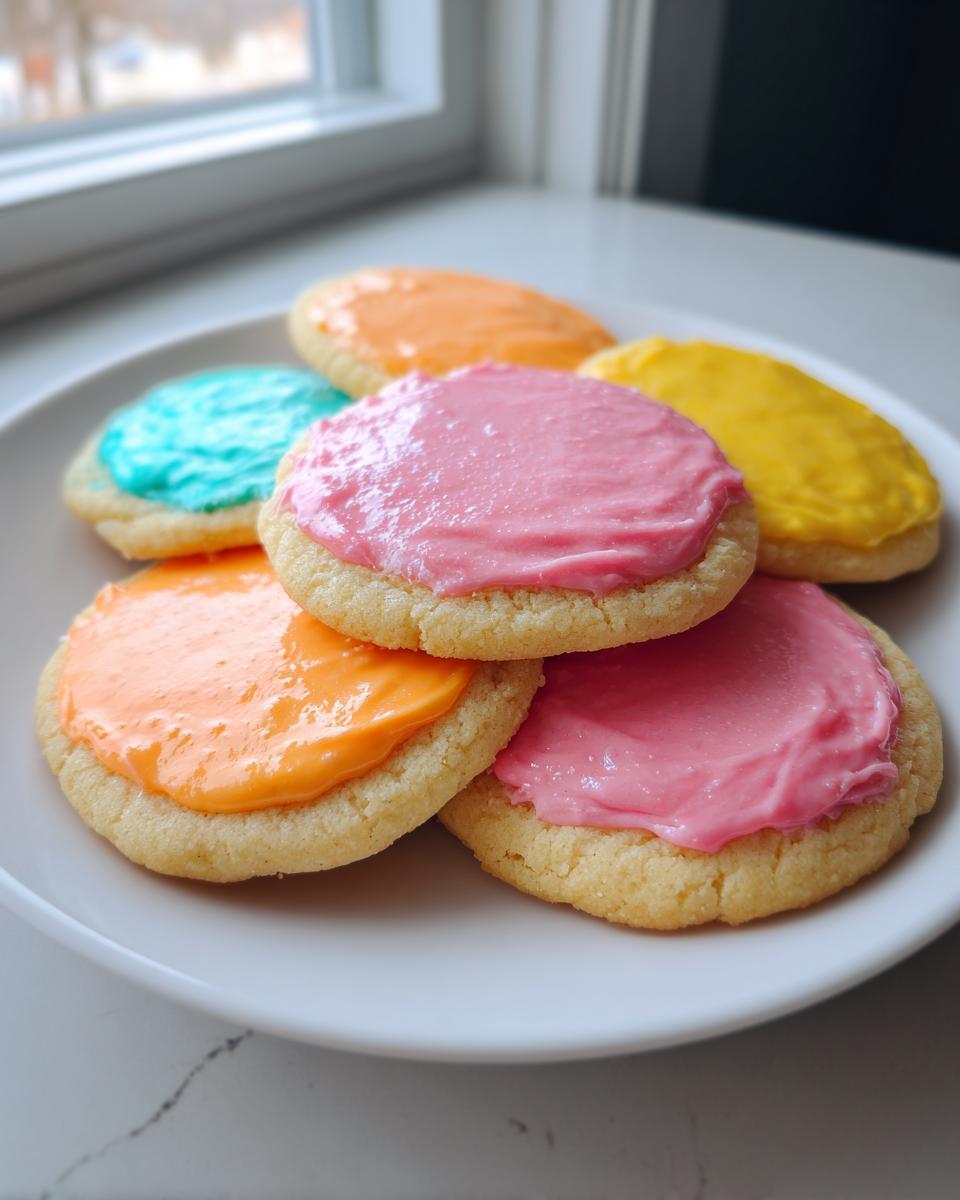
- The finish is beautifully smooth and surprisingly glossy once it’s totally dry.
- It’s incredibly reliable! Once you get the consistency right, it’s a no-fail winner every time.
Quick Prep Time for Sugar Cookie Icing That Hardens
Honestly, the best part might be how fast it comes together. You only need about 10 minutes of active mixing time. That’s perfect, especially when you’re in the middle of a massive baking marathon for the holidays. We all know that when you’re making dozens of cut-out cookies, time is precious!
Achieving a Glossy Icing That Dries Hard
The secret to getting that perfect commercial shine isn’t magic; it’s chemistry in a bowl. That little bit of light corn syrup I listed in the ingredients is non-negotiable! It’s what stops the sugar crystals from getting dull and gritty. It forces the icing to dry down into that enviable, almost glass-like finish that looks so professional. No cracking, no tackiness—just smooth results.
Ingredients for Your Hard Setting Cookie Icing
Finding the right ingredients is the difference between icing that cures into a beautiful shell and icing that stays soft and smears everywhere. Because we are aiming for that perfect solid set, precision really matters here. I always sift my powdered sugar; trust me on this! If you skip that step, you’ll end up whisking forever to break up lumps, and that can mess with the final consistency we’re going for.
This recipe is brilliantly simple because it relies on pantry staples. For me, the quality of the vanilla can really affect the final look—if you want the absolute whitest icing possible, use clear vanilla extract instead of the dark stuff. If you’re new to decorating, you can check out my basic royal icing recipe for an alternative, but this simple glaze setup is often faster!
- 2 cups powdered sugar, sifted, because lumps are the enemy of smoothness!
- 3 tablespoons milk (whole works best, but I’ve used almond milk in a pinch)
- 1 tablespoon light corn syrup (our secret weapon for shine!)
- 1 teaspoon vanilla extract (or clear vanilla for bright white cookies)
- Gel food coloring, assorted (gel colors are crucial, I’ll explain why in a bit!)
Ingredient Notes and Substitutions
Let’s talk about swapping things out, because I know we all bake with what we have on hand. If you are completely out of milk, water is technically okay to use, but I find that the cookies end up setting just a tiny bit harder, maybe even a little chalky, compared to the slight richness that milk gives back to the texture. It will still harden beautifully, just manage your expectations!
Also, please use gel food coloring if you can! If you dump in liquid food coloring to get a deep shade, you’re adding extra water content. Too much extra liquid means your hard setting cookie icing might take forever, or worse, might never fully harden properly. A tiny drop of gel gives you super vibrant color without messing up that beautiful honey-like consistency we mixed up.
Step-by-Step Guide to Sugar Cookie Icing That Hardens
Okay, now that we have our rock-solid ingredient list, let’s get this mixed! This whole process is super quick—seriously, 10 minutes tops—but the main thing you need to focus on is that consistency check. Getting this right is ninety percent of the battle for making sure your cookies look perfect and don’t end up looking like melted puddles. Once you master this mix, you’ll be set for any cookie design you want to tackle, even detailed ones like those adorable melted snowman cookies!
Mixing for No-Fail Cookie Icing Consistency
First things first, sugar goes into the bowl. Then, add your liquids: the milk, the precious corn syrup, and the vanilla. Now, whisk it slowly! We’re not trying to whip air into this like a buttercream; we just want smooth incorporation. You’re looking for the consistency of thin honey—it should drip slowly but steadily off your whisk. If it drips super fast or looks watery, add sifted powdered sugar one tablespoon at a time until it slows down.
Oops, if you added too much sugar and it’s too stiff—like peanut butter almost—don’t panic! Just add milk, half a teaspoon at a time, whisking gently after each addition until that perfect honey flow returns. This little bit of adjustment is what makes this recipe truly foolproof.
Coloring and Applying the Durable Cookie Topping Recipe
If you want color, now is the time to divide that nice white base icing into separate bowls. As I mentioned before, use gel food coloring here! A tiny toothpick dip is usually enough color, and since it’s a gel, you aren’t adding those extra thinning liquids that cause headaches later. Stir until it’s uniform.
Then, grab your cooled cookies! You can use a small spoon for a simple coat or load the icing into a piping bag fitted with a small round tip if you’re outlining or doing detail work. Apply it evenly over your cut-out shapes. Don’t oversaturate, but make sure you cover the whole surface you intend to decorate!
The Drying Process: How Sugar Cookie Icing Hardens
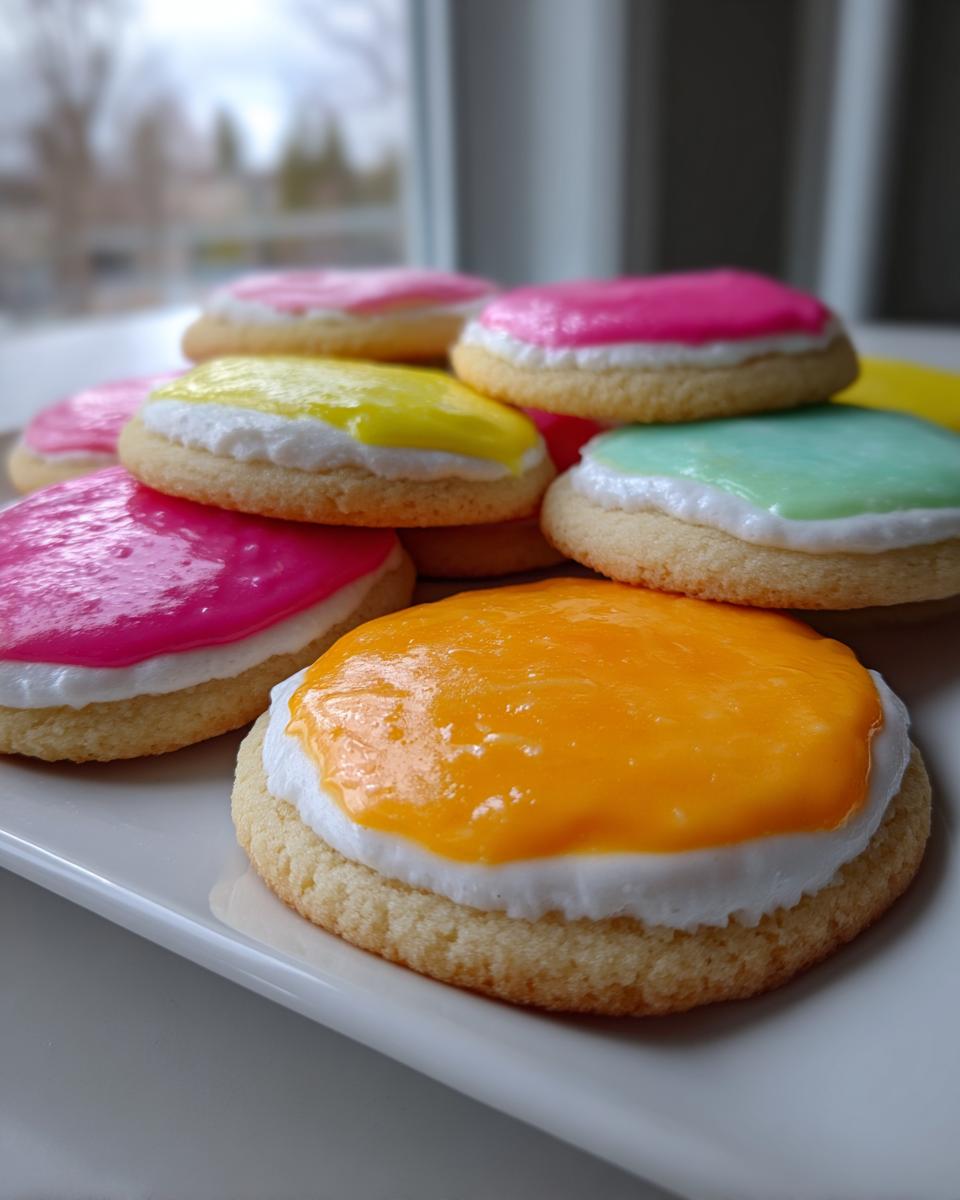
So, you’ve iced your beautiful cookies—now comes the hardest part: waiting! This is where we discuss exactly how sugar cookie icing hardens, because it’s not instant, and rushing it is a disaster. The truth is, the drying time depends on two main things: how thick you laid the icing on and how humid your kitchen is. If you’ve applied a thin layer for outlining, you might be good to go in about four hours, but for a full flood coat that covers the whole cookie, you usually need to leave them alone overnight.
I learned this the hard way once. It was the day before a big bake sale, and I thought I could speed things up by putting my freshly iced cookies inside the (turned off, but still warm) oven to dry overnight. Big mistake! The next morning, they hadn’t hardened—they had melted slightly and the bottom layer was completely sticky. That whole batch was ruined because I got impatient!
For the best results, keep that airflow decent but don’t blast them with heat or stick them in the fridge. The humidity in the fridge can actually slow down the hardening process. Just leave your cookies spread out on a baking sheet or cooling rack at normal room temperature. Good, dry air is your best friend here. When they are truly ready—and you can test this by gently pressing the top with your clean fingertip—they will feel completely firm, like a piece of candy shell.
Once they are fully set, you can safely move them! It’s so satisfying to see them go from wet puddles of icing to durable, ready-to-stack treats. If you want to see how others achieve professional drying times, Emma’s Cake Studio has some great tips on managing that drying stage too!
Tips for Stackable Cookie Frosting Success
Alright, now that your sugar cookie icing that hardens is set and beautiful, let’s talk about keeping it that way, especially if you plan on stacking these beauties up for delivery or just storing them until the big party. Achieving that professional, smooth surface without any annoying cracks or bubbles takes just a couple of little tricks I’ve picked up over the years. Who doesn’t love cookies you can actually stack? For another delicious treat that keeps its shape well, you should check out my recipe for Italian Ricotta Cookies!
- The Bubble Pop Trick: Right after you flood your cookie with icing—before you even let it sit for a second—take a toothpick and gently run it across the surface of the icing. This is the quickest way to pop any tiny air bubbles that are hiding just beneath the surface. If you leave them, they dry into those little pits and craters, and we definitely don’t want that!
- Keep it Thin on Edges: When you are outlining the edge of your cookie, try not to pile the icing too high right on the border. Excessively thick icing around the perimeter is the number one cause of cracking as it dries and shrinks. A thinner edge helps the whole shell cure evenly.
- Humidity is the Enemy: This hard-setting icing needs dry air to cure into that hard shell. If you’re baking on a super rainy or humid day—like a sticky summer afternoon—it will take significantly longer to set and might never get quite as rock-hard. If the air is thick, try running a dehumidifier in your kitchen or place the cookies near an area with good airflow, but never directly over a hot source.
- Preventing Cracking Between Layers: If you are doing a base coat followed by a design layer on top (like writing or piping dots), you MUST let the base layer dry completely hard first. If you try to flood a second color over a still-tacky base, the two layers fight each other, and the top layer often cracks right off when dry. Let that first layer cure fully—patience saves you heartache!
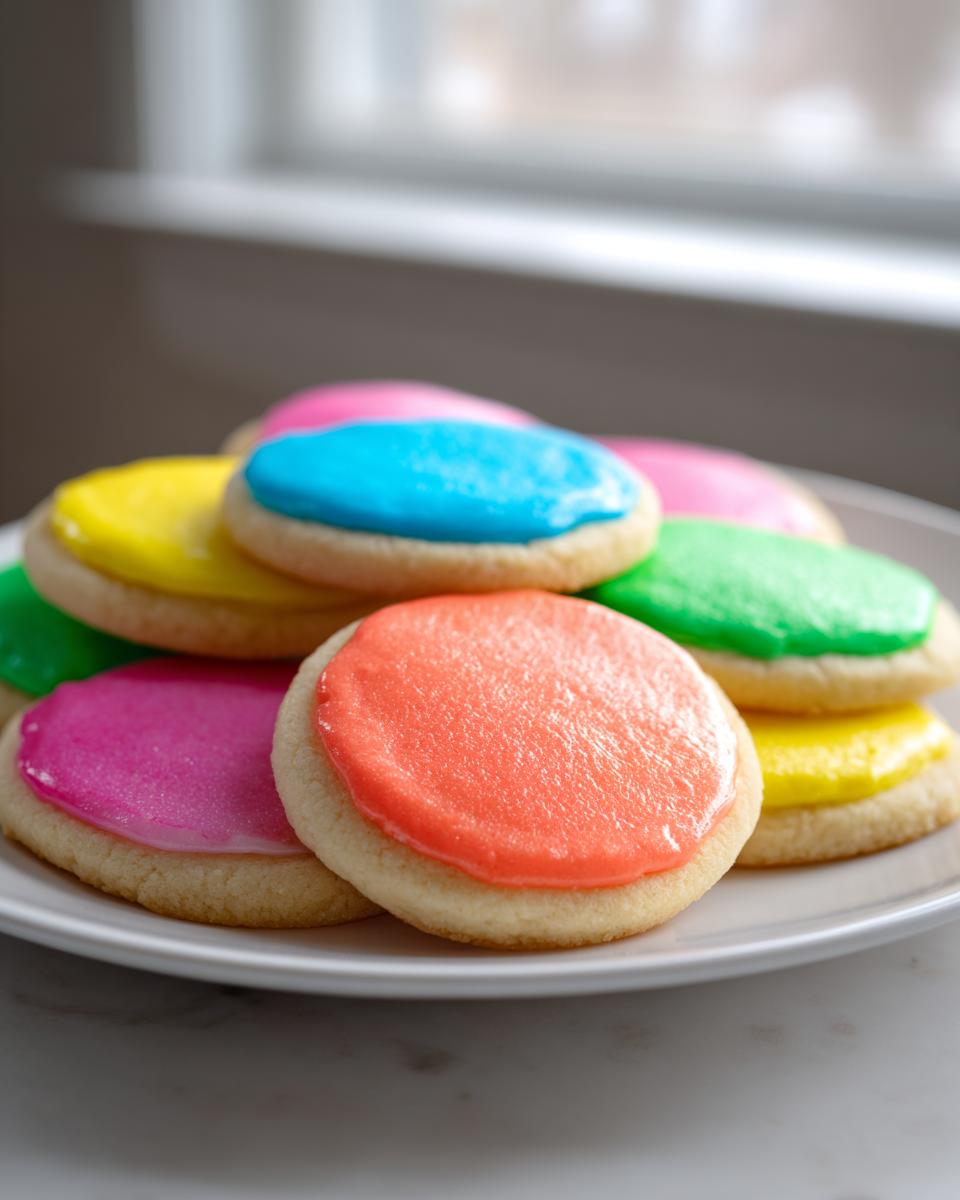
When you follow these little tips, you get that durable, professional result that looks like it came straight from a bakery! If you’re looking for other professional-level decorating advice for setting coatings, you might find this guide from Delice Recipe helpful!
Making Your Sugar Cookie Icing That Hardens Ready for Gifting
You’ve reached the finish line! You’ve got perfectly hard, glossy cookies, and now you need to get them ready to travel or sit safely on a platter without getting smudged. Because this icing sets so solid, you are already way ahead of the game compared to using simple glazes that stay soft. The protective shell this icing creates is fantastic for shipping, too!
For storage, you want to keep them out of intense heat or direct sunlight, just to keep the colors vibrant, but honestly, once these cookies are completely dry—we’re talking 8 to 12 hours later—they are pretty robust. I usually just store them in a single layer inside an airtight container at room temperature. If you stack them, you absolutely must place a piece of parchment paper or wax paper between the layers. This simple step prevents any chance of moisture transfer or rubbing between the icing designs.
I’ve stored cookies iced with this recipe for over a week before a big party, and they were just as fresh and hard as the day I made them. The key is that they must be 100% cured before you seal the container. I’ve even sent them cross-country in padded boxes during the holidays, and they arrived looking professional! It’s such a relief knowing you don’t have to babysit fragile baked goods.
If you’re thinking about other transportable treats, my cranberry orange scones are also great for shipping because they don’t rely on delicate frosting, but for sheer visual impact, nothing beats these hard-set sugar cookies!
Serving Suggestions for Decorated Cookies
Now that you have this gorgeous, durable sugar cookie icing that hardens, you need the perfect occasion to show it off! Honestly, the best part about having cookies that can be stacked is that you have so much more freedom in how you present them. They don’t just taste good; they look like they belong in a fancy bakery display case!
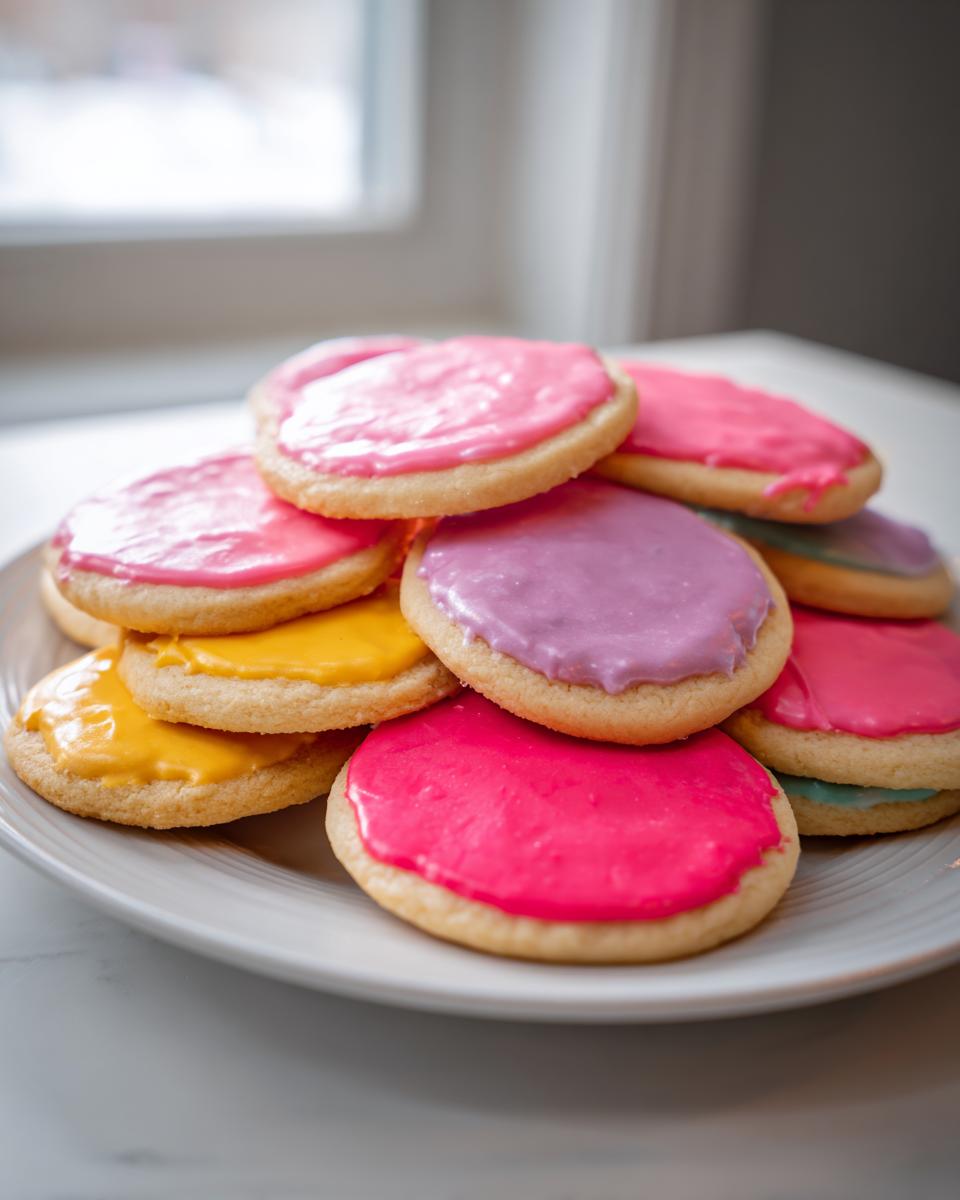
These are perfect for those big holiday events where you have dozens of different treats floating around. Since the icing won’t run or smudge, you can create amazing color palettes right next to each other on a platter. Think deep reds and greens mixed with bright whites for Christmas, or soft pastels for a spring event.
If you are involved in a cookie exchange, these are your gold standard! You can package them up neatly in cellophane bags tied with a nice ribbon, and they look incredible without any stress about them getting ruined on the journey home. If you’re heading to a big family gathering, instead of just bringing a plate of cookies, try making a colorful cookie platter where the designs are the star. They look so much more intentional when the icing is firm and shiny.
And hey, if you’re looking for another crowd-pleasing treat that travels well without any fussy frosting, you should definitely check out my recipe for easy flaky cranberry scones. But for sheer visual wow factor, nothing beats these perfectly set sugar cookies!
Frequently Asked Questions About Foolproof Cookie Decorating Icing
I always get tons of great questions when people start playing around with a recipe that needs to cure just right! It’s totally normal to wonder about substitutions or timing when you’re aiming for that professional, hard finish. Here are a few things readers ask me most frequently about this sugar cookie icing that hardens. If you’re trying out some amazing vegan baking alongside these cookies, you might want to check out my vegan chocolate chip cookie recipe!
Can I use water instead of milk in this easy sugar glaze recipe?
Yes, you absolutely can use water, and it will still absolutely harden up for you! You get the moisture you need for mixing the powdered sugar, and the final product will cure into that hard shell we love. However, I always prefer milk if I have it, even whole milk isn’t essential. Milk just adds the tiniest bit more richness and helps the final set feel just a shade less brittle than pure water does. Water works in a pinch, but milk is my first choice for flavor!
How long does this icing that dries hard take to fully set?
This is the million-dollar question! Patience is key when getting that super durable result. If you apply a very thin layer, maybe just an outline, you could see it firm up in about four to six hours when the air is dry. But for a full covering—a flood coat—you really need to treat it like an overnight process. I always give my cookies 8 to 12 hours at room temperature to ensure they are 100% solid before I even think about touching, stacking, or packaging them. Don’t rush it, or you risk having a sticky jam session!
What makes this best icing for cut out cookies so durable?
The durability, the non-smearing power, the shell-like quality—that all comes down to the corn syrup, hands down. When we mix the sugar, the corn syrup bonds with the sugar crystals and almost prevents them from reforming into a gritty, soft texture as they dry. Instead, they lock down into a smooth, hard matrix. It creates a flawless, protective coating that lasts, making it the best icing for cut out cookies if you need them to travel. If you’re aiming for that professional look, don’t skip that teaspoon of light corn syrup!
For some deeper dives into getting your icing to set just right, I found this great resource on That Oven Feelin’ that covers a few more common issues, too!
Sharing Your Beautifully Iced Creations
Once you’ve battled the bubbles and waited patiently for that glorious hardening process, it’s time to admire your work! Seeing those smooth, glossy cookies stacked up or arranged perfectly on a platter is the best feeling, isn’t it? I really want to know how your cookie adventure went! Did you try out the clear vanilla? Did you manage to get them perfectly stackable?
If you try this recipe for your next holiday baking spree or birthday party, please come back and tell me all about it in the comments below! I love seeing your gorgeous results, and hearing what worked best for your kitchen environment truly helps me keep tweaking and perfecting these recipes for everyone who visits Cut Cook Taste. Don’t forget to leave a rating if this sugar cookie icing that hardens saved your decorating day!
Now that we’ve mastered the frosting, maybe it’s time to explore organizing your whole baking schedule? Head over to my main blog page for more baking tips and recipes to fill up your calendar!
Sharing Your Beautifully Iced Creations
Once you’ve battled the bubbles and waited patiently for that glorious hardening process, it’s time to admire your work! I really want to know how your cookie adventure went! Did you try out the clear vanilla? Did you manage to get them perfectly stackable, just like we talked about? Seeing those smooth, glossy cookies arranged beautifully on a platter is the best feeling, isn’t it?
If you try this recipe for your next holiday baking spree or birthday party, please come back and tell me all about it in the comments below! I love seeing your gorgeous results, and hearing what worked best for your kitchen environment truly helps me keep tweaking and perfecting these recipes for everyone who visits Cut Cook Taste. Don’t forget to leave a rating if this sugar cookie icing that hardens saved your decorating day!
Now that we’ve mastered the frosting, maybe it’s time to explore organizing your whole baking schedule? Head over to my main blog page for more baking tips and recipes to fill up your calendar!
PrintGlossy Sugar Cookie Icing That Hardens Firmly

Welcome! I’m Sarah, and I’m so happy you’re here. This easy recipe gives you the exact texture you want so your cookies look fantastic after baking. You will get a beautiful, durable finish perfect for gifting or serving at parties. Learn how to mix this sugar cookie icing that hardens completely.
- Prep Time: 10 min
- Cook Time: 0 min
- Total Time: 10 min
- Yield: Coats about 2 dozen medium cookies 1x
- Category: Dessert
- Method: No Bake
- Cuisine: American
- Diet: Vegetarian
Ingredients
- 2 cups powdered sugar, sifted
- 3 tablespoons milk (whole or plant-based)
- 1 tablespoon light corn syrup
- 1 teaspoon vanilla extract
- Gel food coloring, assorted (optional)
Instructions
- Place the sifted powdered sugar into a medium bowl.
- Add the milk, light corn syrup, and vanilla extract to the sugar.
- Whisk the ingredients together until the mixture is smooth. You are aiming for a thick but pourable consistency, similar to honey.
- If the icing is too thick, add milk, one half teaspoon at a time. If it is too thin, add more sifted powdered sugar, one tablespoon at a time.
- If you want colored icing, divide the base icing into separate bowls and mix in gel food coloring until you reach your desired shade.
- Use a small spoon or piping bag to apply the icing to your cooled sugar cookies.
- Allow the cookies to sit at room temperature until the icing is completely dry and hard to the touch. This may take several hours or overnight for a thick coat.
Notes
- For a bright white, glossy icing, use clear vanilla extract instead of standard vanilla.
- This icing sets solid, making your cookies stackable and gift-ready.
- For intricate decorating, thin the icing slightly more to achieve a ‘flood’ consistency.
Nutrition
- Serving Size: 1 tablespoon icing
- Calories: 50
- Sugar: 12g
- Sodium: 1mg
- Fat: 0g
- Saturated Fat: 0g
- Unsaturated Fat: 0g
- Trans Fat: 0g
- Carbohydrates: 12g
- Fiber: 0g
- Protein: 0g
- Cholesterol: 0mg