
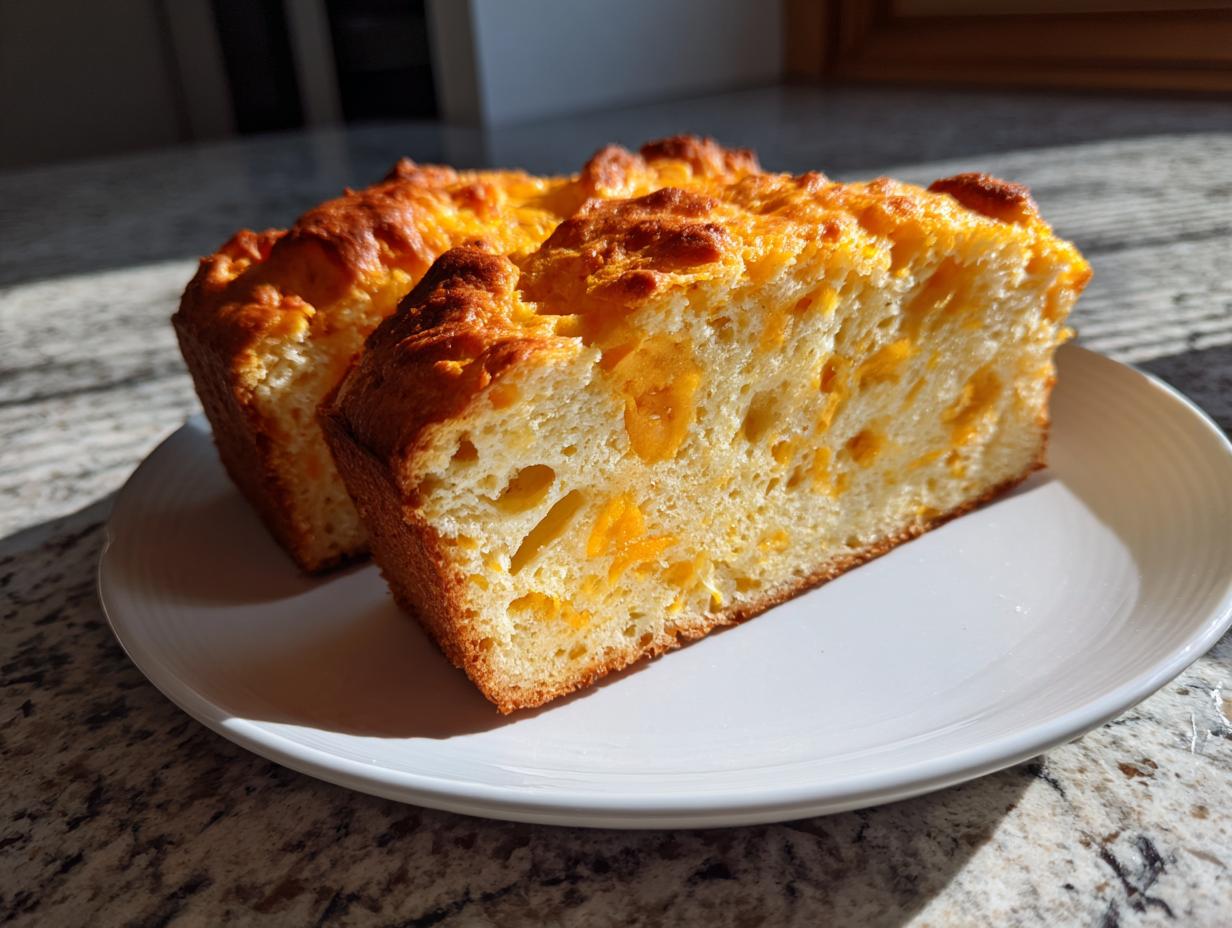

Welcome! I’m Sarah, and I’m so happy you’re here. There’s just something about baking that instantly makes a house feel like home, isn’t there? If you’re like me, you crave that warm, comforting flavor of good cheese bread without having to wait around for yeast to rise. That’s why I’m sharing my recipe for the Irresistibly Easy Cheddar Cheese Quick Bread. Learning simple, foolproof methods from my family taught me that reliability in the kitchen is everything, and this recipe is about as reliable as they come! It’s fast, wonderfully flavorful, and delivers that gooey, cheesy satisfaction everyone loves.
- Why This Cheddar Cheese Bread Recipe is the Best
- Gathering Ingredients for Your Homemade Cheese Bread Loaf
- Step-by-Step Instructions for Quick Cheddar Cheese Bread
- Tips for Making the Perfect Savory Baked Bread
- Variations on the Classic Cheese Bread
- Serving Suggestions for this Comfort Food Bread Recipe
- Storage and Reheating Instructions for Leftover Cheese Bread
- Frequently Asked Questions About Making Cheese Bread
- Estimated Nutritional Data for Cheddar Cheese Bread
Why This Cheddar Cheese Bread Recipe is the Best
Why mess around when you can have incredible results in under an hour? This isn’t just any bread; it’s the ultimate comfort food side dish, ready before dinner even gets going. It hits all the right notes for that perfect slice of quick cheddar cheese bread—soft, savory, and wonderfully cheesy!
- Quick Baking Time for Easy Cheese Bread Recipe: With only 10 minutes of prep time and an hour total, this is the easiest easy cheese bread recipe you’ll find. Pop it in the oven and forget about it!
- Superior Texture: Soft Interior, Cheesy Flavor: You get a fluffy inside and that satisfying, gooey melted cheese bread texture. Trust me, this will quickly become the best cheese bread you will ever make.
Gathering Ingredients for Your Homemade Cheese Bread Loaf
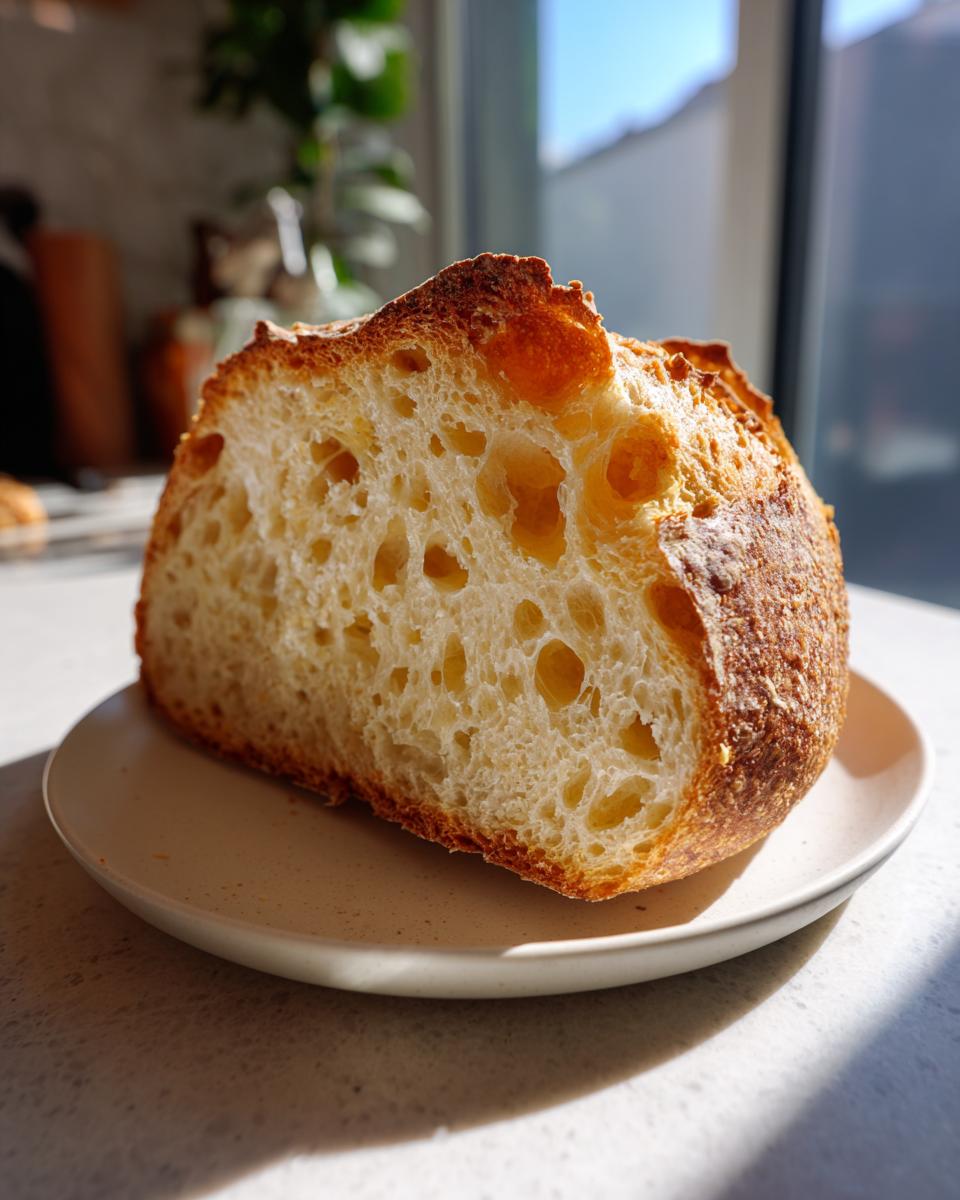
Alright, let’s talk supplies. Since this is a quick bread, we don’t mess around with kneading or proofing, which means the quality of the few ingredients we use really shines through. Getting these laid out beforehand is half the battle for any homemade cheese bread loaf!
Here is exactly what you’ll need for this simple but satisfying bake:
- 2 cups all-purpose flour
- 1 tablespoon baking powder
- 1 teaspoon salt
- 1 cup shredded sharp cheddar cheese (This is key!)
- 2 tablespoons melted butter
- 1 cup milk
- 1 large egg
Ingredient Notes and Sharp Cheddar Tips
The star here, obviously, is that cheese, so make sure it’s sharp cheddar—we need that flavor punch! I always recommend shredding your own block of cheddar rather than buying pre-shredded. The packaged stuff has starches that keep it from melting quite as beautifully when it gets hot. Also, try to let your milk and egg sit out on the counter for about 15 minutes before you mix them in. Room-temperature liquids mix into the batter so much more smoothly, which helps prevent overmixing later on!
Step-by-Step Instructions for Quick Cheddar Cheese Bread
This recipe moves fast, so have everything ready by the stove! Since we aren’t fooling around with yeast, the structure comes entirely from the baking powder, and that structure needs gentle handling. If you follow these steps, you’ll get that perfect, slightly crumbly but tender interior that makes this cheese bread so addictive.
Preparing the Dry and Wet Mixtures for Cheese Bread
First thing, get that oven warmed up to 375°F (190°C) and go ahead and grease up your loaf pan really well. In a big bowl, whisk together your flour, baking powder, and salt. Now, here’s a little bonus flavor: if you want a deeper savory taste, toss in 1 teaspoon of garlic powder right here with the dry stuff. Next, gently stir most of that shredded cheddar right into the flour mix so the pieces get coated. In a smaller bowl—this keeps things tidy—whisk your melted butter, milk, and that single egg together until it’s looking smooth.
Mixing, Baking, and Cooling the Warm Cheesy Loaf Recipe
Now, pour those wet ingredients right into the dry bowl. I need you to promise me you will only mix this until *just* combined. Seriously, don’t beat it like you mean it! A few lumps are totally okay; overmixing is what turns this soft loaf into a brick. Pour the batter into your pan. I like to brush the top with a tiny bit of extra melted butter halfway through baking to encourage a lovely crust, though you don’t have to! Bake it for about 45 to 55 minutes. Test it with a wooden skewer around the 45-minute mark—if it comes out clean, you’re golden! Let that warm cheesy loaf recipe cool in the pan for 10 minutes before turning it out onto a rack.

Tips for Making the Perfect Savory Baked Bread
Even with an easy recipe like this, baking sometimes throws us a fun little curveball, right? Since this is a quick bread, it’s all about chemistry, and we need to treat those ingredients gently to get that slightly crisp crust and tender crumb that mimics wonderful bakery style cheese bread. Don’t worry if your first attempt isn’t absolutely textbook perfect—that’s how we learn! The most important thing to remember, which I mentioned above, is to serve this bread right away!
Troubleshooting Common Cheese Bread Issues
Okay, let’s talk about those little hiccups. If your bread comes out just a little too dense, 99% of the time it’s because we got a little too enthusiastic mixing the wet and dry ingredients. Remember, we only mix until the flour streaks just disappear. Another common issue is the cheese sinking right to the bottom of the pan. If that happens, next time make sure you thoroughly toss your shredded cheddar in about a quarter cup of the flour mixture *before* you add it to the main batter. Coating the cheese prevents it from getting too heavy and sinking during that crucial initial bake!
Expert Tip for Maximum Flavor in Your Cheese Bread
To really punch up that cheddar flavor and ensure we have the *best* possible melt, here’s a trick I use when I have an extra five minutes. Take your sharp cheddar—the block you shredded yourself, remember?—and spread it thinly on a small, dry baking sheet. Pop it in the oven for just 3 to 5 minutes while you’re gathering the other ingredients. Not until it browns, just until you see it start to sweat a little bit. Toasting the cheese slightly deepens its savory notes before it even hits the batter! Combine that with the room temperature ingredients we discussed earlier, and you’ve got flavor dialed up to eleven. You can find some other great ideas for savory baking over on my pretzel bites post, too!
Variations on the Classic Cheese Bread
Just because this recipe is easy doesn’t mean it has to be boring! Quick bread is such a fantastic base for playing around with flavors. My heart leans toward savory, so I frequently tweak this cheddar loaf into something even more exciting for game nights. It’s so easy to turn this into an amazing Italian herb cheese bread that pairs perfectly with soups or chili.
Adding Herbs and Spices to Your Cheese Bread
You have so much room to play right in that dry ingredient bowl! If you want something bright and herbaceous, try adding a teaspoon of dried Italian seasoning right in with the flour. You can also stir in a couple of tablespoons of fresh chives for a mild oniony lift. For those who like a tiny bit of warmth, a small pinch of cayenne pepper mixed in with the salt wakes up the sharpness of the cheddar beautifully. It’s a simple upgrade that feels gourmet!
Alternative Cheese Combinations for Cheesy Pull Apart Bread
Since cheese is the main event, why stick to just one kind? If you were making a big cheesy pull apart bread instead of a loaf, I’d definitely suggest a blend. Try swapping half the cheddar for something meltier, like Monterey Jack or even some gooey Gruyère for a nuttier taste. You could even fold in a cup of smoked Gouda for a totally different, sophisticated profile. Just be sure to shred it fresh so it melts properly!
Serving Suggestions for this Comfort Food Bread Recipe
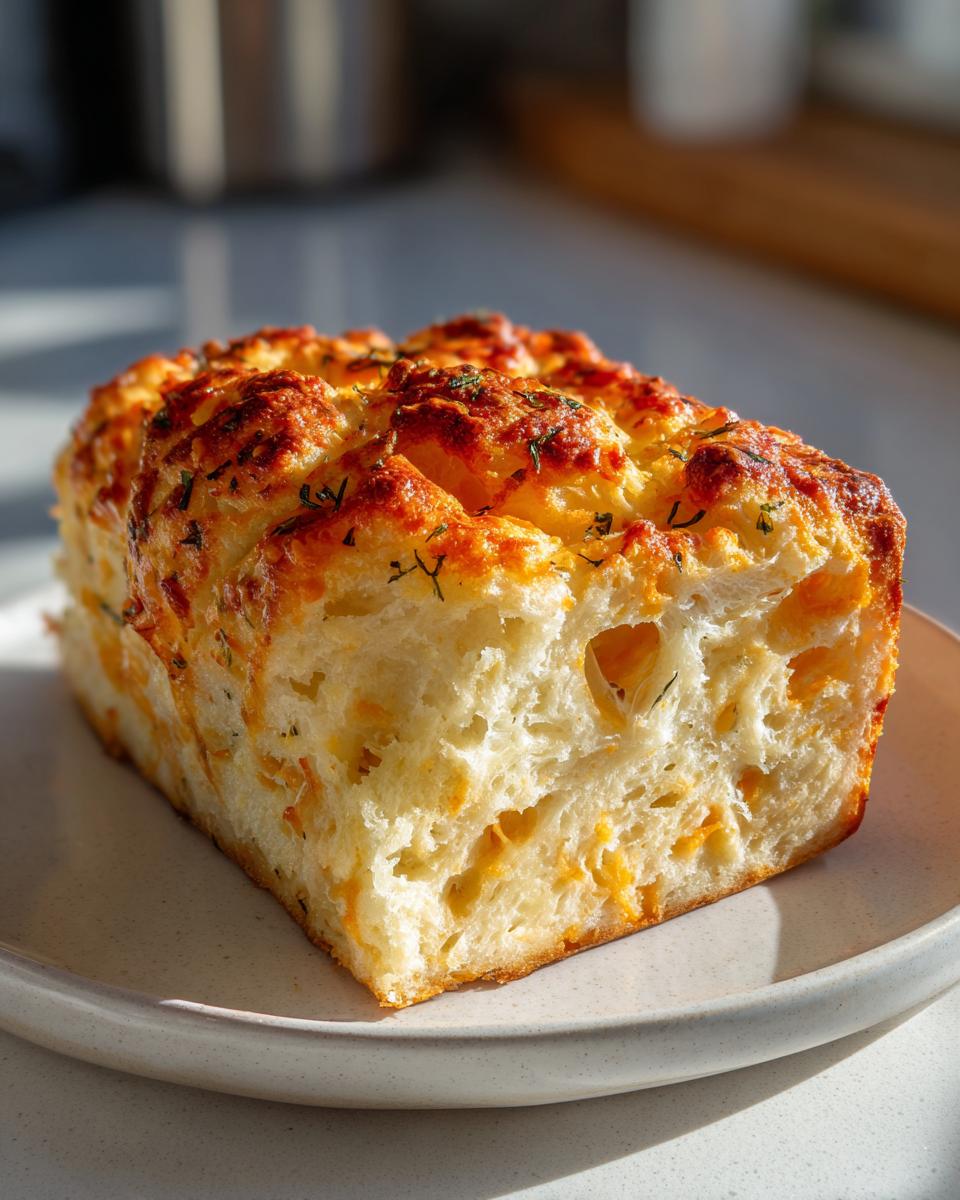
This best side dish bread is so versatile, you’ll wonder how you ever managed without it! Honestly, nothing beats a steaming bowl of chili or my creamy roasted tomato soup recipe served with a thick slice of this cheesy loaf. The baked cheddar melts perfectly into the broth. But don’t just relegate it to dinner duty!
Serve thick cubes of it warm alongside some dip when company is over; it makes a fantastic, hearty garlic cheese bread appetizer. It’s just pure comfort food in loaf form, and I hope it brings as much warmth to your table as it does to mine.
Storage and Reheating Instructions for Leftover Cheese Bread
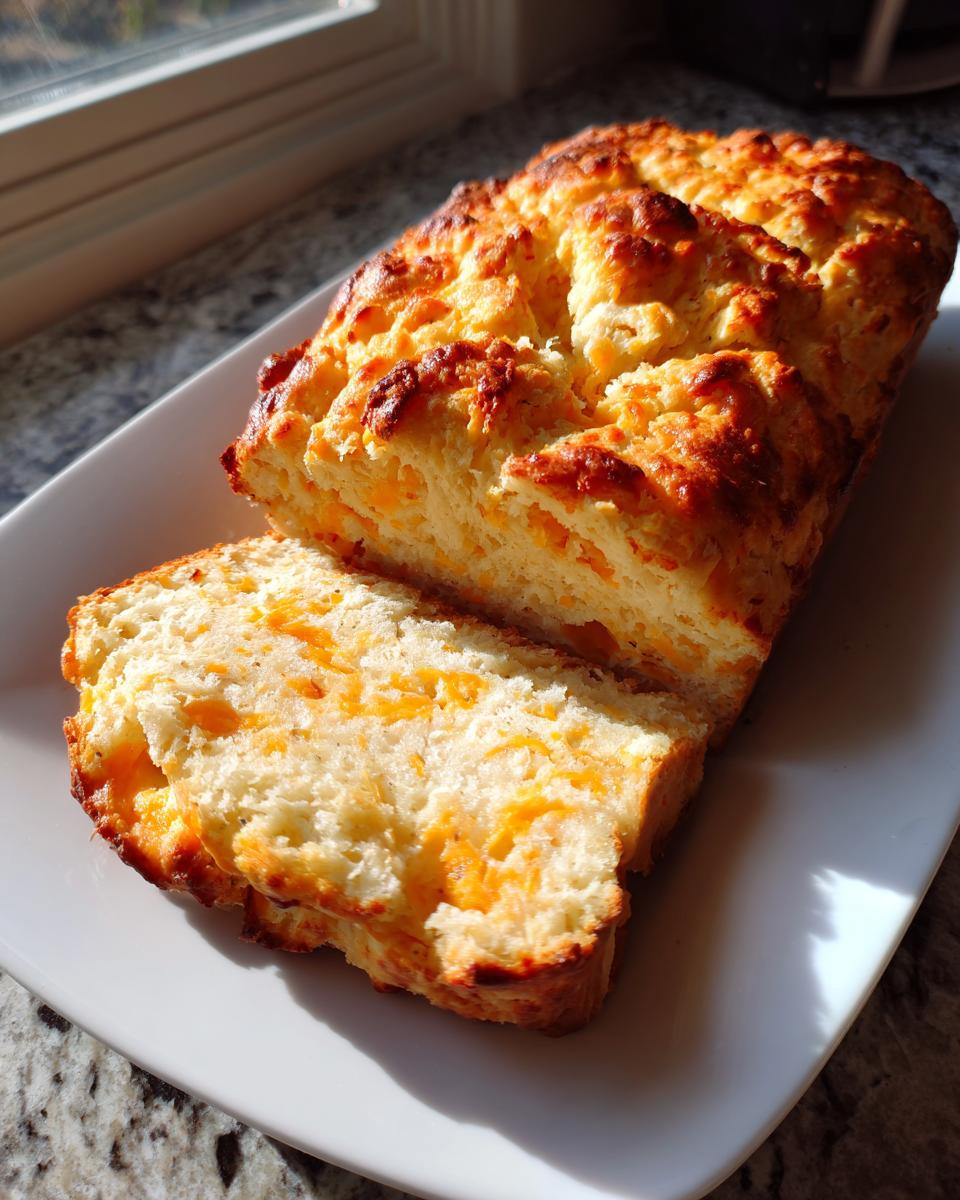
Now, I’m going to be honest with you—this cheddar cheese bread is truly at its peak flavor and texture the moment it comes out of the oven. That warm, gooey cheese moment doesn’t last forever, so if you can eat it all in one go, do it! But if you somehow manage to have leftovers from your comfort food bread recipe session, don’t panic. We need to treat this quick bread right so it doesn’t dry out.
The best place for any leftover slice is on the counter. Store it tightly wrapped in plastic wrap, or tuck it into an airtight container at room temperature. Never put quick breads like this in the fridge! The cold air actually speeds up the staling process, and we don’t want that soft crumb hardening up on us.
When you’re ready to enjoy the second day’s loaf, the microwave is your enemy if you want good texture. It’ll make it soft, yes, but often soggy and then it gets tough as it cools down again. Instead, I highly recommend you slice off what you need and reheat it in a toaster oven or a regular oven. Pop the slices onto a baking sheet and let them warm up at about 300°F (150°C) for about five to eight minutes. This gently melts the cheese again and brings back a little bit of that crispness around the edges. It’s almost as good as fresh!
If you make a huge batch and need to save it longer than two days, you can freeze it! Wrap individual slices tightly in plastic wrap first, then slip them into a freezer bag. When you want to eat one, just pull it out and let it thaw on the counter, then reheat it in the oven as I described. It makes for a fantastic quick snack later, perfect with a dollop of that pear butter if you’re feeling adventurous!
Frequently Asked Questions About Making Cheese Bread
I get so many questions whenever I post this recipe on social media! It’s wonderful how much love this simple cheese bread gets. Quick breads always have a few quirks compared to yeast breads, so I wanted to clear up some of the most common things people ask me about achieving that perfect slice of savory goodness.
Can I use pre-shredded cheese in this easy cheese bread recipe?
You absolutely can, and if you’re in a huge hurry, go for it! But if you’re aiming for the absolute best texture—that gooey, smooth melt we talked about—I strongly advise you to shred your own sharp cheddar from a block. The pre-shredded bags are fantastic for saving time, but they are coated in things like potato starch or cellulose to keep them from clumping together in the bag. These anti-caking agents actually stop the cheese from melting completely smooth and can sometimes leave your easy cheese bread recipe feeling a little grainy or less luxurious. Trust me, the extra two minutes spent at the grater is worth it!
How do I make this recipe into a no knead cheese bread?
Oh, I love this question because it usually means someone is used to working with yeast! The exciting thing here is that this recipe *is* already a form of no knead cheese bread! We are using baking powder and baking soda as our leavening agents—that’s what makes it a “quick bread.” Quick breads rely on a chemical reaction to create rise, not yeast development. Yeast breads require kneading to build that stretchy gluten structure. Since we aren’t using yeast, we mix this bread just until the ingredients are barely combined. If you were to knead this batter, you’d develop too much gluten, and it would turn dense. So, just mix it lightly, and you’ve automatically made a no-knead wonder!
What is the best way to reheat this warm cheesy loaf recipe?
As I mentioned before, the microwave can turn leftover cheese bread into a sad, chewy situation really fast, especially if you want that lovely slightly crisp exterior on your warm cheesy loaf recipe. The best way to bring it back to life is low and slow in the oven. Wrap individual slices loosely in foil and heat them at 325°F (about 160°C) for about 10 minutes. If you don’t want to use foil, just place the slices directly on a baking sheet and reheat for about 6 minutes. This gently warms the bread all the way through and re-melts the cheese beautifully without drying out the crumb.
Estimated Nutritional Data for Cheddar Cheese Bread
Now, I always like to give a heads-up about nutrition! Cooking from scratch is the best way to control what goes into your food, but remember that these numbers are just estimates based on my specific ingredients list for this cheddar cheese bread. They can change depending on, say, how sharp your cheddar is or if you use whole milk versus low-fat!
Here is the breakdown, estimated per slice (Yield: 8 servings):
- Calories: 250
- Sugar: 3g
- Sodium: 350mg
- Fat: 12g (Saturated Fat: 7g)
- Carbohydrates: 30g
- Protein: 8g
This table is intended strictly as a reference point. Enjoy every savory bite!
PrintIrresistibly Easy Cheddar Cheese Quick Bread
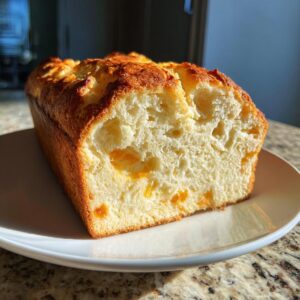
This Cheddar Cheese Quick Bread recipe delivers a warm, cheesy delight that is quick and simple to make. You get a soft, fluffy texture with the bold flavor of sharp cheddar, perfect as a snack or a side dish.
- Prep Time: 10 min
- Cook Time: 50 min
- Total Time: 60 min
- Yield: 8 servings 1x
- Category: Side Dish
- Method: Baking
- Cuisine: American
- Diet: Vegetarian
Ingredients
- 2 cups all-purpose flour
- 1 tablespoon baking powder
- 1 teaspoon salt
- 1 cup shredded sharp cheddar cheese
- 2 tablespoons melted butter
- 1 cup milk
- 1 large egg
Instructions
- Preheat your oven to 375°F (190°C). Grease and flour a standard loaf pan.
- In a large bowl, whisk together the flour, baking powder, and salt.
- Stir in the shredded cheddar cheese until it is evenly distributed throughout the dry ingredients.
- In a separate, smaller bowl, whisk together the melted butter, milk, and egg until combined.
- Pour the wet ingredients into the dry ingredients. Mix only until just combined; do not overmix the batter. A few lumps are fine.
- Pour the batter into the prepared loaf pan.
- Bake for 45 to 55 minutes, or until a wooden skewer inserted into the center comes out clean.
- Let the bread cool in the pan for 10 minutes before turning it out onto a wire rack to cool completely.
- Slice and serve warm for the best gooey cheese experience.
Notes
- For extra flavor, you can add 1 teaspoon of garlic powder to the dry ingredients.
- If you prefer a slightly crispier crust, brush the top of the loaf with a little extra melted butter halfway through baking.
- This bread is best eaten the day it is baked, but you can store leftovers tightly wrapped at room temperature for up to two days.
Nutrition
- Serving Size: 1 slice
- Calories: 250
- Sugar: 3
- Sodium: 350
- Fat: 12
- Saturated Fat: 7
- Unsaturated Fat: 5
- Trans Fat: 0
- Carbohydrates: 30
- Fiber: 1
- Protein: 8
- Cholesterol: 45