
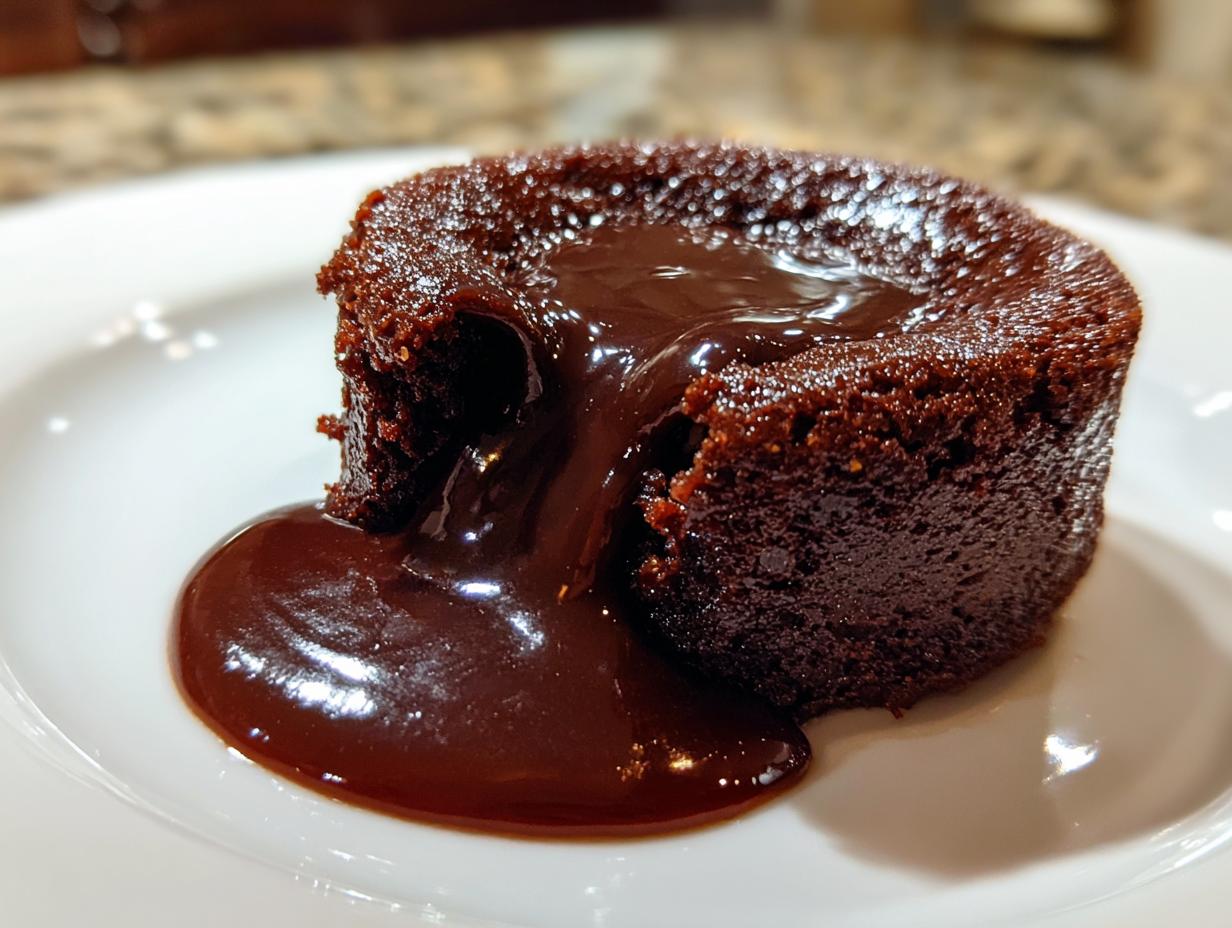

Oh, darling, are you ready to stop dreaming about restaurant-quality desserts and actually *make* them? I know what it’s like when you need a truly quick decadent dessert that feels incredibly fancy. That’s why I’m handing over the keys to my absolute favorite showstopper: the Foolproof Chocolate Lava Cake. Forget those sad, overly baked cupcakes! This recipe is my go-to when I want to impress my partner on date night or when friends drop by unexpectedly. Trust me, I spent weeks testing ratios so that every single time you pull these individual chocolate cakes out of the oven, you are guaranteed that magnificent, silky, molten center that everyone raves about. This is pure chocolate indulgence, and honestly? It’s surprisingly simple!
- Why This Classic Chocolate Lava Cake Recipe Works Every Time
- Ingredients for Your Homemade Lava Cake
- Step-by-Step Instructions for Decadent Lava Cake
- Tips for the Best Chocolate Lava Cake Results
- Make-Ahead and Storage for Your Lava Cake Dessert
- Serving Suggestions for a Restaurant Style Dessert at Home
- Frequently Asked Questions About Molten Chocolate Cake
- Estimated Nutrition for This Decadent Lava Cake
- Share Your Gooey Center Dessert Success
Why This Classic Chocolate Lava Cake Recipe Works Every Time
Listen, I’ve burned my fair share of elaborate desserts, but this molten chocolate cake recipe is the one I bring out when I absolutely *cannot* risk failure. When I was first trying to nail the best chocolate lava cake recipe purely for a special Valentine’s Day dessert years ago, I ended up with four batches of slightly overcooked dry chocolate pucks. Yikes! That taught me you need structure *and* liquid gold.
What makes this recipe magic is the balance. We use a little bit of flour—just enough to give that perfect, slightly crisp edge—but not so much that it sets the whole center. The secret is treating those eggs and yolks right and being religious about the baking time. It truly is my most reliable answer for date night dessert recipes that look like they came from a five-star place but took less than 30 minutes!
Achieving the Perfect Gooey Center Dessert
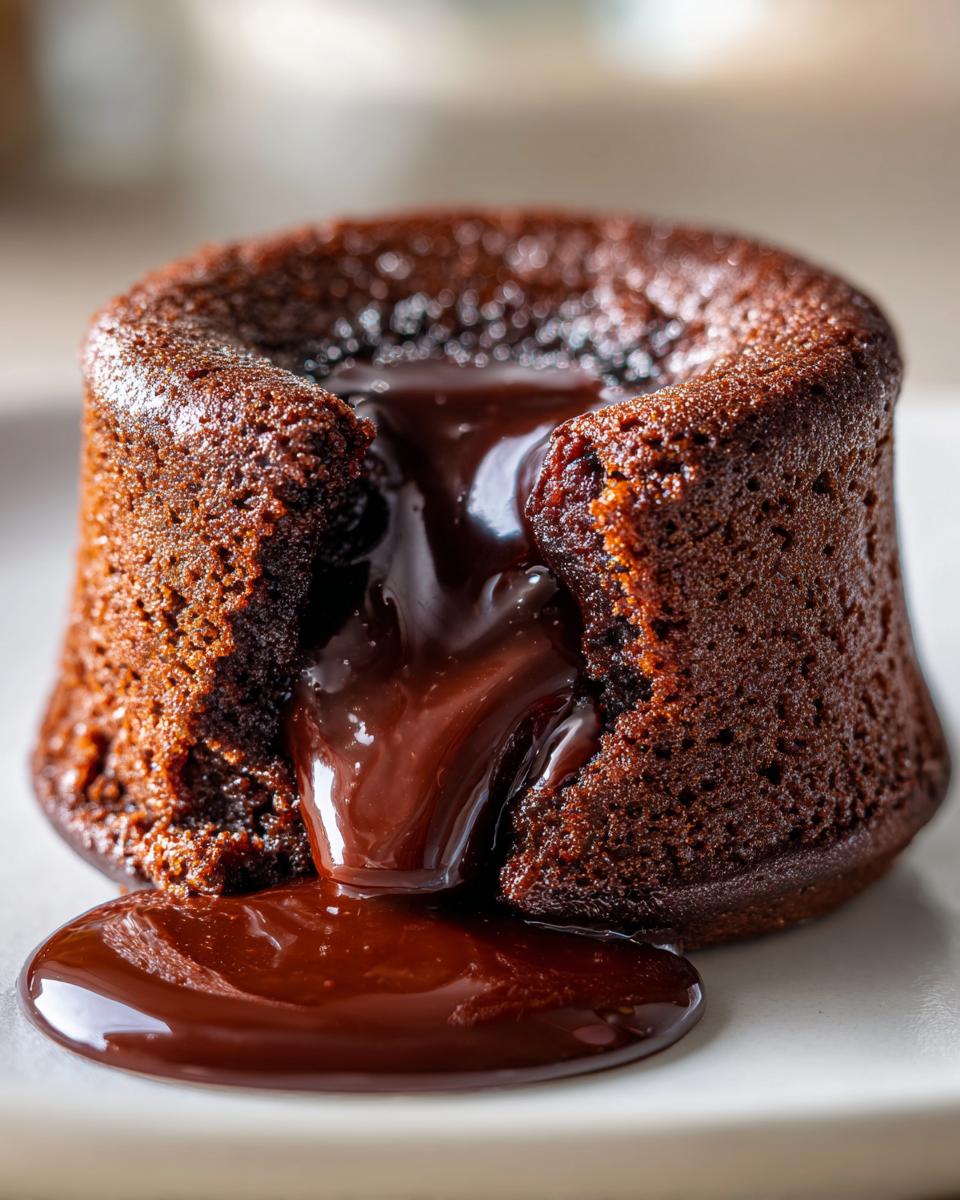
The gooey part isn’t luck; it’s science, kitchen-style! We rely heavily on the ratio here. By using two whole eggs plus two extra egg yolks, we get the richness and structure we need from the fat, while keeping the flour amount tiny. That tiny bit of flour acts like a net, catching some of the uncooked batter so it turns into that beautiful, warm chocolate pudding texture around the edges.
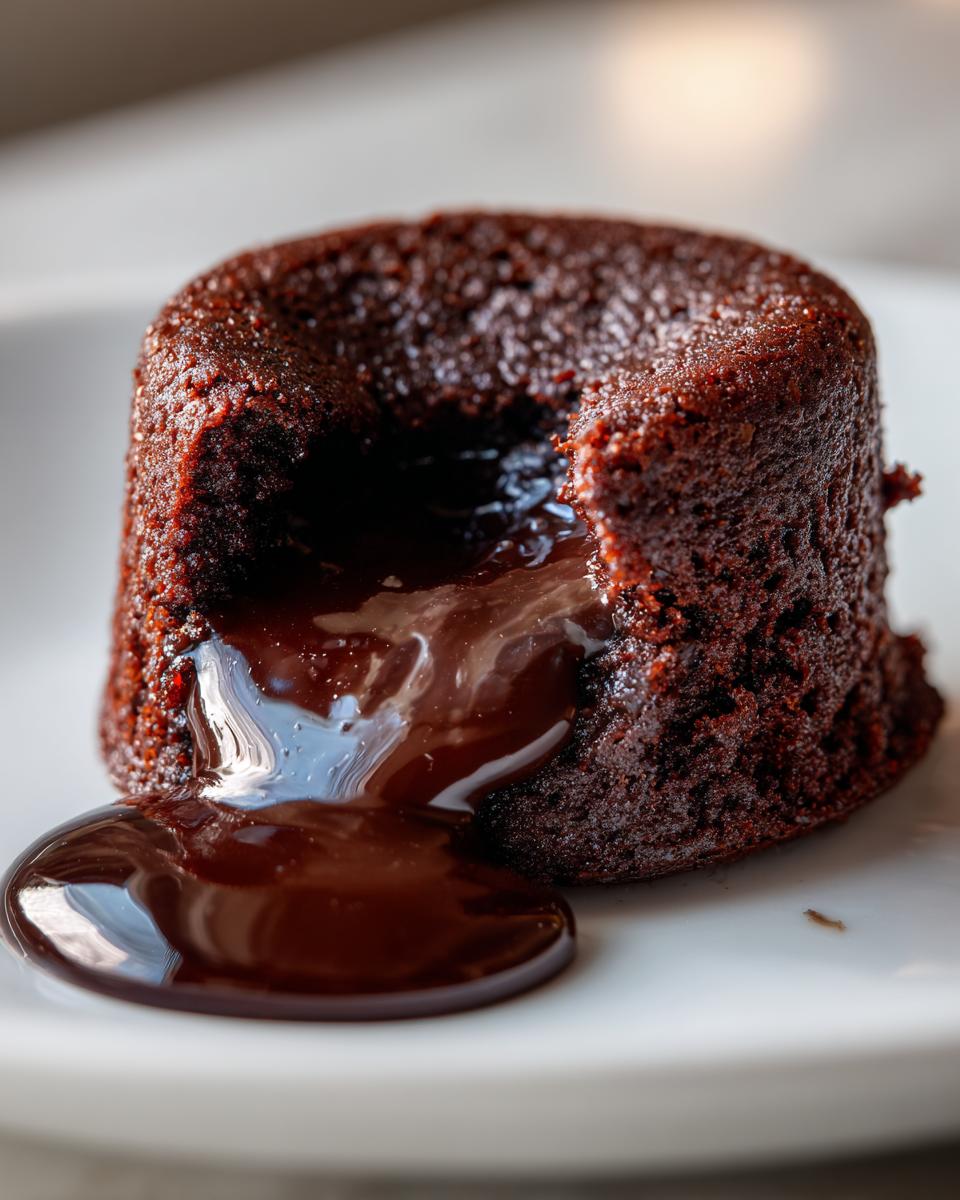
If you pull them out when the edges are just starting to look firm, but the middle still jiggles like a newborn calf, you’ve won. Don’t second guess that wobble; that’s your guarantee for the best gooey center dessert imaginable. If you are nervous, I always tell people to start with the lowest recommended time in the recipe, which is exactly 12 minutes for us. You can always give it two more minutes, but you can’t bring that lava back once it’s baked solid! If you want to practice your folding technique before this masterpiece, you should see how I handle the batter for my cream cheese brownies—it’s all about keeping things light!
Ingredients for Your Homemade Lava Cake
I cannot stress this enough: the quality of your chocolate makes or breaks this whole operation. Since the chocolate is the star—think of it as a rich, melt-in-your-mouth dessert waiting to happen—use the best bittersweet chocolate you can find. Don’t cheap out here! This is a classic, simple recipe, so those few ingredients really have to shine.
Here is exactly what you need to pull off this wonderful homemade lava cake. Grab your measuring cups, because precision matters when we are aiming for that perfect flow!
- 4 ounces good quality bittersweet chocolate, chopped (Make sure it’s chopped finely so it melts evenly!)
- 4 ounces unsalted butter, plus extra for greasing (If you don’t have unsalted, you can use salted, but skip the salt pinch below.)
- 2 large eggs
- 2 large egg yolks (Those extra yolks are crucial for the richness, don’t skip them!)
- 1/4 cup granulated sugar
- 1 tablespoon all-purpose flour (Yes, just one tablespoon! That’s our secret for the gooey center dessert.)
- Pinch of salt (It just wakes up that deep chocolate flavor.)
- Cocoa powder, for dusting ramekins (This is much better than flour for dusting—it prevents white streaks.)
And while you’re organizing this, think about what you’ll drizzle on top! If you want an extra chocolate punch, check out my recipe for easy chocolate sauce recipe to pour over the top when you invert them.
Step-by-Step Instructions for Decadent Lava Cake
This process moves fast once you get going, so have everything ready on your counter! We want to capture that beautiful, warm chocolate pudding texture as soon as we bake these little guys. Don’t stress; following these steps means you’ll create the most amazing **lava cake** that just flows right out onto the plate. It’s truly one of the most impressive yet easy desserts you can pull off.
- First things first—we need heat! Preheat your oven up high to 425 degrees Fahrenheit (that’s 220 degrees Celsius). While that’s heating, get your four 6-ounce ramekins ready.
- Melt the chocolate and butter together. Set a heatproof bowl over a barely simmering saucepan of water (a double boiler setup). Stir everything gently until it’s completely liquified and glossy. It should look like smooth, dark velvet. Pull it off the heat to cool down just a tiny bit while you work on the eggs.
- In a separate bowl, whisk those two eggs, two yolks, and the sugar vigorously until the mix gets lighter in color and slightly thickens up—that takes about two minutes.
- Now, gently pour that slightly cooled chocolate into the egg mixture. Whisk slowly until it’s just one color.
- Time for the flour! Sift that tablespoon of flour and the salt right over the top. Fold it in gently with a spatula. Stop mixing the second you don’t see any white flour streaks. Seriously, don’t overmix this batter, or you’ll ruin the texture!
- Divide that dreamy batter evenly between your four prepared ramekins. Pop them onto a baking sheet.
- Bake for 12 to 14 minutes. This timing is everything!
- Let them hang out in the ramekins for exactly one minute. Run a thin knife around the edges, and then carefully flip each one onto your serving plate. Serve immediately! If you want more ideas on texture, check out tips on making a simple moist chocolate cake recipe if you prefer a slightly firmer bake.
Preparing the Ramekins for Easy Release
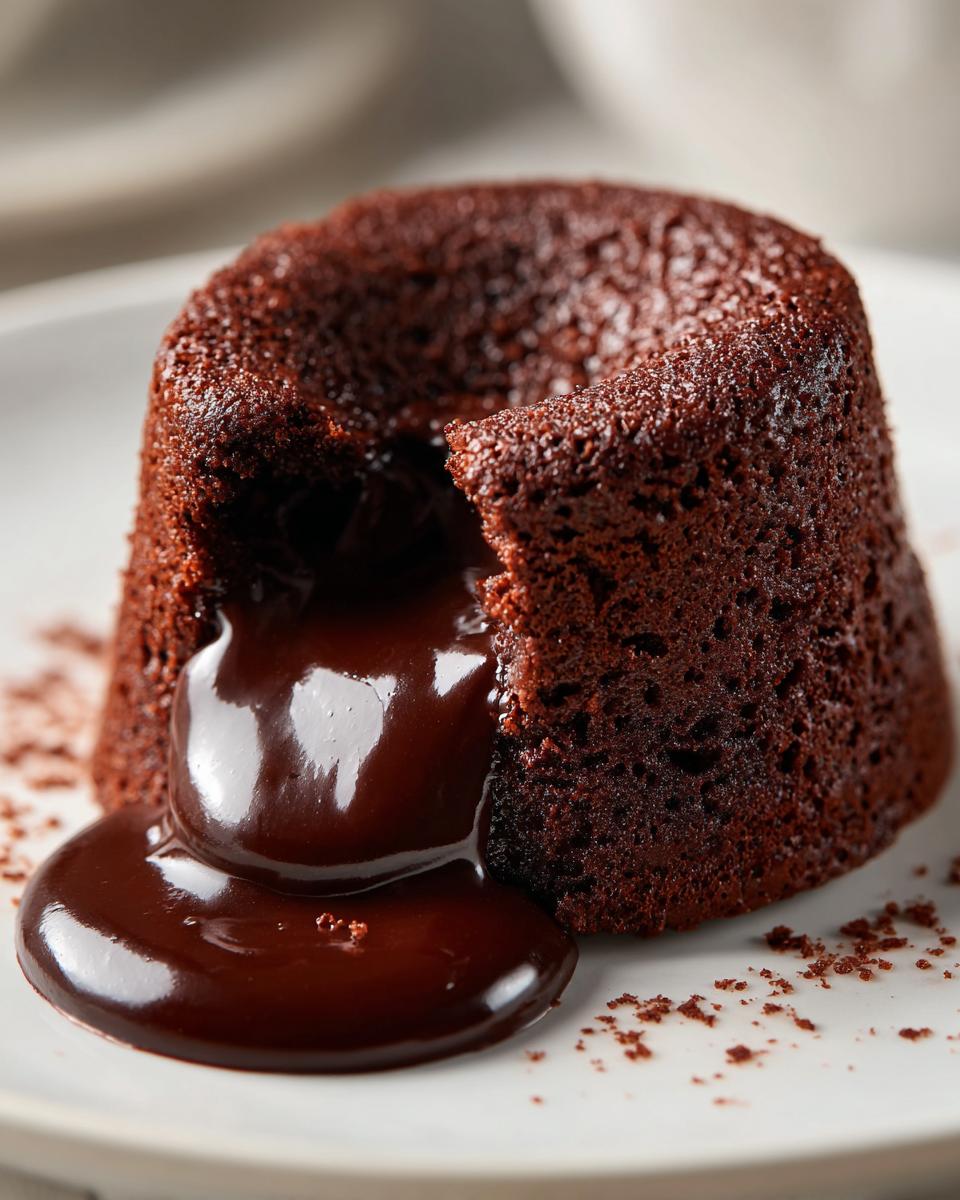
This step is non-negotiable for success, especially if you want that beautiful, clean unmolding of your chocolate volcano cake. You need to be generous! Use softened butter to coat the bottom and sides of the ramekins completely—don’t miss any little corners.
Then, dust them with cocoa powder, not flour. Tap the ramekin upside down over the sink or trash can to knock out all the loose powder. The cocoa powder gives the outside of your lava cake a beautiful, rich color and ensures it slides right out onto your plate. Failure to grease and dust Properly is the number one way people end up serving a sunken, stuck mess!
Baking Times for Your Ideal Lava Cake Center
This is where the magic happens, and it happens fast! We are aiming to slightly underbake the center so it stays liquid. The edges should look set—maybe even a little crusty—but the middle must still look soft and jiggly when you gently tap the baking sheet. For the absolute runniest, silkier center that defines this dessert, I swear by 12 minutes.
If you are panicking and watching them, 13 or 14 minutes is a safe bet, but you’ll notice the jiggle is much less pronounced. You want that ooze! Remember, these are individual chocolate cakes, so they cook much faster than a regular cake.
Tips for the Best Chocolate Lava Cake Results
Okay, you’ve mastered the basics, and now we get into the fun part—shaving off stress and maximizing that chocolate punch! I love sharing these little secrets because they turn this already amazing recipe into one of those truly impressive yet easy desserts you can rely on when you need a guaranteed win. We don’t just follow recipes here; we tweak them until they sing!
It’s all about making sure that molten center is perfect, no matter where you choose to cook it. Since I started baking for a crowd sometimes, I figured out a few tricks that make this work whether you trust your oven or you’re obsessed with your new air fryer. These little adjustments really help when you’re aiming for pure chocolate indulgence.
Making a Nutella Lava Cake Variation
If you adore hazelnut flavor as much as I do, changing this recipe up is so easy. When you are melting your chocolate and butter down in Step 2, you don’t need to change much at all! For the ultimate flavor twist, just swap out exactly two tablespoons of the bittersweet chocolate for two tablespoons of creamy Nutella.
It sounds small, but that little bit of hazelnut swirl adds a whole new layer of flavor to the batter. Just make sure you add it while the chocolate mixture is warm so it incorporates smoothly. It makes for an absolutely heavenly melt-in-your-mouth dessert experience!
Cooking Individual Chocolate Cakes in the Air Fryer
I know not everyone wants to crank up the main oven, especially in the summer! I got so many questions about trying this in the air fryer, and yes, it works like a charm for these individual chocolate cakes! The air fryer is fantastic because it cooks evenly and fast.
When using your air fryer, you need slightly lower heat and less time. Set your air fryer to 380 degrees Fahrenheit. You’ll only bake them for about 8 to 10 minutes. You absolutely must check them around the 8-minute mark because air fryers are powerful, and we really don’t want to accidentally bake the centers solid! This method is my secret weapon for a surprisingly simple dessert on a busy Tuesday night.
If you want to explore making a slightly different but equally rich treat, my recipe for easy homemade French bread is simple, but these lava cakes still take the crown for sheer decadence!
Make-Ahead and Storage for Your Lava Cake Dessert
Now, here is a feature that makes this the perfect dessert for hosting people or planning ahead for a romantic evening: you can totally make the batter ahead of time! I love this because it means I can prep everything after dinner one night and then just pop the little lava cake creations in the oven right when dinner is done the next day. Talk about stress-free entertaining!
The notes say you can store the batter right in those buttered and cocoa-dusted ramekins in the refrigerator for up to 24 hours. Isn’t that amazing? You’re just a few minutes away from rich, warm chocolate goodness whenever the craving strikes.
Just remember this tiny detail if you’re baking straight from the fridge: because the batter is cold, it needs a little extra cozy time in the heat. You’ll need to add about 2 to 3 extra minutes to the baking time. So instead of 12 minutes, plan for 14 or 15 minutes, and check that center jiggle!
If you happen to have any leftover cooled cakes—which, let’s be honest, rarely happens in my house—they store well covered on the counter for a day. But honestly, these are best warmed up slightly the next day. If you’re looking for another make-ahead friend, my banana chocolate chip muffins recipe freezes beautifully, too!
Serving Suggestions for a Restaurant Style Dessert at Home
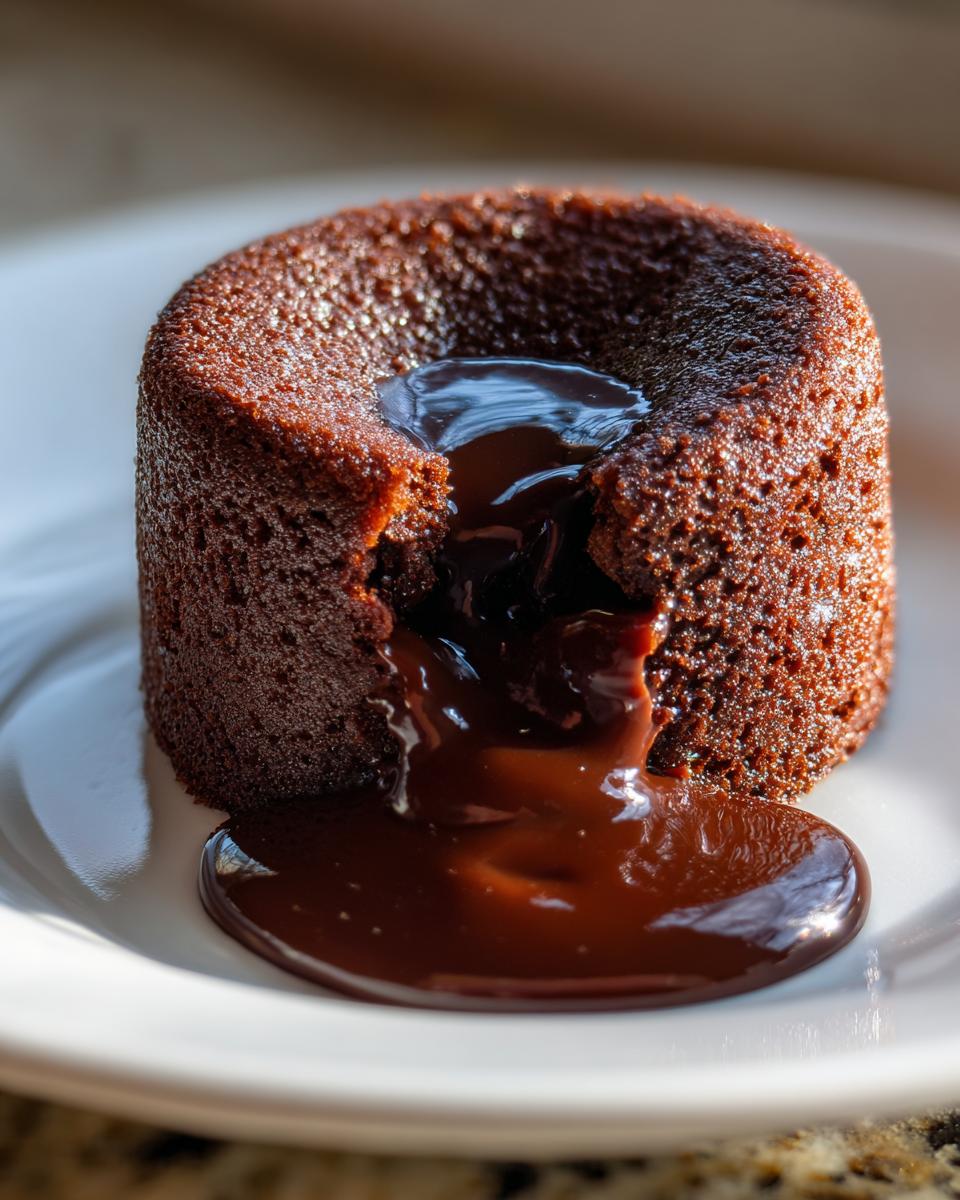
The moment you invert that beautiful, tiny lava cake onto a small plate is your moment to shine! This is where we elevate a simple home bake into a true showstopper. We’re going for that stunning visual appeal—that perfect flow of hot chocolate spilling out is what makes it a classic.
The recipe instructions mention serving it right away, and that’s the way to go for maximum melt! The classic pairing that never, ever fails is a scoop of good quality vanilla bean ice cream. The cold, creamy vanilla hitting that hot, gooey center is pure heaven. It’s truly the ultimate chocolate indulgence.
If you want to add a little brightness to cut through the richness, fresh raspberries or strawberries are perfect. Their slight tartness plays so wonderfully against the dark chocolate. I sometimes whip up a quick raspberry sauce—just crush some berries with a little powdered sugar—and use it to drizzle artfully around the cake on the plate. It just looks so impressive, doesn’t it? For another rich, chocolatey experience that uses similar flavors, you have to check out my chocolate eclair cake recipe!
Frequently Asked Questions About Molten Chocolate Cake
I totally get it; when you’re making something this intense—a true chocolate dessert for two or more—you’re going to have questions! I’ve answered the top things people ask when they are trying to achieve that perfect gooey finish from this recipe. Don’t worry about getting it wrong; that’s why we test things so you don’t have to!
Can I make a Crock Pot Lava Cake?
That’s a fun idea if you want to avoid using the oven! While this main recipe is designed for that quick, high-heat blast in the oven to set the edges fast, yes, you absolutely can make a Crock Pot lava cake. You’d typically mix the batter just as we did here, pour it into a greased slow cooker insert, and cook it on low for about 2 to 3 hours, or on high for 1 to 1.5 hours. It produces something closer to a very dense, rich, warm chocolate pudding cake, so the center won’t flow quite the same way as our oven version, but it’s still wonderfully decadent!
What is the best chocolate to use for a rich lava cake?
If you want that deep, luxurious, slightly complex flavor, skip the milk chocolate entirely. For the ultimate experience, you want a good quality bittersweet chocolate that is between 60% and 72% cacao. That range is perfect for creating a true dark chocolate dessert without it tasting bitter.
If 70% seems too intense for your crowd, you can substitute some of the bittersweet with semi-sweet chocolate, but I wouldn’t go lower than 60% cacao overall. Remember, it’s only chocolate and butter melting together, so using the best you can afford makes a huge difference in the final taste of this easy molten dessert!
If you’re looking for other ways to add rich flavor to pantry staples, my recipe for easy pear butter recipe slow cooker adds incredible depth to toast!
Estimated Nutrition for This Decadent Lava Cake
Now, I always want to keep things transparent here at Cut Cook Taste! Since we are using real ingredients here—like that awesome dark chocolate and butter—we do end up with a rich dessert. These numbers are just estimates based on the standard recipe layout you see above. They can totally change based on the brand of chocolate or whether you decide to load yours up with whipped cream!
For one single serving of this rich lava cake, you are looking at:
- Calories: 420
- Fat: 30g
- Sugar: 25g
- Protein: 8g
It’s a treat, for sure! Remember, this is a wonderful dessert for special occasions, not an everyday snack. If you need something lighter to balance out a rich meal, you should try my easy potato cheese soup recipe sometime for a cozy dinner!
Share Your Gooey Center Dessert Success
Wow, you actually did it! You conquered the lava cake and created that gorgeous, flowing, gooey center dessert right in your own kitchen. I am so proud of you for taking the leap and making something this decadent!
Now that you’ve had your incredible moment of chocolate bliss, I really, *really* want to hear about it! Did you serve it with raspberries? Did you use the Air Fryer method? Did that center ooze exactly like you hoped? Please don’t be shy!
Leave me a rating below—five stars if it gave you that magical, restaurant-style moment! And drop a comment telling me your favorite part. Sharing what worked (and maybe even a little lesson learned!) helps the next home baker feel confident trying this showstopper. If you’re looking for another easy-to-master treat, my banana chocolate chip muffins recipe is another family favorite that always gets rave reviews!
If you ended up taking a breathtaking photo of that perfect flow—because I know you did!—please tag me on social media! I love seeing my recipes in your homes. You’ve successfully made what I consider the absolute best way to finish any meal. Happy baking, and I hope you felt that incredible rush of making something that looks complicated but was secretly so simple. If you need a reminder of how awesome this recipe is, you can always pop back over to check out the original instructions from my friends over at My Foolproof Chocolate Lava Cake!
PrintFoolproof Chocolate Lava Cake with Gooey Center
Make this restaurant-style chocolate lava cake at home. This recipe guarantees crisp edges and a warm, silky molten center every time. It is a quick, decadent dessert perfect for date nights or impressing guests.
- Prep Time: 10 min
- Cook Time: 14 min
- Total Time: 24 min
- Yield: 4 servings 1x
- Category: Dessert
- Method: Baking
- Cuisine: American
- Diet: Vegetarian
Ingredients
- 4 ounces good quality bittersweet chocolate, chopped
- 4 ounces unsalted butter, plus extra for greasing
- 2 large eggs
- 2 large egg yolks
- 1/4 cup granulated sugar
- 1 tablespoon all-purpose flour
- Pinch of salt
- Cocoa powder, for dusting ramekins
Instructions
- Preheat your oven to 425 degrees Fahrenheit (220 degrees Celsius). Generously butter four 6-ounce ramekins. Dust the inside of each buttered ramekin with cocoa powder, tapping out any excess.
- Place the chopped chocolate and butter in a heatproof bowl set over a saucepan of simmering water (a double boiler). Stir occasionally until the mixture is completely melted and smooth. Remove from heat and let cool slightly.
- In a separate medium bowl, whisk together the whole eggs, egg yolks, and granulated sugar until the mixture is pale and slightly thickened, about 2 minutes.
- Gently whisk the slightly cooled chocolate mixture into the egg mixture until just combined.
- Sift the flour and salt over the chocolate mixture. Fold gently with a spatula until no streaks of flour remain. Do not overmix.
- Divide the batter evenly among the prepared ramekins.
- Place the ramekins on a baking sheet. Bake for 12 to 14 minutes. The edges should look set, but the center should still look soft and jiggly. For a guaranteed molten center, aim for 12 minutes.
- Let the cakes cool in the ramekins for 1 minute. Carefully run a thin knife around the edge of each cake. Invert each cake onto a small serving plate.
- Serve immediately with ice cream or fresh berries for a melt-in-your-mouth dessert experience.
Notes
- For an Air Fryer Lava Cake, bake at 380 degrees Fahrenheit for 8 to 10 minutes, checking frequently for doneness.
- To make a Nutella variation, substitute 2 tablespoons of the bittersweet chocolate with 2 tablespoons of Nutella in the melting step.
- If you are making these ahead of time, you can store the batter in the ramekins in the refrigerator for up to 24 hours. Add 2 to 3 minutes to the baking time if baking straight from the fridge.
Nutrition
- Serving Size: 1 cake
- Calories: 420
- Sugar: 25g
- Sodium: 105mg
- Fat: 30g
- Saturated Fat: 18g
- Unsaturated Fat: 12g
- Trans Fat: 0g
- Carbohydrates: 30g
- Fiber: 2g
- Protein: 8g
- Cholesterol: 150mg