
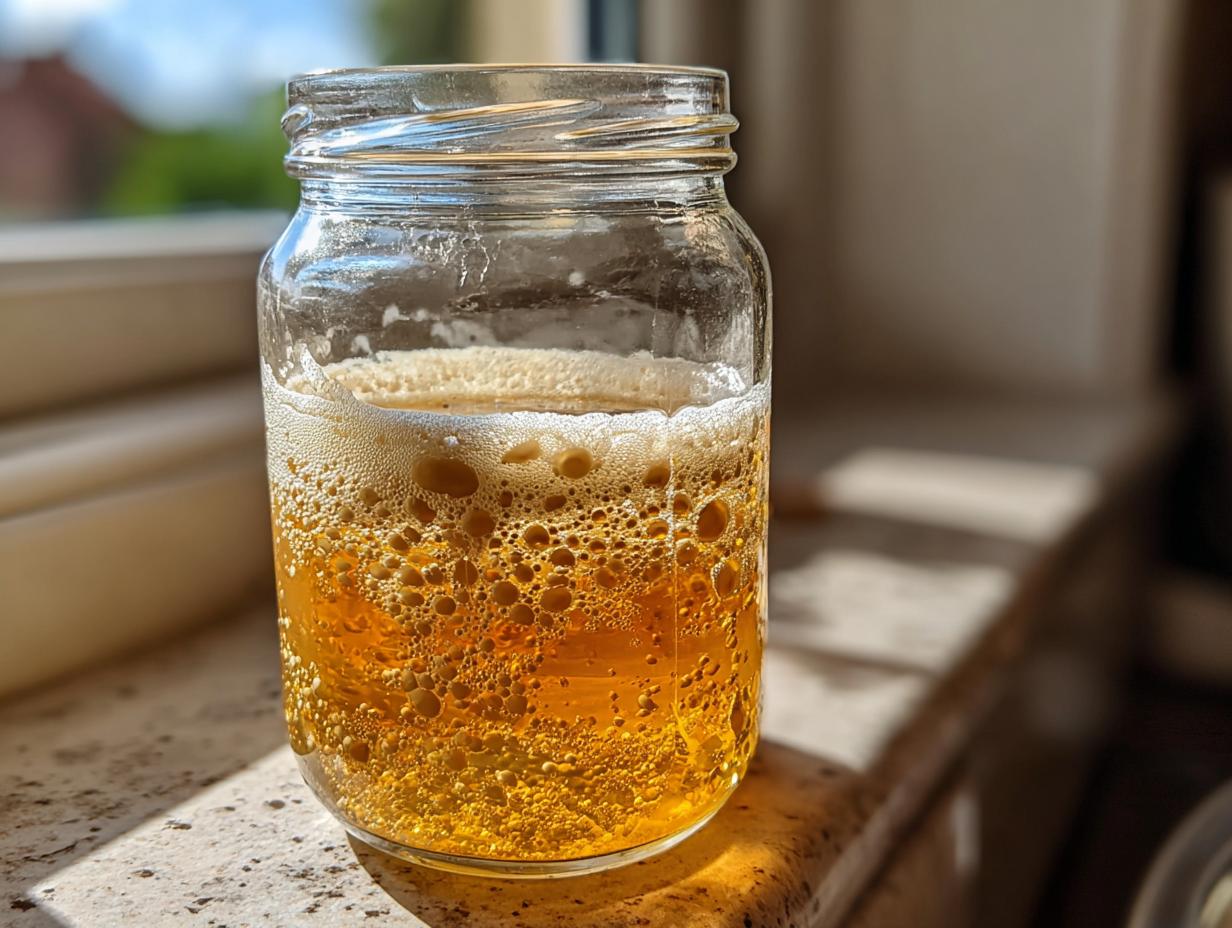

Welcome! I’m Sarah, and I’m so happy you’re here. If you’ve stared longingly at those gorgeous, crusty loaves online and thought that the process of creating a strong, active sourdough starter from scratch was too complicated, I promise you, it isn’t! This is the ultimate, easy, day-by-day guide built specifically for beginners. My grandmother always said that true baking starts with harnessing that tiny bit of natural magic, and I truly believe that once you manage your first sourdough starter, you’ll be hooked on the tradition.
We are simplifying this process down to its core. Forget all the confusing jargon you’ve read elsewhere. We are just using flour, water, and patience over seven days to get you from zero to a bubbly, vibrant culture ready for artisan bread. Trust me, standing next to my dad at the grill taught me patience, and that patience certainly applies here! And don’t worry, if you end up with extra culture, I have some amazing discard sourdough starter recipes for you later on!
- Why Making Your Own Sourdough Starter From Scratch is Worth the Wait
- Gathering Ingredients for Your Sourdough Starter Recipe
- The Day-by-Day Sourdough Starter Feeding Schedule
- Maintaining Your Sourdough Starter: Long-Term Care
- Troubleshooting Common Sourdough Starter Issues
- What to Do With Discard Sourdough Starter
- Essential Tips for Sourdough Success
- Nutritional Data for Your Flour and Water Starter
- Ready to Bake Your First Loaf?
Why Making Your Own Sourdough Starter From Scratch is Worth the Wait
I know seven days sounds like a long time when you’re itching to bake, but seriously, creating your own homemade wild yeast is a game-changer. The flavor you get from a true natural yeast culture just can’t be matched by store-bought yeast. Plus, once you have it going, it’s basically free! You’re turning simple flour and water into the foundation of incredible bread, which saves money in the long run. I want you to feel the pride of knowing you grew your own culture right on your counter. This process is so reliable for beginners; if you follow the steps, you absolutely cannot fail! When you’re ready to move on from the starter, you have to try my sourdough cornbread—it uses the discard!
The Beginner Sourdough Guide: What You Need to Start
The absolute best part of starting your first sourdough starter is that you don’t need fancy gadgets. Seriously, keep it simple for this sourdough starter recipe! You really only need three things to get this culture going strong.
- A clean glass jar—any clean quart-sized jar works great. Clear is better so you can watch the magic happen.
- A kitchen scale. I learned the hard way that eyeballing flour and water proportions leads to headaches, so weighing everything is key here.
- A small wooden or rubber spatula for mixing.
That’s it! No special baking equipment needed yet for this beginner sourdough guide. We are focusing just on building this beautiful, active culture.
Gathering Ingredients for Your Sourdough Starter Recipe
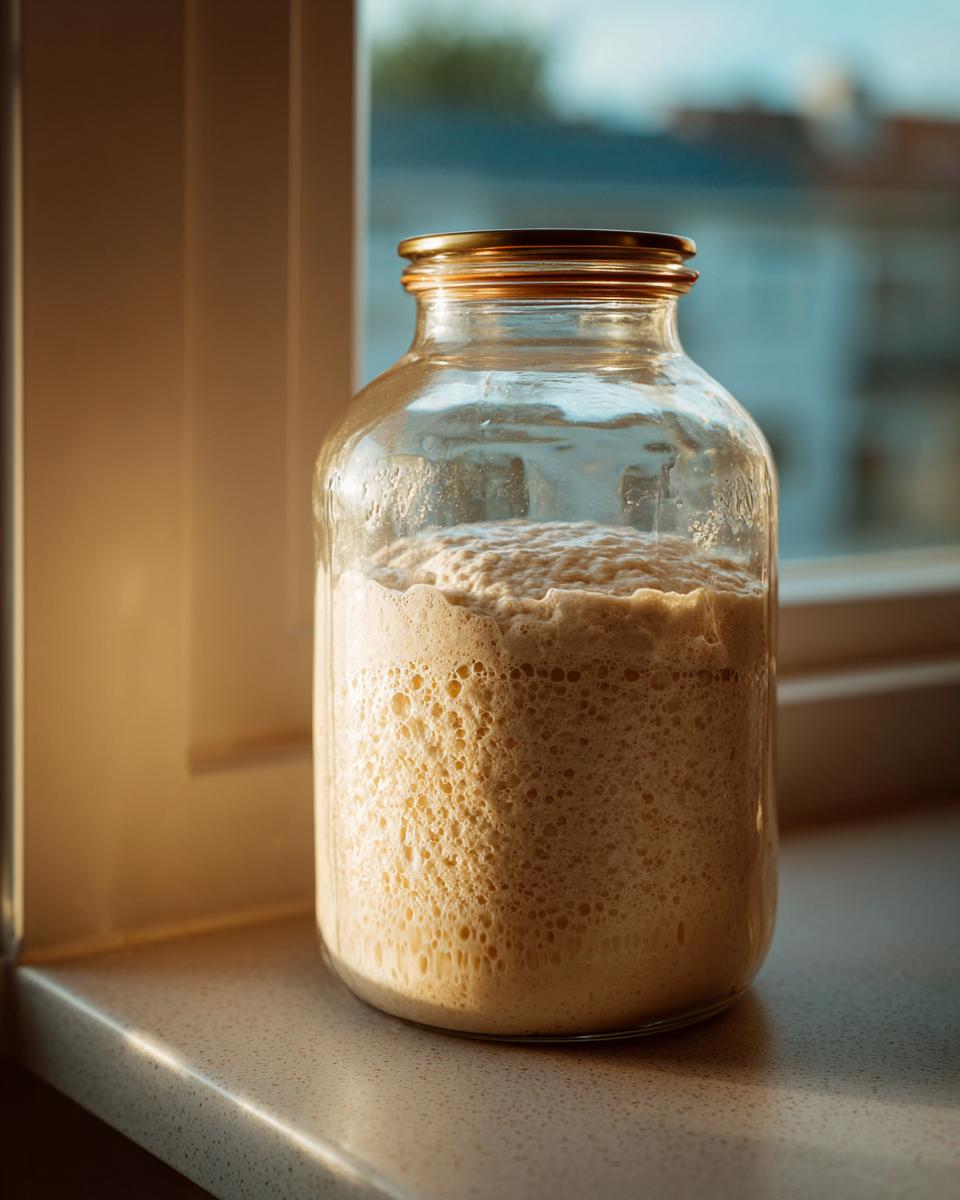
Before we jump into the feeding frenzy, let’s talk ingredients for your sourdough starter recipe. You really only need two things to get your sourdough starter from scratch going: flour and water. Don’t worry about stocking up on twelve specialty ingredients! We use specific things in the first few days, and then we switch it up for maintenance. Keep your measurements precise—that’s my biggest piece of advice!
Flour and Water Specifics for a Healthy Sourdough Starter
For the very first mix on Day 1, you absolutely must use whole wheat or rye flour. Why? Because those flours have more of the natural microbes and nutrients floating around that the yeast needs to wake up! It just jumpstarts the whole process. Once it’s active, we switch to unbleached all-purpose flour for the maintenance feedings moving forward. Also, make sure your water is unchlorinated and room temperature. Chlorine can actually kill those little wild yeast friends we’re trying to encourage, and nobody wants to accidentally poison their brand-new sourdough starter!
The Day-by-Day Sourdough Starter Feeding Schedule
Okay, deep breath! This is the fun part where we commit to our new pet project. Remember, I promised you a no-fail journey, and the secret to that is consistency, not genius. We’re following a simple sourdough starter from scratch schedule for about seven days. It might look a little unpredictable at first—that’s normal! This whole process is about coaxing wild yeast out of the environment and into your jar. Don’t feel pressured to rush it; nature sets the pace here.
Days 1–3: Awakening the Natural Yeast Culture
For the very first day, we start heavy with that whole wheat or rye flour. Mix 50 grams of that initial flour with 50 grams of room-temp water in your clean jar. Stir it until it looks like thick pancake batter. Cover it loosely—you want air exchange! Set it on the counter somewhere warm, like near the stove or inside your oven with just the light on (but NEVER turn the oven on!).
Day 2 is exciting, but sometimes disappointing! Maybe you see one tiny bubble, or maybe nothing is happening. Don’t panic! On Day 2, and every day after, we perform the first crucial cull: discard about half of what you have. Trust me, throwing some away feels wrong, but we need to consolidate the food source for the remaining yeast. Then, feed what’s left with 50g of *all-purpose flour* and 50g of water. Repeat this discard and feed cycle exactly the same way on Day 3. You might see some weird activity on Day 3—some recipes call this the ‘false start’ where bacteria bloom before the true yeast takes hold. Just keep feeding!
Days 4–6: Building Strength and Activity in Your Sourdough Starter
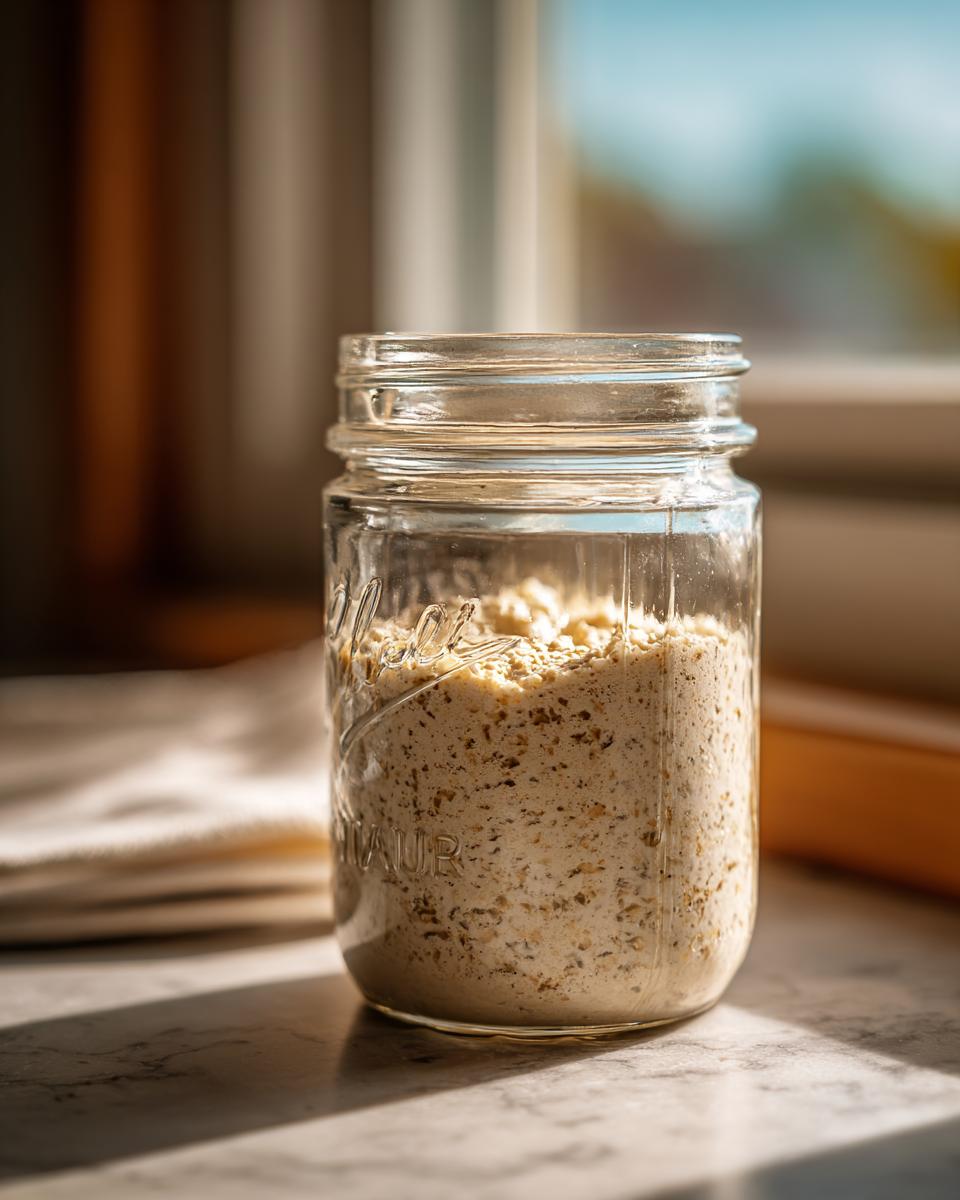
By Day 4, things should start smelling a little more pleasantly sour, maybe a bit vinegary. This signals we’re on the right track! If you notice your starter is rapidly rising halfway up the jar and then collapsing before the next feeding time, that means it’s getting hungry fast. When that happens, switch your schedule to feeding twice a day—every 12 hours instead of every 24. Remember the drill: discard half, then feed 50g flour/50g water. You are building up the population!
If your starter smells faintly like acetone or nail polish remover, that’s simply hunger talking! Don’t worry; it’s not dead. Just give it a feeding right away. By Day 6, you should start seeing some beautiful signs. Look for that significant rise! If it starts doubling consistently in size within 6 or 8 hours after feeding, you’re almost there. This is when you really start getting excited about your sourdough starter feeding schedule.
Day 7 and Beyond: How to Activate Sourdough Starter for Baking
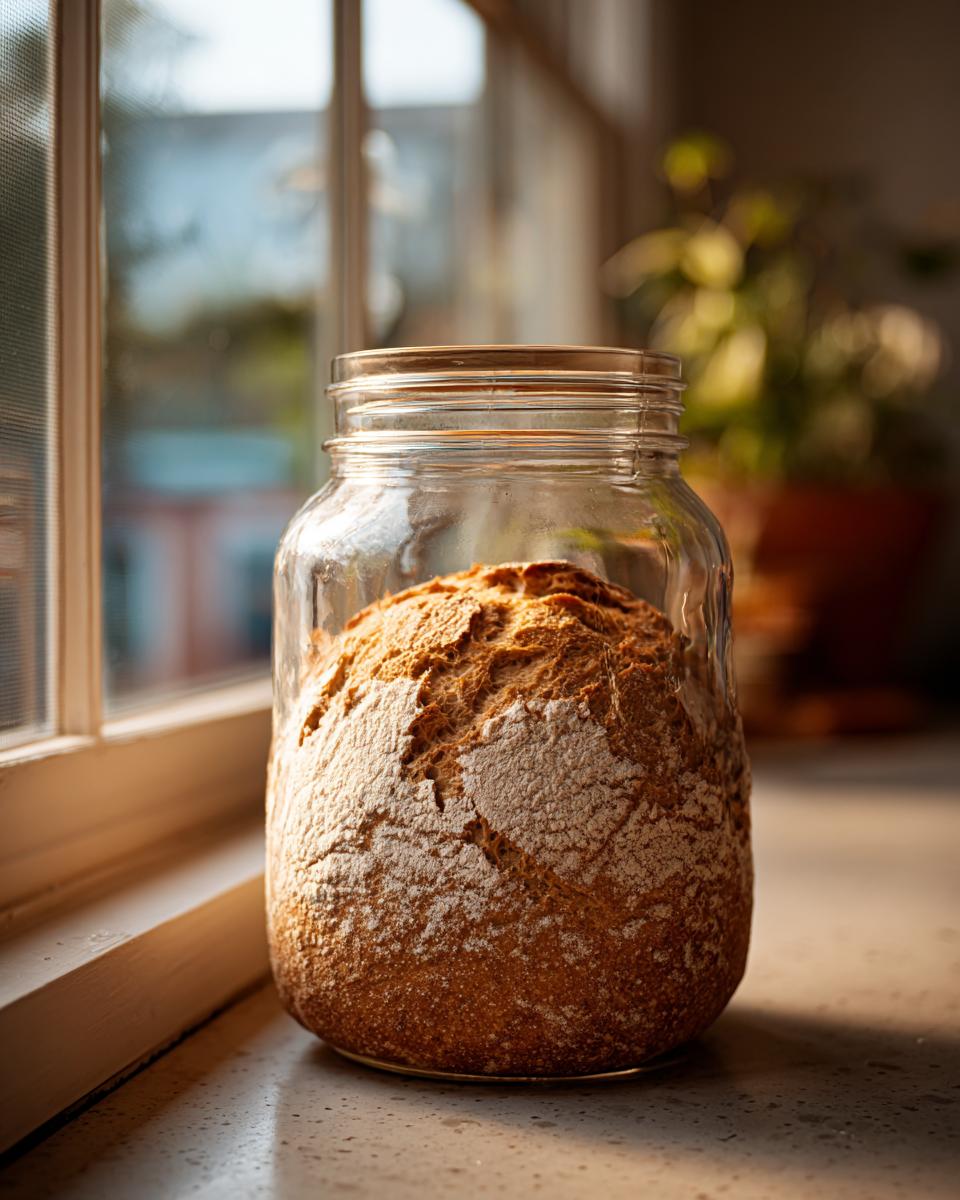
Congratulations! If your starter is reliably doubling its size within 4 to 8 hours after you feed it, and smells pleasantly sour—like yogurt, not cleaning supplies—then you have successfully created a mature, active culture! You now have a truly bubbly sourdough starter ready for duty. To keep it healthy, you can switch to a maintenance feeding ratio, which I cover in the next section. If you need the starter extra active for a quick loaf, feed it twice, 12 hours apart, on the day *before* you plan to bake. That gets it roaring!
Once you are ready to bake, check out my recipe for easy homemade French bread—it’s the perfect first project after mastering your starter!
Maintaining Your Sourdough Starter: Long-Term Care
Whew, you did it! Your starter is active, but now we have to keep it happy. How you store it totally depends on how often you plan to bake. If you bake every day or so, keep it right on the counter at room temperature. That means you’ll need to feed it consistently—usually every 12 to 24 hours. That standard maintenance ratio is always 1:1:1 by weight: keep 50g of starter, feed it 50g of flour, and 50g of water. Simple, right?
If you’re like me and only bake on the weekends, the fridge is your best friend! Store it in the refrigerator. The cold slows down the yeast activity so much that you only need to feed it once a week. Before you stick it in there, give it a good feeding, let it sit out until you see the first tiny bubbles (like 2-3 hours), and then pop it in the cold. My little personal tip is to grab some masking tape and literally write the date you fed it on the jar. It helps track when that weekly feeding reminder is hitting! If you need quick inspiration for using up that discard before you refrigerate, check out my discard recipes.
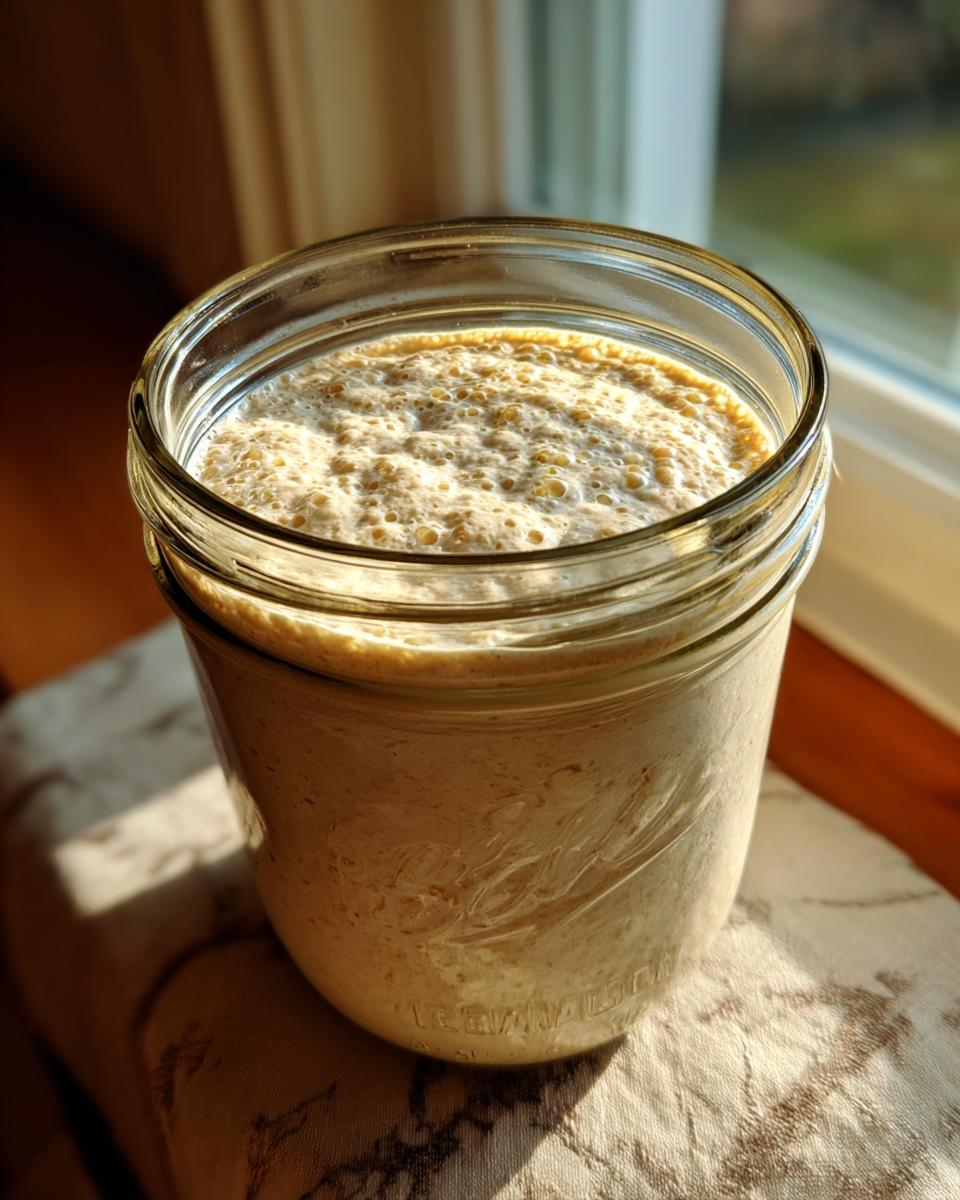
If you pull it out after a week in the fridge, you should feed it once or twice at room temperature to wake it up before you use it in bread. For more details on the timing, I always reference this great sourdough starter recipe guide when I’m teaching new folks!
Troubleshooting Common Sourdough Starter Issues
Okay, let’s get real. Sometimes our beautiful little cultures don’t behave. Every baker, even seasoned ones, runs into starter trouble. I’ve definitely been there, staring at my jar on Day 4 thinking, “Did I accidentally create swamp water instead of yeast?” Don’t you worry! Most beginner issues are super simple to fix, and they usually come down to temperature or feeding confusion. Think of this section as your sourdough 101 emergency checklist.
Here are the three main things that make beginners panic, and what you should do about them:
Problem 1: I See Zero Bubbles After Day 3!
If your jar looks completely flat on Day 3 or 4, the first thing I check is the temperature. If your kitchen is chilly—say, below 68°F (20°C)—your yeast buddies are moving in slow motion. They need warmth to wake up! The fix is easy: find a warmer spot. Try placing your jar on top of the refrigerator, inside an oven with just the light on (again, double-check the oven is OFF!), or even near a sunny window, but not in *direct* harsh sunlight. Patience is crucial here; some starters take longer to truly activate, so resist the urge to throw it out prematurely!
Problem 2: There’s a Layer of Water on Top
This thin, often brownish or grayish liquid layer sitting on top of your starter is super common, and guess what? It has a funny name: ‘hooch.’ Hooch is basically built-up alcohol, and it’s the starter’s way of yelling, “I’M HUNGRY!” It happens when the yeast has consumed all its food. If you see hooch, you have two choices. You can either pour it off before feeding (if it’s a small amount) or stir it right back in (if it’s clear and thin, adding a bit of that sour flavor). Then, immediately give it a good, solid feeding. If this keeps happening, it means you need to feed your starter more frequently, switching to a 1:1:1 ratio on the counter, or put it in the fridge for a less demanding schedule. I learned this the hard way when I tried leaving mine out during a heatwave!
Problem 3: My Starter Smells Like Old Nail Polish Remover
I mentioned this earlier, but it’s worth repeating because it scares everyone! That sharp, pungent acetone smell means your culture is starving and needs its next meal *now*. This smell is produced as an acidic byproduct when the yeast runs totally out of food. The solution is the exact same as for hooch: discard half and feed it immediately. If you find yourself constantly dealing with the acetone smell, use a slightly larger ratio for your next few feedings—maybe 50g starter, 75g flour, 75g water. That gives it a little extra food buffer before it runs completely dry next time. I found this helpful little sourdough 101 article when I first started, which might help you track your progress!
What to Do With Discard Sourdough Starter
When you are making your sourdough starter recipe, you have to discard half of the culture every time you feed it just to keep it manageable and strong. I know, watching perfectly good flour go into the trash can sting a little! But I promise you, this ‘discard’ is not waste—it’s just hungry starter that hasn’t been fed yet. You absolutely should not throw it away! That discard is perfect for adding flavor and lift to things that aren’t bread.
The absolute best thing you can do is save it up in a separate jar in the fridge until you have about a cup or so. Then, you can make things like savory crackers, fluffy sourdough discard pancakes, or even biscuits! They get a wonderful, subtle tang from the starter without needing to wait for the main culture to be fully active.
Essential Tips for Sourdough Success
Now that you know the day-by-day schedule, I want to share a few nuggets of wisdom that I picked up the hard way. Remember, I started this journey hoping to bake bread in three days! Big mistake. My first starter was sluggish and weak because I rushed it. The most important thing I learned is that good bread takes time, and that starts with treating your starter right. Consistency is everything, and the environment matters almost as much as the flour you use.
Here are the three golden rules I stick to every single time I create a fresh sourdough starter:
Rule One: Stop Worrying About the Exact Time. Focus on Visuals.
I used to be a slave to the clock, feeding exactly every 24 hours. But if your house is 65°F, your starter is going to take longer to peak than if your kitchen is 78°F. Instead of just watching the clock, watch the jar! Feed it when it has peaked and started to fall, or when it smells noticeably hungry. When you learn to read the visual cues—the bubbles, the rise, the collapse—that’s when you’ve really mastered this beginner stage.
Rule Two: Temperature Control is Your Secret Weapon.
Yeast thrives when it’s warm, but it gets sluggish when it’s cold. If you are trying to build your starter in winter, you need to create a microclimate for it. My favorite trick is using the microwave! Not to heat it, heavens no! But put your jar inside the microwave, close the door, and use *only* the oven light for warmth. It creates a cozy, insulated spot that stays reliably around 75°F, which speeds up the whole process beautifully.
Rule Three: Consistency in Feeding Ratios Beats Everything.
When you switch to maintenance mode, don’t waffle between feeding 50g or 100g of flour. Pick your ratio and stick with it. For keeping it active on the counter, I find that feeding it equal parts by weight—usually 50g of starter, 50g of flour, 50g of water—is the most reliable way to keep it balanced. It keeps the acidity steady and ensures you aren’t accidentally starving your little culture! This consistency is what leads to that glorious, reliable doubling in size we all crave.
Nutritional Data for Your Flour and Water Starter
I know, I know, you probably weren’t expecting a nutrition breakdown when you decided to make a living culture out of flour and water! But since we are talking about building something from the ground up, I wanted to include the estimated nutritional data for this raw sourdough starter culture itself. This isn’t calculating anything that goes into that beautiful loaf of bread after it’s baked—think of this as just what’s in the messy, bubbly stuff sitting on your counter right now!
It’s fascinating to see what a little bit of whole wheat and water fermentation yields before it becomes something spectacular. Like most grain-based projects, carbohydrates are leading the charge here! This data is based on a 100g serving of this raw culture, not your final bread. Just a fun little peek at the foundation!
- Serving Size: 100g culture
- Calories: 180
- Sugar: 0.5g
- Sodium: 1mg
- Fat: 0.5g
- Carbohydrates: 37g
- Protein: 6g
This is why we have to keep feeding it—it needs that flour to keep those protein and carbohydrate structures happy! Remember, once you bake this into a loaf, the nutritional profile changes completely thanks to the fermentation process. Don’t let this chart scare you off making that first sourdough starter; this is just the raw material we start with!
Ready to Bake Your First Loaf?
Look at you! You’ve nurtured a jar of flour and water for a full week, and now you have that vibrant, bubbly culture sitting on your counter. Doesn’t that feel like a real accomplishment? That active, happy culture is the key to everything good that comes next in the sourdough world. Now the real fun starts: baking!
You might be tempted to jump right into a complicated artisan loaf, but my number one piece of advice is to ease into it. Your next step should be something straightforward where the starter does most of the work for you. That’s why I always suggest trying a good, slow-fermented no knead sourdough bread recipe first. It lets you see the power of your starter without wearing you out with kneading.
I am just so proud of you for sticking with this whole process. Honestly, starting a sourdough starter is the biggest hurdle in the world of natural yeast baking, and you cleared it! I’ve learned so much from my readers over the years, and I want to hear all about your successful journey.
So, tell me how it went! Did you see bubbles on Day 2, or were you patiently waiting until Day 5? Did you name your starter (I named my first one ‘Bubbles’)? Drop a rating below on how easy you found this process, or if you have any burning questions before you shape that first loaf! If you need more inspiration for what to bake next, you can always explore everything else I’m cooking up over at the main recipe index. Happy baking, friend!
PrintThe Ultimate Beginner’s Guide: How to Make an Active Sourdough Starter From Scratch (Day-by-Day Feeding Schedule)
Learn how to make your own active sourdough starter from scratch using only flour and water. This easy, step-by-step guide provides a 7-day schedule to create your own natural yeast culture for baking artisanal bread.
- Prep Time: 5 min
- Cook Time: 0 min
- Total Time: 7 days (active creation period)
- Yield: Approx. 100g active starter
- Category: Baking Foundation
- Method: Fermentation
- Cuisine: American
- Diet: Vegetarian
Ingredients
- 100g Whole Wheat Flour or Rye Flour (for initial activation)
- 100g Unbleached All-Purpose Flour (for maintenance feedings)
- 100g Unchlorinated Water (room temperature)
Instructions
- Day 1: Mix 50g of whole wheat or rye flour with 50g of room temperature water in a clean glass jar. Stir until fully combined. Cover loosely and let it sit at room temperature (ideally 70-75°F or 21-24°C) for 24 hours.
- Day 2: You may see small bubbles or nothing at all. Discard half of the mixture (about 50g). Feed the remaining starter with 50g of unbleached all-purpose flour and 50g of water. Mix well, cover loosely, and wait 24 hours.
- Day 3: You should see some activity, perhaps a few bubbles. Discard half. Feed with 50g of all-purpose flour and 50g of water.
- Day 4: Activity should increase. Discard half. Feed with 50g of all-purpose flour and 50g of water. If you see significant rise and fall, you can switch to feeding twice a day.
- Day 5: Discard half. Feed with 50g of all-purpose flour and 50g of water. Continue feeding every 24 hours unless activity is very high; then feed every 12 hours.
- Day 6: Your sourdough starter should be showing consistent doubling in size within 6-8 hours after feeding. Discard half and feed with 50g flour and 50g water.
- Day 7 (or when consistently active): Your homemade wild yeast culture is ready to use for baking sourdough bread. It should reliably double in volume after feeding and smell pleasantly sour, not like acetone.
- Maintenance: To maintain an active sourdough starter, discard all but 50g of the starter. Feed this remainder with 50g flour and 50g water. Refrigerate if you bake infrequently (once a week or less). Feed once a week if refrigerated.
Notes
- Use a clear jar so you can easily track the rise and fall of your starter.
- If your starter smells like nail polish remover (acetone), it is hungry. Feed it immediately.
- Room temperature water is important; avoid cold or hot water when feeding your natural yeast culture.
- If you have too much discard sourdough starter, save it for discard sourdough starter recipes like crackers or pancakes.
Nutrition
- Serving Size: 100g culture
- Calories: 180
- Sugar: 0.5
- Sodium: 1
- Fat: 0.5
- Saturated Fat: 0.1
- Unsaturated Fat: 0.4
- Trans Fat: 0
- Carbohydrates: 37
- Fiber: 2
- Protein: 6
- Cholesterol: 0