
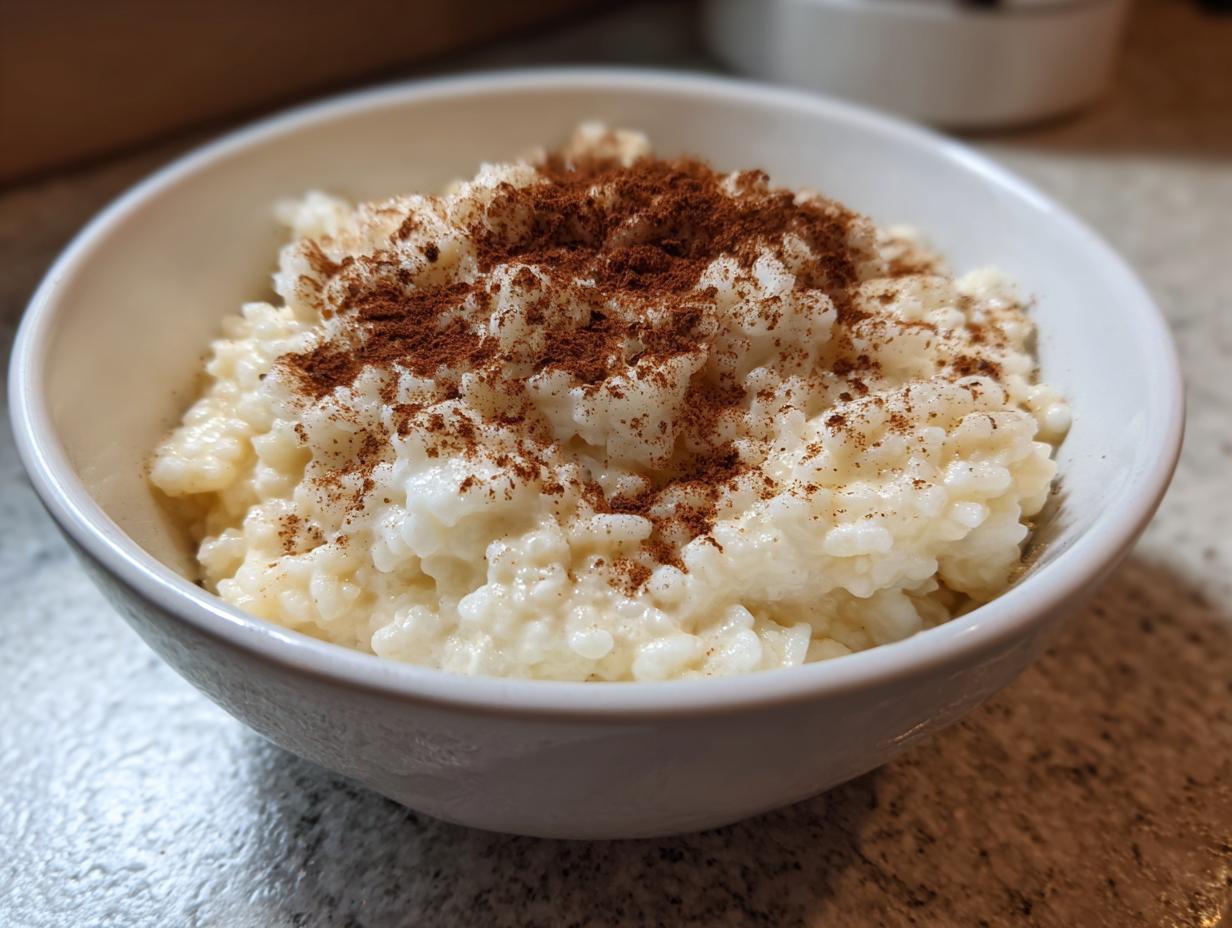

When the weather turns cool or you just need a hug in a bowl, nothing beats diving into a truly classic comfort food. For me, that always leads straight to the stove to whip up a batch of my ultimate Old Fashioned Creamy Rice Pudding. This isn’t some thin, watery stuff; this is the real deal—thick, rich, and wonderfully nostalgic. My goal here at Cut Cook Taste is to share reliable recipes, and this homemade old fashioned pudding is one I keep coming back to. It requires just a little bit of patience on the stovetop, but trust me, the creamy, sweet reward is worth every minute!
- Why This Old Fashioned Rice Pudding Recipe is Your New Comfort Staple
- Gathering Ingredients for the Best Rice Pudding Ever
- Step-by-Step Instructions for Creamy Rice Pudding Recipe
- Tips for Success Making Your Classic Rice Pudding
- Serving Suggestions for Your Warm Winter Dessert
- Make Ahead Pudding and Storage Instructions
- Variations on the Traditional Rice Pudding
- Frequently Asked Questions About Old Fashioned Pudding
- Sharing Your Homemade Comfort Dessert
Why This Old Fashioned Rice Pudding Recipe is Your New Comfort Staple
If you’ve ever been disappointed by a batch that turned out bland or soupy, you need this stovetop method in your life. We are chasing that luxurious, velvety texture here—the kind that tastes like childhood. This recipe is built for true simplicity and deep comfort.
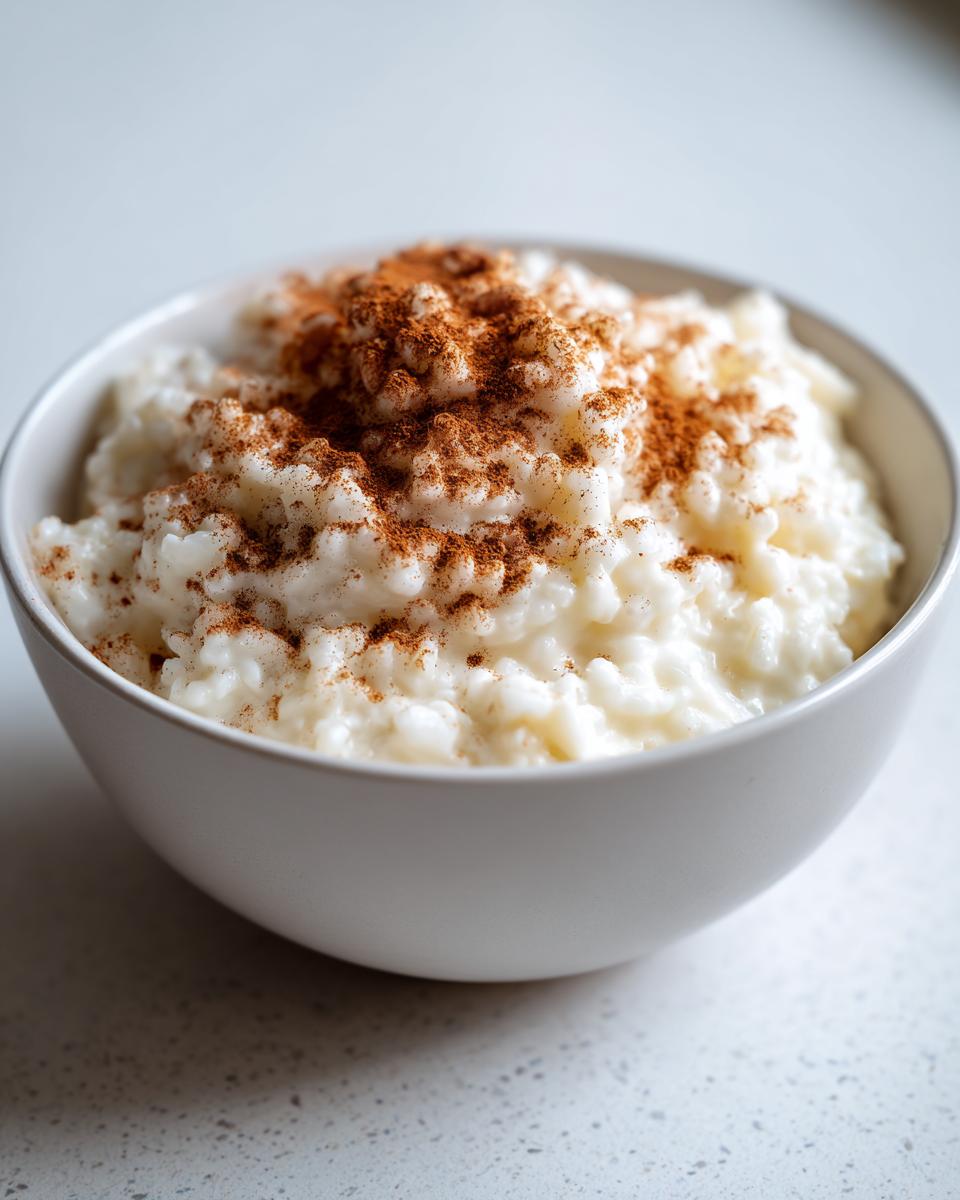
- Maximum Creaminess: The low, slow simmer on the stovetop really coaxes the starch out of the rice.
- Pure Nostalgia: This tastes exactly like the classic rice pudding my mom used to make for us when we were sick.
- Simple Ingredients: You probably have everything on hand already for this rich creamy dessert.
- Perfect for Anytime: It’s wonderful as a warm winter dessert or chilled right out of the fridge!
Gathering Ingredients for the Best Rice Pudding Ever
You know how much I love a recipe that doesn’t require a trip to a specialty store! To make what I truly believe is the best rice pudding ever, we are sticking to the basics. We need 1 cup of medium-grain white rice—don’t try substituting long-grain here, we need that starchiness for body! Then we use 4 cups of whole milk. Yes, whole milk! That’s non-negotiable for that classic, rich texture we’re aiming for. We’ll also grab 1/2 cup of granulated sugar, just a touch of salt to balance everything out, and pure vanilla extract and cinnamon for that perfect warm spice note.
Ingredient Notes and Creaminess Boosters
Now, let’s talk about taking this from good to absolutely unforgettable. If you want an even richer, creamier dessert—the kind that feels decadent, even after chilling—my best pro tip is to substitute just 1 cup of that whole milk with heavy cream. Seriously, swap it out! That little bit of extra fat makes a huge difference in the final mouthfeel. It keeps the pudding wonderfully velvety when it sets up in the fridge later on. It’s my favorite little adjustment for maximum comfort!
Step-by-Step Instructions for Creamy Rice Pudding Recipe
Making this creamy rice pudding recipe is incredibly straightforward, but it does require you to stay near the pot. It’s a bit like watching paint dry, but way more delicious! You know I always preach about clear instructions, especially for stovetop cooking. We are using a heavy-bottomed saucepan—please make sure it’s heavy, or you’ll scorch the milk, and nobody wants that mess! If you master this technique, you’ll find that making an easy stovetop pudding is a total breeze.
- First, just toss your rice, the whole milk, sugar, and that pinch of salt right into the pot. Give it a quick stir just to make sure the sugar dissolves slightly before we turn on the heat.
- Put the pot over medium heat. Now, this is where you need to pay attention: stir frequently, especially at the start. We want to bring it up gently to a simmer, but we absolutely do not want a rolling boil.
- As soon as you see those little bubbles starting to break the surface—that’s our cue—immediately drop the heat way down to low.
- Keep cooking uncovered for 45 minutes to a full hour. Remember to stir every 5 to 10 minutes while it bubbles softly. This constant stirring is how we coax out that amazing thick texture and keep the rice from sticking to the bottom!
- When the rice is finally tender and the pudding looks thick enough to coat the back of a spoon, take the pan off the heat. Stir in that gorgeous vanilla extract right at the end.
Achieving the Perfect Stovetop Simmer for Rice Pudding
That cooking window—45 to 60 minutes—is crucial. You are looking for two things: the rice has to be completely tender, and the liquid needs to have reduced significantly until you have achieved that thick, comforting consistency we crave. The biggest mistake people make when learning how to make this old fashioned pudding is getting impatient! If you crank the heat up too high, you’ll scorch the milk on the bottom of the pan, and that burnt flavor ruins the whole batch. Keep that heat low so it just gently whispers, not shouts. Trust me, patience here equals the perfect, velvety result.
Tips for Success Making Your Classic Rice Pudding
I always want your kitchen adventures to be nothing but successful, especially when we’re aiming for that pure comfort food vibe of an easy stovetop pudding. Getting this rice pudding just right is all about knowing what happens after you turn off the heat. Here are my tried-and-true tips to guarantee it turns out perfectly creamy every single time you try!
- Don’t Be Afraid of Cooling: The pudding will look slightly runnier when you take it off the stove than you might expect. That’s okay! It continues to thicken beautifully as it cools down. If you try to cook it until it’s spoon-standing stiff on the stove, it’ll be like cement later.
- Resting is Best: If you’re making this ahead of time, which I highly recommend because it’s a great make ahead pudding, cover the surface directly with plastic wrap before chilling. This stops that weird, tough skin from forming on top.
- Stirring Consistency: You can’t fake good stirring! Stick to that every 5 to 10 minutes schedule. It keeps the starch moving and prevents that dreaded scorching on the bottom of your favorite heavy pot.
Serving Suggestions for Your Warm Winter Dessert
Oh, the moment of truth! How you serve this decadent rice pudding really finishes the experience. If it’s a chilly evening, you absolutely must try it warm. Ladle a generous scoop into your favorite bowl—the steam smelling of vanilla and cinnamon is instant comfort! For an extra layer of warmth, sometimes I pair a small bowl of this right alongside my apple cinnamon oatmeal for a cozy breakfast treat. A light dusting of extra cinnamon right on top just makes it look beautiful, too.
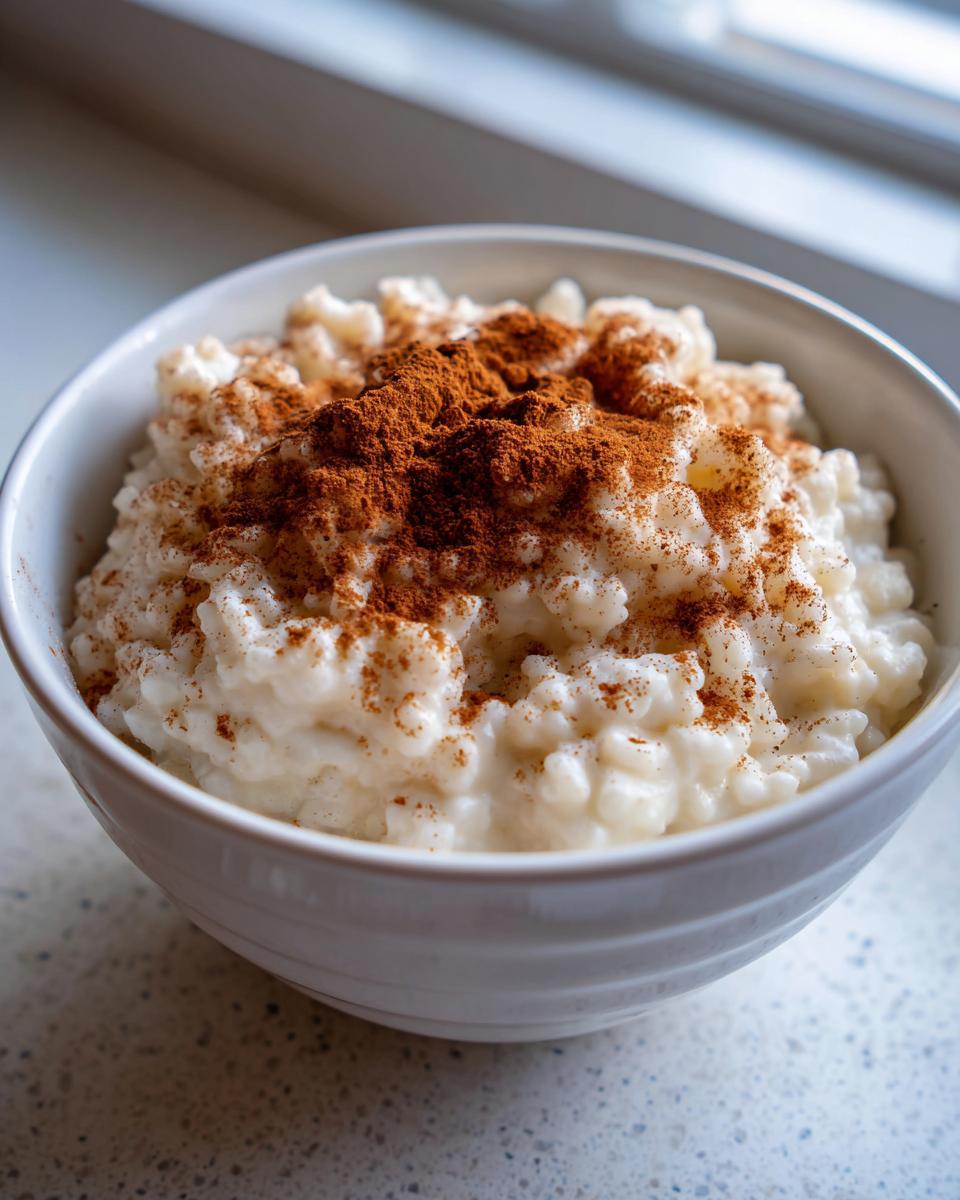
But honestly? I often make a big batch so I can enjoy it chilled the next day. When cold, this rice pudding becomes firmer, almost scoopable, perfect for a quick snack. You could even try a drizzle of real maple syrup over the top if you’re feeling especially cozy. It’s perfect either way!
Make Ahead Pudding and Storage Instructions
One of the best things about this recipe is that it’s built for busy weeknights, making it a fantastic make ahead pudding! I always double the batch because leftovers are my favorite part of cooking. You can totally store your finished rice pudding in the refrigerator. Just make sure you cover it tightly, right up against the surface, to stop that skin from forming. It stays perfectly delicious for up to four days when stored properly.
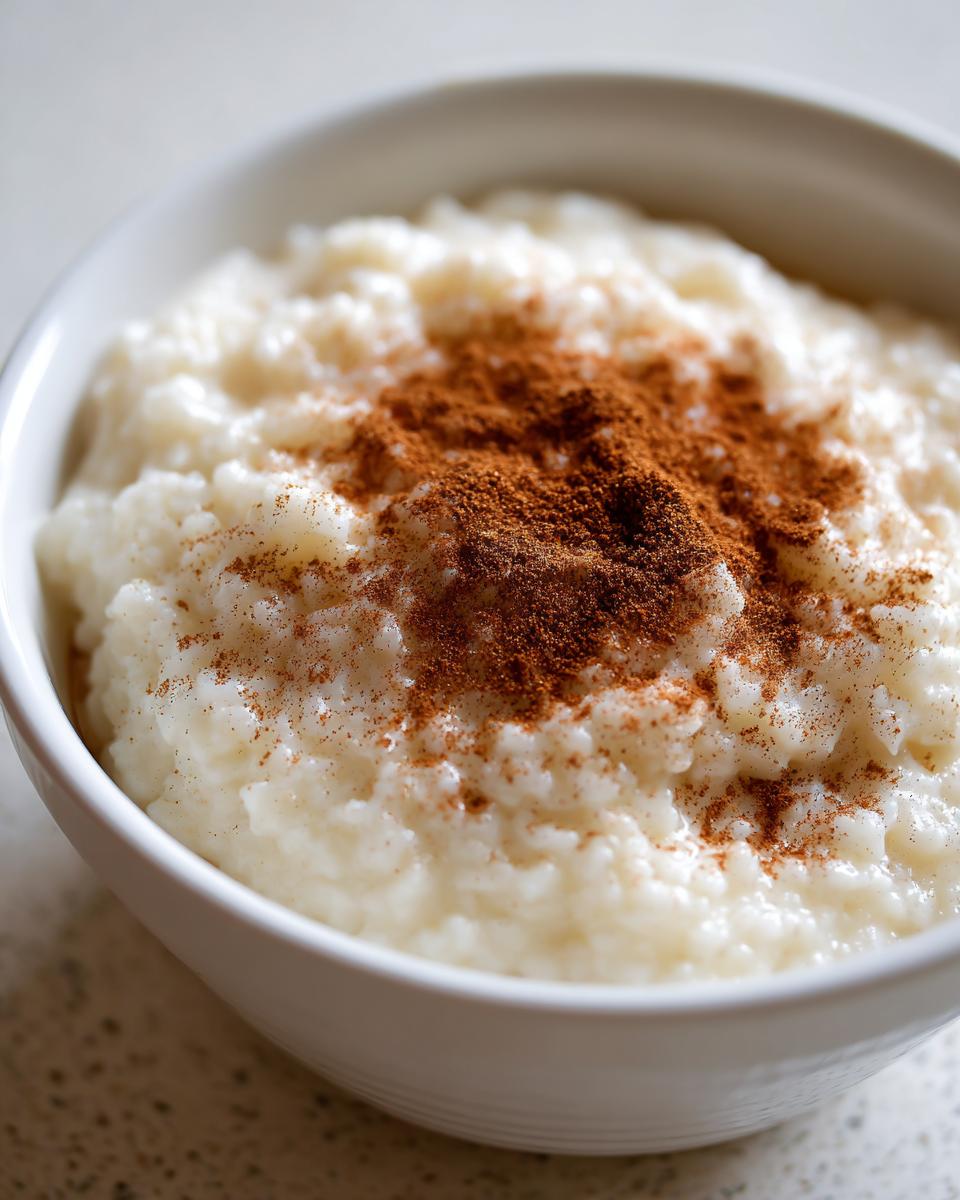
When you’re ready for a serving later on, it will be quite firm. If you want to bring back some of that fresh-off-the-stove creaminess, just stir in a splash of extra milk—whole milk works best—or even half-and-half while gently reheating it on the stovetop or in the microwave. It comes right back to life!
Variations on the Traditional Rice Pudding
While I adore this classic, simple version of old fashioned pudding—because honestly, why mess with perfection?—I also love seeing how you all play with it once you’ve mastered the base recipe. Getting creative is part of the joy of cooking! Once you have that velvety base down, it’s fun to add little twists to keep things interesting next time you serve this nostalgic sweet treat.
The most traditional add-in, which my cousin always insists on, is raisins. If you want to try them, make sure you soak them first! We don’t want them pulling moisture out of your beautifully creamy pudding later on. I usually soak about half a cup of golden raisins in hot water or even a splash of really good coffee for about 15 minutes before stirring them in during the last 10 minutes of cooking.
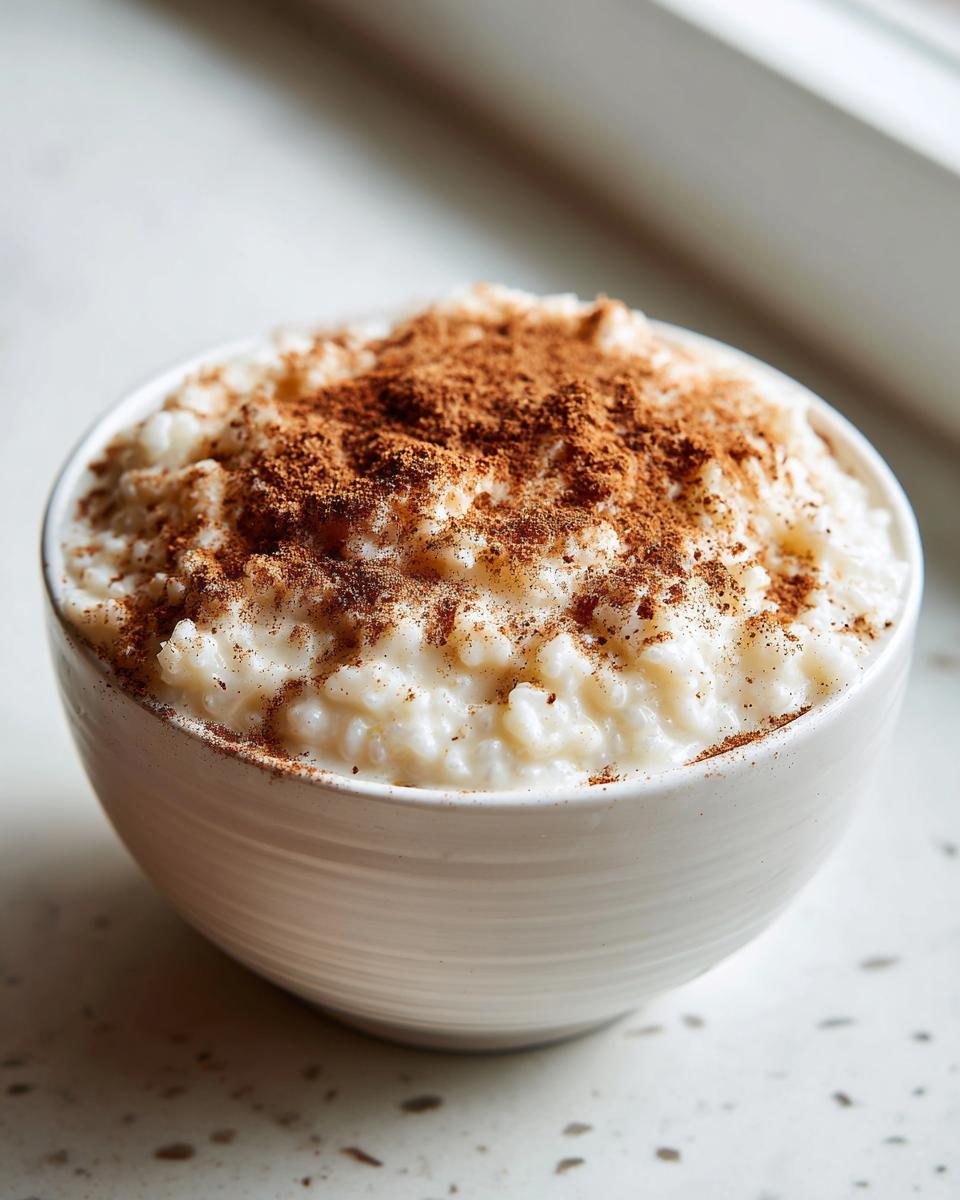
For an adult version—perfect for serving after a holiday dinner or just because it’s Friday—a tiny splash of bourbon or dark rum stirred in just before the vanilla extract adds incredible depth. It’s subtle, but it elevates the whole dessert. Also, don’t be afraid to swap out that pure vanilla for almond extract sometimes. Almond pairs surprisingly well with the cinnamon spice! If you want more ideas on making things special, you might want to check out my notes on Italian ricotta cookies—sometimes the best inspiration comes from unexpected places!
Frequently Asked Questions About Old Fashioned Pudding
I know sometimes the specifics of a recipe can bring up a few questions, especially with a really classic rice pudding that people have so many memories tied to. I’ve gathered the most common things readers ask me about making this nostalgic sweet treat. If you’re worried about getting that perfect texture or substituting ingredients, take a look here first!
Can I use long-grain white rice instead of medium-grain in this rice pudding?
Oh, this is a big one! I really, really suggest sticking to medium-grain rice if you can find it for this creamy rice pudding recipe. Long-grain rice tends to hold its shape much better when cooked for a long time, and we actually *want* the rice to release some of its starch into the milk to make that pudding thick and creamy, you know? Long-grain gives you rice in milky water, not pudding consistency.
Why is my rice pudding coming out runny even after cooling?
If you take your old fashioned pudding off the heat and it seems too loose, don’t panic! Nine times out of ten, it just needs more time simmering on low heat next time. But for right now, the key is knowing that it thickens considerably as it cools down. If it’s still watery right off the heat, just stir it constantly over very low heat for another 5 to 10 minutes. Remember, the goal is to cook the heat out of it slowly so the starch activates properly!
Can I adapt this easy stovetop pudding recipe to be baked instead?
You certainly can try to adapt it for a baked rice pudding recipe, but the results will be different! This specific ratio is designed for constant stirring on the stovetop. If you bake it, you’ll likely need to add an egg or two to the mixture to help it set up firmly like a custard. For true creamy stovetop dessert bliss, stick to the instructions, but if you want to bake, you should look for a specific baked recipe that accounts for that oven time!
Sharing Your Homemade Comfort Dessert
Now that you’ve made this incredibly creamy rice pudding, I want to hear all about it! Did it bring back special memories for you? Please take a moment to leave a star rating below and tell me about your experience in the comments. I absolutely love seeing photos of what you create in your kitchens!
If you run into any questions later on, feel free to reach out via my contact page. Happy tasting, everyone!
PrintOld Fashioned Creamy Rice Pudding Recipe
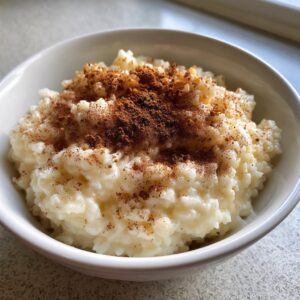
This is the ultimate old fashioned rice pudding recipe, made on the stovetop for a rich, creamy texture that brings back comforting memories. It uses simple ingredients for a classic sweet treat.
- Prep Time: 5 min
- Cook Time: 60 min
- Total Time: 65 min
- Yield: 4 servings 1x
- Category: Dessert
- Method: Stovetop
- Cuisine: American
- Diet: Vegetarian
Ingredients
- 1 cup medium-grain white rice
- 4 cups whole milk
- 1/2 cup granulated sugar
- 1/4 teaspoon salt
- 1 teaspoon vanilla extract
- 1/2 teaspoon ground cinnamon, plus more for topping
Instructions
- Combine the rice, whole milk, sugar, and salt in a heavy-bottomed saucepan.
- Place the saucepan over medium heat. Stir frequently to prevent the rice from sticking to the bottom.
- Bring the mixture to a gentle simmer. Reduce the heat to low once simmering begins.
- Cook uncovered for 45 to 60 minutes, stirring every 5 to 10 minutes. The pudding is done when the rice is tender and the mixture has thickened to your desired creamy consistency. Do not let it boil rapidly.
- Remove the saucepan from the heat. Stir in the vanilla extract.
- Serve the rice pudding warm, sprinkled with extra cinnamon, or chill completely for a thicker, scoopable texture.
Notes
- For an even richer, creamier dessert, substitute 1 cup of the whole milk with 1 cup of heavy cream.
- If you prefer a thicker pudding, let it cool slightly; it will continue to thicken as it cools down.
- This recipe is excellent for making ahead; store it covered in the refrigerator for up to four days.
Nutrition
- Serving Size: 1 cup
- Calories: 310
- Sugar: 25g
- Sodium: 150mg
- Fat: 7g
- Saturated Fat: 4g
- Unsaturated Fat: 3g
- Trans Fat: 0g
- Carbohydrates: 55g
- Fiber: 1g
- Protein: 10g
- Cholesterol: 25mg