
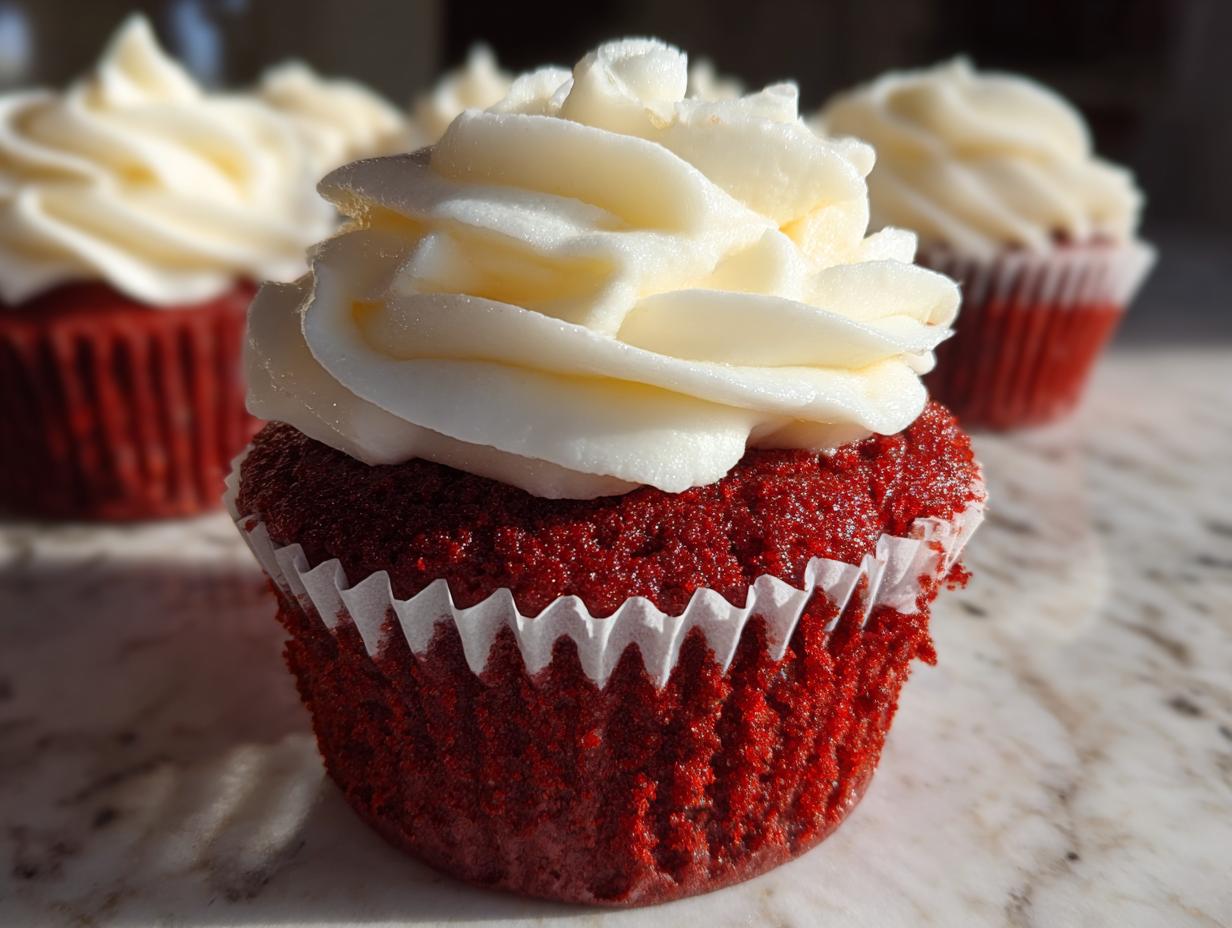

There are some desserts that just feel like they belong at a celebration—they’re instantly recognizable and always bring a smile. For me, nothing fits that description quite like classic red velvet cupcakes. When I first started Cut Cook Taste, I knew I couldn’t share a recipe until it was absolutely perfect, and after dozens of tests, I finally nailed it. Trust me when I say, these are the Ultimate Moist Red Velvet Cupcakes with Tangy Cream Cheese Frosting you’ve been searching for. I took everything I learned about creating tender, flavorful baked goods and poured it into this version. If you loved my guide on soft sugar cookies, you’ll adore how I approached this classic. You’re going to absolutely love how soft they are!
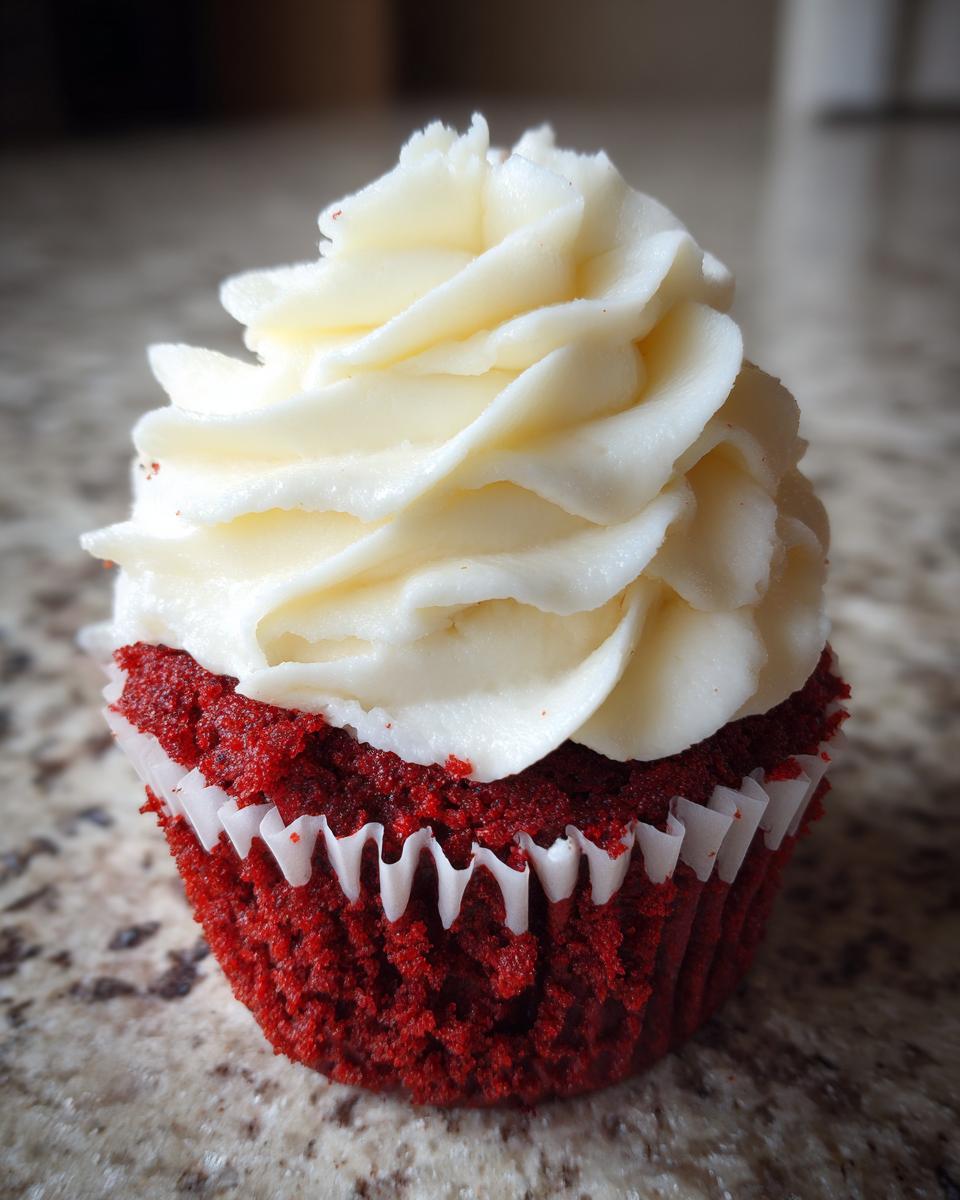
- Why These Are the Best Red Velvet Cupcakes You Will Ever Make
- Ingredients for Moist Red Velvet Cupcakes
- How to Prepare Easy Red Velvet Cupcakes From Scratch
- Tips for Baking Bakery Style Red Velvet Cupcakes at Home
- Variations on Classic Red Velvet Cupcakes
- Serving Suggestions for Your Red Velvet Cupcakes
- Storage & Reheating Instructions for Red Velvet Cupcakes
- Frequently Asked Questions About Red Velvet Cupcakes
- Sharing Your Homemade Red Velvet Cupcakes
Why These Are the Best Red Velvet Cupcakes You Will Ever Make
I’m not going to lie—I’ve thrown out a few batches of red velvet batter in my time chasing perfection. But I finally cracked the code for that signature softness. When you make these, you’re getting a bakery-style cupcake without the guesswork. They are truly the best because they don’t compromise on texture or flavor. If you loved my guide on soft sugar cookies, you’ll adore how I approached this classic.
- They have an unbelievable internal structure—light, spongy, and absolutely saturated with moisture.
- The flavor profile is perfectly balanced: rich cocoa notes cut beautifully by the tangy frosting.
- These are designed to be vibrant and stunning for any celebration, just like I learned to make everything special growing up.
Achieving the Perfect Velvet Cupcake Texture
The secret to that incredible velvet cupcake texture is really about chemistry we’re doing in the bowl! We use buttermilk and white vinegar together. When they hit the baking soda, you get a fast, gentle rise that prevents the batter from becoming tough. I also keep my mixing time super short after the flour goes in. Remember, we want tender, not chewy! It’s all about treating those ingredients delicately.
Rich Cocoa Flavor in Your Red Velvet Cupcakes
A lot of people think red velvet is just vanilla cake turned red, but that’s missing the point! These rich cocoa cupcakes have just a teaspoon of pure, unsweetened cocoa. That small amount is crucial. It’s not meant to taste like a chocolate cupcake; it’s there to deepen the red color and give the cake that famous subtle, earthy background note that balances all the sweetness of the frosting.
Ingredients for Moist Red Velvet Cupcakes
Okay, list time! You know I preach about quality ingredients because they make all the difference, especially when we are chasing that perfect softness. Because these moist red velvet cupcakes rely on a quick chemical reaction for their amazing texture, we need to be precise here. You’ll notice I broke this down so you can easily gather everything for the cake first, and then for that dreamy frosting!
If you’ve ever tried my cream cheese brownies, you know I don’t mess around with my dairy components. Make sure you pull these out early, or the mixing process won’t be right!
For the Tender Red Velvet Cupcakes
- 1 1/2 cups all-purpose flour
- 1 teaspoon baking soda
- 1 teaspoon unsweetened cocoa powder
- 1/2 teaspoon salt
- 1 cup granulated sugar
- 1/2 cup unsalted butter, softened
- 2 large eggs (please make sure these are room temperature!)
- 1 teaspoon vanilla extract
- 1 cup buttermilk, room temperature (this is essential!)
- 1 tablespoon white vinegar
- 1 teaspoon red gel food coloring (yes, it has to be gel for that deep color!)
- 1 teaspoon baking powder
For the Tangy Cream Cheese Frosting Recipe for Cupcakes
This topping steals the show, honestly. You need that contrast! Remember, your cream cheese and butter need to be soft, but not melty. We want fluffy, not soupy!
- 1 cup powdered sugar
- 4 ounces cream cheese, softened
- 1/4 cup unsalted butter, softened
- 1/2 teaspoon vanilla extract
- 1 tablespoon milk or heavy cream (only if needed for consistency)
How to Prepare Easy Red Velvet Cupcakes From Scratch
Putting these red velvet cupcakes together is surprisingly straightforward, especially if you’re using your electric mixer. I’ve broken this down into manageable steps so you can focus on technique, not confusion. Remember, the magic is in how you mix, not just what you mix! If you’re looking for other simple baking triumphs, check out my guide on easy homemade French bread recipe; the same attention to detail applies here!
Mixing the Red Velvet Cupcakes Batter
First things first: Preheat your oven to 350°F (175°C) and line your muffin tin with paper liners. In a medium bowl, whisk together all your dry things: flour, salt, baking soda, and cocoa powder. Set that aside.
Now for the wet side! Grab your big bowl and cream that softened butter and sugar until it’s pale and fluffy—this takes about three minutes and starts building the air needed for that tender velvet cake. Beat in the eggs one at a time, then the vanilla. Next, mix your buttermilk, vinegar, and that vibrant red gel for a uniform color.
Here’s the crucial bit: Alternate adding the dry mixture and the buttermilk mixture to your butter mixture. Start and end with dry ingredients, adding the liquid in two or three additions. Mix *only* until just combined. Seriously, stop the second the last flour streak disappears. Overmixing is the enemy of tenderness!
Baking and Cooling Your Red Velvet Cupcakes
Before you pour the batter, take that baking powder (yes, the one you *didn’t* mix in with the flour) and whisk it with just one tablespoon of your prepared batter in a small bowl to get it going. Gently fold this activated mixture into your main batter. This little trick gives you an extra lift!
Fill your 12 liners about two-thirds full. Pop them into the oven for 18 to 20 minutes. You’ll know they are done when a toothpick slides out clean. Let them chill in the pan for five minutes—which is just enough time to wipe down your counter—and then move them to a wire rack to cool completely before frosting. They must be totally cool, or the frosting melts everywhere!
Whipping the Cream Cheese Frosting for Cupcakes
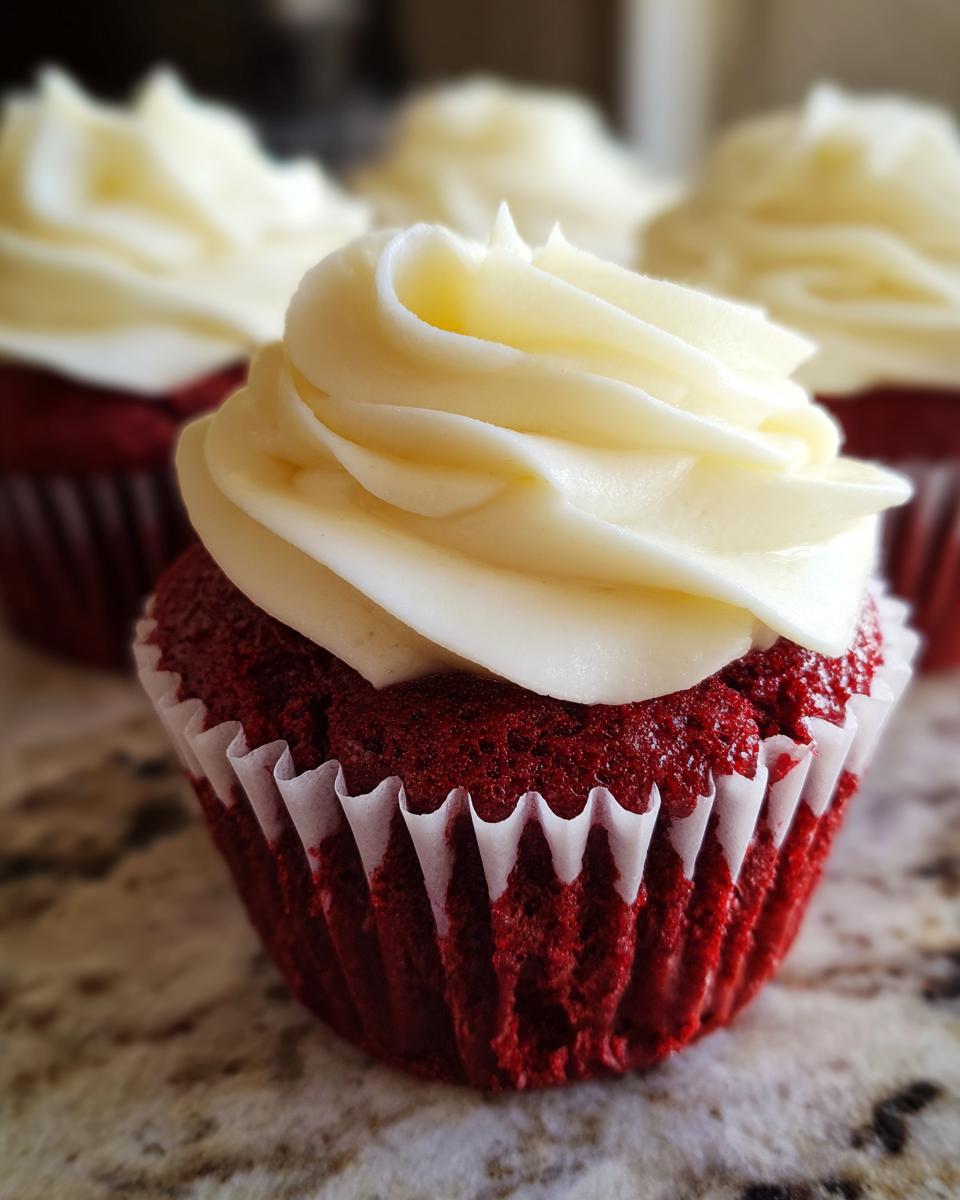
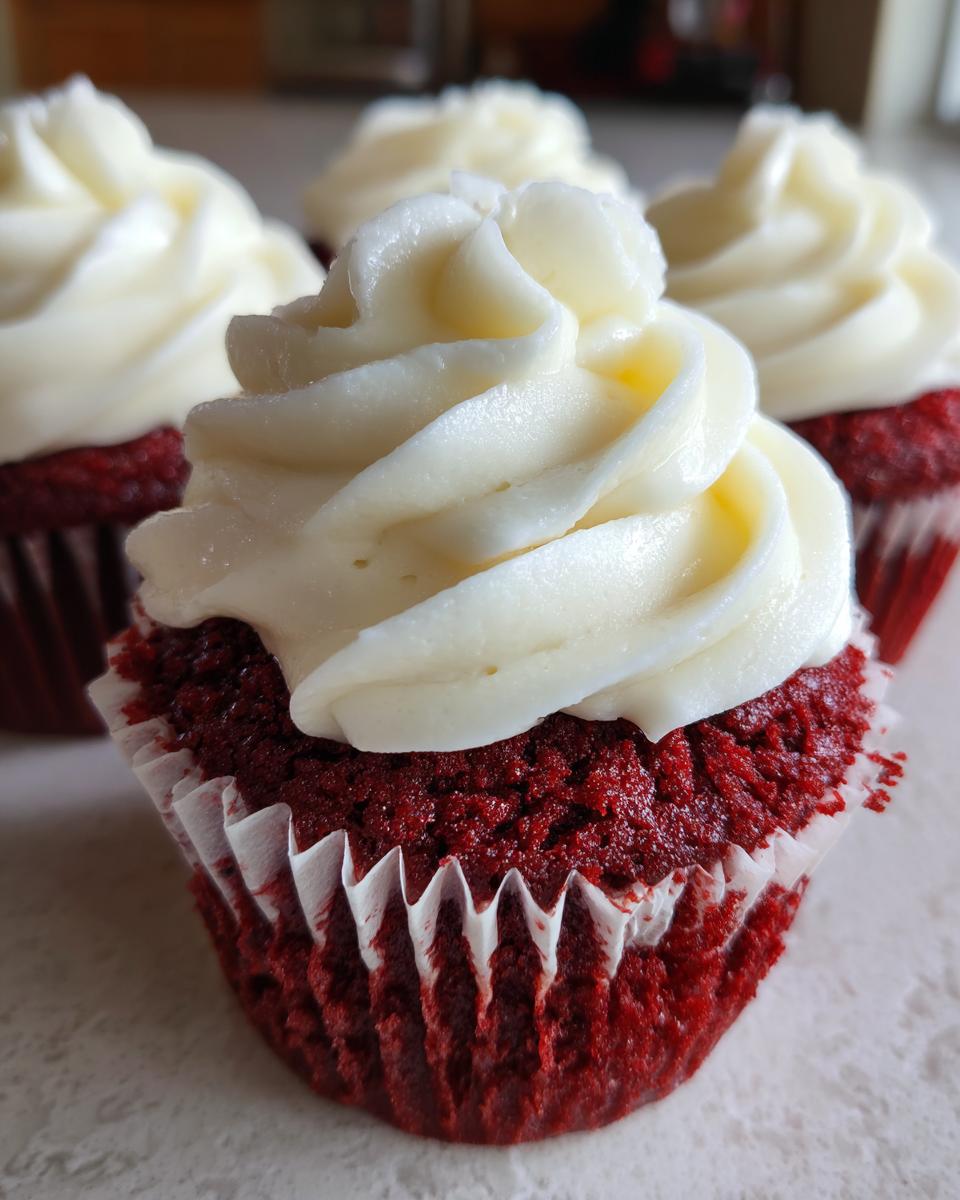
While those cool down, it’s frosting time! This **cream cheese frosting recipe for cupcakes** is my absolute go-to. Start by beating your softened cream cheese and softened butter until they are perfectly smooth—no lumps allowed! Slowly start adding that powdered sugar on a low speed so it doesn’t fly everywhere. Once it’s mostly mixed, crank the speed up to medium, add that vanilla, and whip it for a good minute or two until it’s light and gorgeous. If it seems too stiff, drizzle in that tablespoon of milk until it’s perfectly pipeable. Then, get ready to frost those beautiful red velvet cupcakes!
Tips for Baking Bakery Style Red Velvet Cupcakes at Home
You want that professional look and taste, right? Getting bakery style cupcakes at home takes just a few little tricks that move beyond just following the steps. These things—the little notes I scribbled on my recipe cards—are what truly elevate these from good to unbelievably great. I learned early on that even the best recipe can fall flat if you skip the preparation steps. Trust me, these two details are non-negotiable if you want that classic, tender softness!
If you’re looking for a savory weeknight win, you should check out my easy 30-minute pepper steak stir fry, but for now, let’s stay in the sweet zone!
Color Secrets for Vibrant Red Velvet Cupcakes
I see so many people trying to get that amazing deep red color using standard liquid food coloring drops, and honestly, it just turns the batter pinkish-brown. That small amount of cocoa powder we use pulls the color down naturally, so you need to fight back! You absolutely must use a high-quality red **gel food coloring**. You only need a few drops of gel to get the rich, dramatic hue you expect from classic red velvet cupcakes. Don’t be shy with it, but remember that gel is concentrated!
Room Temperature Matters for Red Velvet Cupcakes
This is probably the single most important physics lesson in this entire recipe! If your eggs, butter, or especially that buttermilk aren’t at room temperature, they won’t emulsify—meaning they just won’t mix right. You end up with little pockets of separated fat instead of a smooth batter. That separation ruins your chance at getting that signature moist red velvet cupcakes texture. Pull those ingredients out about an hour beforehand, and your mixer will thank you for making its job easier!
Variations on Classic Red Velvet Cupcakes
While these classic red velvet cupcakes are perfect just the way they are—rich, tender, and topped with tangy frosting—I always like giving you a few fun ways to switch things up for a party! Testing new things is part of the joy of cooking, right? When I experimented with my red velvet cake mix cookies, I realized how wonderfully adaptable this flavor profile is.
Adding a Cheesecake Swirl to Red Velvet Cupcakes
If you want to kick things up for a birthday or huge celebration, you have to try adding a little cheesecake center! It sounds fancy, but it’s super simple. Just whip up a small batch of regular cheesecake filling—you know, cream cheese, one egg yolk, a bit of sugar. Then, when your red velvet cupcake batter is in the liners, drop a small spoonful of the cheesecake mixture right into the center of the batter before baking. It bakes right into that lovely, creamy surprise inside your cupcake!
Serving Suggestions for Your Red Velvet Cupcakes
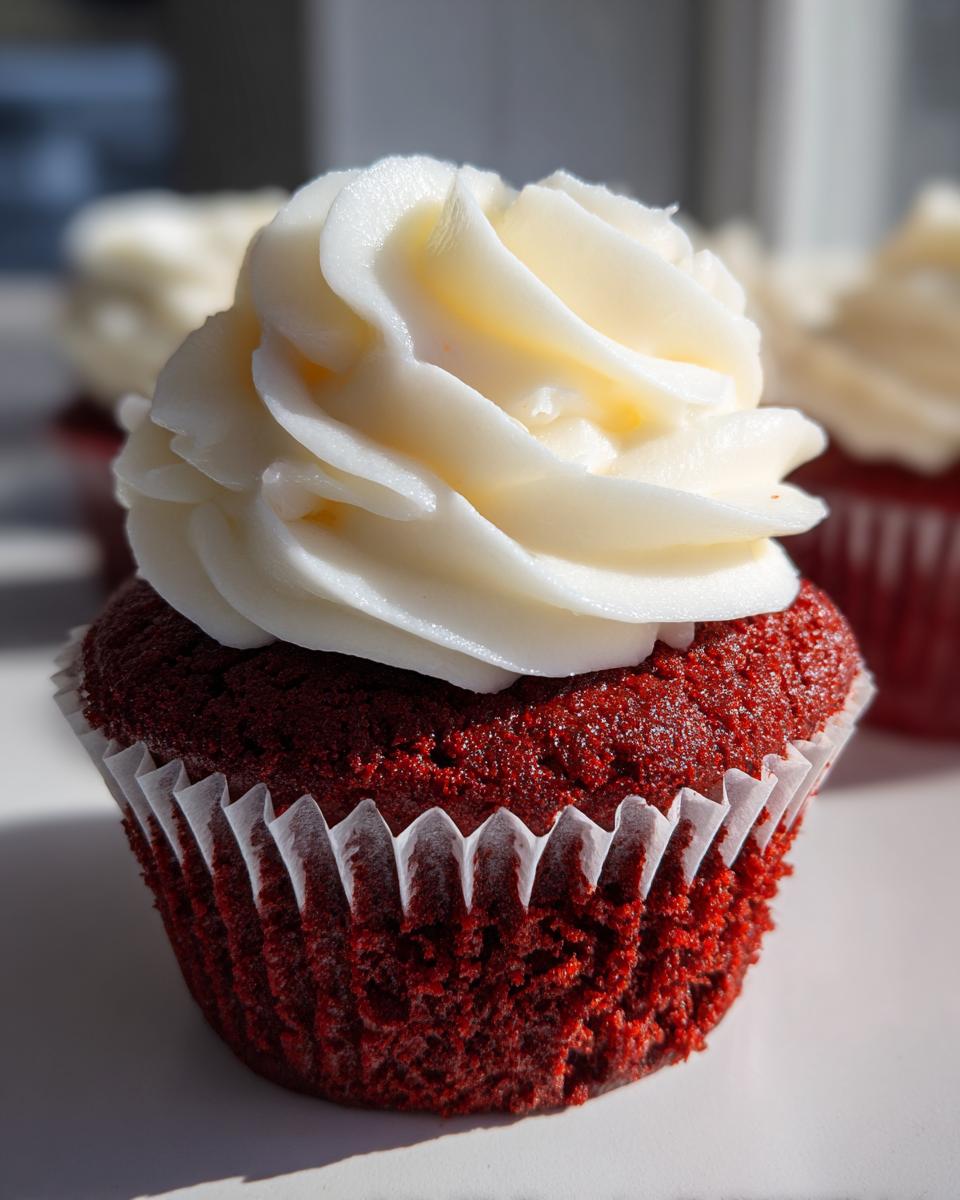
These stunning red velvet cupcakes are so vibrant, they honestly make the plate look fancy all by themselves! They are my go-to for any holiday where red and white look good, especially Valentine’s Day or Christmas gatherings. They pair wonderfully with something tart to balance that creamy frosting. If you’re setting up a big dessert table, try placing them next to something bright, like the cranberry flavor in my cranberry orange scones—it looks beautiful and tastes amazing!
Storage & Reheating Instructions for Red Velvet Cupcakes
Because we used that marvelous, tangy cream cheese frosting, storage is a little different than with a plain butter-cream one. My rule? Keep these beautiful red velvet cupcakes cool, but not too cold, if you can help it! For anything longer than a day, you absolutely have to use the fridge. Pop them into an airtight container—this keeps the moisture trapped in the cake and away from dry fridge air.
If you need to reheat them slightly before serving, just pull them out of the fridge about 30 minutes ahead of time. This lets the cake soften back up and lets the frosting return to its creamy texture. Don’t microwave them, or you risk melting that perfect topping! If you love moist baked goods, you absolutely have to check out my recipe for moist applesauce cake; the storage tips are similar!
Frequently Asked Questions About Red Velvet Cupcakes
When you’re baking something as special as traditional red velvet cupcakes, you’re bound to have a few questions pop up! I totally get it. I spent ages figuring out the right ratios, so I put together the main things I always hear from folks diving into this recipe for the first time. I want to make sure you get that perfect, melt-in-your-mouth result just like my best red velvet cupcake recipe promises!
If you want even more help getting comfortable in the kitchen, check out my full beginner baking cupcake guide!
Can I make the red velvet cupcakes without buttermilk?
Oh, that’s a classic question! Sometimes buttermilk just isn’t in the fridge. You can absolutely make a substitute in a pinch! Just take regular milk and add about a tablespoon of white vinegar or lemon juice, stir it up, and let it sit for about five minutes until it curdles slightly. That acidity is what we need to react with the baking soda. However, I have to be honest: if you want the absolute best, most tender, moist red velvet cupcakes, use real buttermilk. It tenderizes the crumb better than the substitute can.
How do I prevent my cream cheese frosting from being too runny?
This frosting is tricky because cream cheese is soft! If your frosting is too runny, two things usually happened: either your butter or cream cheese was too warm, or you added too much liquid. My go-to fix is simple: just add a little more powdered sugar, maybe a tablespoon at a time, until it thickens up. Another trick is chilling the bowl and beaters for 10 minutes before you start whipping; colder fat beats up lighter and holds its shape better!
Why are my red velvet cupcakes not very red?
If yours look more brown than true red, you probably used liquid food coloring instead of gel. I mention this above, but it bears repeating! The small amount of cocoa powder we add is meant to give you that hint of chocolate flavor, but it also naturally dulls the color. Standard liquid food coloring just can’t punch through it. You really need that concentrated **vibrant red food coloring** gel to get that stunning, deep color that makes these showstoppers.
Sharing Your Homemade Red Velvet Cupcakes
Well, folks, that’s it! You made it through the recipe, and now you have a tray full of the most unbelievably moist red velvet cupcakes imaginable. I truly hope these turn out to be a new family favorite for you, just like they are for mine. Baking is meant to be shared, so I would absolutely love to see what you create!
If you gave this recipe a whirl, please take a moment to come back here and leave me a little rating at the top of the page. Your feedback is the best encouragement for me to keep experimenting and sharing these kitchen stories! And if you took a beautiful picture of your finished batch—especially those gorgeous swirls of cream cheese frosting—tag me on social media! I love seeing your successes and finding new inspiration there. Don’t forget to explore the rest of my favorite tried-and-true recipes over on the main blog!
PrintThe Ultimate Moist Red Velvet Cupcakes with Tangy Cream Cheese Frosting: A Step-by-Step Guide for Perfect Results
Follow this easy recipe to bake classic, moist red velvet cupcakes from scratch. These bakery-style treats feature a rich cocoa flavor and are topped with a tangy, creamy cream cheese frosting, making them perfect for any celebration.
- Prep Time: 20 min
- Cook Time: 20 min
- Total Time: 40 min
- Yield: 12 servings 1x
- Category: Dessert
- Method: Baking
- Cuisine: American
- Diet: Vegetarian
Ingredients
- 1 1/2 cups all-purpose flour
- 1 teaspoon baking soda
- 1 teaspoon unsweetened cocoa powder
- 1/2 teaspoon salt
- 1 cup granulated sugar
- 1/2 cup unsalted butter, softened
- 2 large eggs
- 1 teaspoon vanilla extract
- 1 cup buttermilk, room temperature
- 1 tablespoon white vinegar
- 1 teaspoon red gel food coloring (use gel for vibrant color)
- 1 teaspoon baking powder
- 1 cup powdered sugar (for frosting)
- 4 ounces cream cheese, softened (for frosting)
- 1/4 cup unsalted butter, softened (for frosting)
- 1/2 teaspoon vanilla extract (for frosting)
- 1 tablespoon milk or heavy cream (for frosting, optional)
Instructions
- Preheat your oven to 350°F (175°C). Line a standard 12-cup muffin tin with paper liners.
- In a medium bowl, whisk together the flour, baking soda, cocoa powder, and salt. Set this dry mixture aside.
- In a large bowl, cream together the softened butter and granulated sugar with an electric mixer until light and fluffy, about 3 minutes.
- Beat in the eggs one at a time, mixing well after each addition. Stir in the vanilla extract.
- In a separate small bowl, mix the buttermilk, white vinegar, and red gel food coloring until the color is uniform.
- Alternate adding the dry ingredients and the buttermilk mixture to the butter mixture, beginning and ending with the dry ingredients (add 1/3 dry, 1/2 wet, 1/3 dry, 1/2 wet, 1/3 dry). Mix only until just combined; do not overmix.
- In a small bowl, whisk together the baking powder and one tablespoon of the batter to activate it. Gently fold this mixture into the main batter.
- Divide the batter evenly among the 12 prepared muffin cups, filling each about two-thirds full.
- Bake for 18 to 20 minutes, or until a toothpick inserted into the center comes out clean. Let the cupcakes cool in the pan for 5 minutes before transferring them to a wire rack to cool completely.
- To make the cream cheese frosting, beat the softened cream cheese and butter together until smooth. Add the powdered sugar gradually, mixing on low speed until incorporated, then increase speed to medium. Beat in the vanilla extract and milk (if using) until the frosting is light and fluffy.
- Once the cupcakes are completely cool, pipe or spread the cream cheese frosting onto each one.
Notes
- For the most vibrant red color, use high-quality red gel food coloring instead of liquid drops.
- Buttermilk is key for the tender velvet texture; do not substitute with regular milk if possible.
- To ensure a moist cupcake, stop mixing the batter as soon as the last streaks of flour disappear. Overmixing develops gluten, resulting in a tougher cake.
- Make sure your butter, eggs, and buttermilk are at room temperature for the best emulsion.
Nutrition
- Serving Size: 1 cupcake
- Calories: 350
- Sugar: 35g
- Sodium: 250mg
- Fat: 18g
- Saturated Fat: 10g
- Unsaturated Fat: 8g
- Trans Fat: 0.5g
- Carbohydrates: 45g
- Fiber: 1g
- Protein: 4g
- Cholesterol: 60mg