
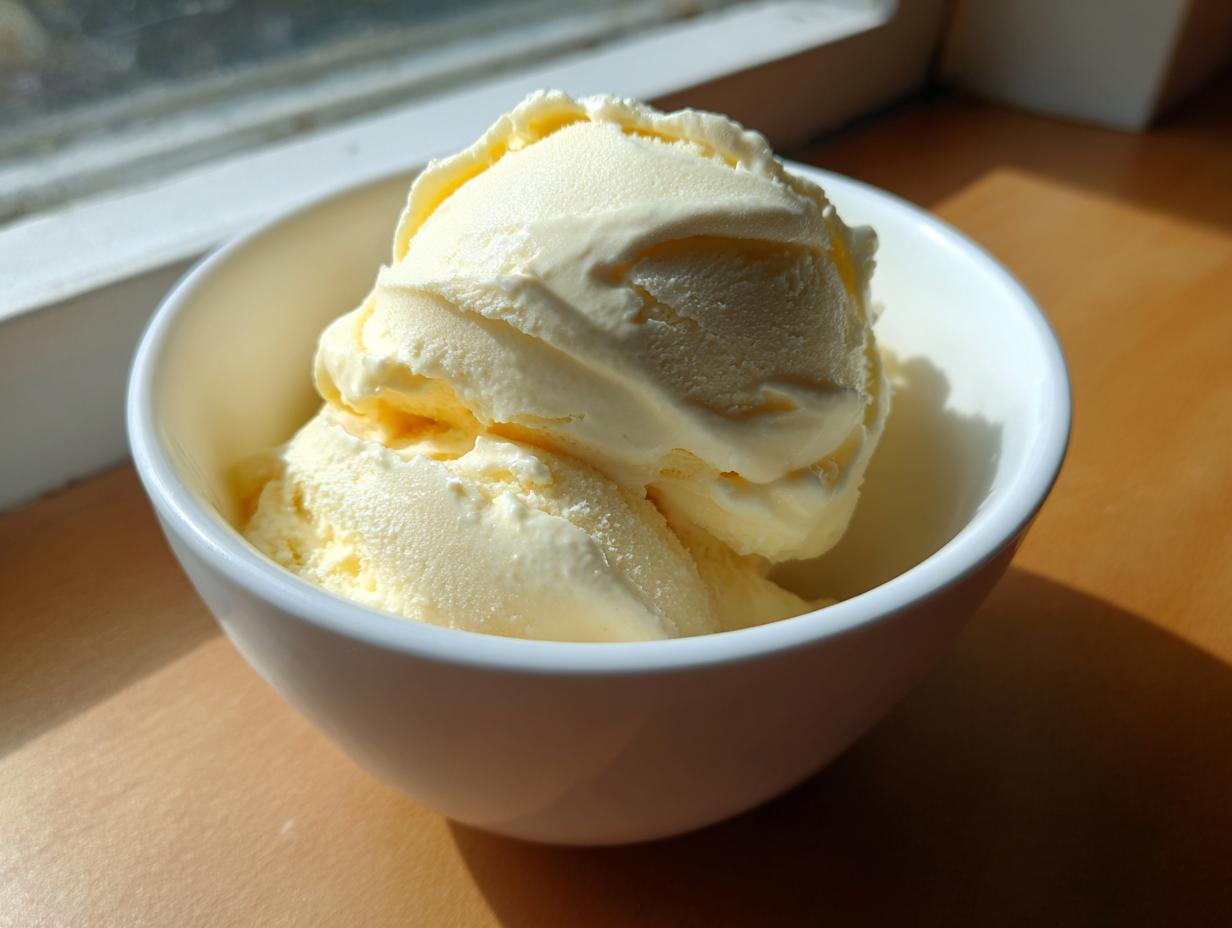

Welcome! I’m Sarah, and I’m so happy you’re here. If you’ve been searching for that perfect, creamy frozen dessert that doesn’t require hours of churning or a huge grocery list, you’ve absolutely landed in the right spot. Today, we are making the easiest, most magical **banana ice cream** you will ever try. Seriously, this is a 3-ingredient **banana ice cream** that is completely vegan and needs absolutely no specialized ice cream machine, which is why I love sharing it with everyone looking for reliable desserts. In my kitchen, I strive to bring you recipes that are both soulful and foolproof, and transforming a few frozen bananas into something so decadent proves that simple is often the best approach for a reliable dessert.
- Why This 3-Ingredient Banana Ice Cream Is Your New Favorite Healthy Frozen Treat
- Gathering Ingredients for Perfect Banana Ice Cream
- How to Prepare Your Quick Homemade Ice Cream
- Tips for Success When Making Banana Ice Cream
- Variations for Your Creamy Banana Dessert
- Serving Suggestions for Your Banana Ice Cream
- Storage and Reheating Instructions for Banana Ice Cream
- Frequently Asked Questions About Banana Ice Cream
- Share Your Guilt Free Dessert Ideas
Why This 3-Ingredient Banana Ice Cream Is Your New Favorite Healthy Frozen Treat
Honestly, when the summer heat hits, I don’t have the patience for recipes that require anything complicated. That’s why this **3 ingredient ice cream** is my go-to solution for an instant cool-down. It’s ready in the time it takes to unload the dishwasher, which is a miracle on a 95-degree afternoon!
This recipe checks every box people are looking for right now. It’s a fantastic **healthy frozen treat** because it uses zero refined sugar—we rely entirely on the natural sweetness of the fruit. Plus, it’s naturally vegan and completely dairy-free, making it accessible for almost anyone, which means I can serve it to everyone at family potlucks. It’s amazing how satisfying this simple **banana ice cream** can be without any fancy stabilizers or added fats.
I remember one afternoon last August; the A/C totally quit on us. I was ready to pack everyone in the car and drive to the nearest ice cream parlor, but I realized I had a bag of frozen bananas staring at me. Ten minutes later, we were all digging into this soft, cold **creamy banana dessert** right there on the porch. Best decision ever!
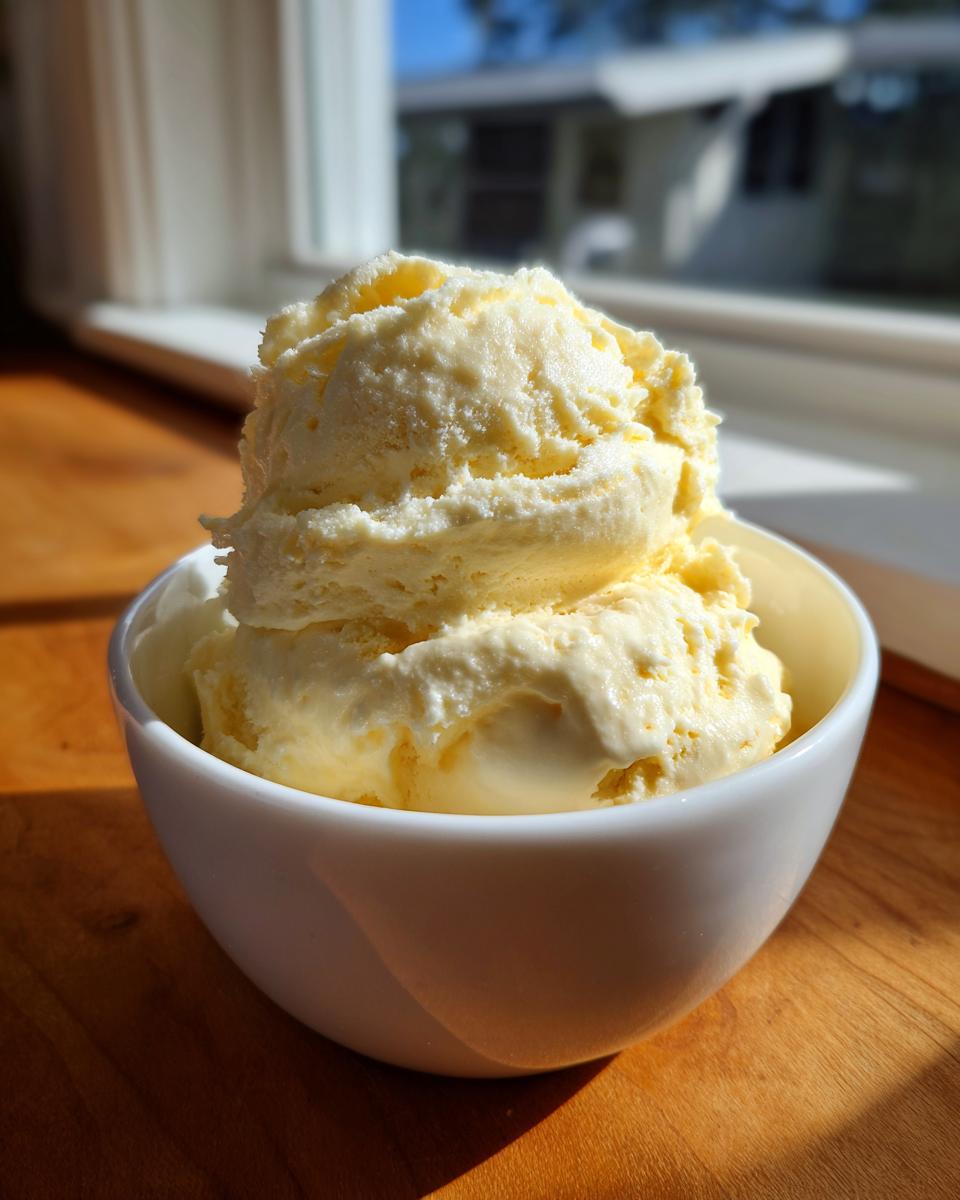
Achieving Creamy Banana Dessert Texture Without Churning
The real secret here isn’t an ingredient; it’s the transformation! You might look at those frozen banana coins and think, “This is going to be icy,” but trust me, it won’t be. When you blend those super-cold bananas in a food processor—especially when slightly overripe—the natural starches break down perfectly.
This process emulsifies the mixture right there in the blender, mimicking the churning action of a proper machine. That’s how we get that lovely **no churn banana dessert** texture that looks exactly like **frozen banana soft serve**. And here’s a tip for maximum sweetness: use bananas that are fully spotty, almost black! The browner the peel, the sweeter the fruit, and the less you have to rely on any other sugar for your **guilt free dessert ideas**.
If you are looking for other simple, wholesome baked goods, you should definitely check out my recipe for banana chocolate chip muffins next!
Gathering Ingredients for Perfect Banana Ice Cream
Okay, let’s talk about what you need for this amazing **banana ice cream**. Since this is a minimalist recipe—a true **3 ingredient ice cream**—the quality of what you use matters a ton! Remember, you only need three things to make this work, and precision here is how we guarantee that incredibly **creamy banana dessert** without any fuss.
Here is the short and sweet list:
- 4 large ripe bananas, peeled, sliced, and frozen solid
- 1/4 cup unsweetened almond milk (or other milk substitute)
- 1 teaspoon pure vanilla extract
Ingredient Notes and Simple Substitutions
Don’t stress if you don’t have almond milk on hand; we can play with the liquids! If your food processor is struggling, I always keep extra milk around to add just a tablespoon at a time until those frozen chunks start moving freely. That’s my go-to trick for a thick **blender ice cream recipe**.
Now for the fun swap! If you need a richer flavor or want to make a **peanut butter banana dessert**, try swapping out the almond milk for 2 tablespoons of natural peanut butter. Wow, is that ever incredible for a **guilt free dessert idea**! It adds richness without weighing down the texture too much.
How to Prepare Your Quick Homemade Ice Cream
Alright, now that we have our superstar ingredients ready, let’s talk timing. The prep time on this **banana ice cream** is actually just the blending time, maybe 10 minutes! The real waiting game is the deep freeze, so this is something you have to plan for, but trust me, it’s worth it for this **quick homemade ice cream**.
The process flows perfectly from prep to serving. We start with getting those bananas perfectly frozen, which makes all the difference between a satisfying **banana soft serve substitute** and a sad smoothie. After that, it’s just about getting your machine to work its magic!
Freezing Bananas: The Crucial First Step for Banana Ice Cream
This can’t be rushed, so plan ahead! You need your bananas completely solid. Peel them first—it’s nearly impossible to peel them once they’re rock hard, take my word for it! Then slice them into coins, maybe half an inch thick. Lay those slices out on a baking sheet that you’ve covered with parchment paper first. This single layer freezing ensures they don’t stick together into one giant frozen hockey puck, which would stop the process dead in its tracks. A solid 6 hours is the minimum, but I usually just leave mine overnight for the best results.
Blending Technique for the Best Banana Ice Cream
This is where we turn those frozen chunks into reality! Dump those rock-hard banana slices, your vanilla, and the small amount of milk into your highest-powered blender or a sturdy food processor. Don’t expect it to look like anything special at first; it will just look like coarse crumbs.
You must be patient here. Start slow! You’ll need to stop every 30 seconds to scrape down the sides—don’t just let the motor whine! Keep scraping and blending. Slowly, magically, those crumbs will smooth out, clump together, and suddenly—voilà!—you have glorious **banana ice cream** that looks just like soft-serve. If your machine struggles, that’s when you add milk just one tablespoon at a time. If you love quick breakfast ideas, check out my fluffy banana pancakes while you wait for your bananas to freeze!
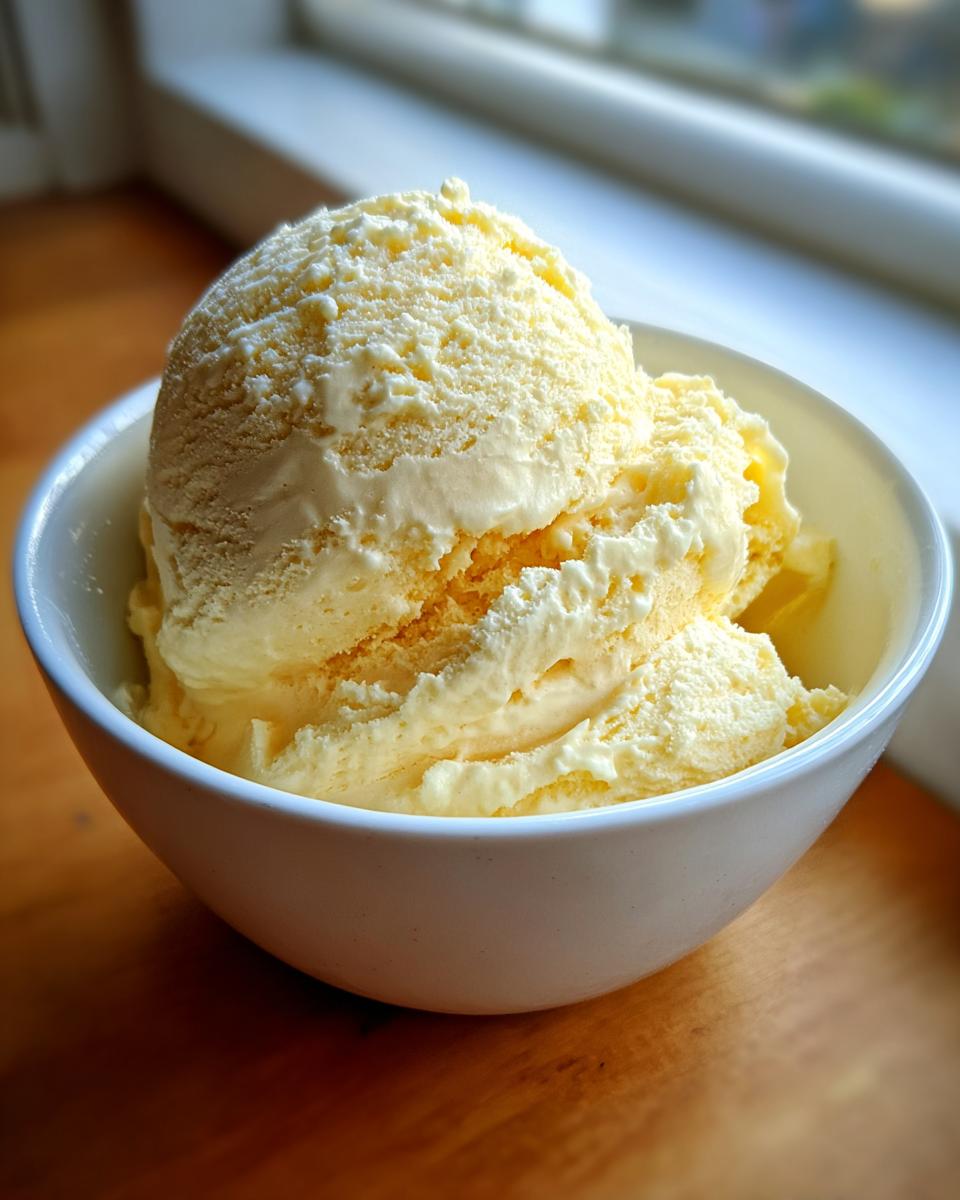
Tips for Success When Making Banana Ice Cream
Now that you know the basic steps for our amazing **banana ice cream**, let me give you three quick pointers that elevate this from good to absolutely unbelievable. My goal is always to help you avoid the dreaded icy texture, which happens when you cut corners, and this recipe is all about trusting the process.
First, let’s talk ripeness again, because this is the backbone of making a truly **creamy banana dessert**. Seriously, don’t hold out on me with those slightly green bananas! If the peel isn’t covered in brown sugar-y spots, your **quick homemade ice cream** will taste more like icy fruit puree than dessert. The riper the banana, the sweeter and smoother the result. This is how we achieve that natural sugar sweetness we all crave.
Second, even though this is called a **no churn banana dessert**, the machinery is still doing heavy lifting! If you have a choice between a powerful food processor and a standard blender, use the processor. It has the torque needed to break down those rock-hard frozen chunks without overheating. If you use a regular blender, be prepared to stop and scrape every 15 seconds, and remember my earlier advice: add just a splash of milk if the blades absolutely won’t move.
Finally, if you’re making a huge batch and plan to eat it later, remember that freezing pure fruit solidifies it more than dairy blends. When you save leftovers, immediately transfer the mixture to a shallow freezer-safe dish. This helps it freeze faster and more evenly, so when you un-freeze it later for that **guilt free dessert idea**, it won’t take an hour on the counter to soften up enough to scoop! For another warm and comforting treat you can make soon, check out my recipe for creamy banana oatmeal.
Variations for Your Creamy Banana Dessert
While my base recipe for **banana ice cream** is fantastic because it’s only three ingredients, I know sometimes you just need a little *extra* something, right? This is where we get to play dress-up with our **simple fruit dessert**! The base is so perfect and creamy, it holds up beautifully to mix-ins, turning it into a truly decadent **creamy banana dessert**.
You can easily double or triple the batch and divide it before serving if you want a couple of different flavor profiles. Think about dusting in some unsweetened cocoa powder right before the final blend for a rich chocolate version. Or, if you’re feeling warm and cozy, a pinch of cinnamon and nutmeg takes this straight into **healthy summer sweets** territory.
For those times when you want to dip into a bowl of something truly satisfying, I absolutely encourage you to check out my recipe for moist blueberry banana bread; it’s another one of those recipes where simple ingredients shine!
Creating a Peanut Butter Banana Dessert Flavor
If you ask me what the *best* addition to **banana ice cream** is, it’s peanut butter. Hands down. It moves this from a light snack into a truly indulgent experience, but it still keeps that **guilt free dessert ideas** vibe.
Remember how I told you that you can swap the almond milk for peanut butter in the notes? Do that! Use about two tablespoons of your favorite natural, creamy peanut butter. When you blend it in with the frozen bananas, you get this incredible, thick, salty-sweet swirl. It makes the final **banana ice cream** even denser and provides that wonderful **peanut butter banana dessert** satisfaction without the need for scooping traditional ice cream.
If you enjoy additions like this, you’ll love exploring other ideas too! You can add chopped walnuts or pecans right at the end for some great texture contrast. I found a fantastic recipe for some variations over on the blog banana ice cream with nuts that showcases how crunchy additions are just the perfect counterpoint to the smooth texture!
Serving Suggestions for Your Banana Ice Cream
So, you’ve got your **creamy banana dessert** ready to go! This is the fun part, right? How you eat it can totally change the experience. If you eat it right away, it’s that wonderfully rich, cold **frozen banana soft serve** texture. Think of it like a luxurious, thick milkshake that you eat with a spoon. When I serve it soft-serve style, I like to use a bowl, maybe drizzle just a little bit of high-quality chocolate syrup on top, or sprinkle some toasted coconut flakes over it.
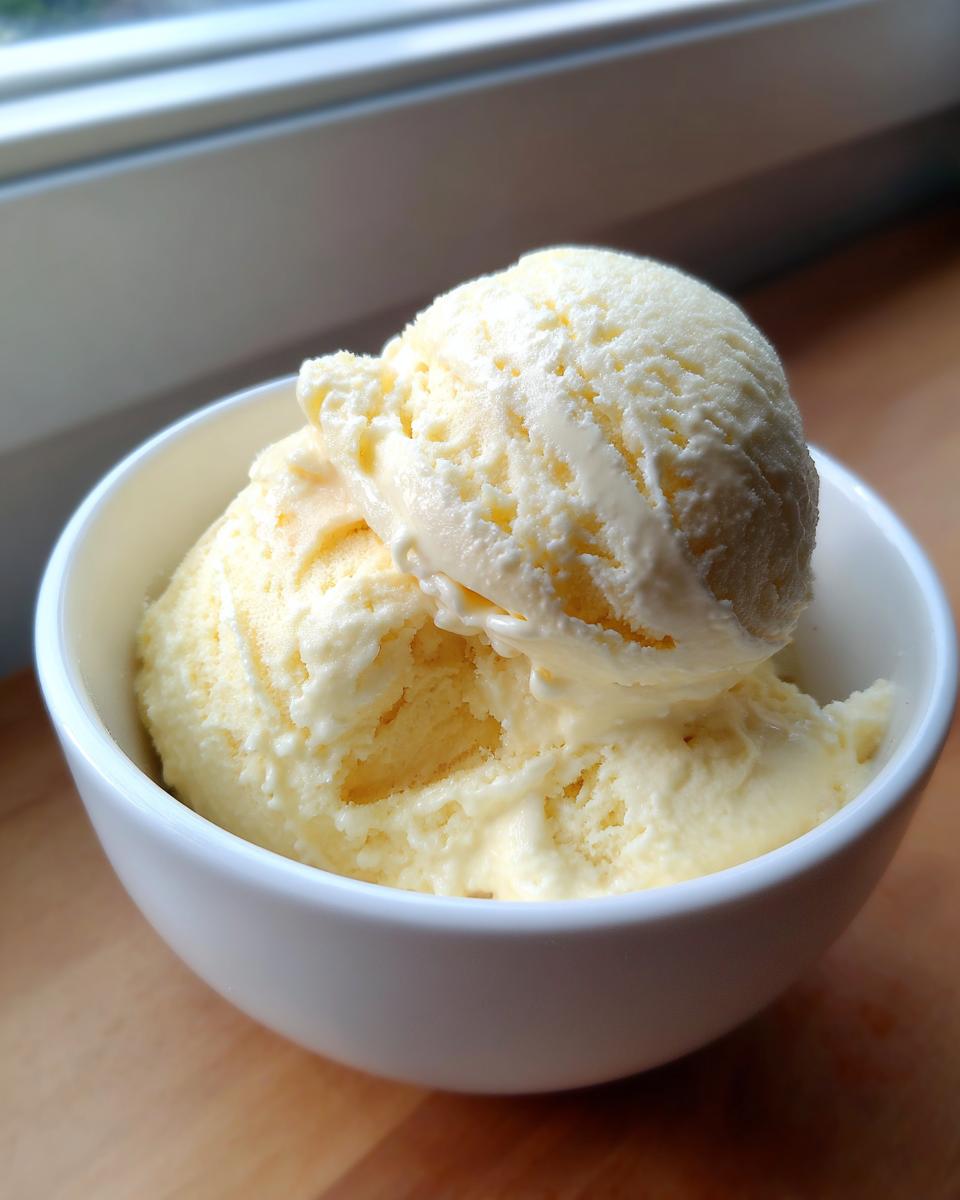
If you decided to freeze it for an hour or two to get a scoopable consistency—which is my preferred method for a true **banana ice cream** experience—you have more options for toppings. You can scoop it into cones, which feels just like the real deal, or serve it in clear glass dishes for a prettier presentation.
This is also where you can transform it into a **healthy summer sweets** masterpiece. Try crumbling some pretzels over it for salty crunch, or if you’re feeling extra decadent (but still healthier than store-bought!), try a spoonful of my homemade easy fruit dessert sauce on top! For those who want to stick strictly to the healthy side, even a few chopped pecans can add just enough texture to make it feel like you’re indulging in something far more complicated.
If you ever want to see how truly delicious and naturally sweet vegan desserts can be, you should peek at the amazing ideas over at Healthy Vegan Banana Nice Cream. They showcase some beautiful ways to present this simple **vegan banana dessert**!
Storage and Reheating Instructions for Banana Ice Cream
The only real downside to making this incredible **banana ice cream** is that it disappears too fast! Because this recipe is pure frozen fruit and doesn’t have the stabilizers and fats that commercial ice cream has, you need to treat the leftovers a little differently, but it’s still super easy.
If you want to keep some for later—maybe save some for a planned **low sugar frozen snack** tomorrow—you need to plan for that extra freeze time. If you eat it soft-serve consistency right away, and then put the leftovers back in the freezer, they will become rock hard. That’s just the nature of frozen fruit! We don’t want that icy texture when we go back for a second helping of this **quickest ice cream recipe**.
When you transfer the leftovers to a freezer-safe container, press a piece of plastic wrap directly onto the surface of the **creamy banana dessert** before putting the lid on. This keeps ice crystals from forming on top, which is always a bummer to scrape off later!
When you decide you’re ready for a scoop later—maybe the next day—don’t go straight from the deep freeze to the bowl. Pull that container out about 15 to 20 minutes before you want to eat it. Letting it sit on the counter for that time allows it to thaw just slightly, bringing it back toward that perfect **frozen banana soft serve** texture we love so much.
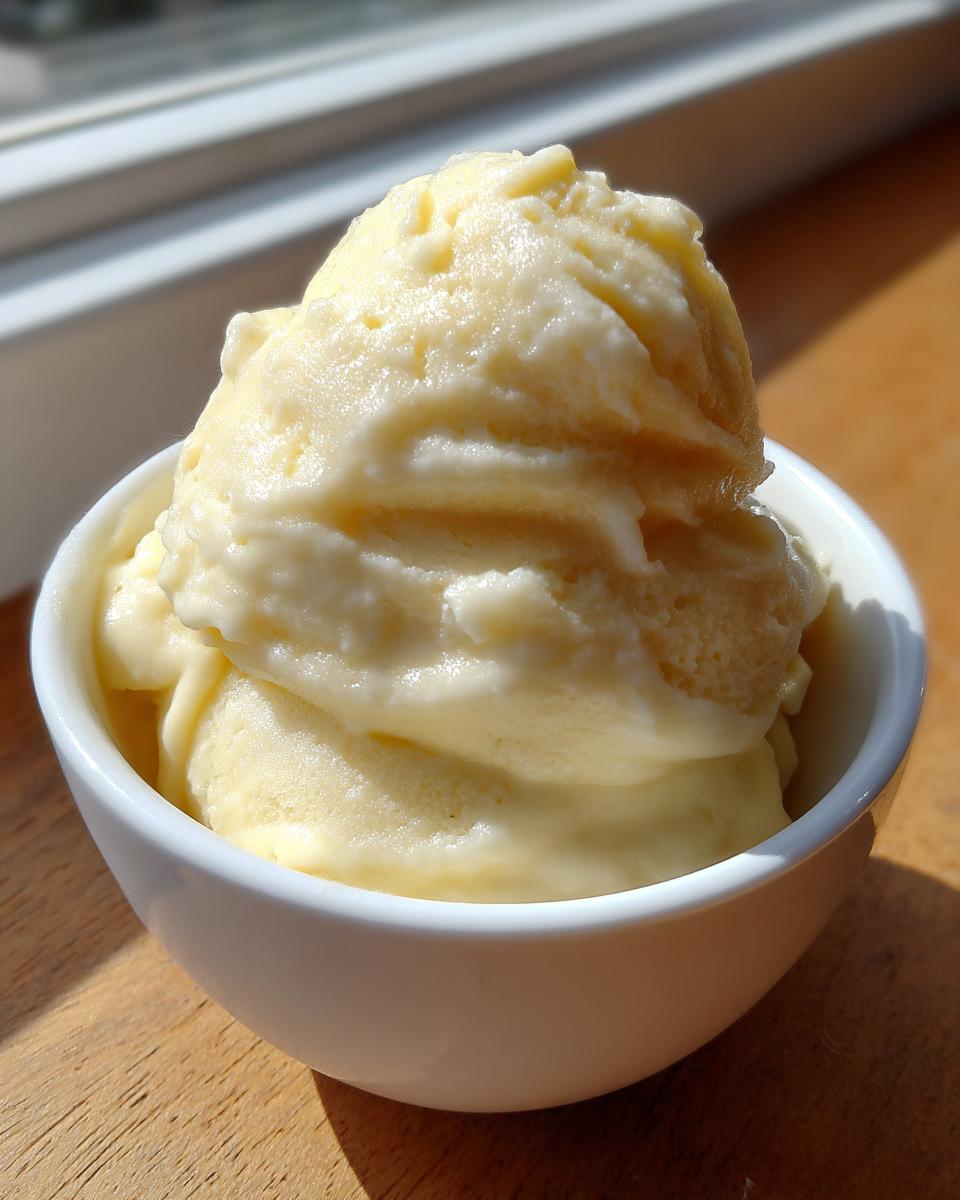
If you forget and it’s still too stiff? No problem! Just scoop what you want into your blender or food processor and run it on low speed for about 30 seconds with maybe just a teaspoon of milk. It processes right back into that perfectly smooth **easy nice cream recipe** in no time. It’s the lowest fuss recipe to store and revive! If you are looking for other preservation ideas, I have a great guide on making pear butter that you might enjoy for spreading on toast later.
Frequently Asked Questions About Banana Ice Cream
It’s funny, anytime I share this **banana ice cream** recipe, I get the same few questions popping up in the comments! It makes total sense; we want to make sure this **simple fruit dessert** turns out perfectly creamy the first time. I’ve rounded up the most common concerns here so you can serve up the perfect scoop every time you try to make this **quickest ice cream recipe**.
Can I make this banana ice cream without a high-powered blender?
That is such a common question! I always recommend a food processor if you don’t have a high-speed blender, like a Vitamix or Blendtec. The motor in a food processor is usually stronger for crushing ice and frozen items than a basic upright blender, which can sometimes overheat or just spin the bananas around without actually blending them. If you *only* have a standard blender, you’ll definitely need to let your frozen bananas sit out for just about 5 to 7 minutes before blending. More importantly, work in small batches if necessary, and use more liquid than you think you should—a tablespoon at a time—until those blades can move freely. Patience, scraping the sides often, and maybe just a little extra liquid are your best friends here!
Is this recipe truly a healthy frozen treat?
Absolutely! That’s one of the biggest reasons I love this recipe for a quick dessert. It’s designed to be a **guilt free dessert idea**. Since we’re using ripe, frozen bananas as the base, you’re getting fiber and natural fruit sugars, not refined white sugar. It’s naturally vegan, dairy-free, and cholesterol-free, making it a fantastic **low sugar frozen snack** option compared to traditional scooped desserts.
If you want to explore other ways to make naturally sweet treats that skip the heavy dairy and refined sugars, you should go check out my post on making an easy nice cream recipe! It gives you even more ideas for your **healthy frozen treat** cravings.
Share Your Guilt Free Dessert Ideas
Now that you’ve made your first batch of incredibly simple, **creamy banana dessert**, I really want to know what you thought! Did you enjoy knowing that you made something so delicious with absolutely no added sugar? Cooking is always better when we share the joy, and your feedback helps me keep perfecting these tried-and-true family favorites for everyone who stops by. Did you try the peanut butter variation, or did you stick with the pure, clean flavor of the **3 ingredient ice cream**?
Please take a second to leave a rating below if you loved this **guilt free dessert idea**! And if you added anything fun—maybe some dark chocolate chips or a sprinkle of cinnamon—tell me all about it in the comments. Hearing about your kitchen successes is honestly the best part of my day.
If you’ve got photos of your gorgeous scoops of **banana ice cream**, I would be thrilled if you shared them on social media and tagged me! It keeps me inspired! For even more practical cooking inspiration and all my latest recipes, you can always browse the main blog page here.
And if you’re testing out more ways to make satisfying sweet treats without the dairy, don’t forget to check out recipes like the crunchy additions they have showcased for a peanut butter banana ice cream blend!
PrintEasy 3-Ingredient Creamy Banana Ice Cream (Nice Cream)
Welcome! I’m Sarah, and I’m so happy you’re here. Make this incredibly creamy, naturally sweet banana ice cream using just three simple ingredients. This healthy frozen treat is vegan, dairy-free, and requires no ice cream machine.
- Prep Time: 10 min
- Cook Time: 0 min
- Total Time: 10 min
- Yield: 2 servings 1x
- Category: Dessert
- Method: Blending
- Cuisine: American
- Diet: Vegan
Ingredients
- 4 large ripe bananas, peeled, sliced, and frozen solid
- 1/4 cup unsweetened almond milk (or other milk substitute)
- 1 teaspoon pure vanilla extract
Instructions
- Prepare your bananas: Peel and slice the ripe bananas into coins. Place them in a single layer on a baking sheet lined with parchment paper. Freeze for at least 6 hours, or until completely solid.
- Combine ingredients: Place the frozen banana slices, almond milk, and vanilla extract into a high-powered blender or food processor.
- Blend until smooth: Start blending on a low speed, stopping frequently to scrape down the sides. The mixture will look crumbly at first, then creamy, and finally resemble soft-serve ice cream. This may take 3 to 5 minutes, depending on your machine.
- Serve immediately for a soft serve texture, or transfer to a freezer-safe container and freeze for 1 to 2 hours for a firmer scoopable texture.
Notes
- For a richer flavor, substitute the almond milk with 2 tablespoons of natural peanut butter for a peanut butter banana dessert variation.
- If your mixture is too thick to blend, add the milk one tablespoon at a time until the blades move freely.
- For the best results, use very ripe bananas; the riper they are, the sweeter your final healthy frozen treat will be.
Nutrition
- Serving Size: 1 serving
- Calories: 200
- Sugar: 15
- Sodium: 5
- Fat: 1
- Saturated Fat: 0
- Unsaturated Fat: 1
- Trans Fat: 0
- Carbohydrates: 50
- Fiber: 5
- Protein: 2
- Cholesterol: 0