
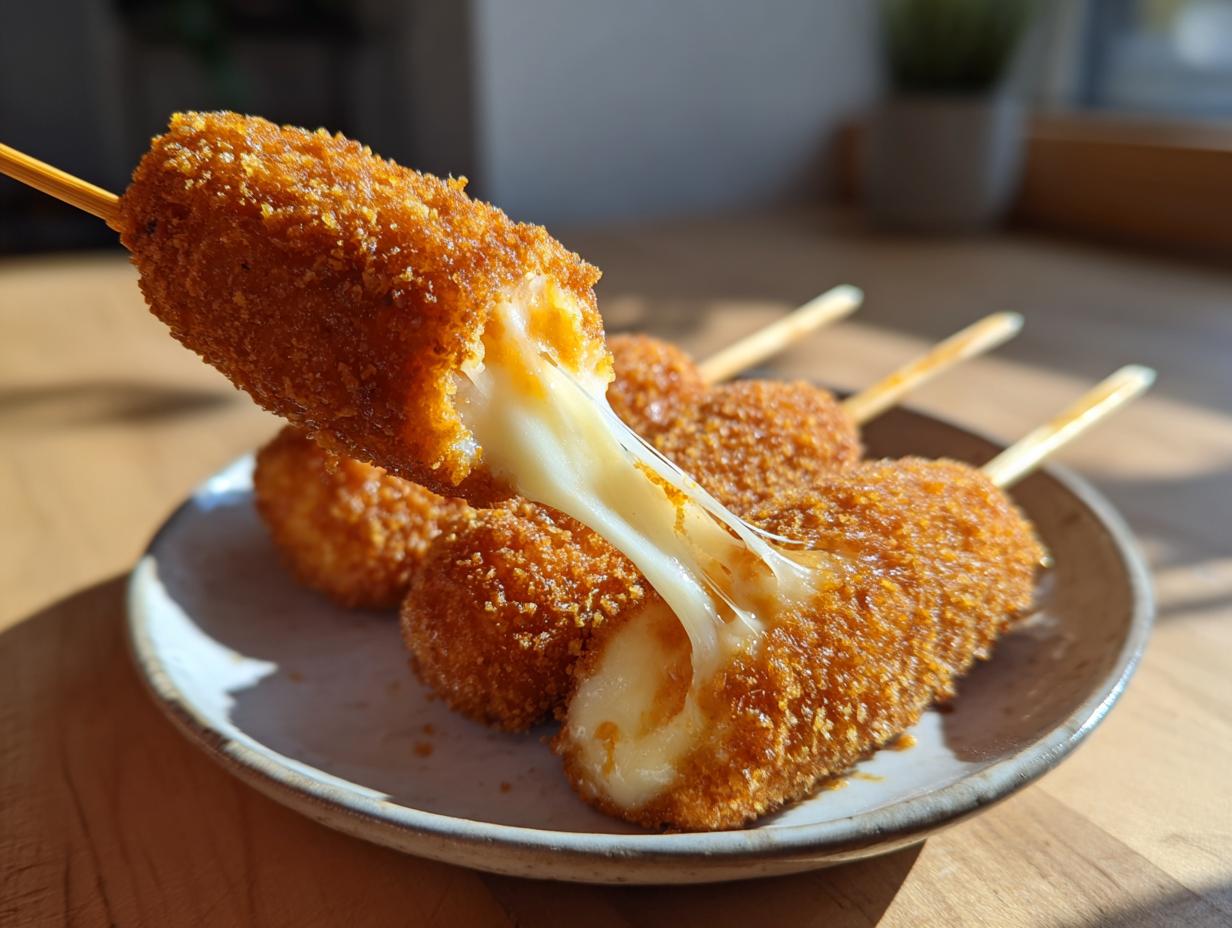

Oh my goodness, are you ready for this? If you’ve scrolled anywhere online in the last year, you’ve undoubtedly seen these unbelievable street-food wonders with the dramatic, stretchy cheese pulls! I knew right away I had to perfect my own version of the famous korean corn dog. It’s one thing to watch it online, but it’s another to bite into one that nails that signature ultra-crispy coating and gooey center.
When I tackle a viral recipe here at Cut Cook Taste, I don’t just follow steps; I test, test, test until it’s reliability approved. That’s exactly what it took to nail the perfect balance between a light, airy interior and a crust that shatters when you bite it. For more reliable kitchen inspiration you can always check out my main blog! Get ready, because we’re achieving maximum crunch and the best cheese pull you’ve ever seen!
- Why This Viral korean corn dog Recipe Works: The Secret to Crunch and Cheese
- Ingredients for Your Authentic korean corn dog
- Step-by-Step Preparation for the korean corn dog
- Mastering the Deep Fry for a Crispy fried snack
- Finishing Touches: Sweet and Savory Toppings for Your korean corn dog
- Tips for Success Making the perfect korean corn dog
- Storage and Reheating Instructions for Leftover korean corn dog
- Frequently Asked Questions About Making korean street food recipe
- Estimated Nutritional Data for This Crispy Fried Snack
Why This Viral korean corn dog Recipe Works: The Secret to Crunch and Cheese
Making a truly great korean corn dog—the kind you see all over social media—isn’t about frying quickly; it’s about building layers. My testing revealed exactly what lifts this snack from good to truly addictive. We are aiming for that textural symphony: the shatter of the crust, the slight chewiness of the coating, and the explosion of melted cheese inside. It’s what separates this from any old quick, crispy fried snack!
If you’ve had less-than-stellar results before, usually it comes down to two things: the filling temperature or the batter lift. Trust me, focusing on these two areas will change everything for you. For another great crispy coating, remember my fried pickles recipe relies on similar principles!
Achieving the Ultimate Cheesy Pull snack
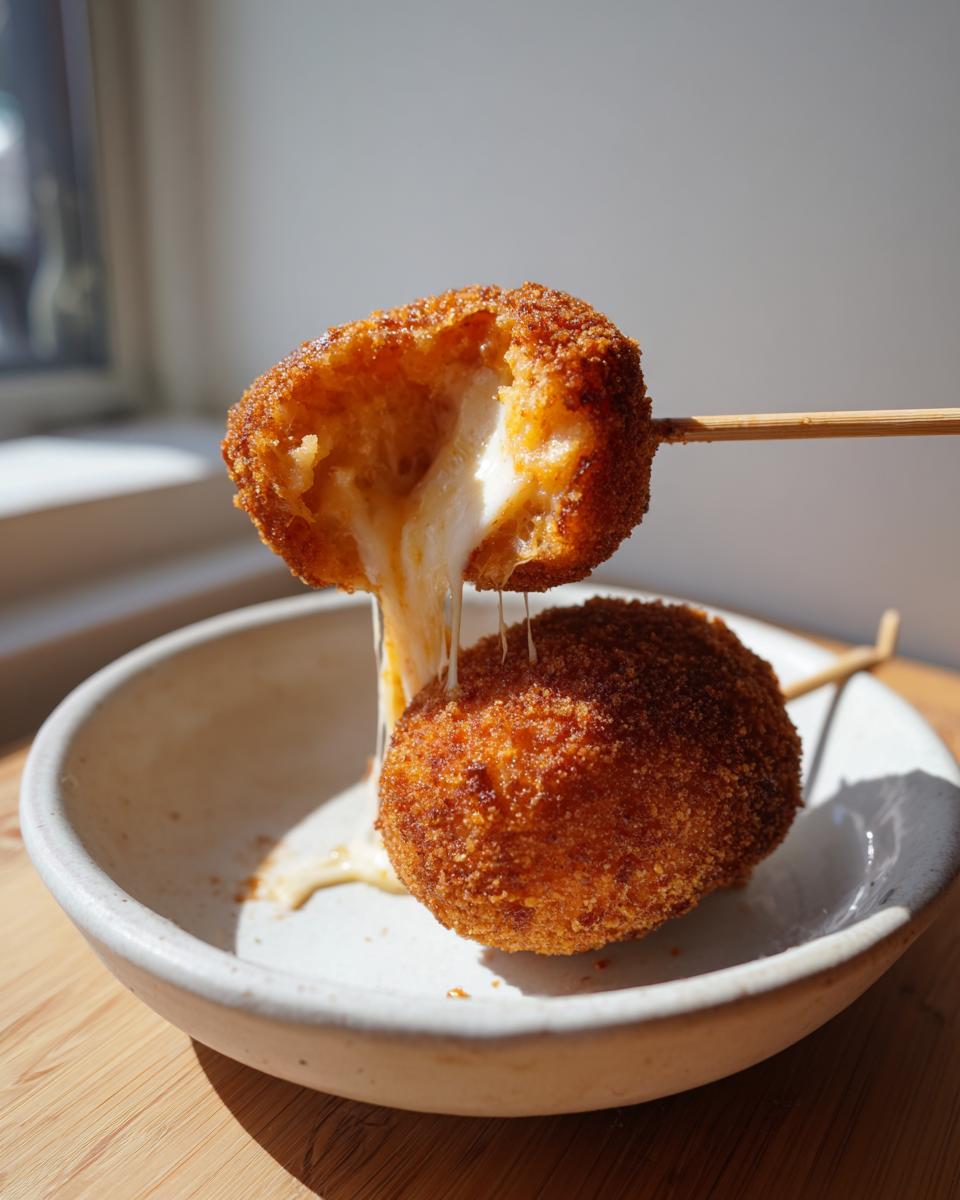
This is non-negotiable for that viral moment! You absolutely must start with room-temperature cheese, or even better, use the half-and-half stick. Sticking a cold mozzarella stick into hot oil locks the center stiff. Using sticks that have sat out for about 20 minutes ensures that when the outside is perfectly golden, the cheese inside is molten and stretchy. That glorious cheesy pull snack requires warm ingredients.
The Best corndog Batter for a korean corn dog
Forget the quick mix batters you might use for a regular American dog! The key here is yeast. Yeast creates little air pockets that expand as they cook, giving the inside of your korean corn dog that signature fluffy, slightly chewy texture, contrasting beautifully against the crust. That’s why our best corndog batter needs that good resting time to truly bloom. It makes all the difference for a light interior!
Ingredients for Your Authentic korean corn dog
Okay, now we get to the actual building blocks! The list looks long, but trust me, most things are pantry standards. For this specific korean corn dog, we need the batter ingredients, the coating elements, and of course, the central treat. When I’m getting ready for a weekend fry-up, I always make sure my yeast is fresh because that’s key for our light batter.
If you are new to baking, practicing with the dough setup is great practice for my easy homemade french bread! Remember, the coating is crucial. You’re choosing between panko breadcrumbs for a classic crunch or finely chopped frozen fries for that super popular, textured look. Grab your ingredients, and let’s get this assembly line ready!
- 1 cup all-purpose flour (for the main batter)
- 1/4 cup sugar (for the main batter), plus extra reserved for coating later
- 1 teaspoon baking powder
- 1/2 teaspoon salt
- 1/2 cup warm water – make sure it’s not too hot for the yeast!
- 1 large egg
- 1 teaspoon active dry yeast
- 1/2 cup all-purpose flour (this is for dusting the sticks first)
- 1 cup panko breadcrumbs OR 1 cup frozen french fries (which you’ll chop very finely for the potato crust version)
- 6 mozzarella sticks (or a mix of hot dogs and mozzarella sticks)
- Plenty of vegetable oil, for deep frying, like canola or peanut oil
- Ketchup, mustard, and mayonnaise—the perfect trinity for serving!
Step-by-Step Preparation for the korean corn dog
Alright, friend, this is where we turn ingredients into magic! Think of this like setting up an assembly line—you want everything ready to go before the oil even starts heating up. Speed and sequence matter a lot when you’re working with yeast batter and hot oil. I based these steps on how I make a quick pepper steak stir-fry—prep first, cook fast!
Getting the batter right means the difference between a soggy coating and that beautiful, crunchy shell we’re aiming for on our korean corn dog. Pay close attention to the resting time; that’s where the lift comes from!
Mixing and Resting the korean corn dog Batter
First things first, we wake up that yeast! In a small bowl, dissolve your yeast in the warm water and just let it sit for five minutes until it looks foamy on top. Once foamy, go ahead and whisk it into your dry ingredients—the flour, sugar, baking powder, and salt—along with the egg until everything is smooth. Now, cover that bowl tightly and find the warmest spot in your kitchen for it to rest for about an hour. We need that korean corn dog batter to double in size!
Assembling and Coating Your korean corn dog
While the batter proofs, get your station ready. Dust those mozzarella sticks (or your half-and-half combos) with that extra half-cup of flour first; this helps the wet batter stick! Next, spread the panko or your finely chopped frozen fries on a wide plate. This coating method for the potato crust—sometimes called the Gamja hotdog recipe—is what gives you that awesome texture. Dip the floured stick deep into the risen batter until it’s completely covered, let the excess drip off for just a second, and then roll it firmly in your crunchy coating.
Mastering the Deep Fry for a Crispy fried snack
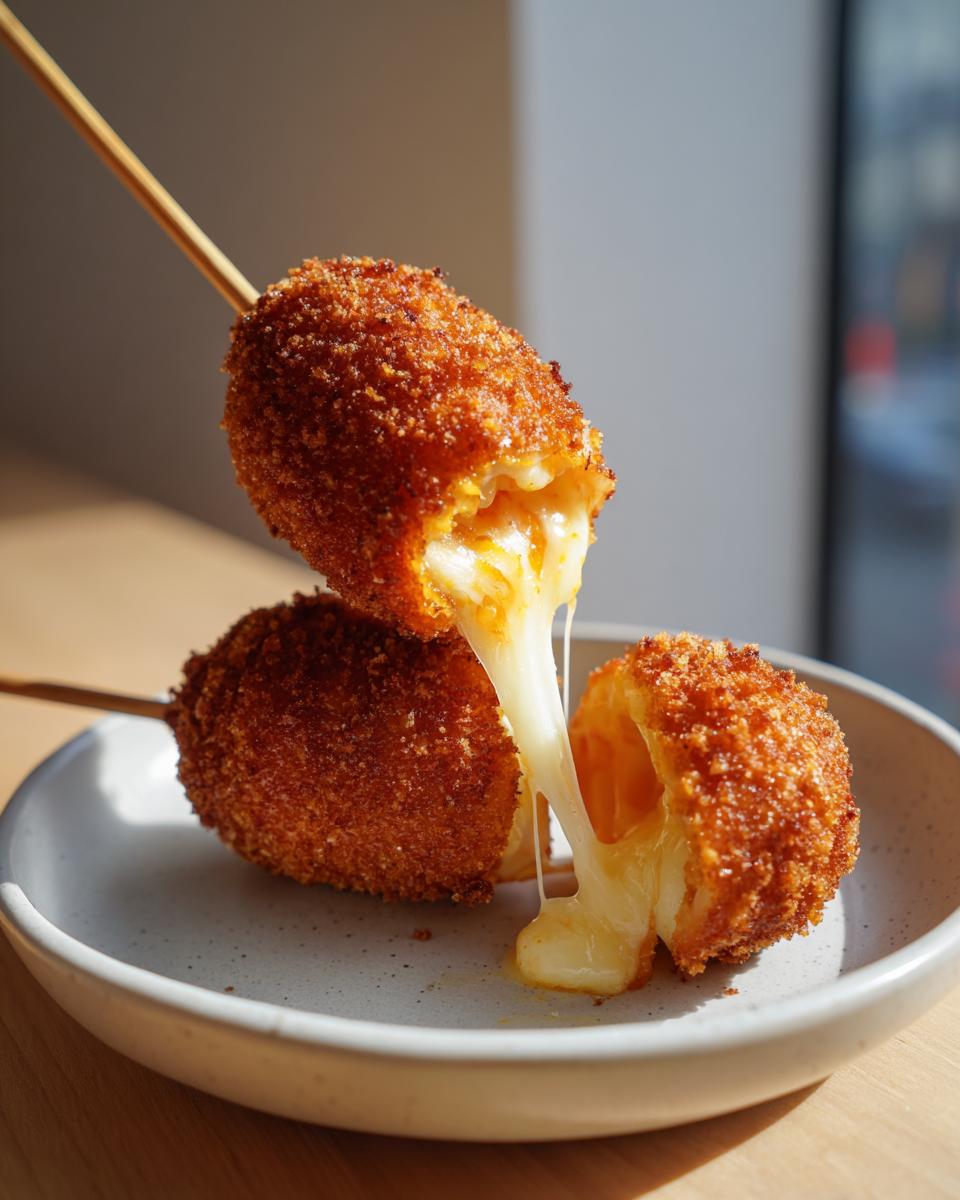
Heat management is where most people feel nervous when making deep-fried treats like this, but I promise you, it’s not scary if you listen to your oil! The success of getting that perfectly golden, crunchy shell on your snack hinges entirely on temperature. We are aiming for a solid 350°F (175°C). If you don’t have a thermometer, you’re guessing, and we don’t guess here at Cut Cook Taste!
I always use a heavy-bottomed pot—dutch ovens are my go-to—because they hold heat so much better. This process is vital for learning how to deep fry snacks successfully. Pour in about two inches of neutral oil, like canola or vegetable oil. Stick that thermometer right in there, and once you hit that target 350°F mark, you can carefully start frying in batches. Don’t ever crowd the pot; that just drops the temperature instantly, leading to greasy wrappers instead of crisp ones.
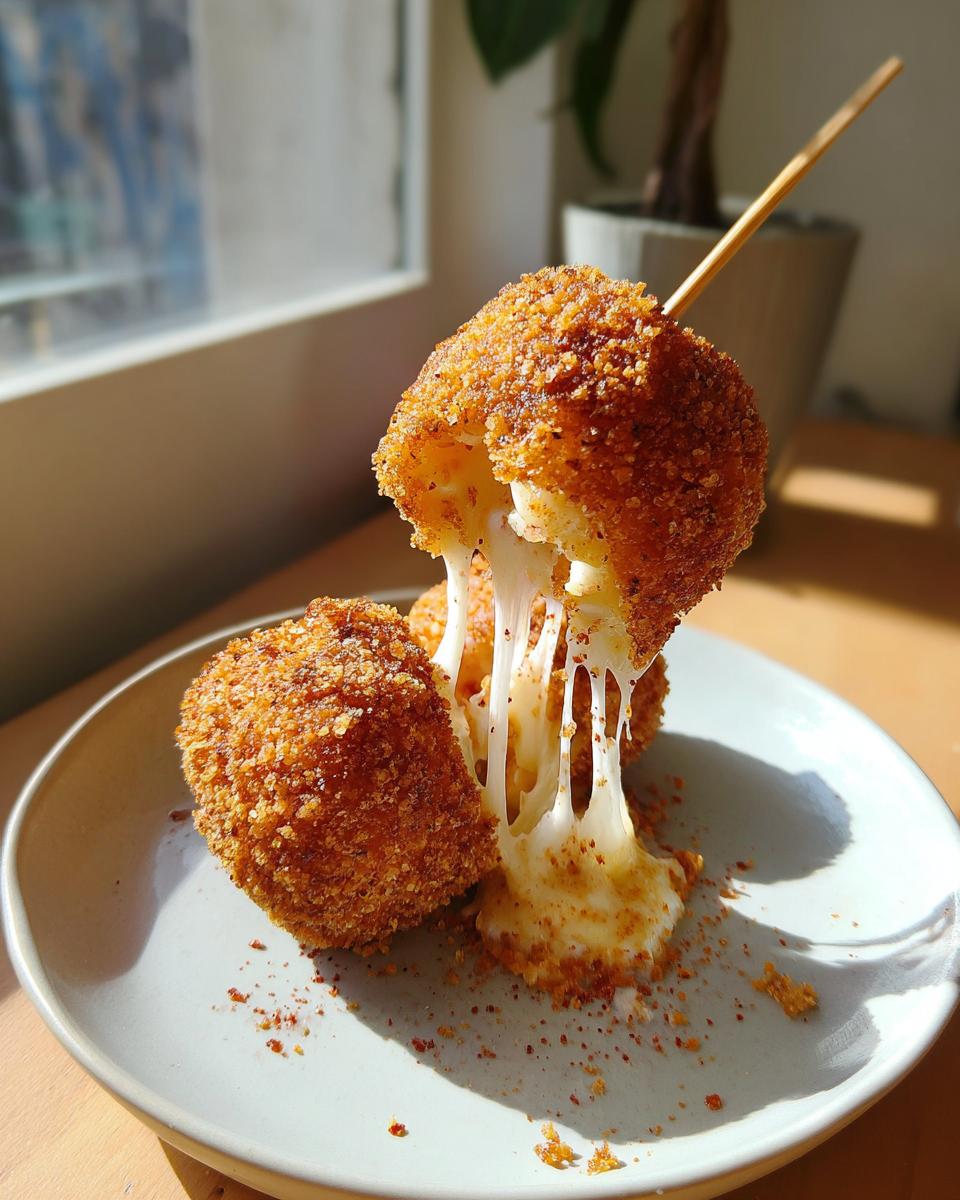
Only slip one or two corn dogs in at a time. Fry them for about 3 to 4 minutes, turning them gently with tongs, until they look beautifully bronzed and that coating is super firm. Once they are done, pull them out immediately and set them on a wire rack—never paper towels, as the steam gets trapped and softens the crust! For more tips on getting that perfect crisp texture without soaking up too much oil, check out my guide on soft pretzel bites.
Finishing Touches: Sweet and Savory Toppings for Your korean corn dog
Okay, we’ve done the hard work: the mix, the coat, and the perfect fry! But hold on, don’t let them cool down just yet! The absolute signature move for any authentic korean corn dog is hitting them with sugar while they are still piping hot right out of that oil. Immediately roll each golden dog through a shallow plate of reserved granulated sugar. This gives you that addictive exterior that balances the entire flavor profile so beautifully. It’s the key to that sweet and savory fried food experience!
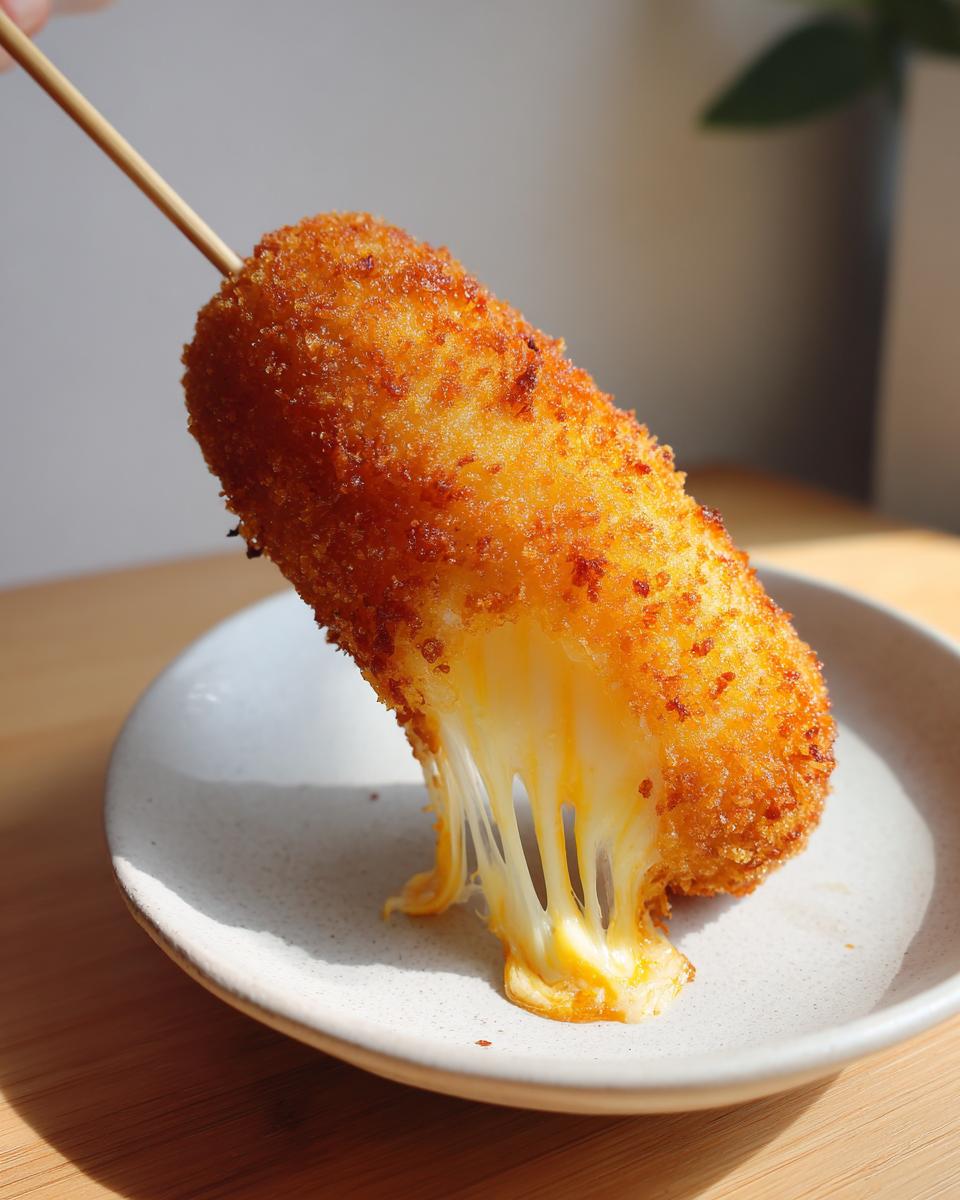
Once they are sugared, it’s time for the sauce drizzle. I stick to the classics here: a zigzag of ketchup, a squirt of sharp yellow mustard, and maybe a little mayonnaise drizzle on top if I’m feeling adventurous. You can find my favorite recipe for a tangy sauce if you like trying new things, like this maple mustard dressing, but for this snack, the basics are best. If you want to see how others top theirs, check out this great resource on other korean-style corn dogs!
Tips for Success Making the perfect korean corn dog
Honestly, nailing that golden-brown, crunchy exterior every single time takes just a little bit of insider knowledge. Since I’ve made about a hundred of these while perfecting this recipe, I wanted to share the critical checkpoints for your next korean corn dog batch. First, I’m going to repeat this until you believe me: make absolutely certain those mozzarella or half-and-half sticks are at room temperature. Cold fillings mean no cheese pull, period.
Second, focus on the heat! I had a few batches go greasy because I let the fryer cool down too much between dipping. Maintaining that sweet spot right around 350°F (175°C) during the entire frying process is non-negotiable for that light, crispy coating rather than a heavy, oil-soaked mess. Keep that oil thermometer handy! If you’ve got leftover batter, learn how to make my cranberry scones next week—they use yeast beautifully too!
Storage and Reheating Instructions for Leftover korean corn dog
Now, let’s be real, these amazing korean corn dog treats are best eaten fresh, right when they come out of the oil and get that glorious sugar dusting. But if you happen to have any leftovers (which is rare in my house!), you need the right plan to keep them from going limp.
Store them in a single layer inside an airtight container in the fridge. Whatever you do, please avoid the microwave! The microwave turns that perfect crust into sad, chewy rubber instantly. The only way to bring back that original crunch is in a 400°F oven or in your air fryer for about 6 to 8 minutes until they are hot all the way through and crispy again. It works wonders, just like reheating my cream cheese brownies!
Frequently Asked Questions About Making korean street food recipe
I know you might have a few lingering questions before you dive into making your first batch of these show-stopping korean corn dog treats. That’s totally normal when tackling new frying techniques! I’ve gathered the top things people ask me when they are trying to replicate this wonderful korean street food recipe at home.
Can I bake these instead of deep frying?
Oh, I wish I could tell you yes! Baking will cook the inside, but it will never give you that signature, shatteringly crisp coating, or that amazing color we expect from a true korean corn dog. It just turns into a dense, doughy stick. For the authentic experience, you really need the oil fryer element. If you’ve got a good air fryer, that’s your next best bet if deep frying really isn’t your jam, but oil frying truly yields the best results for this specific snack.
Is there a substitute for the yeast in the batter?
The yeast is what gives the inside its unique, slightly chewy, airy texture that makes it different from your standard American dog. If you absolutely can’t use yeast, you can substitute it with an extra teaspoon of baking powder, but you have to skip the lengthy resting time! You’d mix it all together and fry immediately. Just know the texture won’t be quite as light or authentic, but it will still be tasty. For more interesting twists on potato bases, you should really look into my potato cheese soup recipe!
What is the best type of oil to use for frying?
When you’re deep-frying something that needs to cook fast externally while heating the center, you need oil with a high smoke point. I always rely on peanut oil or vegetable/canola oil. They are neutral in flavor, which is important so it doesn’t compete with the sweet-savory coating. Keep it hot—that’s the real secret! You can find detailed thoughts on frying oil brands over at Honest Food Talks if you’re looking into different options.
Can I use rice flour instead of all-purpose flour in the batter?
Some authentic recipes do call for a blend of rice flour to increase the crisp factor! If you want to try boosting that crunch, substitute about 1/3 of the all-purpose flour in the main batter with sweet or glutinous rice flour. It makes the final crust even lighter! It’s a fantastic idea for experimenting with your next batch.
Estimated Nutritional Data for This Crispy Fried Snack
I have to give you the standard home cook disclaimer here: the numbers listed below are just great estimates that I pulled together based on the ingredients we used for 6 servings. Since we are deep-frying and you might use different brands of mozzarella or fry up a bigger batch, your final count will vary! But this gives you a good baseline for your weekend treat. For more side dish carb info, check out my creamy mashed sweet potatoes!
- Serving Size: 1 corn dog
- Calories: 450
- Fat: 28g
- Saturated Fat: 10g
- Carbohydrates: 38g
- Protein: 15g
- Sugar: 12g
Viral Crispy Korean Corn Dogs with Gooey Mozzarella Pull

Learn how to make the internet-famous Korean corn dog at home. This recipe delivers an ultra-crispy coating, often using potatoes or panko, and a satisfying, stretchy cheese pull from mozzarella sticks. Finish with classic sweet and savory street food toppings.
- Prep Time: 20 min
- Cook Time: 15 min
- Total Time: 1 hour 35 min
- Yield: 6 servings 1x
- Category: Snack
- Method: Deep Frying
- Cuisine: Korean
- Diet: Vegetarian
Ingredients
- 1 cup all-purpose flour
- 1/4 cup sugar, plus extra for coating
- 1 teaspoon baking powder
- 1/2 teaspoon salt
- 1/2 cup warm water
- 1 large egg
- 1 teaspoon active dry yeast
- 1/2 cup all-purpose flour (for dusting)
- 1 cup panko breadcrumbs OR 1 cup frozen french fries, finely chopped
- 6 mozzarella sticks (or half mozzarella sticks, half hot dogs)
- Vegetable oil, for deep frying
- Ketchup, mustard, and mayonnaise, for serving
Instructions
- Prepare the batter: In a medium bowl, whisk together the 1 cup flour, 1/4 cup sugar, baking powder, and salt.
- In a separate small bowl, dissolve the yeast in the warm water and let it sit for 5 minutes until foamy.
- Add the yeast mixture and the egg to the dry ingredients. Whisk until a thick, smooth batter forms. Cover the bowl and let the batter rest in a warm place for 45 to 60 minutes until it doubles in size.
- Prepare the coating station: Place the panko breadcrumbs or chopped frozen fries on a shallow plate. Lightly dust your mozzarella sticks (or hot dog/mozzarella combinations) with the extra 1/2 cup of flour.
- Skewer the cheese or meat: Insert a wooden skewer firmly into each mozzarella stick or hot dog.
- Dip and coat: Dip each skewered item completely into the risen batter, letting excess drip off. Immediately roll the battered item in the panko or chopped fries, pressing gently to adhere the coating evenly.
- Heat the oil: Pour vegetable oil into a deep, heavy-bottomed pot or Dutch oven to a depth of about 2 inches. Heat the oil to 350°F (175°C). Use a thermometer to monitor the temperature.
- Fry the corn dogs: Carefully lower 1 or 2 corn dogs into the hot oil, ensuring you do not overcrowd the pot. Fry for 3 to 4 minutes, turning occasionally, until the coating is deep golden brown and crispy.
- Drain: Remove the corn dogs with tongs and place them on a wire rack set over a baking sheet to drain excess oil.
- Apply toppings: While the corn dogs are still hot, immediately roll them in the reserved extra sugar for a sweet crust.
- Serve immediately with your choice of ketchup, mustard, or mayonnaise for a sweet and savory fried food experience.
Notes
- For the best cheese pull, ensure your mozzarella sticks are at room temperature before coating and frying.
- If you use the potato crust method (Gamja hotdog), use small, frozen french fries and chop them finely before coating the battered dog.
- Maintain the oil temperature strictly between 345°F and 355°F. If the oil is too cool, the coating will be greasy; if too hot, the outside will burn before the inside heats up.
Nutrition
- Serving Size: 1 corn dog
- Calories: 450
- Sugar: 12
- Sodium: 550
- Fat: 28
- Saturated Fat: 10
- Unsaturated Fat: 18
- Trans Fat: 0
- Carbohydrates: 38
- Fiber: 2
- Protein: 15
- Cholesterol: 40