
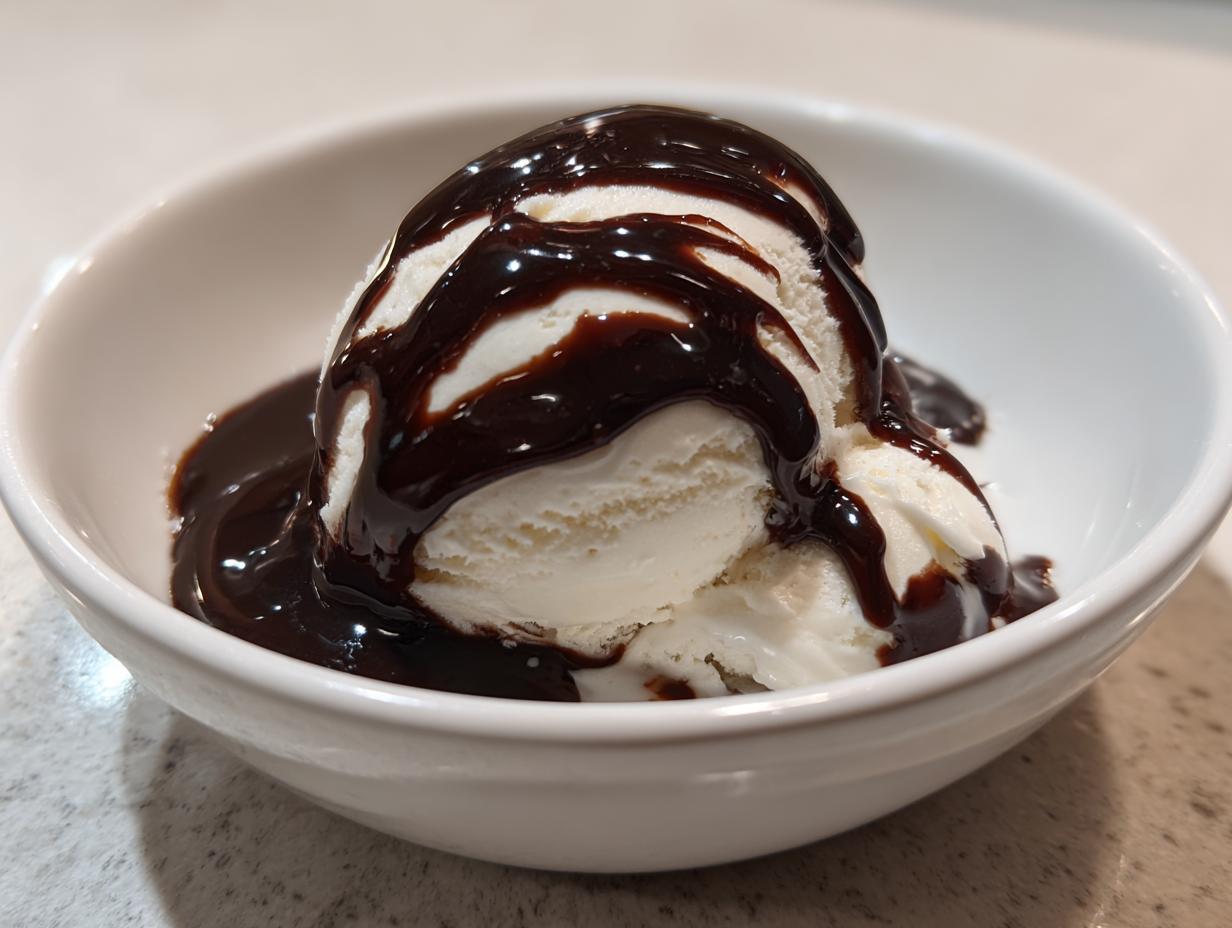

Okay, listen up, because I’m about to change your dessert game forever. Are you tired of shaking that dusty old bottle of store-bought stuff onto your vanilla ice cream? Me too! That syrup often tastes thin, artificial, and frankly, sad. I finally perfected what I call The Ultimate 5-Minute Homemade Chocolate Syrup, and trust me, it’s richer and smoother than anything you’ll find on a shelf. We’re talking gourmet flavor using just basic pantry staples in less time than it takes to find a clean spoon. This is my go-to chocolate syrup recipe, and it’s built on quality ingredients!
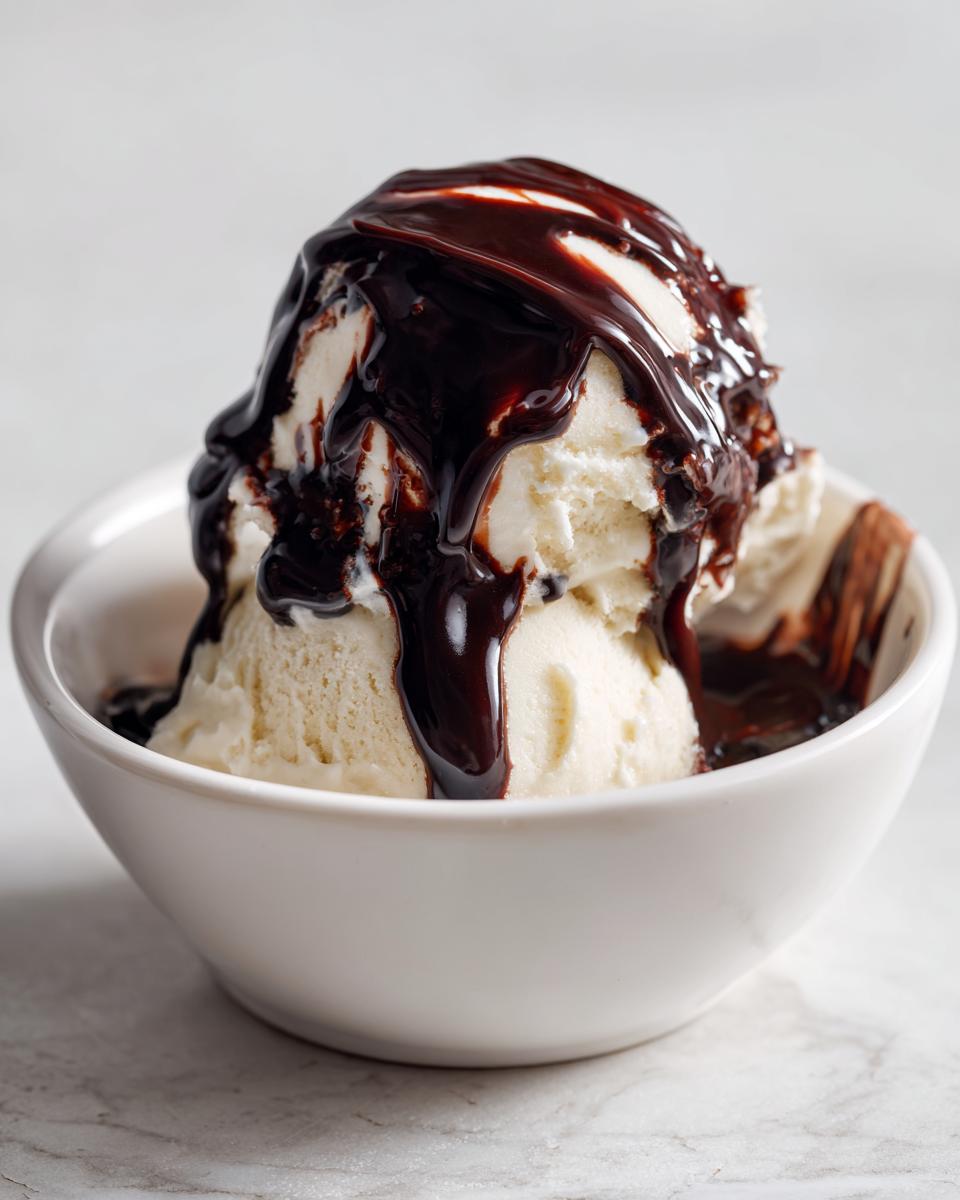
- Why This Homemade chocolate syrup Beats the Bottle
- Ingredients for the Ultimate 5-Minute chocolate syrup
- How to Prepare Your Rich chocolate topping in Minutes
- Tips for Success with Your pantry staple chocolate sauce
- Versatile Uses for This quick dessert syrup
- Storage and Reheating Instructions for homemade chocolate syrup recipe
- Variations: Making a vegan chocolate syrup or sugar free chocolate syrup recipe
- Frequently Asked Questions About Making chocolate syrup
- Share Your Decadent chocolate condiment Creations
Why This Homemade chocolate syrup Beats the Bottle
Honestly, once you make this, you’ll throw out whatever you bought last time. There is no comparison between this fresh batch and the bottled stuff. My favorite part is knowing exactly what goes into it—no weird gums or preservatives needed! You control everything, which makes it so much better. Seriously, once you try this chocolate syrup, you won’t look back.
- Taste Power: It has a deep, satisfying cocoa flavor that commercial sauces just can’t touch.
- Pantry Friendly: Everything you need is already in your kitchen! No emergency grocery runs required.
- Thickness Control: You decide if you want a pourable drizzle or a thick topping for your brownies.
- Budget Win: Making your own chocolate syrup saves money, especially if you have kids drowning everything in chocolate!
Achieving a Silky chocolate drizzle Texture
When people try making syrup at home, sometimes it comes out grainy or chalky, and that’s a huge letdown. That happens when you don’t cook it right! The difference here is that we’re dissolving that sugar completely over medium heat while stirring constantly. You *have* to keep it moving until it just starts to simmer. That constant attention when making the base guarantees a perfectly smooth, silky texture that flows beautifully off a spoon.
Ingredients for the Ultimate 5-Minute chocolate syrup
Gathering your supplies for this homemade chocolate syrup is nearly as fast as making it! The secret is using simple, high-quality components you probably already have. Forget fancy extracts; we are keeping this recipe straightforward so you can make it anytime a craving hits.
- 1 cup granulated sugar (No substitutions here, this helps with the texture!)
- 1/2 cup unsweetened cocoa powder (Use the good stuff you bake with.)
- 1/4 teaspoon salt (Don’t skip this—it balances the sweetness!)
- 1/2 cup water
- 1 teaspoon vanilla extract (Added at the very end, of course.)
See? It’s just five things! That’s why it’s such a perfect pantry staple chocolate syrup.
How to Prepare Your Rich chocolate topping in Minutes
This is where the magic happens, and wow, is it fast! You’ll have this amazing chocolate syrup ready before your ice cream even starts to melt. The key here is paying attention during those short cooking minutes. We aren’t looking for a rolling boil; just a gentle simmer is all we need to get that sugar perfectly incorporated and create the ultimate rich chocolate topping.
Step 1: Combining Dry Ingredients for the cocoa powder syrup
First off, grab a small saucepan—nothing fancy required! Before you even turn the heat on, dump in your sugar, cocoa powder, and salt. You absolutely must whisk these together like your life depends on it! If you add the liquid to unmixed cocoa clots, you risk getting those tiny, annoying dry pockets in your finished cocoa powder syrup. Get it smooth now!
Step 2: Cooking the chocolate syrup for ice cream Base
Now, pour in your half-cup of water and put that pan over medium heat. This is the crucial part for homemade chocolate syrup: you must stir constantly. Keep that spoon moving until the sugar is completely gone and you see it just barely start to bubble and simmer—that should take about two or three minutes tops. Pull it off the heat IMMEDIATELY when it starts to simmer! If you let it boil hard, you mess with the ratios and it won’t have that perfect consistency you want for your chocolate syrup over ice cream.
Once it’s off the burner, stir in that splash of vanilla. Then, pour your hot liquid into your storage jar. Don’t panic if it still looks a little thin; I promise you, as this chocolate syrup cools down on the counter, it tightens up beautifully into the most luxurious drizzle!
Tips for Success with Your pantry staple chocolate sauce
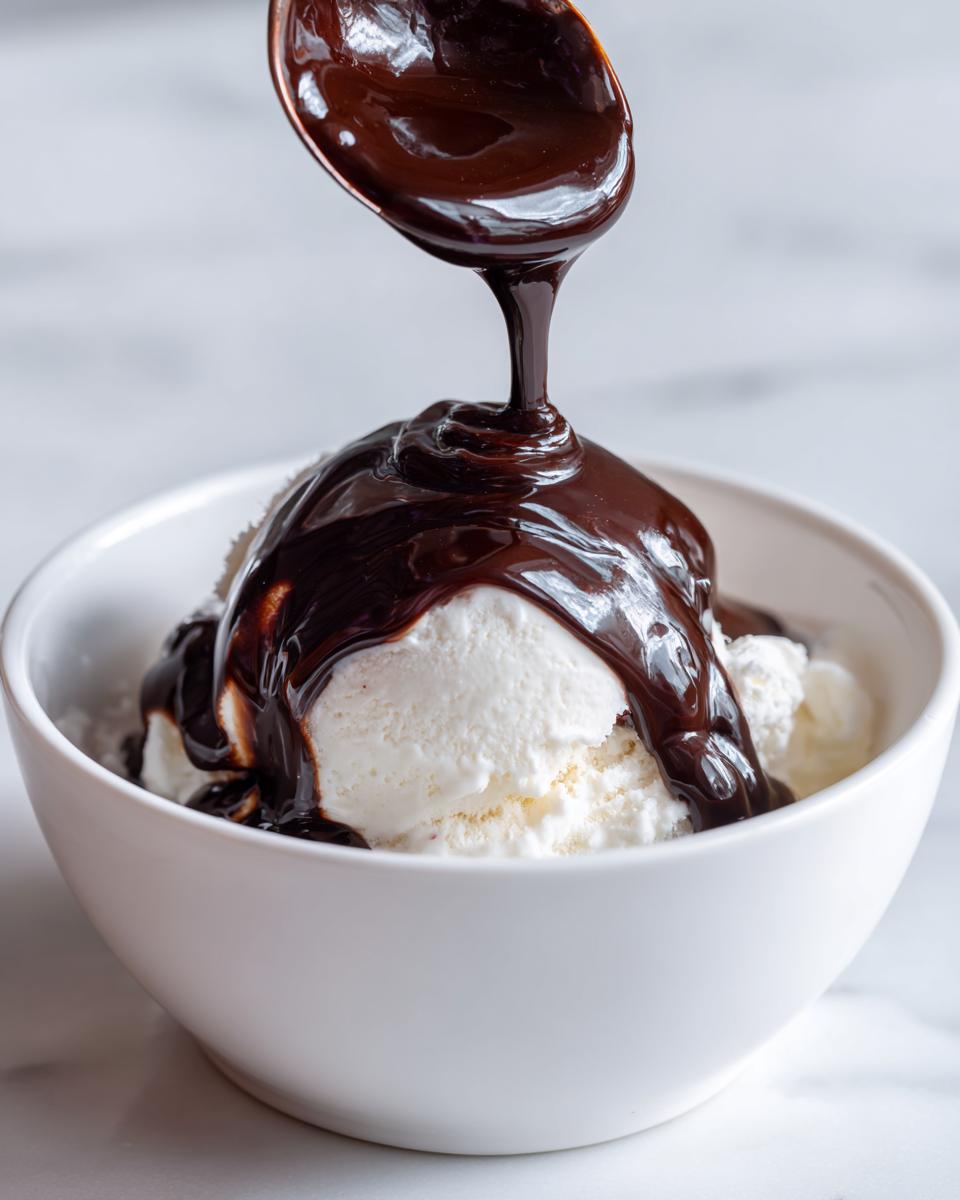
Honestly, the first time I made this from scratch, I couldn’t believe the difference. I remember thinking, ‘Why did I ever bother with the store-bought jar?’ It tasted so much brighter and cleaner! This chocolate syrup is mostly hands-off once it hits the heat, but these little tips ensure you nail that perfect texture every single time. Don’t forget to pour it into a nice, clean jar right away—that helps it cool evenly.
The most important thing here is storage. Since we aren’t loading this amazing chocolate syrup up with preservatives, it needs a little refrigerated love. Keep it airtight, and it stays fantastic for about two weeks. If you pull it out and it’s gotten stiff—which happens because of all that real sugar—don’t fret! Just pop your jar into the microwave for 10 or 15 seconds. It liquefies right back into your perfect chocolate topping.
Adjusting Consistency for Different Uses
If you’re using this for a hot chocolate where you want it to blend seamlessly, you might want it a bit runnier. Before you take it off the heat, just stir in an extra tablespoon or two of water. That will keep it nice and fluid. If you accidentally added too much water, or if you want it super thick—like fudge sauce for dipping—just let it simmer an extra minute. But be careful! If you sit down to answer an email, you risk scorching the bottom, and nobody wants burnt-tasting chocolate sauce.
Versatile Uses for This quick dessert syrup
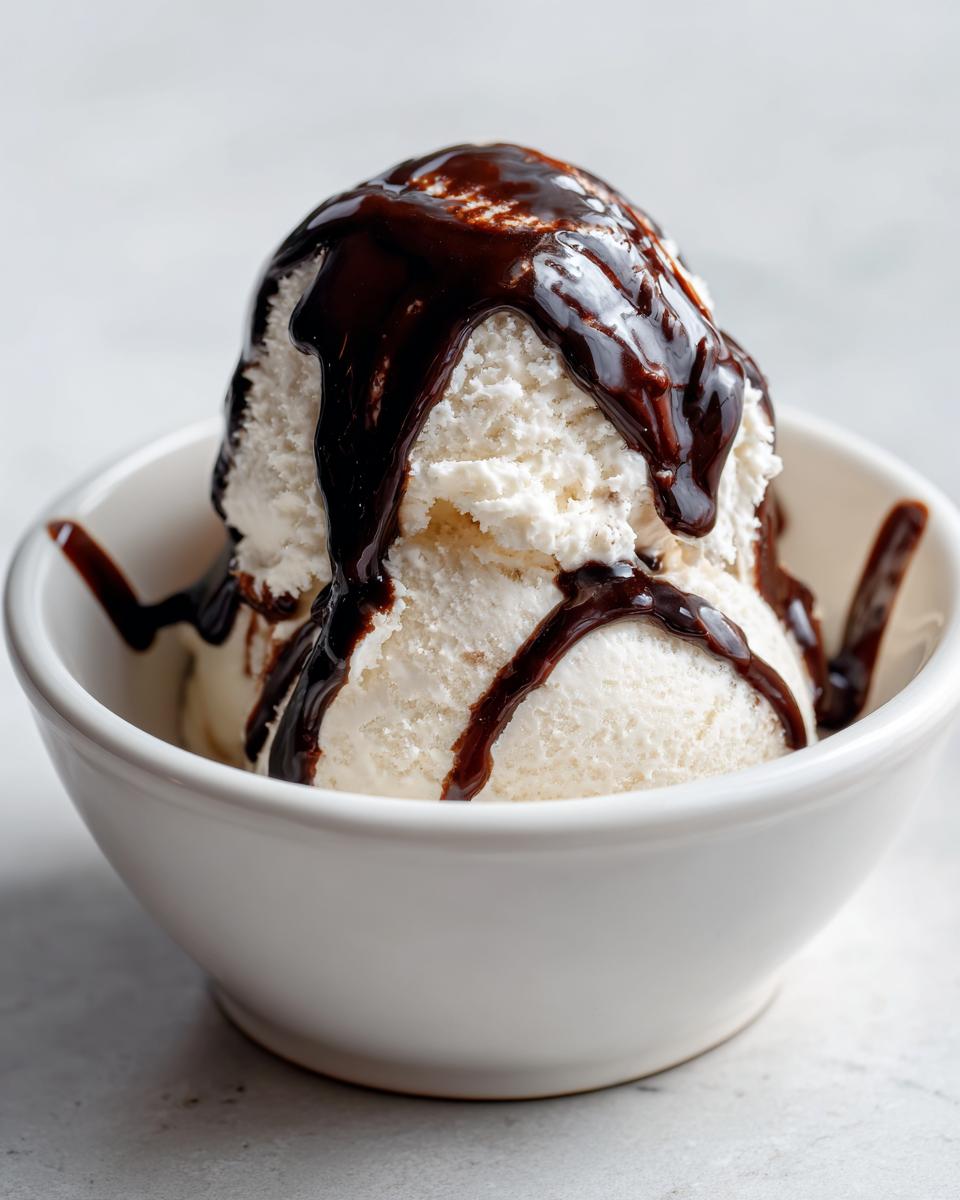
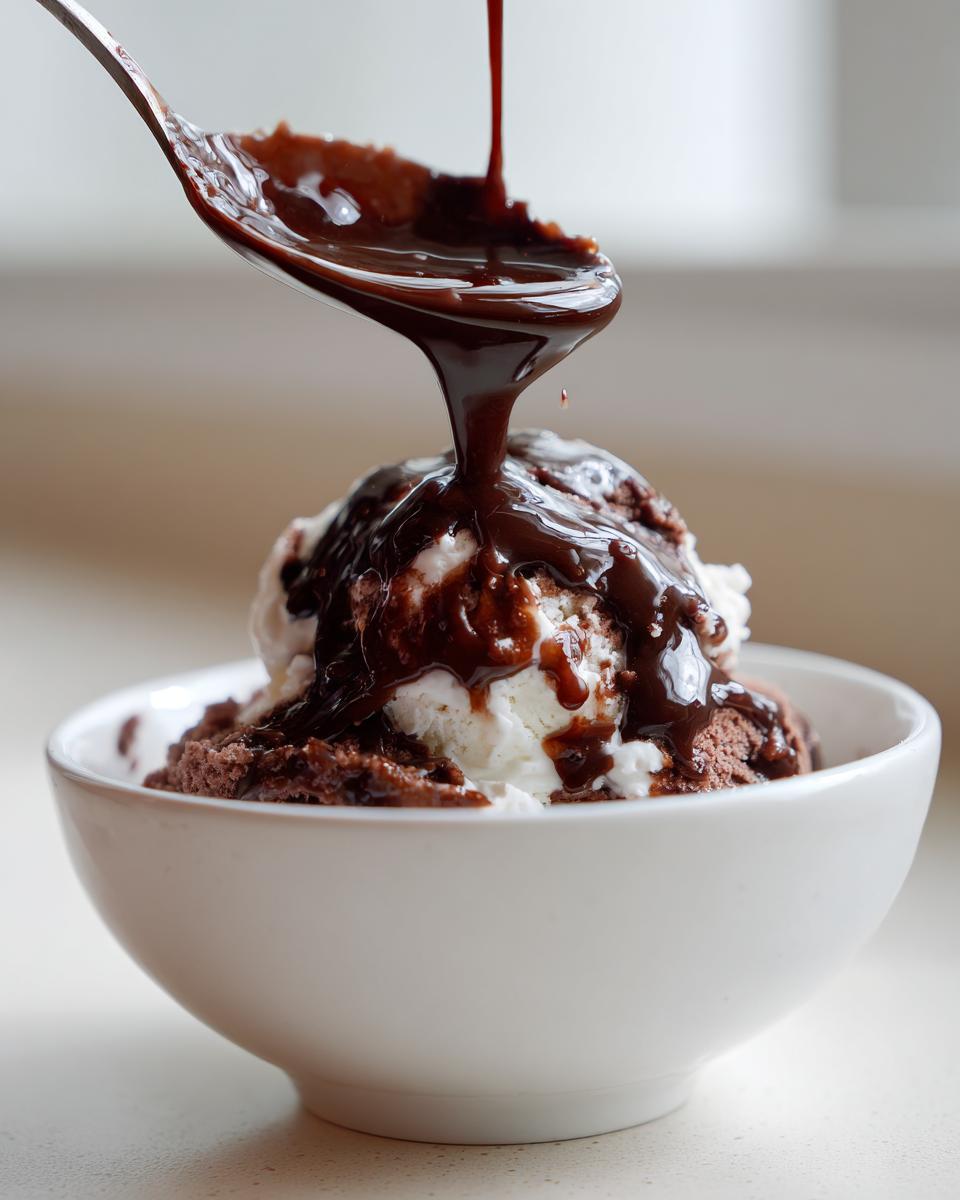
This homemade chocolate syrup recipe is honestly a total workhorse in my kitchen. Once you have this jar, you realize you don’t need five different bottles cluttering up your fridge door! My kids use it as the ultimate chocolate syrup for ice cream—just a thick, rich layer right on top. It makes everything better, instantly.
But the best use, in my opinion, is for drinks. If you want to make amazing chocolate milk, it’s so simple: just stir two hefty tablespoons of this syrup into one cup of cold milk. Mix it really well! The flavor is incomparable. It also makes my morning mocha taste like I bought it from a fancy coffee shop. You can see where I get inspiration for other warm drinks here: a fun way to use chocolate!
You can use this quick dessert syrup on pancakes, waffles, or even drizzled over sliced bananas. It’s truly the only chocolate syrup condiment you’ll ever need to keep stocked!
Storage and Reheating Instructions for homemade chocolate syrup recipe
You’re going to want to make a double batch, trust me! This recipe yields about a cup and a quarter, which disappears fast when you’re making chocolate milk daily. The great thing about this homemade sauce is its longevity, provided you treat it right. You must store your finished syrup in a clean, airtight jar—I prefer glass jars because they don’t hold onto odors.
Keep that jar tucked away in the refrigerator, and it will stay fresh and delicious for up to two weeks. Since we skipped all those artificial stabilizers, it won’t last as long as the stuff from the store, but honestly, it never lasts that long in my house anyway!
Now, here’s the crucial part about refrigeration: the cold temperature makes sugar solidify a bit, so your sauce will definitely get thicker as it chills. It might go from a perfect easy chocolate sauce to something almost spoonable. If that happens, don’t worry and don’t add more water! Just scoop out what you need and microwave it gently. A quick 10-to-15-second zap in the microwave is usually enough to loosen it right back up into a beautiful, pourable consistency.
If you haven’t made chocolate milk yet, try it! It’s so much better than mixing in powder. Just remember to stir those two tablespoons into your cold milk well, or it might try to settle at the bottom of the glass.
Variations: Making a vegan chocolate syrup or sugar free chocolate syrup recipe
One of the best things about this recipe being so simple is how easy it is to tweak it for different dietary needs! I get asked all the time how to make a vegan chocolate syrup, and it’s a snap. If you need it completely dairy-free, just swap out the water for your favorite non-dairy milk, like almond or oat milk. That will give your chocolate syrup a slightly richer mouthfeel, too. Just be aware that using milk instead of water might slightly affect the storage time, so keep an eye on it!
Now, if you’re trying to skip the refined sugar, you can definitely make a sugar free chocolate syrup recipe, but you have to be a bit more cautious. Granulated sugar serves a structural purpose here, so when swapping to a sugar substitute like monk fruit or erythritol, you might find the cooking ratio needs slight adjustment. You might need to cook it a tiny bit longer to get that same satisfying thickness we talked about. Try making a small batch test run first, especially if you want that perfect pourable chocolate syrup!
Frequently Asked Questions About Making chocolate syrup
I know when I first started tinkering with this recipe, I had a million questions buzzing around my head. It’s always better to ask than to end up with a burnt mess! Here are a few things I hear often about making the best chocolate syrup from scratch.
Can I use milk instead of water in this easy chocolate sauce?
Oh yes, you absolutely can! If you use milk instead of water, you get a much creamier, richer sauce immediately. It’s fantastic! Just remember, since you are introducing dairy, you should probably plan to use that batch of easy chocolate sauce up a bit sooner than the two-week mark.
How do I make this a gourmet chocolate syrup at home without corn syrup?
That’s the beauty of this recipe—it’s already totally free of corn syrup! We rely solely on simple granulated sugar. That means you’re already achieving a way more flavorful and gourmet chocolate syrup at home than those bottled versions loaded with stabilizers. Just cook it as directed, and you are set!
My syrup is too thin after cooling; what went wrong?
Don’t let that stress you out! Usually, this just means it needed another minute on the heat to fully dissolve all the sugar structure. If it’s too thin for a drizzle, just save it in the fridge and try reheating a small amount next time, adding just a tiny pinch of extra cocoa powder and stirring it in really well while it’s warm. That extra cocoa acts like a little thickener!
What if I want a darker, deeper chocolate flavor?
If you are dreaming of that deep, dark, almost black-looking sauce, you need to swap out some of your standard cocoa powder for Dutch-processed cocoa. It’s less acidic and gives a richer color and a smoother overall chocolate taste to your final chocolate syrup. It works beautifully with the rest of these simple ingredients!
Share Your Decadent chocolate condiment Creations
Okay, now that you’ve whipped up a batch of the best chocolate syrup known to humankind, I really, really want to know how you used it! Don’t keep that deliciousness a secret!
Please, after you taste that first spoonful—maybe straight off the spoon, I won’t judge—come back here and drop a star rating. Five stars if you think it’s just as good as Grandma’s famous recipe (even though Grandma didn’t make chocolate syrup, you get my drift!). I live for comments, so tell me: did you pour it over waffles? Did you mix it into your afternoon coffee? Were you feeling daring and tried to dip a pretzel rod in it?
Snap a picture if you can and tag me on social media! Seeing your creations really does make my day, and it shows everyone else how simple and fantastic this homemade chocolate condiment really is. Happy drizzling!
PrintThe Ultimate 5-Minute Homemade Chocolate Syrup

Make rich, smooth chocolate syrup in five minutes using basic pantry ingredients. This recipe tastes better than store-bought versions and works well on ice cream, in milk, or coffee.
- Prep Time: 2 min
- Cook Time: 3 min
- Total Time: 5 min
- Yield: About 1 1/4 cups 1x
- Category: Dessert Topping
- Method: Stovetop Cooking
- Cuisine: American
- Diet: Vegetarian
Ingredients
- 1 cup granulated sugar
- 1/2 cup unsweetened cocoa powder
- 1/4 teaspoon salt
- 1/2 cup water
- 1 teaspoon vanilla extract
Instructions
- Combine the sugar, cocoa powder, and salt in a small saucepan. Whisk these dry ingredients together.
- Add the water to the saucepan. Place the pan over medium heat.
- Stir the mixture constantly until the sugar dissolves and the mixture begins to simmer. This should take about 2 to 3 minutes.
- Remove the saucepan from the heat immediately after it simmers.
- Stir in the vanilla extract.
- Pour the syrup into a clean jar or container. Allow it to cool completely before using. The syrup will thicken as it cools.
Notes
- For chocolate milk, mix 2 tablespoons of syrup with 1 cup of cold milk.
- Store the finished chocolate syrup in an airtight container in the refrigerator for up to two weeks.
- If you prefer a thinner syrup for drizzling, add 1 to 2 extra tablespoons of water while cooking.
Nutrition
- Serving Size: 2 tablespoons
- Calories: 85
- Sugar: 18g
- Sodium: 15mg
- Fat: 0.5g
- Saturated Fat: 0.3g
- Unsaturated Fat: 0.2g
- Trans Fat: 0g
- Carbohydrates: 21g
- Fiber: 1g
- Protein: 0.5g
- Cholesterol: 0mg