


Oh my gosh, when the first stalks of rhubarb show up at the market, you just know spring has finally arrived! There is no better way to celebrate the season than with a big, bubbly dish of rhubarb crisp. Forget fiddly pie crusts; this is the ultimate easy baked dessert for any skill level. I spent years chasing the perfect balance—that filling has to be perfectly tart, but the topping? That’s where the magic is. Trust me when I say this recipe delivers the single best rhubarb crisp because I finally mastered that unbelievably crunchy oat topping.
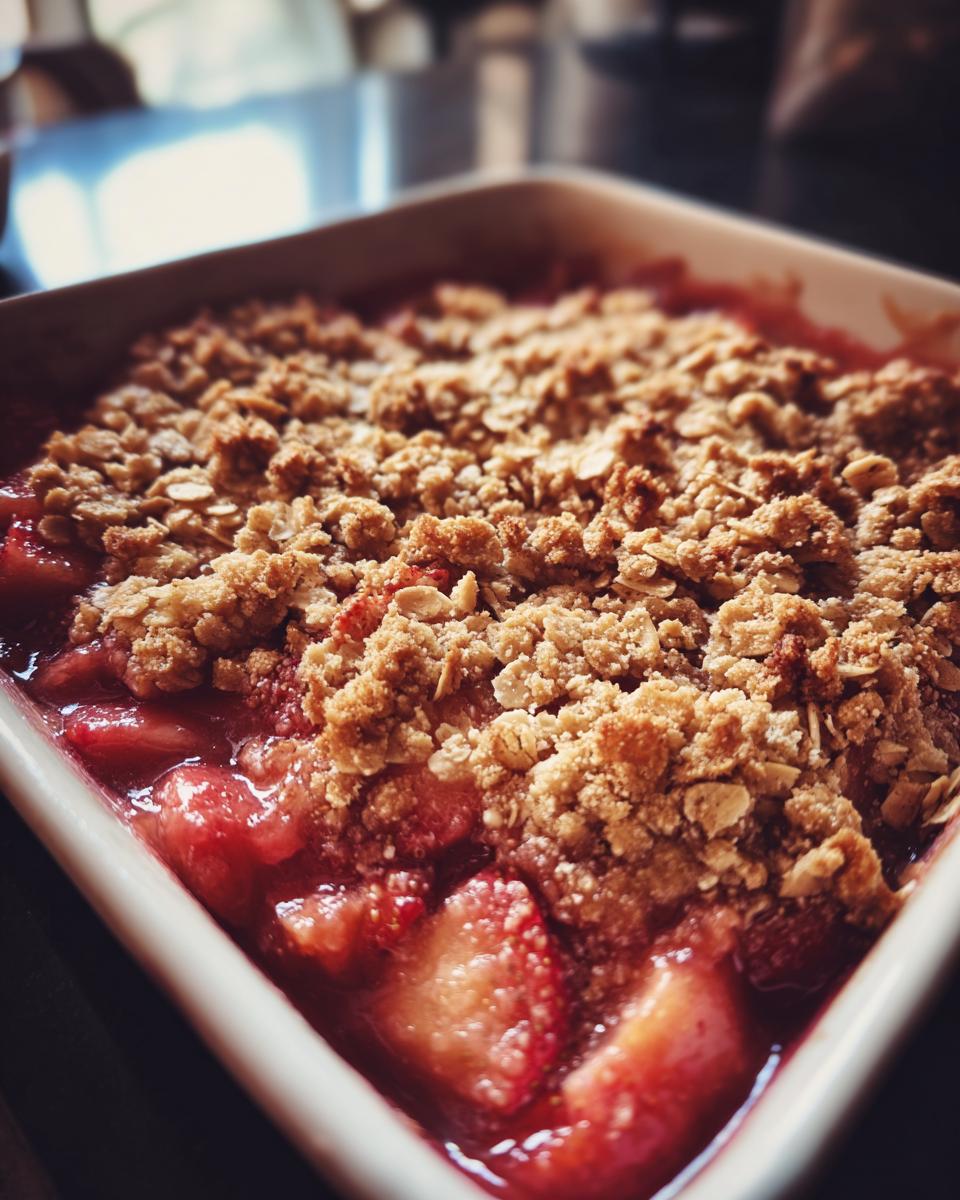
I perfected this version after way too many soggy disappointments. I wanted something reliable, something I could whip up last minute that tasted like pure comfort. If you want a truly memorable spring dessert recipe that sings with that beautiful tart flavor, you absolutely must try this one. You can see more of my favorite sweet spring treats over here: spring desserts!
- Why This Strawberry Rhubarb Crisp Recipe Works So Well
- Ingredients for the Ultimate Strawberry Rhubarb Crisp
- Step-by-Step Instructions for Your Easy Rhubarb Crisp
- Baking Tips for a Golden Brown Crisp
- Serving Suggestions for Your Rhubarb Crisp
- Storage and Reheating Instructions for Leftover Rhubarb Crisp
- Frequently Asked Questions About Making Rhubarb Crisp
- Estimated Nutritional Data for this Rhubarb Crisp Recipe
- Share Your Perfect Rhubarb Crisp Experience
Why This Strawberry Rhubarb Crisp Recipe Works So Well
Honestly, this recipe is the definition of foolproof. If you’ve been scared off by baking before, this is your gateway! It’s an incredibly easy rhubarb crisp that consistently knocks it out of the park. We balance the intense zing of the rhubarb with the natural sweetness of fresh strawberries, creating the perfect tart and sweet dessert in every bite.
This combination is essential for me. Pure rhubarb can sometimes be overwhelmingly sharp, but the strawberries mellow it out just enough while keeping that wonderful spring flavor front and center. If you’ve ever made my strawberry bread, you know how much I love that combo—check it out sometime: strawberry bread!
Achieving the Perfect Crunchy Topping Dessert Texture
The topping is my favorite part, and it’s what separates a decent crisp from a legendary one. The key to a truly crunchy topping dessert is using butter straight from the fridge—it must be ice cold! When you cut that cold butter into the flour and oats mixture, those little fat pockets steam up in the oven and create that wonderful, crumbly texture we all crave.
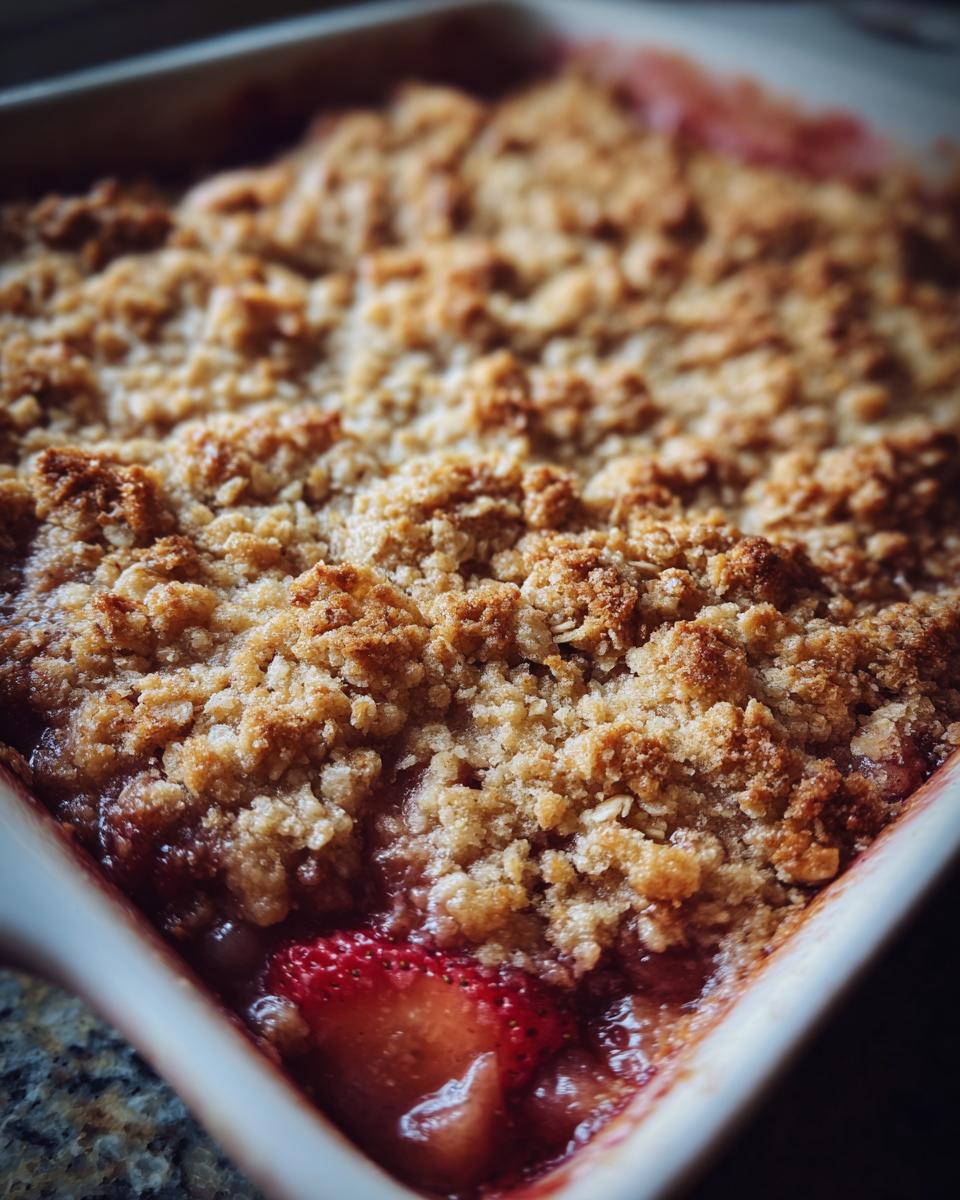
We use a mix of oats and just the right amount of brown sugar to help everything bubble up and turn perfectly golden brown without burning. No soggy toppings here, I promise!
Ingredients for the Ultimate Strawberry Rhubarb Crisp
Okay, let’s talk about what you need for this incredible fruit crisp. Since this is a classic rhubarb crisp variation combining perfectly with strawberries, you need to measure things out carefully. For the fruit filling, you’ll grab four cups of chopped rhubarb, making sure those pieces are about 1 inch long, and four cups of fresh strawberries that you’ve sliced up. We sweeten that up with 3/4 cup of granulated sugar and bind it with two tablespoons of flour, plus a teaspoon of vanilla extract for warmth.
Now for the crunchy topping mixture. You’ll combine a half cup of flour, one full cup of rolled oats, 3/4 cup of packed light brown sugar, a half teaspoon of cinnamon, and just a quarter teaspoon of salt. The most crucial part here is the fat: you need half a cup—that’s one full stick—of cold unsalted butter, cut into small cubes. When you see delicious pairings, you can check out my pear butter recipe for another pairing idea.
Ingredient Notes and Substitutions for Rhubarb Crisp
If you happen to be making this when strawberries aren’t around, don’t panic! You can absolutely make this a pure rhubarb crisp recipe by using a full eight cups of rhubarb—just remember to bump that granulated sugar up to a full cup for the filling so it isn’t too tart. For the topping, if you want to go totally gourmet, try using brown butter! Just melt that cold butter first until it smells nutty and foamy, let it cool slightly, then proceed with cutting it into the dry ingredients. That little step adds such a deep, caramel note!
Step-by-Step Instructions for Your Easy Rhubarb Crisp
Following these steps will guarantee you get the best results, especially if you’re just starting out with baking. This recipe is definitely up there in my collection of beginner baking recipes because it’s so forgiving! First things first: get your oven warmed up to 375 degrees Fahrenheit and make sure you’ve rubbed a little bit of butter or oil inside that 8×8 baking dish so nothing sticks later.
We spread the work out between two bowls: one for the luscious fruit and one for that crunchy topping. Remember that we bake this thing until it’s bubbling hot, so we don’t want to rush the assembly process!
Preparing the Fruit Filling for this Classic Rhubarb Crisp
Grab your biggest bowl for the fruit! Gently toss the chopped rhubarb, the sliced strawberries, the granulated sugar, the two tablespoons of flour, and that vanilla extract all together. You really need to be gentle here; we don’t want to mash the strawberries into mush before they even hit the oven. Once everything looks evenly coated—those vibrant colors mixing—pour the entire gooey fruit mixture right into your prepared baking dish.
Making the Perfect Oat Topping Crisp Mixture
Now we move to the star of the show, the topping! In a separate bowl, whisk together the topping flour, the rolled oats, the brown sugar, the cinnamon, and salt. This dry mix gets the cold butter cubes added next. You must use your fingers for this part, or maybe a pastry blender if you have one. Work quickly to rub that cold butter into the dry stuff until you have a coarse meal with some visible, pea-sized chunks of fat remaining. Stop mixing when it looks like that! Overmixing is the enemy of a good oat topping crisp.
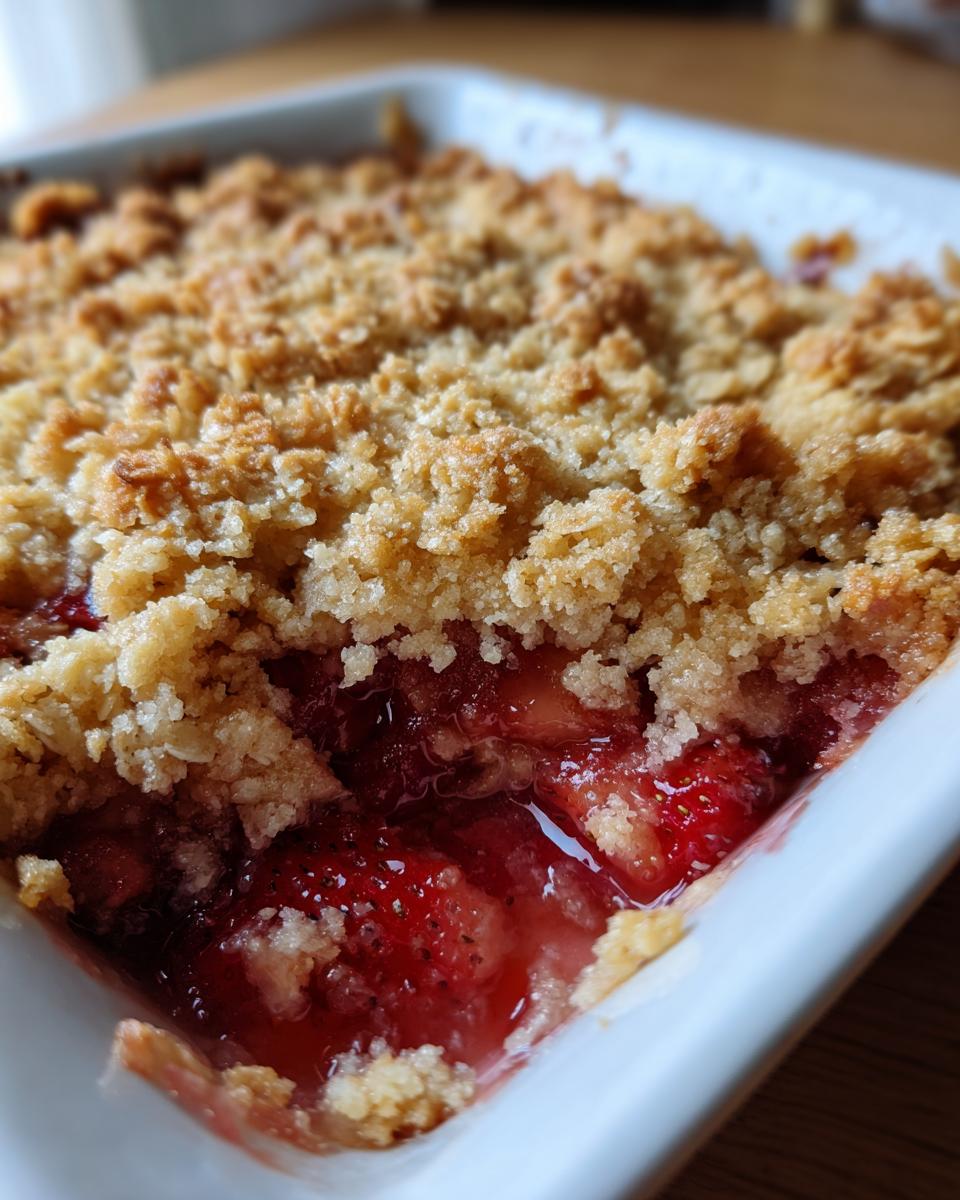
Top that fruit evenly with the crumb mixture, pop it in the oven, and bake it for 40 to 50 minutes. Don’t forget to let it sit for 15 minutes after it comes out; that resting time lets the juices thicken up properly!
Baking Tips for a Golden Brown Crisp
Getting that perfect bake on your rhubarb crisp is all about watching the signs. Since every oven is a little different—mine runs hot on the left side, anyway—there are a few visual cues I rely on more than the timer. You want to check it around the 40-minute mark. Look for the fruit filling underneath that topping to be thick and actively bubbling around the edges. That tells you the fruit is jammy and cooked through.
The topping itself should hit that dreamy, golden brown crisp color you see in magazines. If the edges start looking dark before the middle is bubbly, no worries! Just grab a sheet of aluminum foil—you can find my quick guide to easy baked desserts that mentions this foil trick—and tent it over the top for the last 10 minutes. This protects the oats while the center finishes cooking.
Serving Suggestions for Your Rhubarb Crisp
Honestly, this rhubarb crisp is designed to be decadent, so please don’t serve it plain! It’s the perfect comforting spring dessert recipe, but it shines brightest in the summer too. My favorite way—the ONLY way, really—is warm, straight from the oven (after that crucial 15-minute rest!), piled high with amazing vanilla bean ice cream. I remember eating this on my porch one summer evening, the ice cream melting into the warm, tart fruit—total bliss.
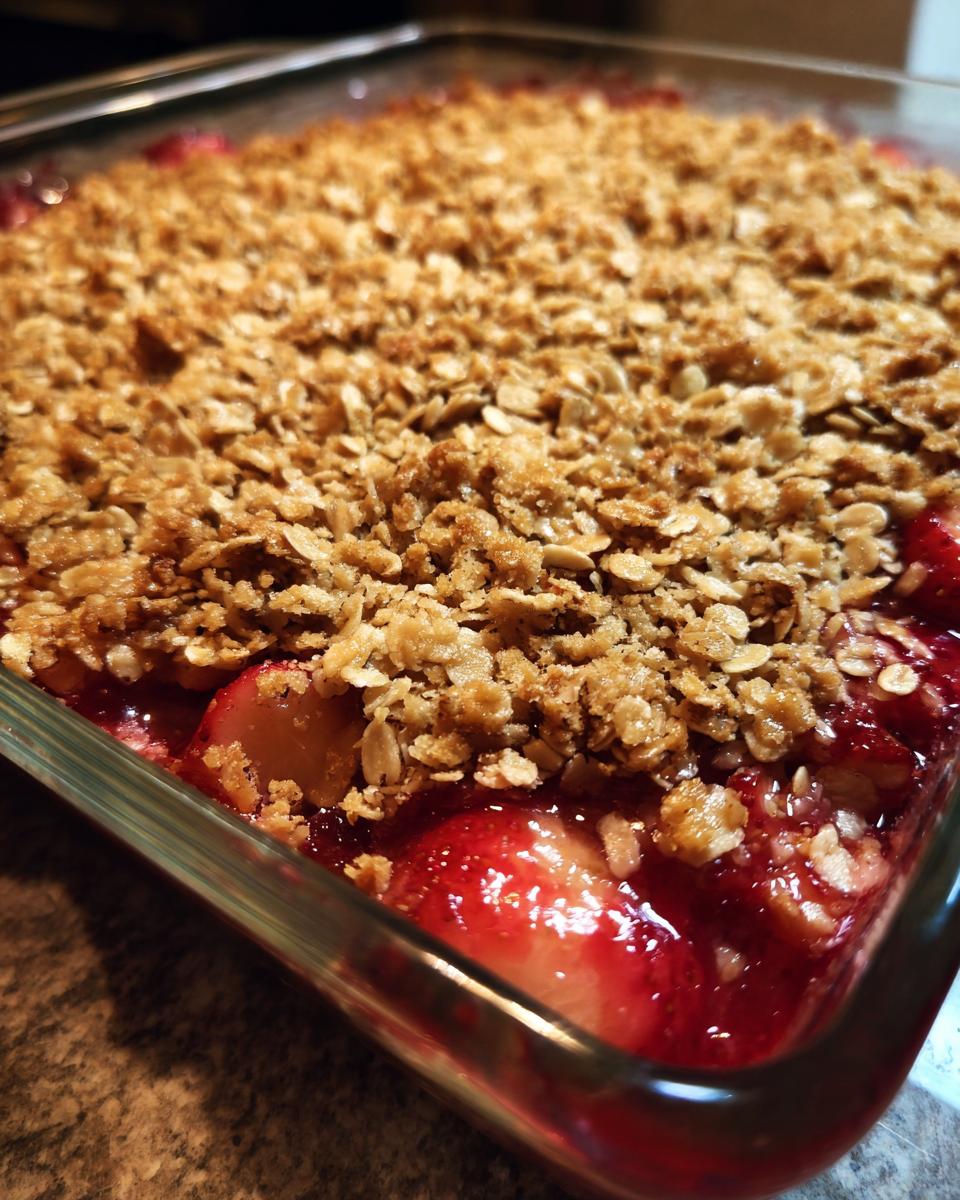
If you’re feeling fancy, you can check out how I make a quick crisp with ice cream pairing guide, but really, vanilla is all you need!
Adding a Caramel Drizzle Crisp Finish
If you want to take this incredible tart and sweet dessert over the top, a drizzle of caramel sauce is just the ticket. The deep, sugary notes of the caramel complement the tartness of the rhubarb beautifully. It takes two seconds to warm up some store-bought caramel, and it makes everyone think you worked twice as hard!
Storage and Reheating Instructions for Leftover Rhubarb Crisp
Don’t worry if you actually have leftovers—though I doubt it! This crispy treat is great the next day, too. Store it covered and leave it on the counter at room temperature for about a day. If you have more than that, pop it in the fridge for up to four days. It’s a wonderful comfort dessert recipe to pull out later!
To get that satisfying crunch back, I always skip the microwave unless I’m starving. Reheat individual servings covered with foil in a 350-degree oven for about 10 minutes until warm. That usually freshens up the topping perfectly!
Frequently Asked Questions About Making Rhubarb Crisp
Can I make this recipe without strawberries for a pure rhubarb crisp?
Yes, absolutely! That’s one of the great things about this recipe; it’s super adaptable for pure rhubarb crisp fans. If you skip the strawberries, just use 8 full cups of chopped rhubarb in the filling. Because rhubarb is naturally sharper, I recommend increasing that granulated sugar just a bit to a full cup to keep that perfect tart and sweet dessert balance we talked about.
What makes this a beginner baking recipe?
It’s definitely one of my go-to beginner baking recipes because there are no precision skills required, unlike making a traditional pie. You don’t need to roll out dough or worry about lattice work. It’s truly just assembling ingredients in two bowls. You toss the fruit, you mix the topping, and then you bake. That’s it! It’s the easiest way to get a beautiful, impressive-looking homemade fruit crisp on the table.
How do I prevent the topping from getting soggy on my homemade fruit crisp?
Soggy topping is the worst, isn’t it? The main culprit is usually warm butter or overly wet fruit. Make sure your fruit filling isn’t drowning! Since the rhubarb releases a lot of liquid, draining off any excess juice *before* you sprinkle the topping on helps a ton. Secondly, remember my big tip for the oat topping crisp: the butter must be ice cold when you cut it in. Those cold fat pockets are what create steam and keep the bottom layer drier and crunchier!
Estimated Nutritional Data for this Rhubarb Crisp Recipe
I always include a little disclaimer here because I’m not a registered dietitian, just a very enthusiastic baker! These numbers are simply estimates based on the ingredients listed in this recipe for one serving size when the whole dish is cut into six portions. So, if you eat a huge slice, your numbers will be higher, naturally! Overall, for a seasonal fruit dessert like this, the estimates look pretty good.
Based on the recipe details, here is the approximate nutritional breakdown per serving:
- Calories: 380
- Fat: 18g
- Carbohydrates: 55g
- Protein: 5g
- Sugar: 45g
We’re working with fruit and butter, so the fats and sugars are naturally on the higher side, but the 5 grams of fiber add a nice bonus to this classic rhubarb crisp!
Share Your Perfect Rhubarb Crisp Experience
Well, friends, now it’s your turn! I truly hope this recipe brings the sunshine and that perfect tart-sweet flavor to your table just like it does mine every single spring. Seriously, I want to know what you think!
Once you try this rhubarb crisp, please come back here and drop a rating for me. Did you keep it classic, or did you try a fun variation like adding a little sprinkle of toasted pecans on top? I love hearing about the little twists people try in their own kitchens. If you take a picture of your beautiful, bubbling dessert, tag me online! Seeing your crispy, golden-brown creations is truly the best part of sharing these recipes. You can find me over on my main blog page to see what else I’m currently baking up!
PrintClassic Strawberry Rhubarb Crisp
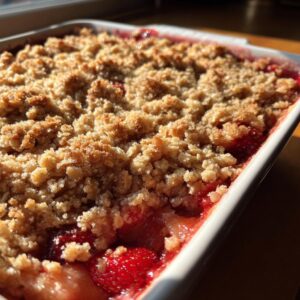
Make this easy strawberry rhubarb crisp for a tart and sweet dessert with a crunchy oat topping. This recipe works well for beginners.
- Prep Time: 20 min
- Cook Time: 50 min
- Total Time: 70 min
- Yield: 6 servings 1x
- Category: Dessert
- Method: Baking
- Cuisine: American
- Diet: Vegetarian
Ingredients
- 4 cups chopped rhubarb (about 1 inch pieces)
- 4 cups sliced fresh strawberries
- 3/4 cup granulated sugar (for filling)
- 2 tablespoons all-purpose flour (for filling)
- 1 teaspoon vanilla extract
- 1/2 cup all-purpose flour (for topping)
- 1 cup rolled oats
- 3/4 cup packed light brown sugar (for topping)
- 1/2 teaspoon ground cinnamon
- 1/4 teaspoon salt
- 1/2 cup (1 stick) cold unsalted butter, cut into small cubes
Instructions
- Preheat your oven to 375 degrees Fahrenheit. Lightly grease an 8×8 inch baking dish.
- Prepare the filling: In a large bowl, combine the chopped rhubarb, sliced strawberries, 3/4 cup granulated sugar, 2 tablespoons flour, and vanilla extract. Toss gently until the fruit is evenly coated. Pour the mixture into the prepared baking dish.
- Prepare the topping: In a separate medium bowl, whisk together the 1/2 cup flour, rolled oats, brown sugar, cinnamon, and salt.
- Cut in the butter: Add the cold, cubed butter to the dry topping mixture. Use your fingers or a pastry blender to cut the butter into the dry ingredients until the mixture resembles coarse crumbs with some pea-sized pieces remaining. Do not overmix.
- Sprinkle the topping evenly over the fruit filling in the baking dish.
- Bake for 40 to 50 minutes, or until the topping is golden brown and the fruit filling is bubbly and thick.
- Let the crisp cool for at least 15 minutes before serving.
Notes
- For an extra rich flavor, substitute 1/4 cup of the cold butter with brown butter. Melt the butter first, let it cool slightly, then proceed with cutting it into the dry topping ingredients.
- Serve this dessert warm with vanilla ice cream or a drizzle of caramel sauce.
- If you only have rhubarb, use 8 cups of rhubarb instead of the mixed fruit and increase the filling sugar to 1 cup.
Nutrition
- Serving Size: 1 serving
- Calories: 380
- Sugar: 45g
- Sodium: 110mg
- Fat: 18g
- Saturated Fat: 11g
- Unsaturated Fat: 7g
- Trans Fat: 0.5g
- Carbohydrates: 55g
- Fiber: 5g
- Protein: 5g
- Cholesterol: 45mg