
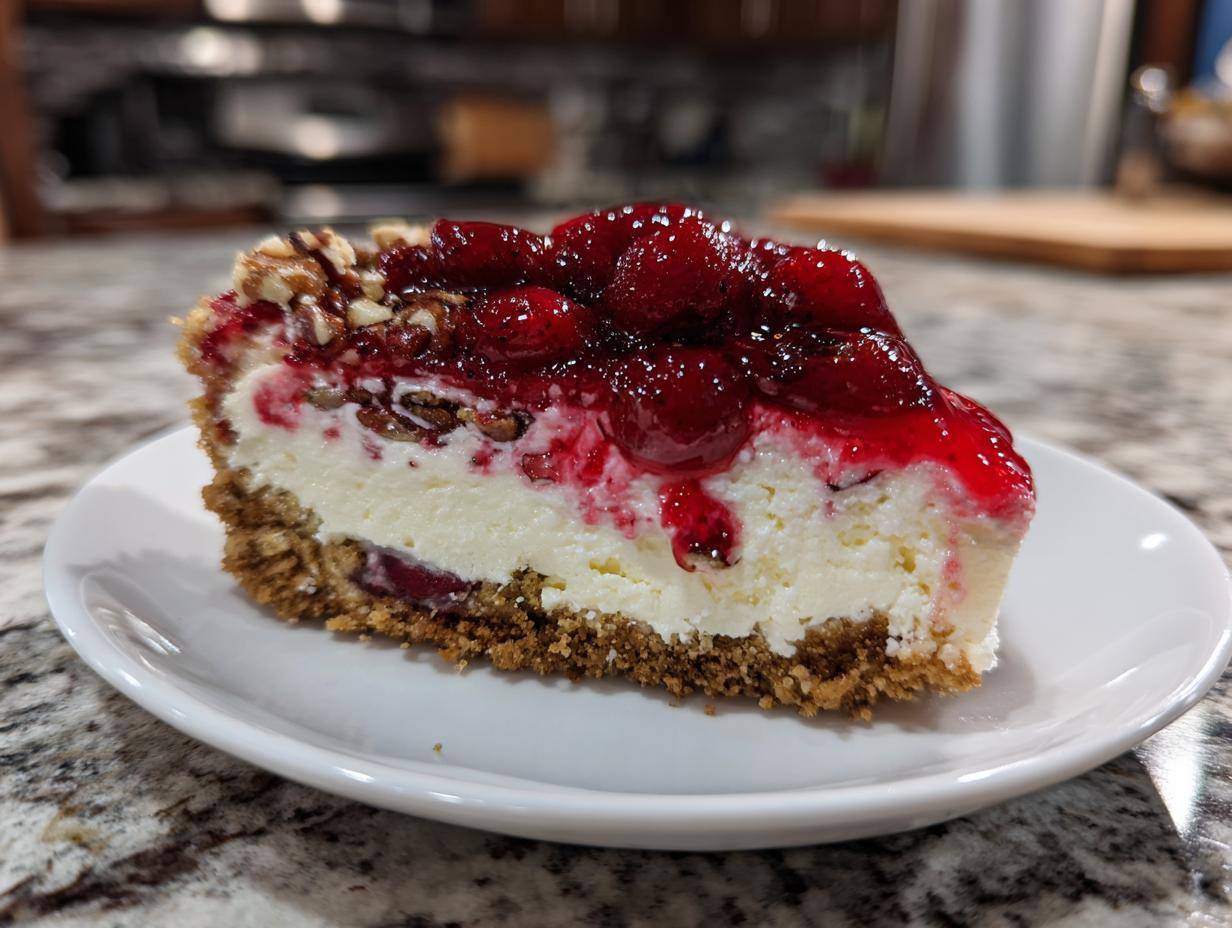

You know, for me, the best desserts are the ones that look impressive but are secretly super easy to whip up. That’s exactly how I feel about this Cherry Pecan Cheesecake Lush! It’s one of those layered wonders that just screams “special occasion” without needing a trip to the fancy bakery or hours in the oven. Imagine this: a buttery pecan crust, a dreamy, creamy cheesecake layer, smooth pudding, and then that gorgeous, bright cherry topping. It’s a total showstopper, and honestly, it reminds me of those bigger family gatherings back home where everyone brought their best dish. This particular lush recipe has become my go-to for potlucks because it’s just so darn delightful and always gets rave reviews!
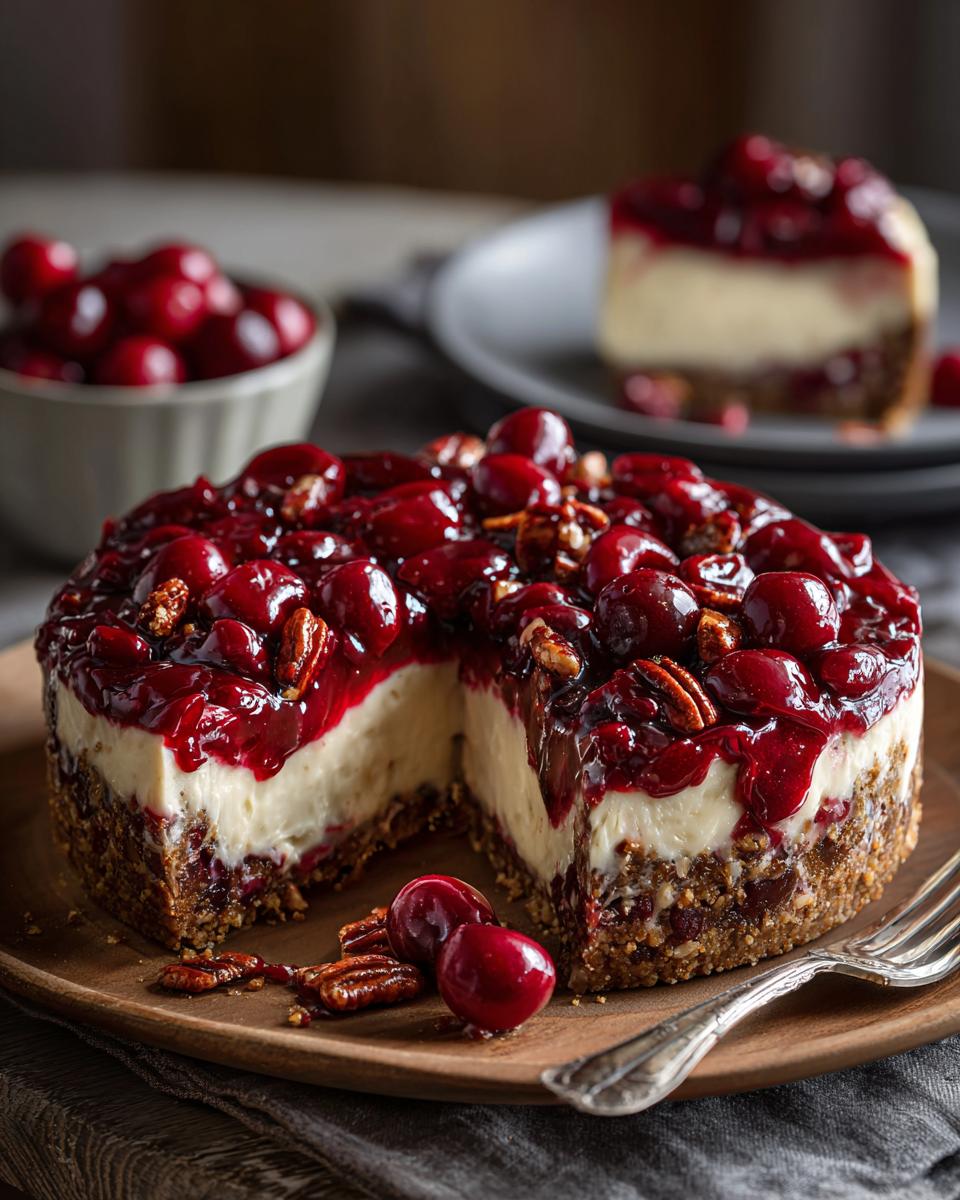
- Why You'll Love This Cherry Pecan Cheesecake Lush
- Gather Your Ingredients for Cherry Pecan Cheesecake Lush
- An Overview of the Crafting Process
- Tips for the Best Cherry Pecan Cheesecake Lush
- Making Ahead and Storing Your Party Pan Dessert
- Frequently Asked Questions about Cherry Cheesecake Lush
- Nutritional Information for Cherry Pecan Cheesecake Lush
- Share Your Cherry Pecan Cheesecake Lush Creations!
Why You’ll Love This Cherry Pecan Cheesecake Lush
Seriously, there are so many reasons this dessert is a winner:
- Super Easy & No-Bake: You don’t even need to turn on the oven! Perfect for busy days or when you just don’t want the heat.
- Crowd-Pleaser: The sweet, nutty, and fruity flavors are a hit with just about everyone.
- Pretty Layers: It looks as good as it tastes, with beautiful layers that make it extra special for parties.
- Make Ahead Magic: It’s a fantastic make-ahead dessert, meaning you can prep it the day before and relax when guests arrive.
Gather Your Ingredients for Cherry Pecan Cheesecake Lush
Alright, let’s get our game face on and gather everything we need for this amazing Cherry Pecan Cheesecake Lush! It’s pretty straightforward stuff, but make sure you have these exact amounts so everything comes together *just* right. Trust me on measuring!
Here’s what you’ll need:
- 1 ½ cups crushed pecans (for that yummy nutty crust!)
- ¼ cup granulated sugar
- 6 tablespoons unsalted butter, melted (don’t use margarine, it’s just not the same!)
- 2 (8 ounce) packages cream cheese, softened (let it sit out for a bit so it’s nice and creamy)
- 1 cup powdered sugar
- 1 teaspoon vanilla extract
- 1 (12 ounce) container frozen whipped topping, thawed (make sure it’s fully thawed, but not runny!)
- 1 (3.4 ounce) package instant vanilla pudding mix (the instant kind is key here!)
- 2 cups milk (cold is best for the pudding layer)
- 1 (21 ounce) can cherry pie filling (the star of the show!)
An Overview of the Crafting Process
Now for the fun part – putting it all together! Crafting this Cherry Pecan Cheesecake Lush is like building a delicious edible masterpiece, layer by yummy layer. It’s super satisfying, and honestly, watching it all come together is half the joy. Don’t worry if your layers aren’t perfectly straight; it’s all going to taste amazing! We’ll move through each step smoothly, just like I learned from my grandma when we made her apple pies, or even when I decided to try out those amazing cranberry crumble bars. Just follow along, and you’ll have a stunning dessert in no time!
Preparing the Pecan Crust
First things first, let’s get that glorious pecan crust ready. In a medium bowl, just mix up those crushed pecans, granulated sugar, and melted butter until it’s all combined. Then, press this mixture evenly into the bottom of your 9×13 inch baking pan. Make sure it’s packed down nicely to form a solid base!
Creating the Creamy Cheesecake Layer
Next up is the dreamy cheesecake layer. Grab a big bowl and beat together that softened cream cheese, powdered sugar, and vanilla extract until it’s super smooth and creamy. Then, gently fold in the thawed whipped topping. Be gentle so you don’t deflate all that lovely air! Spread this mixture evenly over your pecan crust. It should be nice and thick!
Assembling the Pudding Layer
Time for the pudding! In a separate bowl, whisk together the instant vanilla pudding mix and cold milk. Whisk it for about 2 minutes, just until it starts to thicken up. Pour this lovely, jiggly pudding layer right over the cream cheese mixture. It’s a bit like making chia pudding, but much quicker and oh-so-different in flavor!

Adding the Cherry Topping
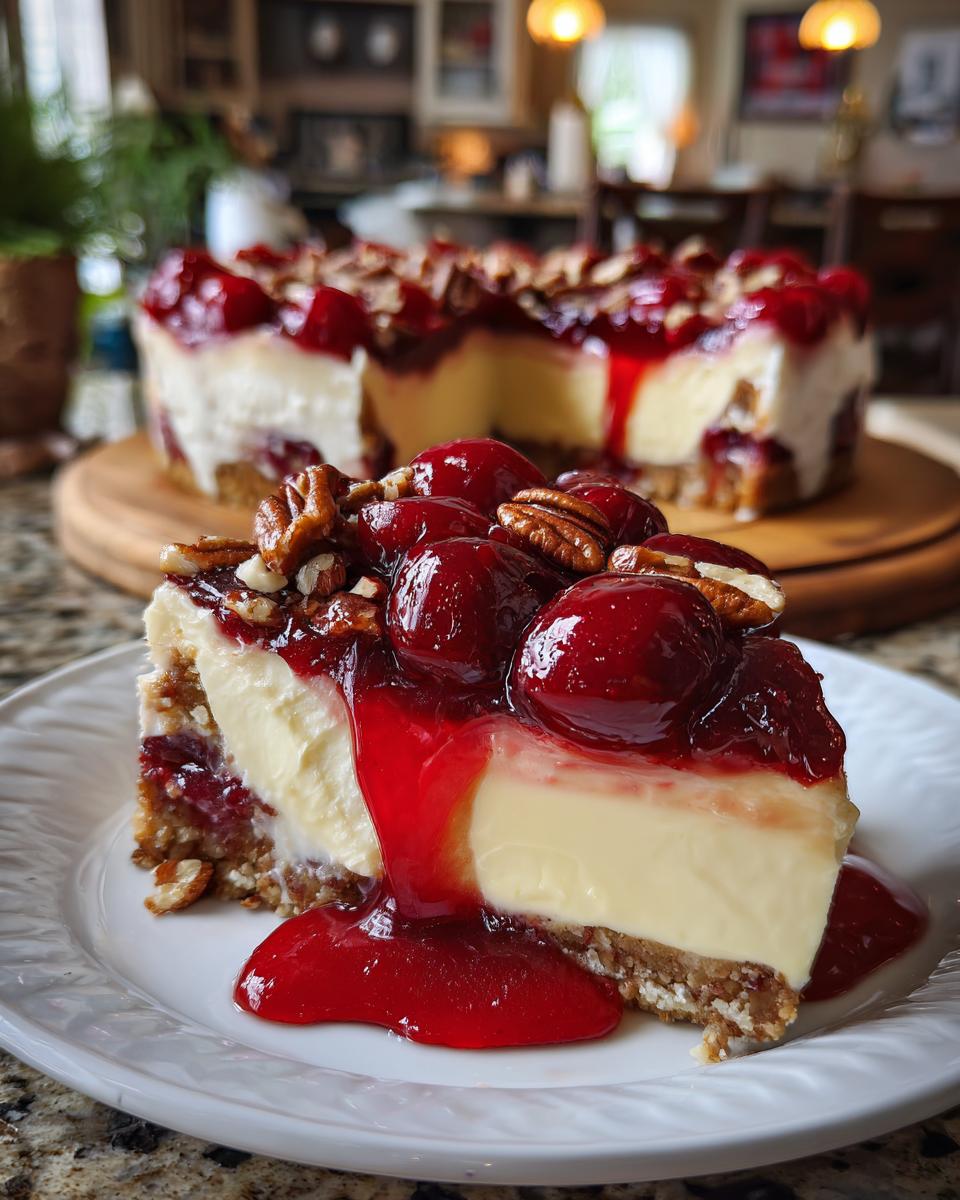
Now for the grand finale of assembly: the cherry topping! Just spoon that delightful cherry pie filling evenly over the pudding layer. Make sure you get some of those luscious cherries spread across the whole top. Doesn’t it look pretty already?
Chilling Your Layered Lush Recipe
This is super important, so listen up! You absolutely need to cover your pan tightly and pop it into the refrigerator for at least 4 hours. This chilling time is what allows everything to set up perfectly and become that firm, sliceable no-bake layered dessert we’re aiming for. If you have time, 6 hours or even overnight is even better!
Tips for the Best Cherry Pecan Cheesecake Lush
Okay, now that we’ve walked through making this gorgeous dessert, let me share a few little secrets to make sure yours turns out absolutely perfect every single time. It’s the little things, you know? Like when I learned to get my apple cider donuts just right, or how to make sure my gluten-free carrot cake was actually moist!
For the cleanest slices, a trick my mom always used for her trifles: run a sharp knife under hot water, then dry it completely before cutting. Do this between each slice if you can! It makes such a difference. Also, remember that this is your ultimate make-ahead dessert. It actually tastes even better after a good chill, letting all those flavors meld together overnight. So don’t be afraid to make it the day before your party!
Making Ahead and Storing Your Party Pan Dessert
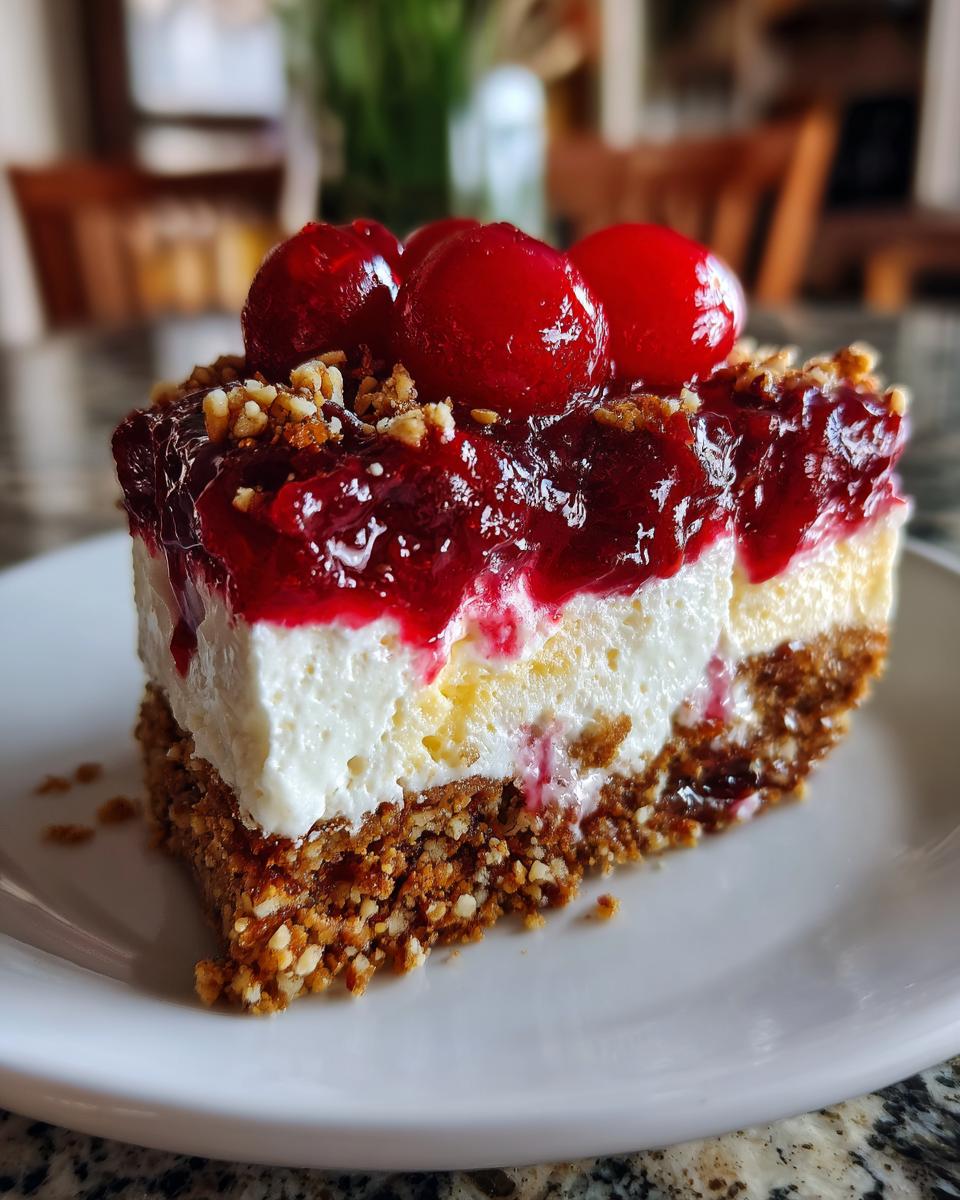
One of the best things about this Cherry Pecan Cheesecake Lush is how perfectly it works as a make-ahead dessert! Honestly, I usually make mine the day before a get-together because the flavors get even better when they’ve had time to mingle. It’s just like my make-ahead breakfast burritos; you prep it, and then you’re golden! Just cover your pan really well with plastic wrap and keep it in the fridge. It’ll stay delicious like this for about 2 to 3 days. It’s a lifesaver when you’ve got a busy schedule and still want to bring something amazing to your next potluck!
Frequently Asked Questions about Cherry Cheesecake Lush
Got questions about this dreamy dessert? I’ve got you covered!
Can I use different nuts for the pecan crust?
Absolutely! While pecans give it that special something, walnuts would be delicious too. You could even try almonds if that’s what you have on hand. Just make sure they’re finely crushed so they press together nicely.
How long does the cherry pecan cheesecake lush last in the fridge?
This layered lush recipe is best enjoyed within about 2-3 days. Make sure it’s covered tightly with plastic wrap. It’s a fantastic make-ahead dessert, so don’t hesitate to prep it a day before your party!
Can I make this a gluten-free layered dessert?
You sure can! For a gluten-free version, simply swap out the crushed pecans for gluten-free crushed cookies like shortbread or graham crackers, and double-check that your pudding mix and pie filling are certified gluten-free. That way, everyone can enjoy this potluck favorite!
What can I use if I don’t have instant vanilla pudding?
It’s really important to use the instant vanilla pudding mix here. Regular pudding needs to be cooked on the stovetop and won’t thicken up quite the same way, especially with the cold milk. The instant kind is what gives that lovely, set texture to your pudding layer. It’s one of those little secrets to a great dessert lasagna!
Nutritional Information for Cherry Pecan Cheesecake Lush
Just a heads-up, all the nutritional info below is an estimate, okay? It can totally change depending on the brands you use and how big your slices are. But this gives you a good idea of what you’re working with for this delicious Cherry Pecan Cheesecake Lush. It’s a treat, for sure!
Per serving (approximate):
- Calories: 350
- Fat: 20g
- Saturated Fat: 10g
- Carbohydrates: 40g
- Sugar: 30g
- Protein: 4g
- Sodium: 150mg
Share Your Cherry Pecan Cheesecake Lush Creations!
I just love seeing what you all make! If you bake up this Cherry Pecan Cheesecake Lush, please leave a comment below and let me know how it turned out. Or, even better, snap a picture and tag me on social media – I’d love to see your beautiful layered dessert creations! Your feedback helps other cooks, too. You can always reach out through my contact page if you have any questions!
PrintCherry Pecan Cheesecake Lush
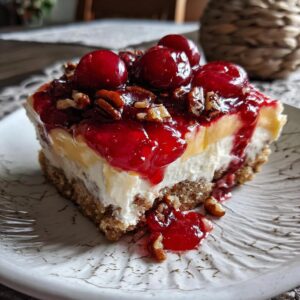
A no-bake layered dessert with a pecan crust, creamy cheesecake filling, pudding, and cherry topping. Perfect for parties and potlucks.
- Prep Time: 20 min
- Cook Time: 0 min
- Total Time: 4 hr 20 min
- Yield: 12 servings 1x
- Category: Dessert
- Method: No-Bake
- Cuisine: American
- Diet: Vegetarian
Ingredients
- 1 ½ cups crushed pecans
- ¼ cup granulated sugar
- 6 tablespoons unsalted butter, melted
- 2 (8 ounce) packages cream cheese, softened
- 1 cup powdered sugar
- 1 teaspoon vanilla extract
- 1 (12 ounce) container frozen whipped topping, thawed
- 1 (3.4 ounce) package instant vanilla pudding mix
- 2 cups milk
- 1 (21 ounce) can cherry pie filling
Instructions
- In a medium bowl, combine crushed pecans, granulated sugar, and melted butter. Press mixture evenly into the bottom of a 9×13 inch baking pan.
- In a large bowl, beat cream cheese, powdered sugar, and vanilla extract until smooth. Gently fold in the thawed whipped topping. Spread this mixture evenly over the pecan crust.
- In a separate bowl, whisk together the instant vanilla pudding mix, milk, and beat until thickened, about 2 minutes. Pour this pudding layer over the cream cheese layer.
- Spoon the cherry pie filling evenly over the pudding layer.
- Cover the pan and refrigerate for at least 4 hours, or until firm.
- Slice and serve.
Notes
- For a cleaner slice, run a knife under hot water and dry it before cutting.
- This dessert can be made a day in advance.
- Ensure all ingredients are cold when preparing the pudding layer for best results.
Nutrition
- Serving Size: 1 slice
- Calories: 350
- Sugar: 30g
- Sodium: 150mg
- Fat: 20g
- Saturated Fat: 10g
- Unsaturated Fat: 10g
- Trans Fat: 0g
- Carbohydrates: 40g
- Fiber: 2g
- Protein: 4g
- Cholesterol: 40mg