
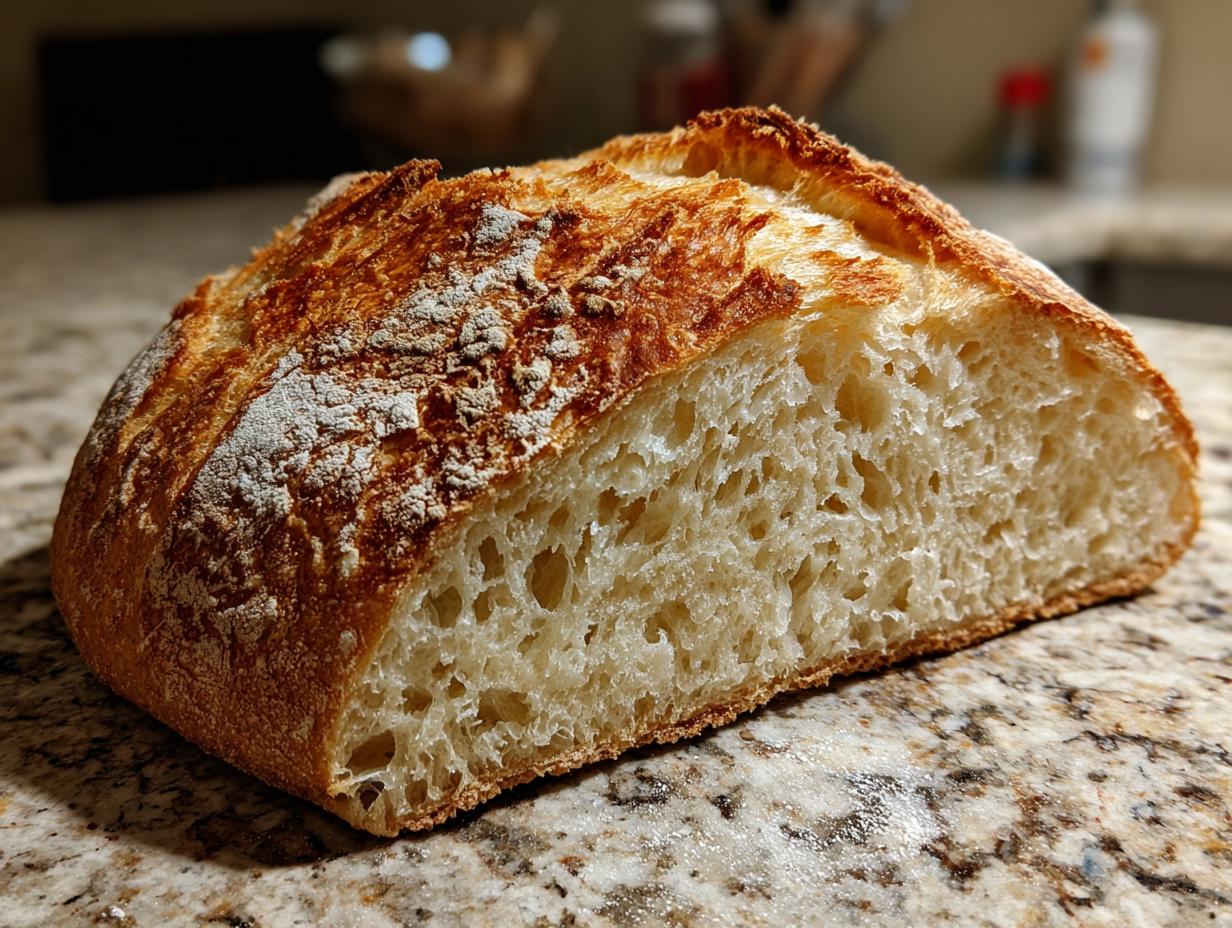

Oh, the magic of a truly amazing slice of bread! There’s just something so deeply satisfying about pulling a perfectly baked, crusty Italian bread loaf straight from your own oven, isn’t there? It smells divine, feels substantial in your hands, and promises pure deliciousness. And guess what? You absolutely can make that bakery-quality bread right in your own kitchen, even if you’ve never baked bread before! Seriously, this recipe is a game-changer. It’s my go-to when I want that irresistible bakery-style loaf with a delightfully chewy crumb and that signature crackly crust. It reminds me so much of my grandmother’s kitchen – all warmth and wonderful smells. She always said food is love, and sharing this recipe feels like sharing a little piece of that love with you all. You don’t need fancy skills, just a little patience and some basic ingredients, and you’ll be amazed at what you can create. Come on over and see how easy it is! For more about my kitchen adventures and philosophy, check out my About page!
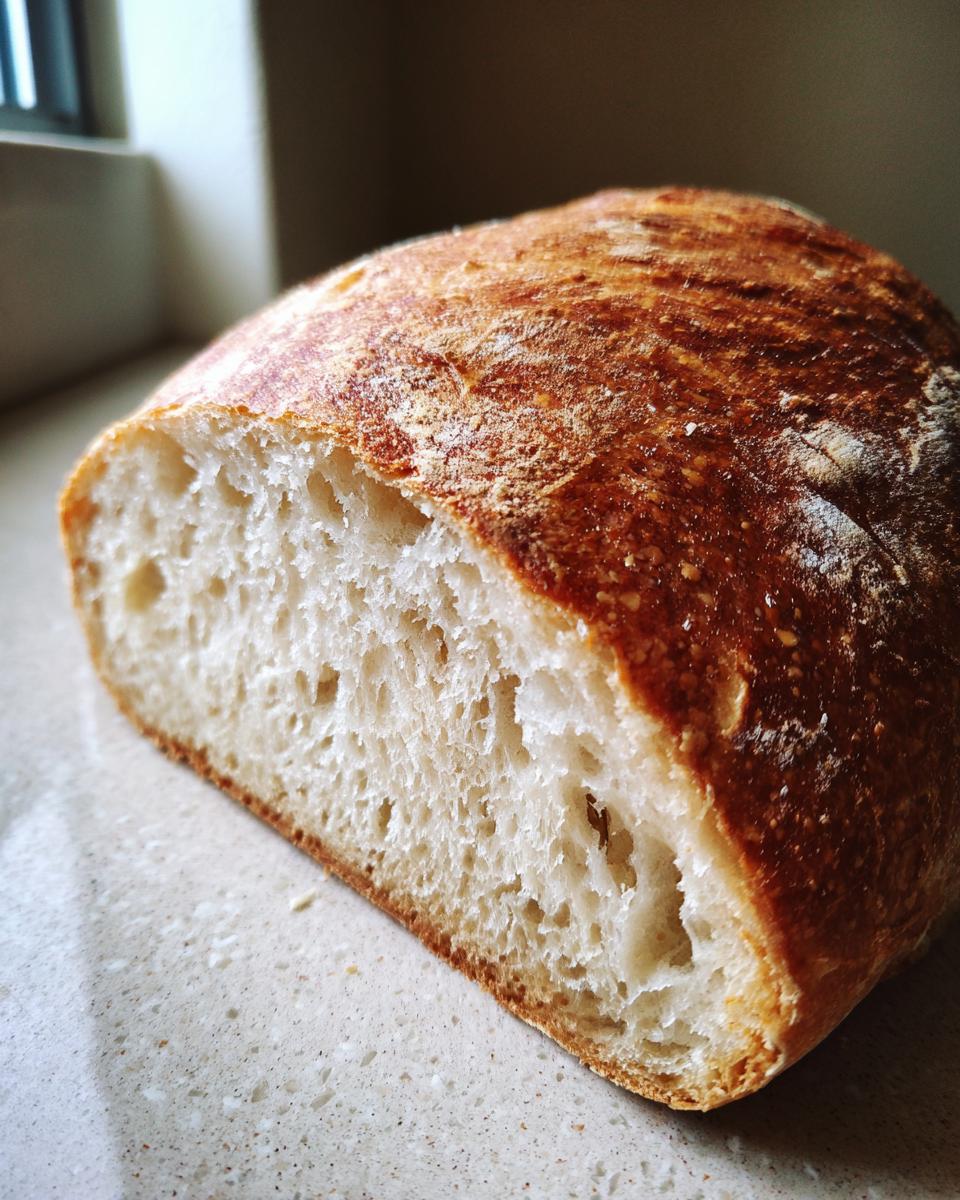
- Why You'll Love This Easy Italian Bread Recipe
- Ingredients for Your Crusty Italian Bread Loaf
- Equipment Needed for Bakery-Style Loaf
- How to Make Crusty Italian Bread: Step-by-Step
- Tips for the Perfect Crusty Italian Bread
- Serving Suggestions for Your Italian Dinner Bread
- Storing and Reheating Your Crusty Loaf
- Frequently Asked Questions About This Easy Italian Bread Recipe
- Nutritional Information
Why You’ll Love This Easy Italian Bread Recipe
Seriously, this recipe is a dream come true for any home baker! Here’s why you’ll be making this crusty beauty again and again:
- Super Beginner-Friendly: It really is a fantastic easy Italian bread recipe. The no-knead method means less work for you!
- Bakery-Quality Results: Get that amazing chewy crumb and perfectly crisp crust you only usually find at the bakery.
- Incredible Flavor: The long, slow rise develops such a wonderful depth of flavor. It tastes SO much better than store-bought.
- So Versatile: Perfect for dipping into your favorite soup, making epic sandwiches, or just slathering with butter.
- Minimal Fuss, Maximum Reward: You don’t need a stand mixer or any fancy techniques. Just mix, wait, and bake!
- Impressive Presentation: It looks and smells absolutely gorgeous. Your friends and family will be SO impressed you made this!
Ingredients for Your Crusty Italian Bread Loaf
You won’t believe how simple the ingredient list is for this amazing loaf! It just goes to show you don’t need a ton of stuff to make something truly special. Trust me, fresh, good-quality ingredients really do make a difference here.
- 4 cups all-purpose flour, plus more for dusting your work surface
- 1 ½ teaspoons salt
- 1 teaspoon instant yeast
- 1 ½ cups lukewarm water
Equipment Needed for Bakery-Style Loaf
Getting ready to bake this beauty? You don’t need a whole lot of fancy gadgets. Just a few simple things will do the trick to get that incredible crust and chewy texture.
- A big mixing bowl
- Plastic wrap (or a damp tea towel)
- A clean surface for shaping
- Parchment paper
- A Dutch oven or any oven-safe pot with a lid (this is key for the steam!)
- A wire rack for cooling
How to Make Crusty Italian Bread: Step-by-Step
Alright, get ready to make some magic happen in your kitchen! This is where the real fun begins, and trust me, it’s way easier than you might think. I’ll walk you through every single step, just like I would for my best friend. And if you want to dive deeper into my baking adventures and see what else I’m whipping up, you can always peek at my blog!
Mixing and First Rise for Your Crusty Italian Bread
First things first, grab your biggest mixing bowl. We’re going to keep this super simple – no intense kneading required! Just dump in your flour, salt, and instant yeast, give them a quick whisk to become friends. Then, pour in your lukewarm water. Mix it all up with a wooden spoon or even just your hands until it looks like a shaggy, slightly messy dough. It’s supposed to be sticky! Now, cover that bowl snugly with plastic wrap and let it hang out on your counter for a good 12 to 18 hours. I know, it sounds long, but this slow fermentation is the secret sauce! It’s what makes the bread have that incredible flavor and airy, chewy texture without any hard work from you. You’ll see it get all bubbly and puff up like crazy – that’s a good sign!
Shaping and Second Rest for the Dough
Once your dough has had its long, luxurious rest, it’s time to give it a gentle hug. Generously flour a clean countertop – don’t be shy with the flour here! Gently turn that puffy dough out onto the floured surface. Now, with floured hands (this is important so it doesn’t stick!), just fold the dough over itself a few times. Think of it like tucking it in for a little nap. We’re not kneading here, just gently shaping it into a rough ball. Again, no intense working! Place your plump little dough ball onto a piece of parchment paper, cover it loosely, and let it rest for another 30 minutes. This little break helps it relax before its big baking adventure.

Baking Your Bakery-Style Loaf
Okay, this is where the oven works its magic! While your dough is finishing its second rest, pop a Dutch oven or any oven-safe pot with a lid into your oven and preheat it to a blazing 450°F (230°C). Getting that pot super hot is crucial for that amazing crust. Once the oven is fully preheated, carefully, *carefully* take that screaming hot pot out. Using the parchment paper as handles, gently lift your resting dough and lower it right into the pot. It might feel a little awkward, but you’ve got this! Put the lid back on and pop the whole glorious thing back into the hot oven. Bake it covered for 30 minutes. This traps the steam, which is key for that perfect rise and chewy interior. After 30 minutes, take the lid off – wow, look at it puff up! – and let it bake for another 15-20 minutes uncovered. You’re looking for a deep golden brown crust that sounds hollow when you tap it. It’s like the bread is telling you it’s ready! If you want an even crispier crust, you can try placing a little pan of water on the rack below this one during the first 30 minutes of baking to create extra steam. This step is truly what makes it a bakery-style loaf!
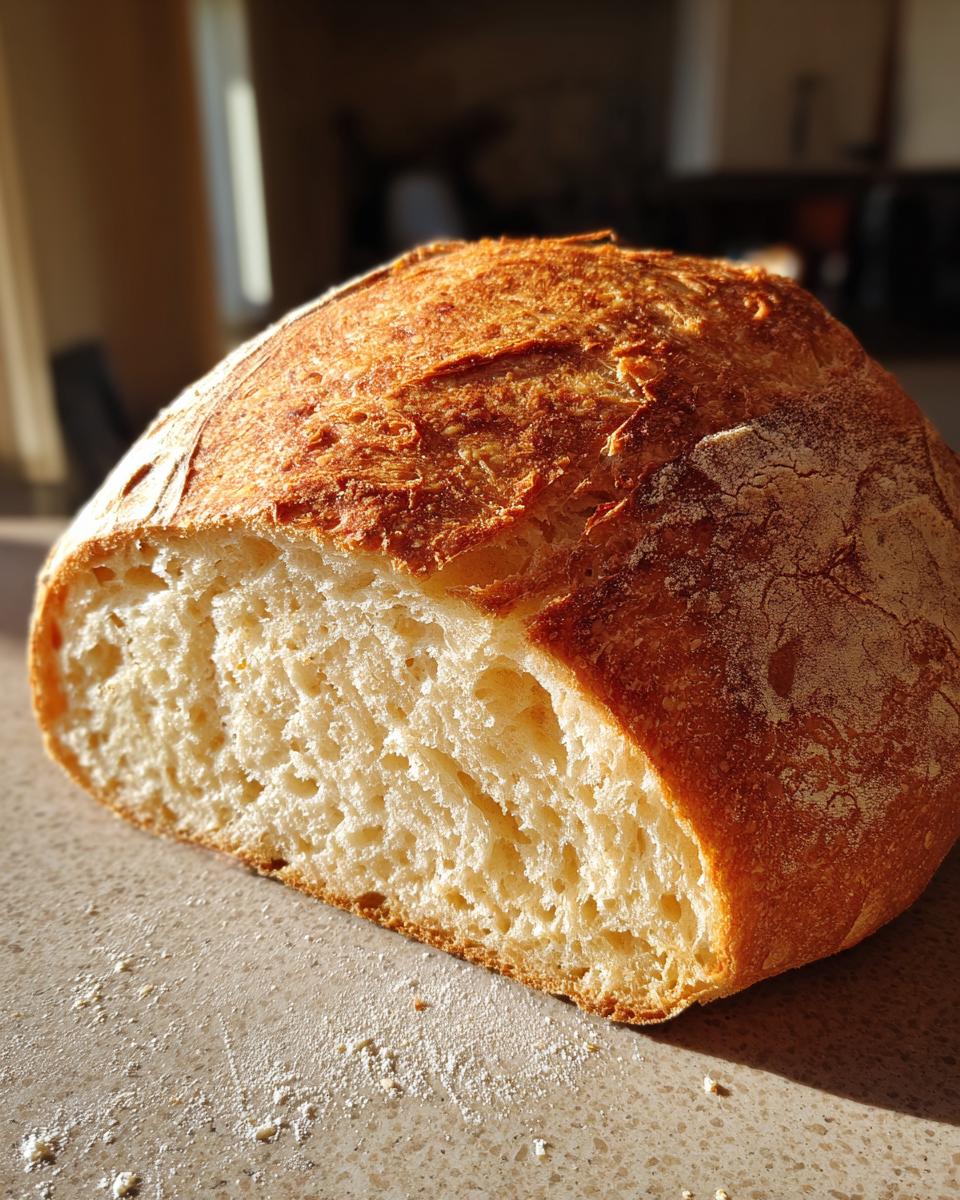
Cooling and Slicing Your Masterpiece
The hardest part? Waiting! As soon as that beautiful loaf is out of the pot, carefully transfer it to a wire rack. You *have* to let it cool completely before slicing. I know, I know, the smell is torture! But if you cut into it too soon, the inside will be gummy. Patience, my friend, will be rewarded with the perfect, airy crumb. Just let it sit there for at least an hour, or even longer if you can resist!

Tips for the Perfect Crusty Italian Bread
Okay, so you’ve got the recipe mastered, but a few little tricks can really elevate your crusty Italian bread from good to absolutely spectacular, like something straight out of a fancy bakery! Trust me, I’ve learned a few things along the way, especially from my grandmother who had a knack for making everything taste amazing. One of my favorite little secrets is creating extra steam in the oven when you first start baking. You can totally do this by placing a shallow pan with a little water on the bottom rack of your oven while it preheats and during the first 30 minutes of baking. It makes a HUGE difference in getting that super crisp, crackly crust we all dream about. Also, don’t be afraid of the dough being sticky – that’s actually a good sign! Our recipe is designed for a beautifully hydrated dough, which leads to that wonderful chewy crumb. If it feels a *little* too wet to handle for shaping, just add a tiny bit more flour to your hands and your work surface, but try not to add too much, or you’ll lose that lovely texture. For more fun bread ideas, check out my sourdough pumpkin focaccia recipe!
Serving Suggestions for Your Italian Dinner Bread
Now that you’ve got this gorgeous loaf of crusty Italian bread, what do you do with it? Oh, the possibilities! It’s absolutely perfect as your star Italian dinner bread, sliced thick and served alongside pasta or your favorite Italian entree. It’s also the ultimate soup and sandwich bread. Seriously, dip a hefty piece into a hearty bowl of Irish bacon, cabbage, and potato soup – pure comfort! Or pile it high with deli meats and cheese for a sandwich that would make any deli proud. It’s also fantastic with a simple stir-fry, just to soak up all those delicious sauces – check out my quick beef stir-fry!
Storing and Reheating Your Crusty Loaf
Keeping your amazing homemade bread fresh is pretty simple! Once it’s completely cooled, I like to store it at room temperature in a paper bag. This lets it breathe and keeps the crust from getting soggy, which is key! If you’ve got a lot left over, you can also wrap it tightly in plastic wrap and then in foil and pop it in the bread box or pantry for a couple of days. Need to reheat it? Just pop slices in the toaster, or if you have a whole loaf, you can warm it up directly in a moderate oven (around 350°F or 175°C) for about 5-10 minutes until the crust is nice and crisp again. It’s like waking up that fresh-baked goodness!
Frequently Asked Questions About This Easy Italian Bread Recipe
Got questions about making your own crusty Italian bread? I’ve got you covered! Baking bread can seem a little intimidating, but honestly, this recipe is so forgiving and I’ve gotten a lot of questions over time. Let’s dive in!
Can I use bread flour instead of all-purpose flour?
Oh, absolutely! Using bread flour will give you an even chewier crumb and a slightly sturdier loaf. The protein content in bread flour is higher, which develops more gluten, leading to that fantastic texture you’re looking for in a bakery-style loaf. Just swap it out cup for cup – you’ll get a wonderful result!
What if my dough feels too sticky to handle?
Don’t you worry about a sticky dough! This recipe is designed to be quite hydrated, which is what gives you that amazing chewy interior and helps create that lovely crust. The key is to use plenty of flour on your hands and your work surface when you’re shaping it. A light touch and a little extra flour is usually all you need. Resist the urge to add more flour to the dough itself, as that can make it too dense!
Can I make this crusty Italian bread without a Dutch oven?
Yes, you totally can! The Dutch oven is awesome because it traps steam, which is crucial for that crackly crust and good oven spring. But if you don’t have one, no worries! You can try a few things: use a regular oven-safe pot with a lid, or even a baking stone or heavy baking sheet. To create steam, place a metal baking pan on the rack below your dough while it preheats, and carefully add about a cup of hot water to it right before you put the bread in. Be super careful of the steam!
How long will this bread stay fresh?
This easy Italian bread recipe makes a loaf that stays wonderfully fresh for a good 2-3 days when stored properly at room temperature in a paper bag. The paper bag helps keep the crust from getting soft and soggy. For longer storage, you can slice it and freeze it in an airtight container or bag for up to a month. Just pop a slice or two in the toaster or oven to refresh it!
Nutritional Information
Please keep in mind that these nutritional values are estimates and can vary depending on the specific ingredients you use and how you prepare the bread. This information is just a general guideline for one slice of our delicious crusty Italian bread.
- Serving Size: 1 slice
- Calories: 150
- Fat: 1g
- Saturated Fat: 0g
- Unsaturated Fat: 1g
- Trans Fat: 0g
- Cholesterol: 0mg
- Sodium: 300mg
- Carbohydrates: 30g
- Fiber: 2g
- Sugar: 1g
- Protein: 5g
Crusty Italian Bread Loaf
A beginner-friendly recipe for bakery-style Italian bread with a chewy crumb and crisp crust, perfect for sandwiches or dunking in soup.
- Prep Time: 15 minutes
- Cook Time: 45 minutes
- Total Time: 19 hours 0 minutes
- Yield: 1 loaf 1x
- Category: Bread
- Method: Baking
- Cuisine: Italian
- Diet: Vegetarian
Ingredients
- 4 cups all-purpose flour, plus more for dusting
- 1 ½ teaspoons salt
- 1 teaspoon instant yeast
- 1 ½ cups lukewarm water
Instructions
- In a large bowl, whisk together the flour, salt, and yeast.
- Add the lukewarm water and mix with a wooden spoon or your hands until a shaggy dough forms.
- Cover the bowl with plastic wrap and let it rest at room temperature for 12 to 18 hours. The dough will become bubbly and increase in volume.
- Generously flour a clean work surface. Turn the dough out onto the floured surface.
- Gently fold the dough over itself a few times to form a rough ball. Do not knead.
- Place the dough on a piece of parchment paper, cover loosely with plastic wrap, and let it rest for 30 minutes.
- While the dough rests, place a Dutch oven or oven-safe pot with a lid into your oven and preheat to 450°F (230°C).
- Once preheated, carefully remove the hot Dutch oven from the oven.
- Gently lift the dough using the parchment paper and place it into the hot Dutch oven.
- Cover the Dutch oven with its lid and carefully place it back into the oven.
- Bake for 30 minutes.
- Remove the lid and continue baking for another 15-20 minutes, or until the crust is deep golden brown and sounds hollow when tapped.
- Carefully remove the bread from the Dutch oven and let it cool completely on a wire rack before slicing.
Notes
- For a crispier crust, you can place a shallow pan with water on the bottom rack of your oven during the initial baking period to create steam.
- This bread is excellent for meal planning and can be used in various dishes.
Nutrition
- Serving Size: 1 slice
- Calories: 150
- Sugar: 1g
- Sodium: 300mg
- Fat: 1g
- Saturated Fat: 0g
- Unsaturated Fat: 1g
- Trans Fat: 0g
- Carbohydrates: 30g
- Fiber: 2g
- Protein: 5g
- Cholesterol: 0mg