
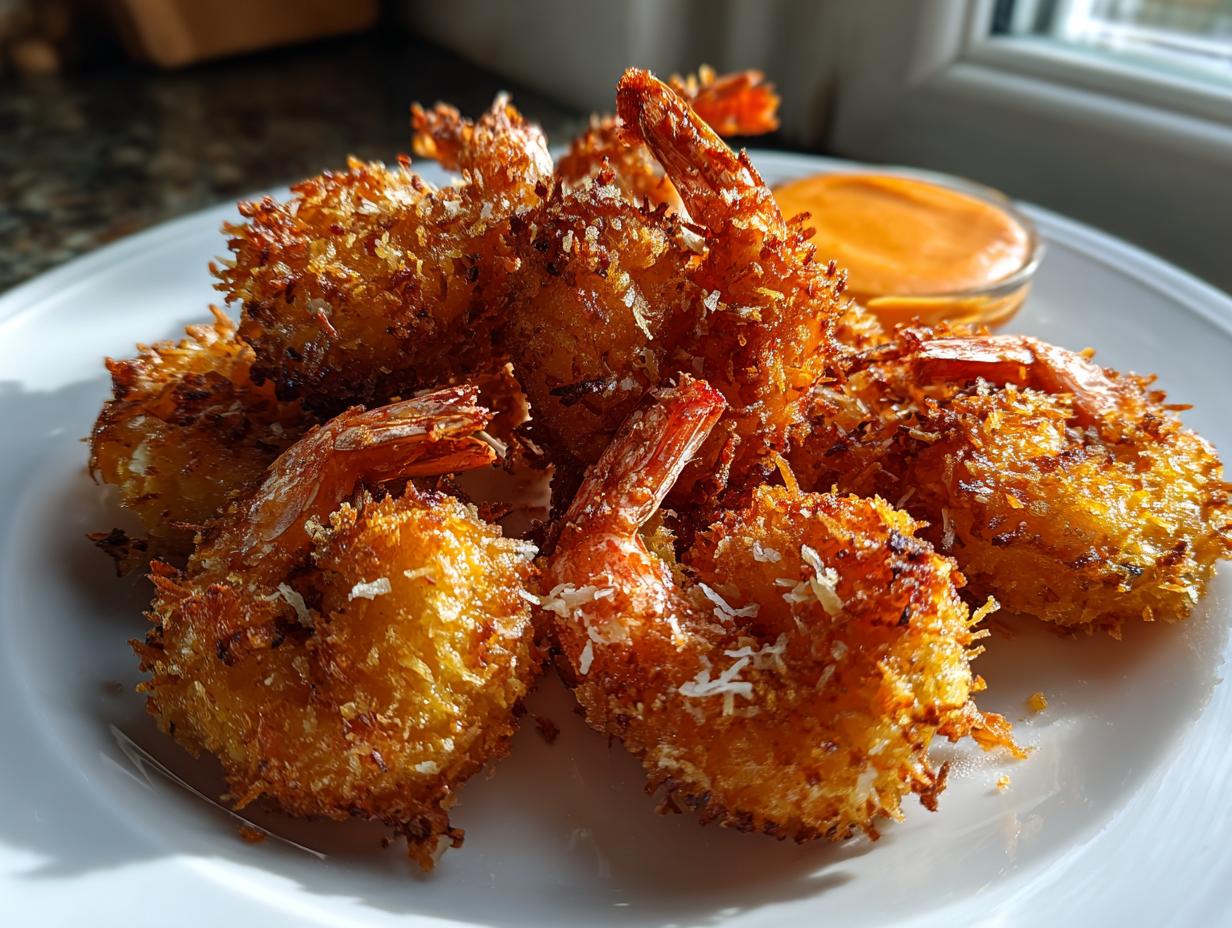

Oh my goodness, are you ready for a little bit of the tropics right in your own kitchen? I get these massive cravings—that perfect mix of sweet coconut and savory, plump shrimp that just snaps when you bite into it. You know the kind you usually have to pay a fortune for at a nice restaurant? Well, I’m here to tell you we can make that incredible, restaurant-quality coconut shrimp without dirtying our deep fryer! Trust me, my philosophy here at Cut Cook Taste, which is all about getting back to basics and sharing joyful food—you can read more about that over on my About Page—means we need reliability. This baked version gives you all that perfect crunch while keeping things refreshingly light. It’s honestly one of those crowd-pleasing appetizers that Sarah Peterson just loves to share!
- Why This Baked Coconut Shrimp Recipe Works So Well
- Ingredients for Coconut Shrimp and Sweet Chili Mayo
- Step-by-Step Instructions for Coconut Shrimp
- Tips for Perfect Coconut Shrimp Every Time
- Cooking Method Variations: Air Fryer Coconut Shrimp and More
- Make Ahead Appetizers: Freezing Your Coconut Shrimp
- Serving Suggestions for Your Tropical Shrimp Recipe
- Storage and Reheating Instructions
- Frequently Asked Questions About Coconut Shrimp
Why This Baked Coconut Shrimp Recipe Works So Well
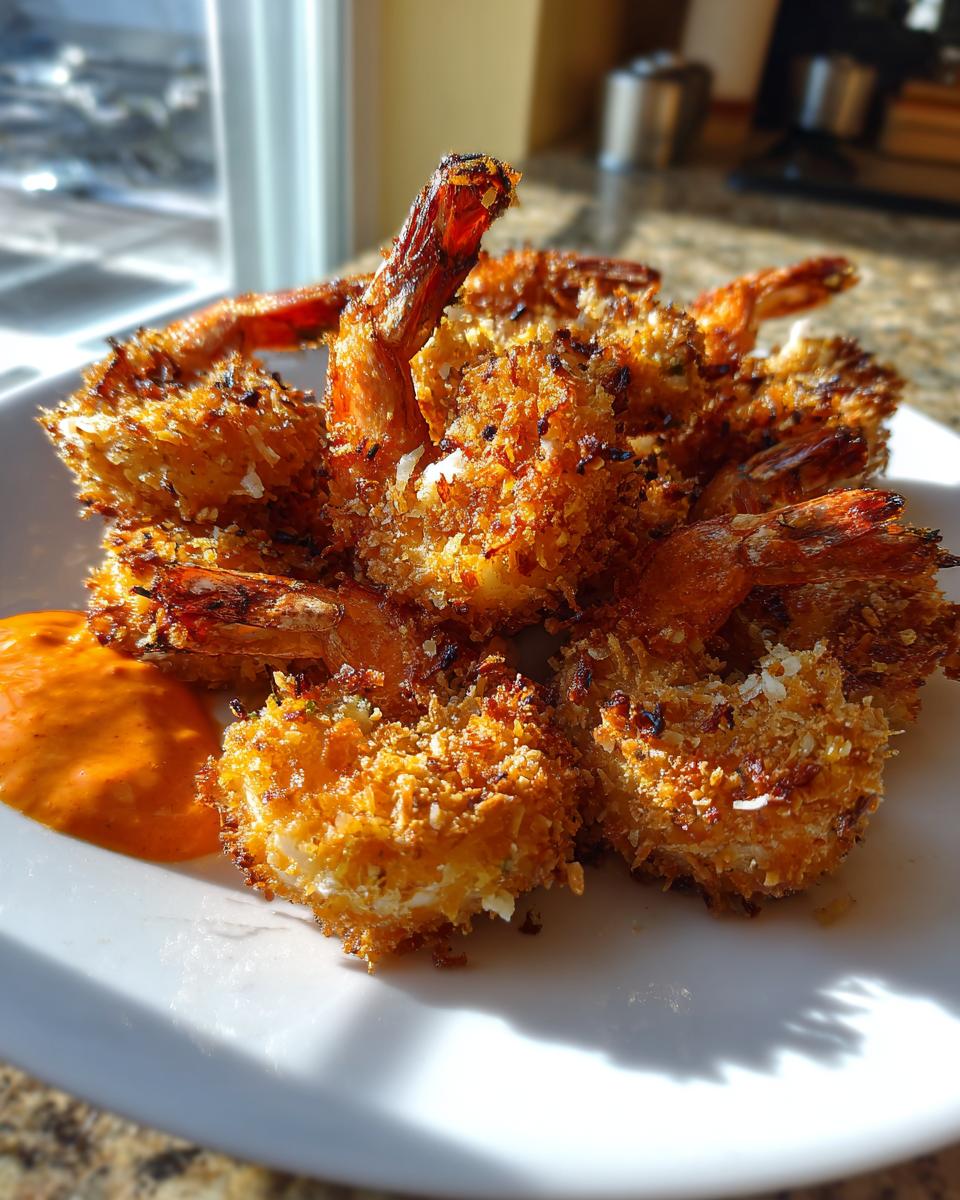
Look, I grew up watching my family fry everything—and Lord knows that golden fried shrimp temptation is real—but we’ve been testing ways to get that incredible crispy texture without all the oil, right in the oven. This Homemade Coconut Shrimp Recipe shines because it’s practically stress-free and delivers that strong tropical flavor you crave. If you are looking for amazing appetizer ideas, this is it. Plus, it’s light enough that you can have it as a main course!
Achieving Ultimate Crunch with Panko
This is non-negotiable, people! If you want that authentic, crackly coating, you absolutely need Panko breadcrumbs mixed in with your coconut. I spent ages trying just coconut, and it always ended up doughy. Panko creates little air pockets that toast up beautifully in the heat. When we test coatings around here, Panko always wins for that satisfying Crunchy Seafood Appetizer feel, especially when we opt for baking or air frying.
The Perfect Coconut Shrimp Dipping Sauce
Honestly, the shrimp is only half the battle; the sauce is crucial! This Sweet Chili Mayo is what I call the Best Coconut Shrimp Dipping Sauce you’ll ever need. It’s creamy, it’s got a little zing from the sweet chili, and just a tiny squeeze of fresh lime juice slices right through the richness of the coconut. That savory-sweet balance is what makes every bite of this Party Shrimp Bite so addictive.
Ingredients for Coconut Shrimp and Sweet Chili Mayo
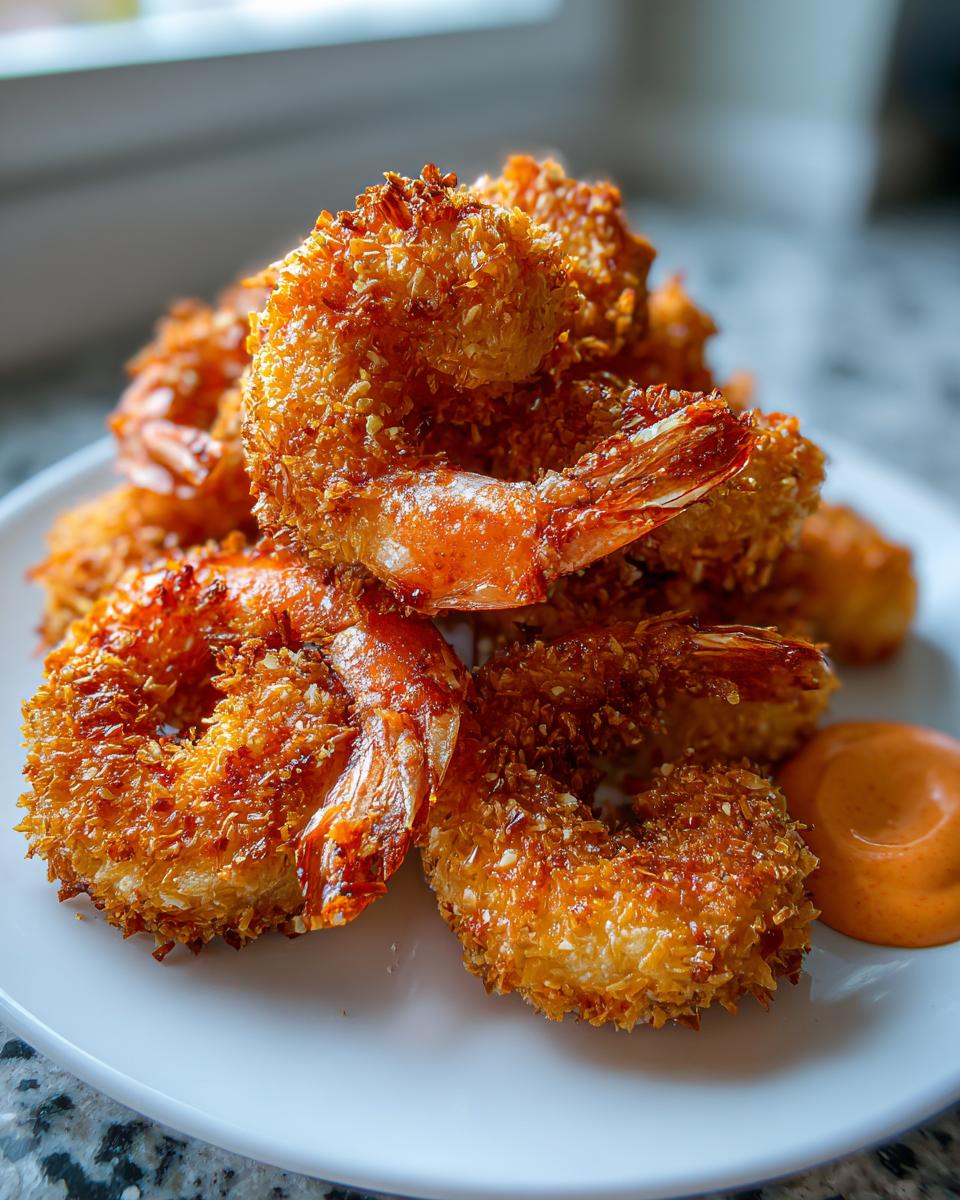
Okay, stocking up is the easy part! The key here is having your three breading components ready to go, plus your beautiful shrimp. Don’t skimp on quality here; fresh shrimp makes all the difference for this Tropical Shrimp Recipe. My measurements are for about four hearty servings, or way too many amazing Party Shrimp Bites if you’re just sampling!
- 1 lb large shrimp, peeled and deveined, tails on or off
- 1 cup all-purpose flour
- 2 large eggs, lightly beaten
- 1 cup sweetened shredded coconut
- 1 cup Panko breadcrumbs
- 1 teaspoon salt
- 1/2 teaspoon black pepper
- Cooking spray
Dipping Sauce Components
This is where the magic happens for our Sweet Chili Mayo for Shrimp. It’s such a quick mix, but it feels gourmet!
- 1/2 cup mayonnaise
- 1/4 cup sweet chili sauce
- 1 teaspoon lime juice
Step-by-Step Instructions for Coconut Shrimp
Alright, let’s get cooking! Since we are baking these beauties, the first step is kicking the oven up to 400°F (200°C). Line a baking sheet with parchment paper—trust me, cleanup is just easier this way—and give it a light coat of cooking spray. You want these golden, not stuck!
The actual cooking process is fast, and getting your breading station ready is key. I always follow the standard three-dish route like clockwork; it prevents messes and ensures a beautiful coating. If you’ve been looking for a great sauce recipe to go alongside these, I have one for peanut, but today we stick to the sweet chili mayo!
Setting Up the Breading Station
Grab three shallow dishes. Dish one gets your flour mixed with the salt and pepper—that’s going to be our binder. Dish two holds your lightly beaten eggs. And dish three? That’s where the crunch lives: the shredded coconut mixed right in with the Panko breadcrumbs. Mix that coconut-Panko combo really well so you get a little bit of both in every bite.
Coating and Baking the Coconut Shrimp
Take your shrimp one by one and give it a good flour bath—shake off the extra, please! Next, dip it straight into the egg, letting the excess drip off. Now for the important part: press it firmly into that coconut-Panko mix. You need to really work it in so the coating sticks well. Lay the coated shrimp on your prepped sheet and give the tops a quick spritz of cooking spray to help them brown up nicely! Bake these for 10 to 14 minutes total. Remember to flip them halfway through so they get crunchy and pink all over. While they’re baking, whisk up that dipping sauce!
Tips for Perfect Coconut Shrimp Every Time
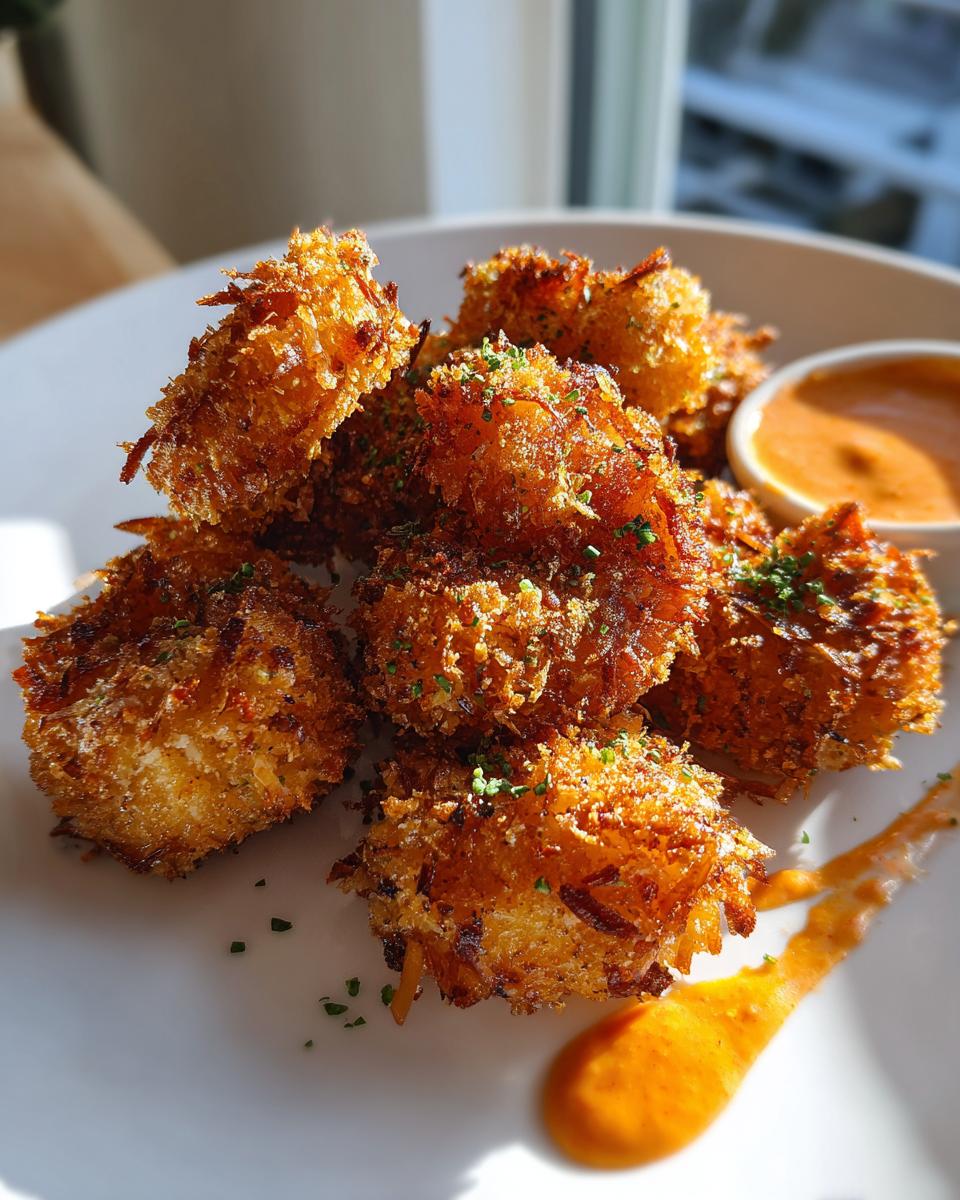
I’ve made this recipe so many times now—for quick weekend treats and for bigger parties—and I’ve figured out the little tricks that take them from good to truly amazing. Following the main instructions gets you great results, but these tweaks guarantee you get that stunning, golden Crispy Coconut Shrimp coating every single time, even when baking!
Flavor Boosts for Your Coconut Shrimp
My favorite tip, which came straight from trial and error, is about boosting that coconut flavor! If you have two extra minutes, gently toast the Panko and coconut mixture in a dry pan over medium heat for about three minutes before you start breading. Watch it closely because coconut burns fast! Toasting it deepens the nutty flavor and locks in extra crunch. It’s a small step that makes a huge tropical difference, making this truly the Savory Sweet Shrimp Snack everyone raves about.
Making the Best Coconut Shrimp Dipping Sauce Variations
While the lime juice brings a wonderful brightness to our Sweet Chili Mayo—which is absolutely the Best Coconut Shrimp Dipping Sauce in my book!—you can totally play with it if you’re craving something a little sharper. If you find lime juice too intense or just don’t have it on hand, swap it out for one teaspoon of rice vinegar. It gives the sauce a cleaner, almost tangy lift that cuts the sweetness beautifully, making it a fantastic variation for your dipping station.
Cooking Method Variations: Air Fryer Coconut Shrimp and More
So, we definitely nailed the baked version, which is great if you want a truly Lightened Up Coconut Shrimp option, and it’s fast, too! But I know some of you need that deep-fried texture, maybe for a party setting or just because you love that classic taste. I always test things thoroughly so you know exactly what to expect when you switch gears.
If you have an air fryer—and if you don’t, you know I love talking about how useful they are; check out my wrap recipe here—you can absolutely crush this recipe in there for a fantastic result that’s almost as crispy as frying!
To adapt for the air fryer, you’ll follow the exact same breading steps. But instead of laying them on a sheet pan, place the coated shrimp in a single layer in your air fryer basket. Don’t crowd them, or they’ll steam instead of crisping up! You’ll want to cook them at about 390°F for maybe 8 to 10 minutes total. Remember to shake the basket halfway through so both sides get golden and crunchy.
Now, if you’re aiming for that classic Restaurant Style Coconut Shrimp texture, you’ll need to deep fry. You’ll heat about two inches of neutral oil to 350°F. Fry them in small batches—don’t overload the pot—for just two to three minutes until they are perfectly golden brown. They come out super fast this way, so keep an eye on them! If you want to read up on another excellent crispy recipe, check out this one for some inspiration: Best Coconut Shrimp Recipe.
Make Ahead Appetizers: Freezing Your Coconut Shrimp
For me, entertaining shouldn’t mean scrambling at the last minute, which is why I love this recipe’s ability to work as one of those great Make Ahead Appetizers! When the party is roaring or you just want a quick backup for Seafood Night Ideas, having ready-to-go shrimp is a lifesaver.
It’s super easy. Just follow the breading station process exactly as written, but don’t bake them yet! Lay those fully coated shrimp out in a single layer on a baking sheet—make sure they aren’t touching! We call this flash freezing. Pop that tray into the freezer until the shrimp are completely solid, which usually takes about an hour. Once they are like little frozen statues, you can carefully transfer them all into a sturdy freezer bag. You can find more tips on freezing things like my breakfast burritos over here, too!
When you’re ready to cook them from frozen, just toss them straight into the 400°F oven and add about three to five extra minutes to your baking time. They come out just as crispy and delicious!
Serving Suggestions for Your Tropical Shrimp Recipe
Now you’ve got this incredible, crispy, sweet, and savory batch of Coconut Shrimp, the question is, what are you pairing it with? If they’re destined for a party, they stand perfectly well on their own as amazing Party Shrimp Bites. Seriously, put out a bowl of these and watch them disappear before you can even get the chips out!
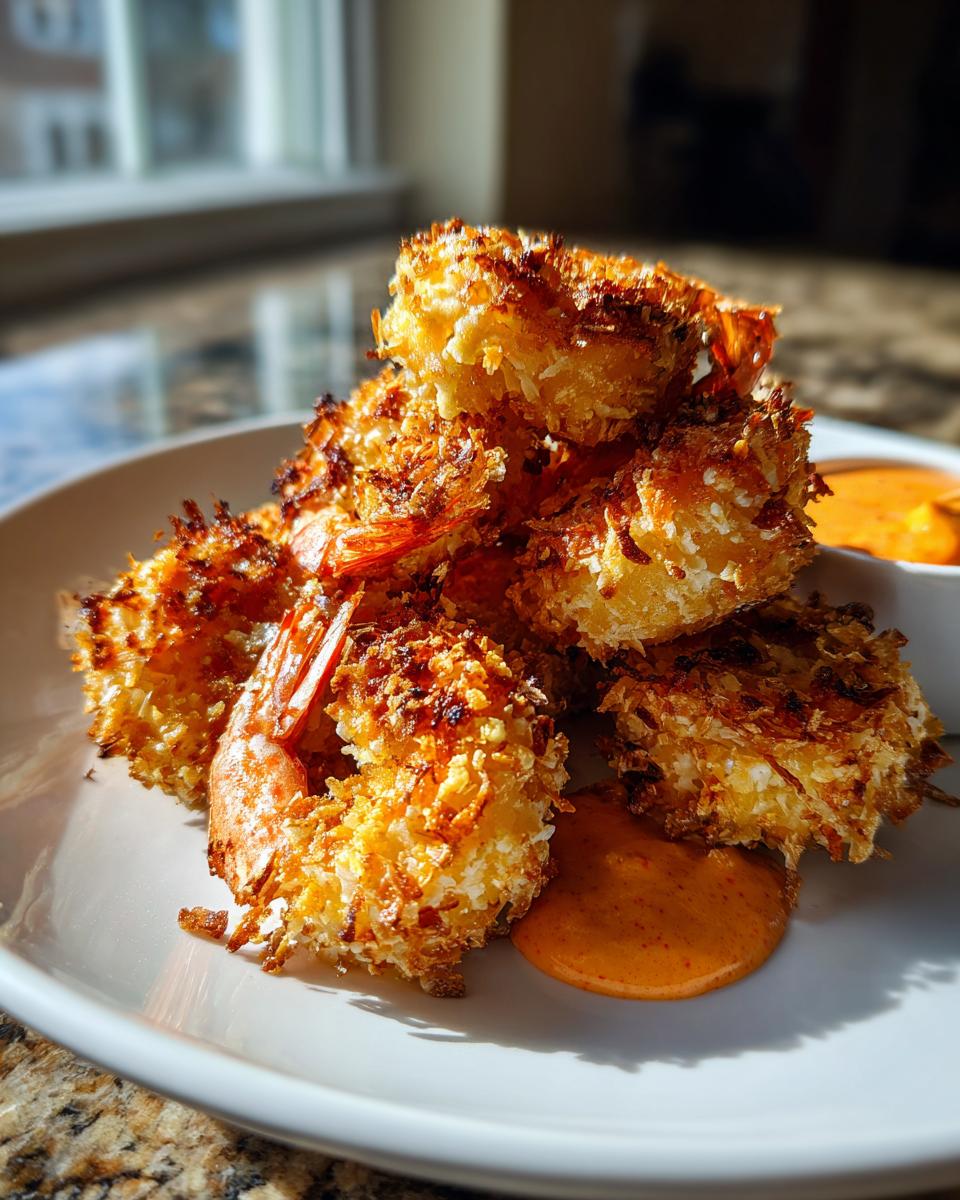
But if you’re wondering how to turn this perfect appetizer into a full-on Seafood Night Idea that feeds the family, I’ve got you covered! We need a couple of fresh, simple sides that won’t compete with the tropical flavor. I always love serving these over a bed of something starchy that soaks up a little of that extra sauce residue. My easy turmeric rice recipe is fantastic because it adds a beautiful golden color and just a hint of earthiness.
Alternatively, to balance out the richness of the coconut crunch, you need something bright and acidic. You can whip up my easy authentic Greek salad recipe in no time. The creamy dressing and fresh cucumbers are the perfect cool-down contrast to the warm, sweet shrimp. Honestly, putting these shrimp on a platter next to a colorful salad and some rice makes for such a satisfying, lightened-up dinner!
Storage and Reheating Instructions
If, by some miracle, you have any of this incredible Coconut Shrimp left over, sealing in that crunch for later is important. Keep any leftovers tucked away in an airtight container in the fridge for up to two days. Seriously, though, try to eat them the day you make them!
When you’re ready to reheat your Crispy Coconut Shrimp, stay far away from the microwave—it’s the enemy of crispiness! Your best bet is popping them back into a 350°F oven or your air fryer for just a few minutes until they heat through and crisp back up again. We want that satisfying snap!
Frequently Asked Questions About Coconut Shrimp
You know I always get questions when you guys try out my recipes! It’s funny how many people think this incredible, tropical appetizer has to be extremely difficult or involve drowning things in oil. Nope! Here are the quick answers to the things I hear most often about making this truly Crowd Pleasing Appetizer.
Can I make this a Quick Shrimp Dinner?
Absolutely! While this recipe is sized perfectly as an appetizer for four people, anytime you want a Quick Shrimp Dinner, just double the batch and serve it over something simple. If you’re short on time, serving it over plain rice or a super quick green salad—maybe using my creamy sauce idea over the rice if you wanted, though that’s heavy!—turns this into a full, satisfying meal in under 30 minutes total.
How do I get the Restaurant Style Coconut Shrimp texture at home?
This is all about that coating, my friend! To get that hallmark Restaurant Style Coconut Shrimp crunch when we are baking it—which is a lighter take than the classic fry method—you need two things: Panko breadcrumbs and patience during the pressing phase. Make sure you really press that Panko and coconut mixture firmly onto the egg-coated shrimp. That solid cement job is what keeps the crust from flopping off in the oven or the air fryer!
What if I don’t have Panko for my Homemade Coconut Shrimp Recipe?
Oh, breadcrumbs panic! Don’t worry, it happens. If you’re making this Homemade Coconut Shrimp Recipe and you’re out of Panko, you have a couple of options, though the texture will feel a little different. Your next best bet is crushing up plain cornflakes—not the sugary kind, just the flakes—until they are coarse. If you have no cereal, just use a little extra shredded coconut, but know that it will be slightly milder in crunch. You’ll still get a wonderful flavor, just maybe not that signature Panko crackle!
If you want to see how other folks handle the dipping sauce situation, check out Natasha’s version for inspiration right here. Happy cooking!
PrintCrispy Baked Coconut Shrimp with Sweet Chili Mayo
Make restaurant-style crispy coconut shrimp at home using the oven for a lighter, crunchy appetizer or main dish. Serve with a simple sweet chili mayonnaise dipping sauce.
- Prep Time: 15 min
- Cook Time: 14 min
- Total Time: 29 min
- Yield: 4 servings 1x
- Category: Appetizer
- Method: Baking
- Cuisine: American
- Diet: Vegetarian
Ingredients
- 1 lb large shrimp, peeled and deveined, tails on or off
- 1 cup all-purpose flour
- 2 large eggs, lightly beaten
- 1 cup sweetened shredded coconut
- 1 cup Panko breadcrumbs
- 1 teaspoon salt
- 1/2 teaspoon black pepper
- Cooking spray
- For the Dipping Sauce:
- 1/2 cup mayonnaise
- 1/4 cup sweet chili sauce
- 1 teaspoon lime juice
Instructions
- Preheat your oven to 400°F (200°C). Line a baking sheet with parchment paper and lightly coat it with cooking spray.
- Set up a standard breading station with three shallow dishes.
- In the first dish, place the flour seasoned with salt and pepper.
- In the second dish, place the beaten eggs.
- In the third dish, combine the shredded coconut and Panko breadcrumbs. Mix them well.
- Take one shrimp at a time and dredge it completely in the flour mixture, shaking off excess.
- Dip the floured shrimp into the egg mixture, allowing excess to drip off.
- Press the shrimp firmly into the coconut-Panko mixture to coat all sides evenly. Place the coated shrimp on the prepared baking sheet.
- Lightly spray the tops of the coated shrimp with cooking spray to help them brown.
- Bake for 10 to 14 minutes, flipping halfway through, until the shrimp are pink and the coating is golden brown and crisp.
- While the shrimp bake, prepare the dipping sauce. Whisk together the mayonnaise, sweet chili sauce, and lime juice in a small bowl until smooth.
- Serve the hot coconut shrimp immediately with the sweet chili mayo. This recipe is a great alternative to heavy frying when considering meal planning for lighter fare.
Notes
- For extra flavor, you can lightly toast the coconut-Panko mixture in a dry pan for 3 minutes before breading the shrimp.
- If you prefer a tangier sauce, substitute the lime juice with 1 teaspoon of rice vinegar.
- These shrimp freeze well before baking. Arrange them on a tray, freeze until solid, then transfer to a freezer bag. Bake directly from frozen, adding a few extra minutes to the cook time.
Nutrition
- Serving Size: 4 shrimp
- Calories: 320
- Sugar: 12
- Sodium: 450
- Fat: 15
- Saturated Fat: 7
- Unsaturated Fat: 8
- Trans Fat: 0
- Carbohydrates: 28
- Fiber: 1
- Protein: 18
- Cholesterol: 150