
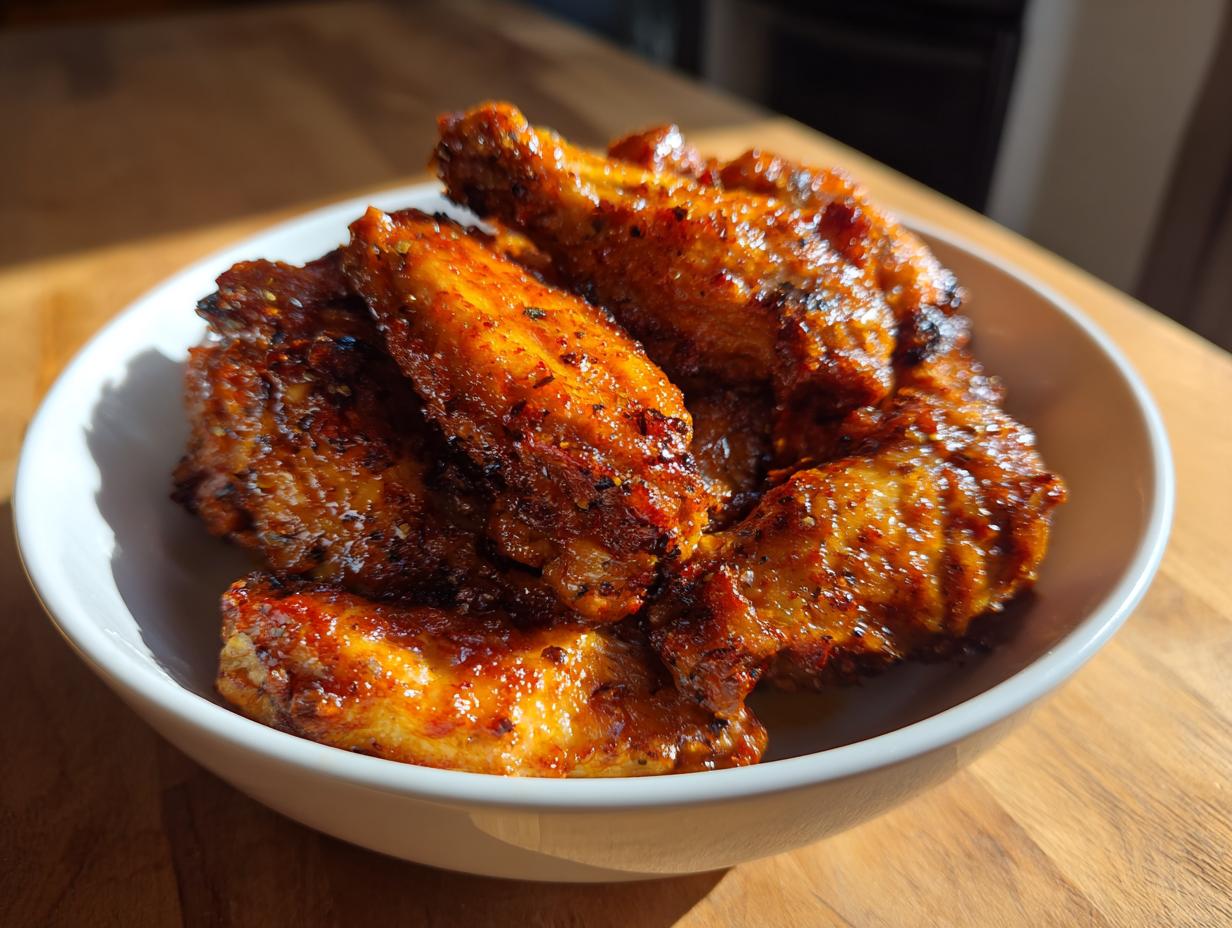

Oh my gosh, are you ready for Game Day or your next party? Because if you are, you absolutely need these in your life! I spent what felt like forever trying to crack the code on making truly amazing, shatteringly crisp chicken wings without turning my kitchen into a grease pit. Seriously, who wants to deal with deep frying? Not me! That’s why I perfected this recipe for the Ultimate Extra Crispy Oven Baked Chicken Wings (No Frying Required). I’ve tested every temperature and trick so you don’t have to. Trust me, when you pull these out, golden brown and crackling, smelling incredible, you’ll know why I spent weeks getting this method reliable. These are, hands down, the best chicken wings you’ll ever make in your standard oven. You can find all my favorite easy appetizers over in my appetizer section!
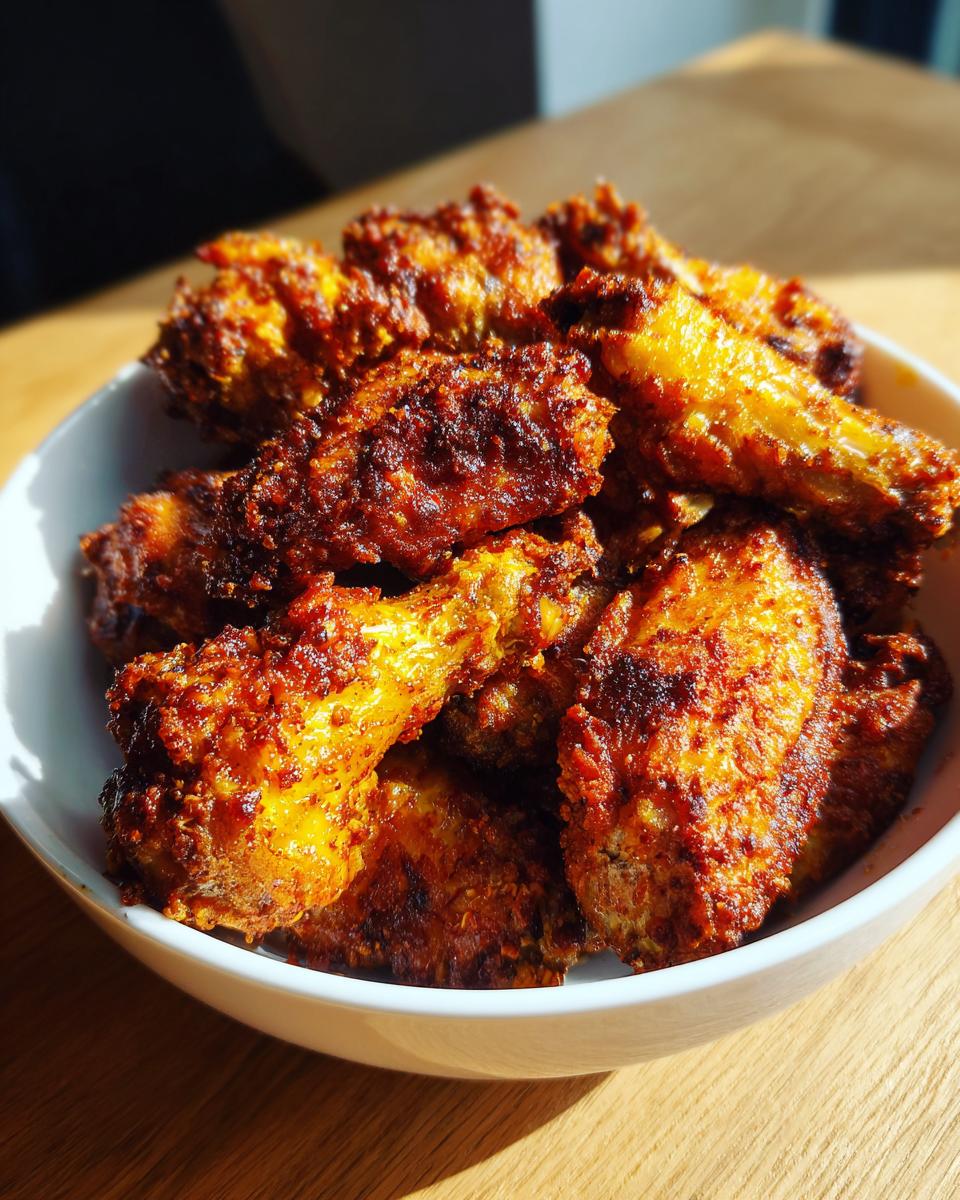
- Why This Recipe Delivers the Best chicken wings Every Time
- Essential Ingredients for Perfect Oven baked wings no mess
- Step-by-Step Instructions for Crispy baked wings
- Flavor Variations for Your Next Batch of chicken wings
- Tips for Success When Making chicken wings
- Serving Suggestions for Game Day Appetizers and Dinner
- Storage and Reheating Crispy chicken wings
- Frequently Asked Questions About Oven Baked chicken wings
- Making Smart Food Choices with chicken wings
Why This Recipe Delivers the Best chicken wings Every Time
I stand by this method because it solves the two biggest kitchen headaches: mess and sogginess. People always ask me for my secret because these chicken wings genuinely rival anything you get at a restaurant, and we do it all in the oven! Here’s why we get that fantastic result every time:
- Zero deep-frying means way less cleanup—a big win for weeknight cooking!
- We achieve the perfect juicy interior wrapped in skin that actually snaps when you bite it.
- The results are consistently reliable, which is what I always aim for here at Cut Cook Taste.
The Secret to Crispy baked wings: Baking Powder
This is where the magic starts, and it’s completely non-negotiable. Baking powder isn’t just for pancakes, sweetie! When you toss your wings in it—I always try to grab aluminum-free if I can find it—it raises the pH level of the skin slightly. Sounds fancy, but what it really does is help dry out the skin surface while baking, allowing the meat underneath to steam gently. It speeds up that browning process beautifully!
Achieving Juicy and Crispy wings with Proper Setup
The absolute second most important thing after the powder is your setup. You MUST use a wire rack over a foil-lined baking sheet. If you put the wings directly on the pan, the bottoms steam in their own rendered fat. We are roasting, not boiling! Also, do not overcrowd the rack. If the wings are cheek-to-jowl, they trap steam and instantly turn mushy. Give every piece space to breathe so that hot air can circulate completely around them. Check out my full guide on my full baked wings tutorial for more visuals on setup!
Essential Ingredients for Perfect Oven baked wings no mess
Okay, now that we know the technique, let’s talk about what you actually need to grab from the pantry. For this recipe, keeping things simple is key, especially since we’re aiming for easy chicken wings that aren’t swimming in oil. Remember, the beauty of this method is how few things you need to make them spectacular!
Coating and Seasoning for Flavorful chicken wings
This is the dry rub that does most of the heavy lifting for achieving crispiness and a foundational savory flavor. I always lay out my ingredients before I even touch the raw wings—safety first, right?
- You’ll need about 3 pounds of chicken wings. Make sure you separate them into flats and drumettes. They bake more evenly that way!
- One tablespoon of baking powder. Again, if you can find aluminum-free, go for it! It just ensures a cleaner taste, though the standard kind works fine too.
- One teaspoon of salt.
- Half a teaspoon of black pepper.
- And just half a teaspoon of garlic powder for that background savory hug.
Sauce Options for Your chicken wings
This is where you get to personalize things! I like to prepare the sauce while the wings are in the oven so everything is ready the second they come out hot. You’ll need about a quarter cup of butter melted down for any sauce base. Pick your adventure:
- Classic Buffalo: Just whisk that melted butter with a quarter cup of your favorite bottle hot sauce. Simple, tangy heat!
- Garlic Parmesan: Toss the hot wings right away with the melted butter and about half a cup of finely grated Parmesan cheese. Oh boy, the smell during this step is unreal!
- Hot Honey: If you want that trendy sweet-spicy kick, mix that melted butter with a quarter cup of honey and just a tablespoon—or more, if you’re brave—of hot sauce. That hot honey chicken wings recipe vibe is totally achievable right here.
Step-by-Step Instructions for Crispy baked wings
Alright, let’s roll up those sleeves! Following these instructions precisely is what moves you from “okay wings” to “the best chicken wings I’ve ever made.” I timed this process several times to make sure it fits easily into a busy evening, maybe even when you’re planning something quick like my chicken tortilla soup for dinner later in the week. Patience during the first steps pays off big time!
Preparation and Seasoning: Setting up the chicken wings
First things first—preheat that oven to 425 degrees F. While it’s warming up, you need to set up your baking sheet. I always line mine with foil (for easy cleanup, naturally!) and place a wire rack squarely on top. Now, take your separated chicken wings and dry them. Seriously, pat them down until they feel almost fuzzy dry with paper towels. Then, toss them gently in that coating mix: the baking powder, salt, pepper, and garlic powder. Make sure every single piece is lightly, evenly dusted. That’s the key to not having any soggy spots!
Baking Technique for Ultra Crispy chicken wings
Lay your seasoned wings out on that rack in a single layer. Remember what I said? No touching! Pop them into the hot oven and bake them for 25 minutes straight. Do not peek too much! After 25 minutes, take them out (carefully, it’s hot!) and use tongs to flip every single wing over. They should look a little pale but beginning to brown already. Then, back in they go for another 20 to 25 minutes. You are looking for a deep, golden brown color—the skin should look tight and really crusty.
Saucing Your Finished chicken wings
While they are doing their final crisping, make your chosen sauce. The moment those glorious, crispy chicken wings hit the counter, you need to work fast! Put them straight into a large, clean bowl—the heat transfers the sauce perfectly. Then, pour over your Buffalo, Garlic Parmesan, or Hot Honey mixture and toss gently but thoroughly until everything is coated. Serving them immediately after saucing ensures you get that amazing texture combo: crispy coating yielding to tender meat inside.
Flavor Variations for Your Next Batch of chicken wings
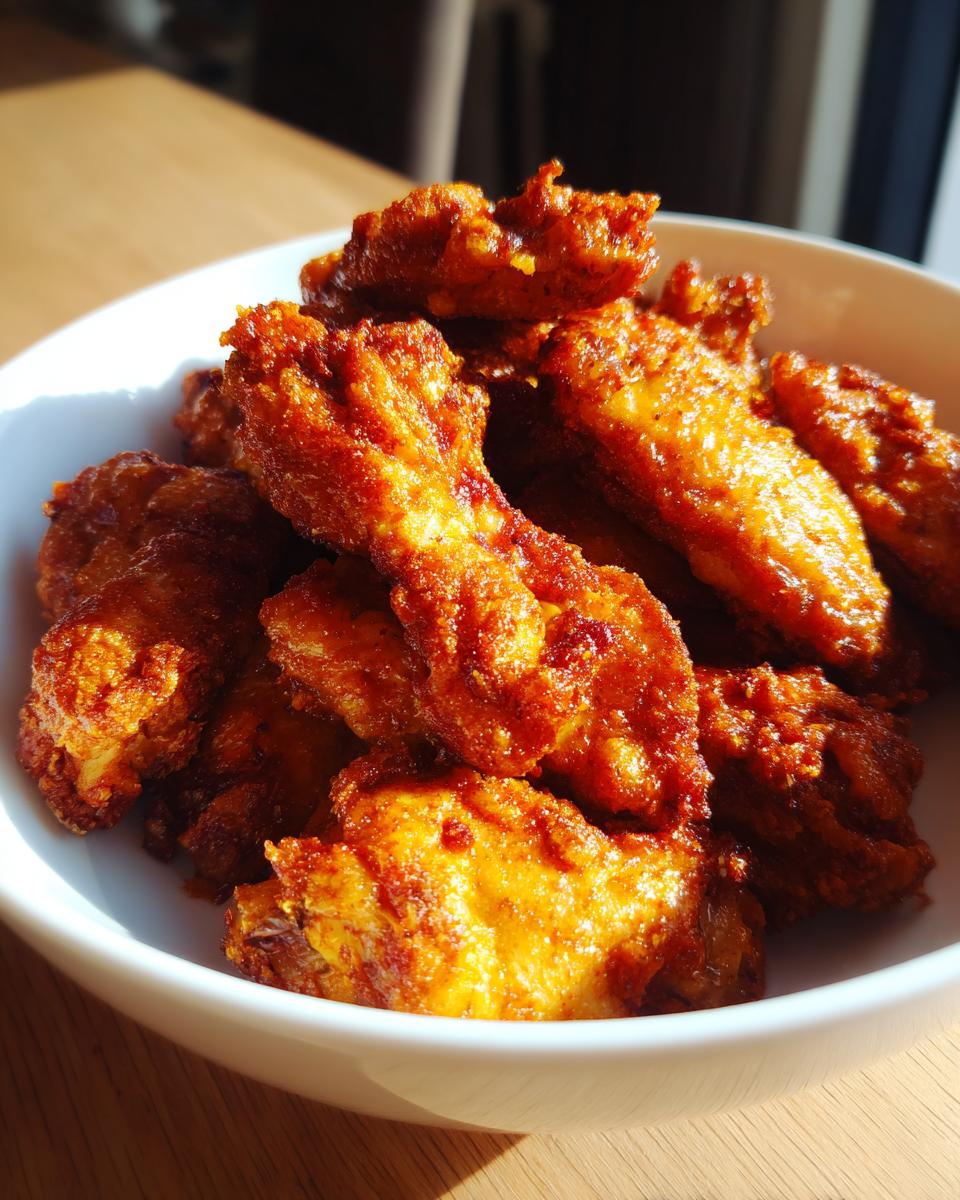
If you look at my ingredient list, you’ll see I gave you three fantastic starting flavors—Buffalo, Garlic Parmesan, and that amazing Hot Honey—but the universe of amazing chicken wings doesn’t stop there! Once your wings are perfectly baked and crispy, the world is your oyster. You’ve already done the hard work achieving that perfect texture, so tossing them in flavor is the easy part.
If you want to try something zesty, you absolutely must try a Lemon Pepper rub. Just skip the wet sauce step, toss those hot wings in a mix of melted butter and a generous amount of lemon pepper seasoning. It’s bright, savory, and totally addictive. You can see why people go wild for the hot honey chicken wings recipe everyone loves, but Lemon Pepper is my other go-to for satisfying that tangy craving!
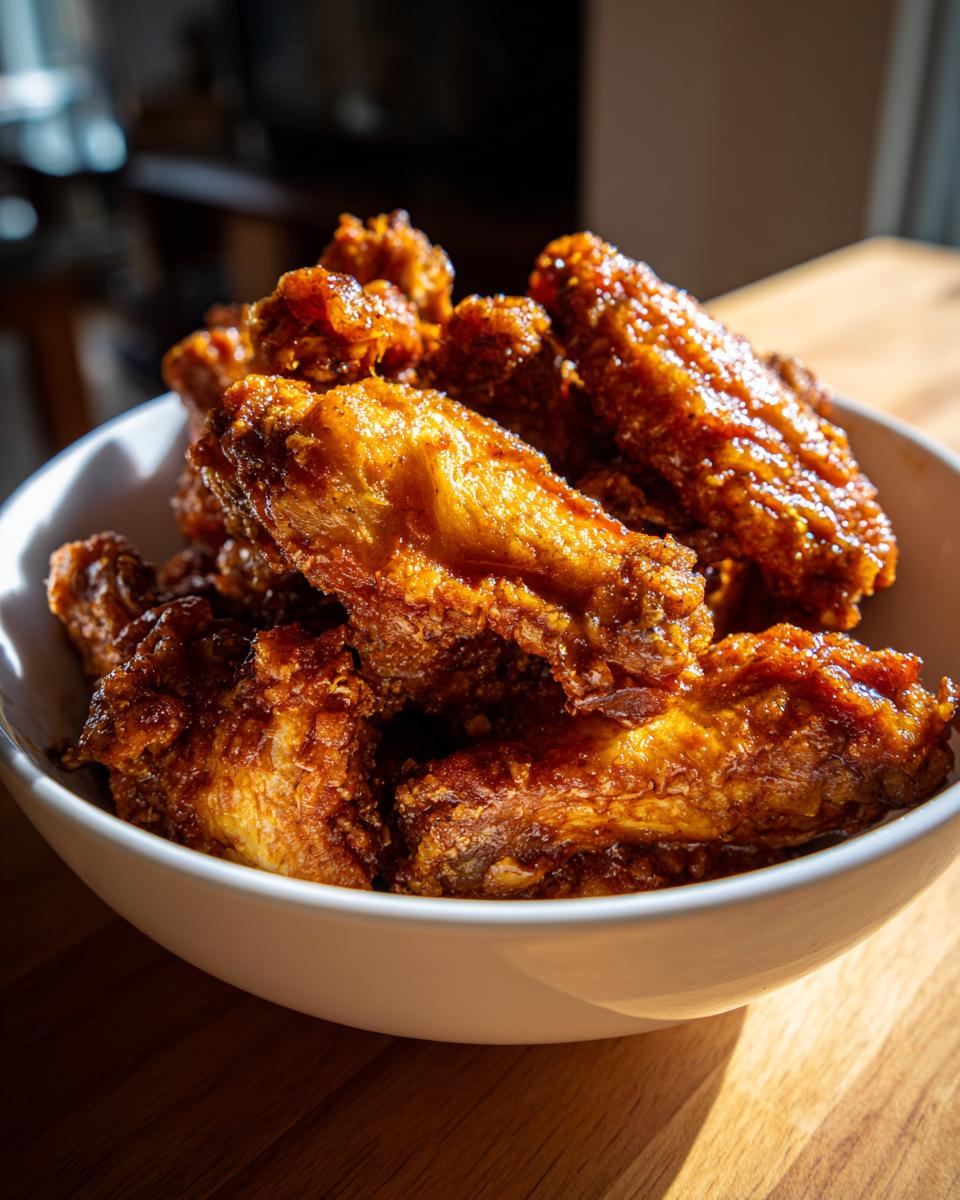
For a really savory, slightly smoky batch, just toss your hot batch of chicken wings with your favorite Kansas City style BBQ sauce right at the end. If you ever need a great dipping sauce on the side, I have a wonderful quick peanut sauce recipe that pairs unexpectedly well if some of your crew prefers something sweeter!
Tips for Success When Making chicken wings
I know I sound like a broken record sometimes, but friends, do not skip the drying step! I cannot stress that enough when it comes to getting truly crispy baked chicken wings. If the wings feel damp at all before they hit that dry rub, you are asking for a steaming session instead of a crisping session. Your paper towel usage should feel slightly excessive—that’s when you know you are doing it right!
Now, let’s talk about troubleshooting, because sometimes life happens. If you are making a truly massive batch for a huge party—maybe feeding the entire neighborhood for the big game—you absolutely cannot crowd the pan. If you have to shove them onto the rack because everything won’t fit? Stop right there. Cook them in two separate rounds. Overcrowding is the number one way to ruin this method. You want those chicken wings to have space so the hot air can work its magic underneath and around them when you check out tips like these over at this great recipe link.
If you followed every single step, cooked them until they were beautifully golden, but you just want that extra, *extra* layer of crunch before you sauce them? I have one last trick up my sleeve, which is similar to what I do on my easy breakfast bakes when I want a crust. After the final 20-25 minutes of baking, watch them closely, and switch your oven setting to broil for just 60 to 90 seconds. You have to stay in the kitchen for this part because they go from golden to burnt super fast! This gives the skin almost a blistered, crunchy texture that is just divine before you toss them in your sauce.
Serving Suggestions for Game Day Appetizers and Dinner
Now that you have a huge platter of the crispiest, juiciest baked wings known to humankind, you need the supporting cast! These aren’t just for game days, though they certainly shine brightest when football is on. They make fantastic party appetizers, but they’re substantial enough to be a quick weeknight dinner centerpiece too.
For the truly classic experience—the one where you’re dipping things until your fingers are messy and happy—you need the cool, crisp counterpoints. I always serve these with tons of celery sticks and carrot sticks on the side. They are non-negotiable! They’re perfect for cutting through the richness of the Buffalo or the savory nature of a good Garlic Parmesan toss.
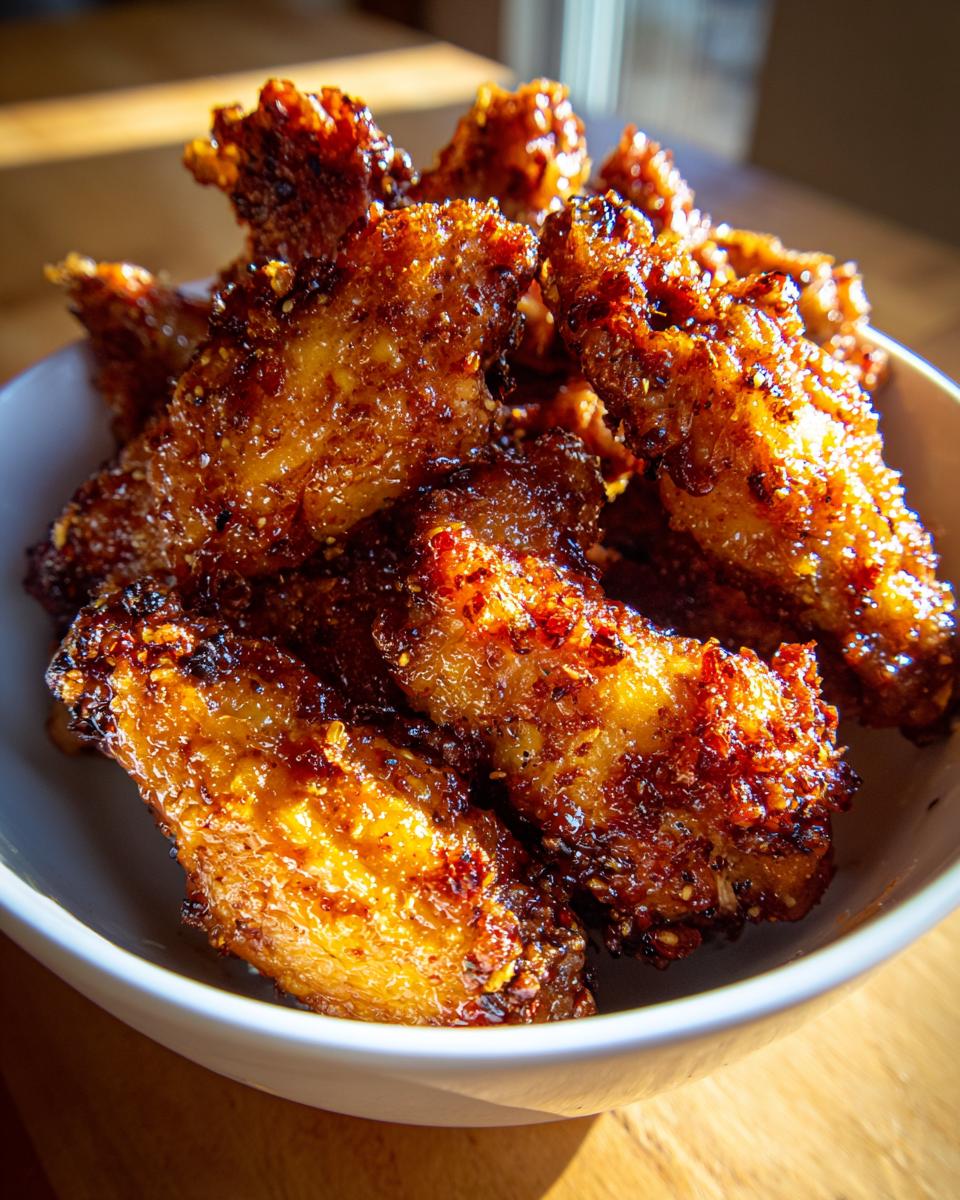
If you are doing a full spread of game day appetizers, these wing recipes pair beautifully with almost anything. How about something creamy? My copycat Olive Garden Salad is always a hit because it’s bright and tangy, cutting right through the fatty richness of the wings. Or, if you need something heartier than just snacks, serve a few wings alongside a big bowl of crunchy homemade potato chips, or maybe some easy sliders.
For dinner, I sometimes treat them as the main protein. If you serve four wings per person, just pair them with a simple filling side, like roasted sweet potatoes or some quick white rice, and that’s a satisfying, less-fussy meal ready faster than ordering takeout!
Storage and Reheating Crispy chicken wings
Okay, let’s be real. Sometimes you make too many, or maybe you planned ahead, thinking these chicken wings are the perfect make ahead party food centerpiece. The wonderful news is that yes, you can store leftovers! However, sauced wings are trickier than dry-rubbed wings, so you have to be careful how you reheat them if you want that lovely crunch back.
If you want to prep ahead, I highly recommend baking the wings completely plain—no sauce at all. Keep them sealed tight in an airtight container in the fridge for up to three days. When your guests arrive, toss those plain, crispy wings in your chosen sauce, quick five-minute warm-up in the oven if they seem cold, and serve! That keeps the texture crispest.
If you already have saucy chicken wings leftover, don’t toss them! The only way to bring back that crisp exterior is using dry heat. You absolutely must avoid the microwave! The microwave just steams them and makes them sad and rubbery. Instead, spread them out on a clean wire rack set over a foil-lined baking sheet—just like we did when we cooked them!
Pop them into a 350-degree oven for about 8 to 10 minutes. If you have an air fryer, that works like a charm too; set it to 375 degrees for about 5 minutes. That blast of dry heat sucks the moisture out of the coating and brings back that satisfying snap. You can even make fun burritos or other make-ahead items, but for these wings, low and slow dry reheating is the best method to save your beautiful work!
Frequently Asked Questions About Oven Baked chicken wings
I always get so many great questions popping up when people first try this method for makingchicken wings! It’s the recipe I recommend most often for reliable, tasty wings, so I wanted to clear up a few things based on what you all ask the most over on my Instagram.
Can I use baking soda instead of baking powder?
This is a common question when people look up crispy baked wings alternatives! You technically *can* use baking soda, but you have to be much, much more careful. Baking soda is stronger and can leave a slightly metallic or soapy taste if you use too much. The baking powder is milder and works better with the salt and pepper blend we used here to create that nice, light crust. Stick to the powder for the best results with this recipe!
How do I convert this recipe for the Air fryer chicken wings?
Oh, the air fryer! It’s a game-changer for quick snacks, and yes, this dry rub works perfectly in it. For the air fryer, you’ll want to set the temperature a touch lower than the oven, maybe around 380 degrees F. Toss the wings in the rub just like we did, but cook them in batches so you don’t pack the basket tight. Air fry them for about 18 to 20 minutes total, shaking the basket halfway through. They will be fantastic—juicy and crispy—and slightly faster than the oven!
Are these oven baked wings healthier than deep-fried?
In short, yes, they absolutely are! Since we aren’t submerging the chicken wings in oil, you eliminate a huge amount of unnecessary fat and calories compared to traditional frying. It’s one of my favorite ways to make incredible party chicken wings that still fit into a generally lighter style of eating. When you are trying to make smarter choices without sacrificing flavor, this method is your best friend because it delivers the texture you crave without the grease!
My wings look pale after cooking—what went wrong?
This usually means one of two things happened! First, maybe your oven temperature wasn’t quite accurate, or second, you didn’t use enough baking powder or didn’t toss them well enough. If they look pale but feel firm, just slide them back under the broiler for about 90 seconds. Watch them like a hawk! If they were pale because they were crowded on the rack, they probably steamed instead of roasted, so next time, give them more space. For more tips on mastering crispy texture, check out my guide on marinades and rubs.
Making Smart Food Choices with chicken wings
I totally get it—sometimes the craving hits for classic comfort food, but you don’t want the heavy feeling afterward. That’s why I love knowing how to make these chicken wings as a healthier fried chicken wings alternative. Since we skip the deep fryer completely, we cut out a ton of unnecessary oil, making them much lighter for a party appetizer or a fun dinner.
I try to avoid spending hours on complicated cooking when I can, so this method beats spending time researching complex meal planning strategies just to squeeze in deep-frying. These baked wings give you all that satisfying crunch and flavor without the grease. It’s my go-to technique for a reliable, delicious snack!
PrintThe Ultimate Extra Crispy Oven Baked Chicken Wings (No Frying Required)
Make incredibly crispy, juicy chicken wings in your oven without deep frying. This recipe uses a simple baking powder trick for perfect game day appetizers or easy weeknight dinners.
- Prep Time: 15 min
- Cook Time: 45 min
- Total Time: 60 min
- Yield: 4 servings 1x
- Category: Appetizer
- Method: Baking
- Cuisine: American
- Diet: Low Fat
Ingredients
- 3 lbs chicken wings (flats and drumettes separated)
- 1 tablespoon baking powder (aluminum-free preferred)
- 1 teaspoon salt
- 1/2 teaspoon black pepper
- 1/2 teaspoon garlic powder
- 1/4 cup butter, melted (for sauce)
- 1/4 cup hot sauce (for Buffalo sauce) OR 1/2 cup grated Parmesan cheese (for Garlic Parmesan sauce) OR 1/4 cup honey and 1 tablespoon hot sauce (for Hot Honey sauce)
Instructions
- Preheat your oven to 425 degrees F. Line a large baking sheet with foil and place a wire rack on top. This setup helps air circulate for crispiness.
- Pat the chicken wings completely dry using paper towels. This step is crucial for crispy skin.
- In a large bowl, toss the dried wings with baking powder, salt, pepper, and garlic powder until evenly coated. The baking powder helps draw out moisture and promotes browning.
- Arrange the wings in a single layer on the wire rack, ensuring they do not touch.
- Bake for 25 minutes. Flip the wings over.
- Continue baking for another 20 to 25 minutes, or until the skin is deeply golden brown and very crispy.
- While the wings finish baking, prepare your chosen sauce. For Buffalo, whisk melted butter and hot sauce. For Garlic Parmesan, toss hot wings with melted butter and Parmesan. For Hot Honey, toss hot wings with melted butter, honey, and hot sauce.
- Remove the wings from the oven. Immediately toss them in your desired sauce in a clean bowl until fully coated.
- Serve the chicken wings right away with dipping sauces or celery sticks. This method is a great alternative to heavy frying, similar to what you might find in some meal planning guides focused on lighter options.
Notes
- For the crispiest results, do not skip drying the wings thoroughly.
- If you are making a large batch, cook in two separate batches to avoid overcrowding the pan, which causes steaming instead of crisping.
- If you prefer a sticky glaze, toss the wings in the sauce and return them to the oven under the broiler for 1-2 minutes, watching closely to prevent burning.
Nutrition
- Serving Size: 4 wings
- Calories: 350
- Sugar: 3
- Sodium: 450
- Fat: 22
- Saturated Fat: 7
- Unsaturated Fat: 15
- Trans Fat: 0
- Carbohydrates: 2
- Fiber: 0
- Protein: 32
- Cholesterol: 110