
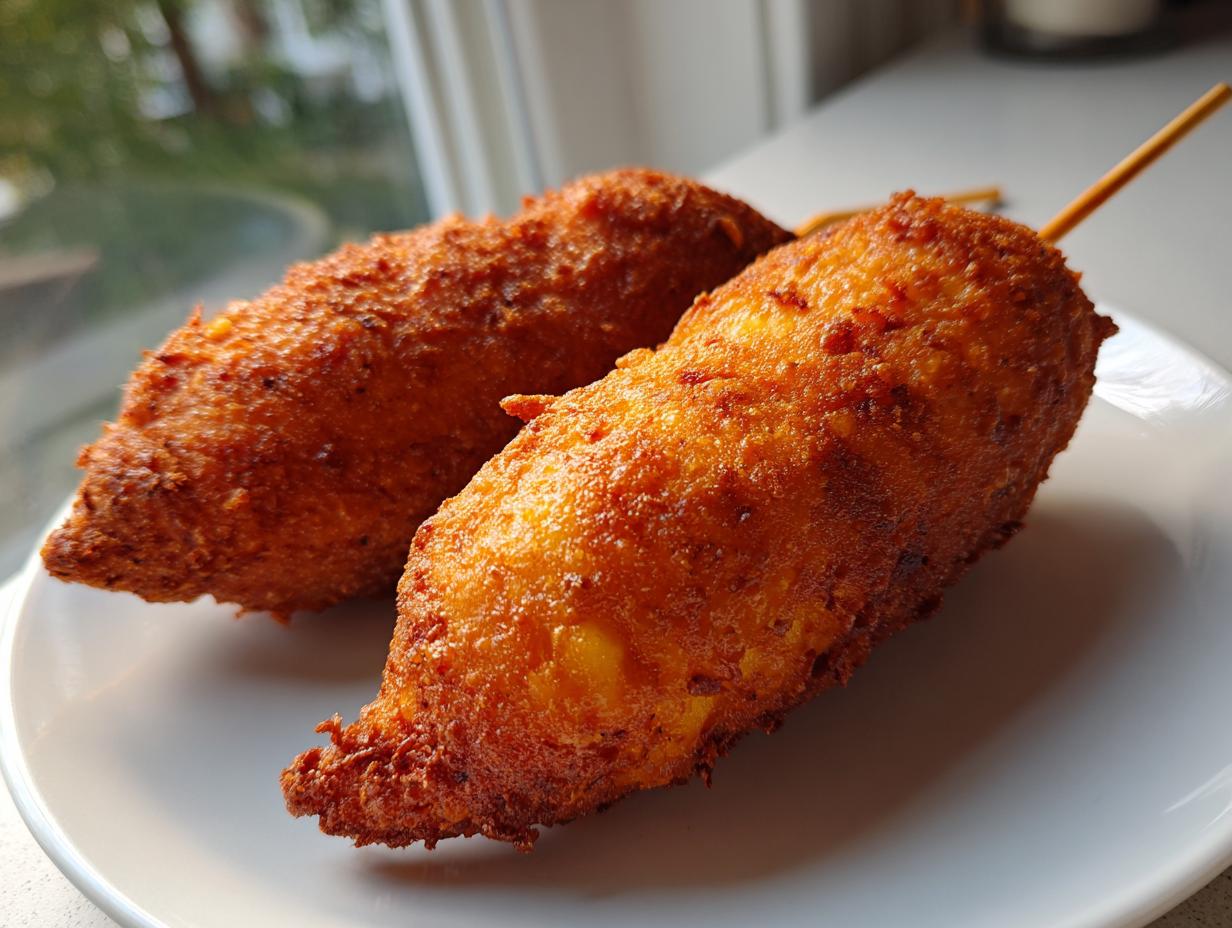

Oh, that craving hits hard, doesn’t it? That deep yearning for something perfectly fried, salty, sweet, and served right on a stick—I’m talking about real, honest-to-goodness fair food. After years of disappointed snacking on mediocre frozen versions, I finally cracked the code to making truly incredible homemade corn dogs right in my own kitchen. This isn’t just another recipe; this is my ultimate crispy homemade corn dogs recipe, and trust me, they blow anything store-bought out of the water. My Grandma always taught me that mastering a classic means understanding the texture, and that’s what we’re doing today. I’ve taken the simple, comforting approach I learned from her and applied it to making the crunchiest, juiciest snack.
- Why This Easy Corn Dog Recipe Delivers Fair Food at Home
- Ingredients for The Best Corn Dogs Recipe
- Step-by-Step Instructions for Perfect Homemade Corn Dogs
- Tips for Success Making Corn Dogs Like a Pro
- Variations: Mini Corn Dog Bites and Baked Corn Dogs
- Serving Suggestions for Your Homemade Corn Dogs
- Storage and Reheating Instructions for Corn Dogs
- Frequently Asked Questions About Making Corn Dogs
- Making Corn Dogs: A Quick Family Meal Alternative
Why This Easy Corn Dog Recipe Delivers Fair Food at Home
I know you want that perfect carnival crunch without spending all day on it. That’s exactly what this recipe gives you!
- We get the whole show—from prep start to finish—done in about 30 minutes. It’s seriously fast dinner or snack material.
- The flavor? It tastes like those perfect ones you get at the fair, only better because you know exactly what went into that batter.
- It relies on tried-and-true techniques, not fancy gadgets. Trust me, this is how you bring the fair to your backyard.
Achieving Ultimate Crispy Corn Dogs Texture
Okay, this is where the magic happens, and it all comes down to heat. You absolutely must get your oil up to 375 degrees Fahrenheit. If it’s too cool, the batter soaks up oil and gets greasy, not crispy. The combination of the buttermilk in the batter reacting with that hot oil creates those beautiful, crisp air bubbles instantly. That’s the secret to keeping your fried food golden and crunchy every single time.
The Simple Batter Recipes for Perfect Corn Dogs
Forget those complicated boxed mixes that call for weird stabilizers. This buttermilk corn dog batter is so simple—just pantry staples whisked together! It’s what makes preparing these homemade corn dogs feel achievable even on a Tuesday night. A few simple ingredients yield a coating that adheres perfectly and fries up like a dream.
Ingredients for The Best Corn Dogs Recipe
When you’re making something this classic, you can’t skimp on the basics. The quality of your hot dogs and the freshness of your buttermilk really shine through here because the batter is so straightforward. I listed everything you need below, but when you grab your groceries, remember that good ingredients make the difference between a decent snack and one of those incredible, craveable homemade homemade corn dogs. Seriously, don’t substitute the buttermilk if you can help it!
- 8 hot dogs or sausages (your favorite kind!)
- 1 cup all-purpose flour
- 1 cup fine cornmeal
- 2 tablespoons granulated sugar
- 1 teaspoon baking powder
- 1 teaspoon salt
- 1 large egg
- 1 cup buttermilk
- 1 teaspoon vanilla extract
- Vegetable oil, for frying—make sure you have enough for 2 to 3 inches in the pot!
- Wooden skewers or popsicle sticks
Because we are frying, using a neutral oil like vegetable or canola is best so the flavor of the batter and the hot dog is what you taste. That’s what makes these the Best Corn Dogs Recipe!
Step-by-Step Instructions for Perfect Homemade Corn Dogs
Now that we have our ingredients ready, let’s jump into the method. Making these Homemade Corn Dogs is extremely satisfying, and honestly, the frying part goes super fast. Just follow these steps closely, especially around that oil temperature, and you’ll have carnival excellence ready in a flash!
Preparing the Hot Dogs and Skewers
First things first, you need the dogs ready to dip. Take your hot dogs and pat them down really well with a paper towel. I can’t stress this enough—dry dogs mean the batter sticks better! Once they are dry, carefully slide a wooden skewer into the bottom of each one. Leave plenty of stick sticking out so you have a nice handle. If you remember them from before, I mentioned chilling them? If you have an extra 15 minutes before you start frying, pop these skewered hot dogs in the fridge. That little chill gives you an extra layer of crispiness once they hit the oil. Don’t skip it if you can manage the wait for that ultimate crunch!
Mixing the Buttermilk Corn Dog Batter
We need two bowls for this. In a medium bowl, you’ll combine all your dry stuff: the flour, the cornmeal, the sugar, the baking powder, and salt. Give that a quick whisk just to marry them all together. Now for the wet side: whisk the egg, the buttermilk, and that little hint of vanilla in a separate, smaller bowl until they look happy and combined.
Pour the wet mixture right into the dry ingredients. Now, listen closely: only whisk until it’s *just* smooth. I mean it! You’ll probably see a few small lumps left over, and that is totally fine. If you mix until it looks perfectly silky like a pancake batter, you’ll end up with tough corn dogs. We want fluffy, light texture, so stop mixing once you don’t see any more dry pockets of flour.
Frying Your Crispy Corn Dogs
Time to heat the oil! Pour about two or three inches of that vegetable oil into your heavy pot or Dutch oven. You need to get the temperature right to 375 degrees Fahrenheit. You must use a thermometer here; guessing with frying is a recipe for disaster. Too cool, and they’re greasy; too hot, and the outside burns before the inside warms up.
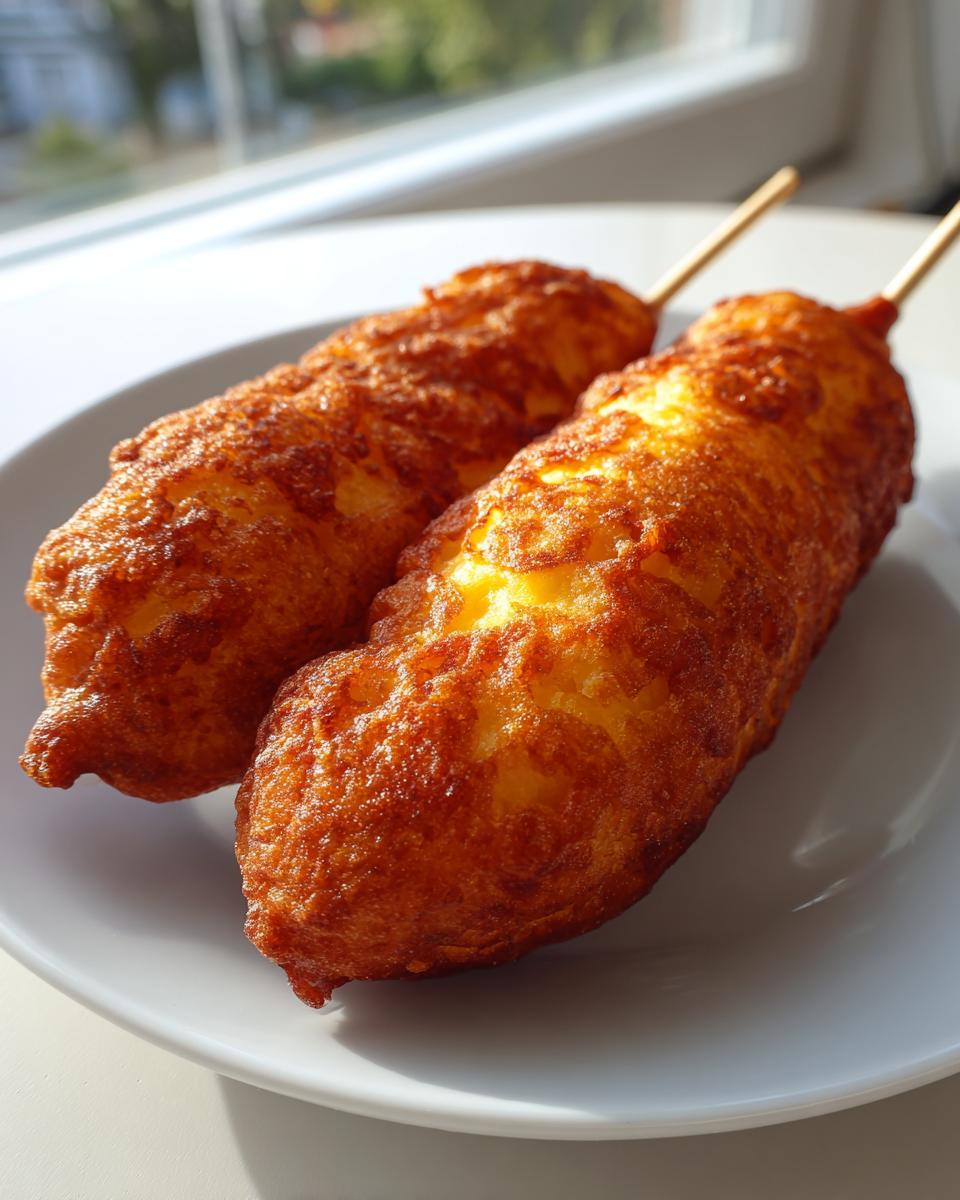
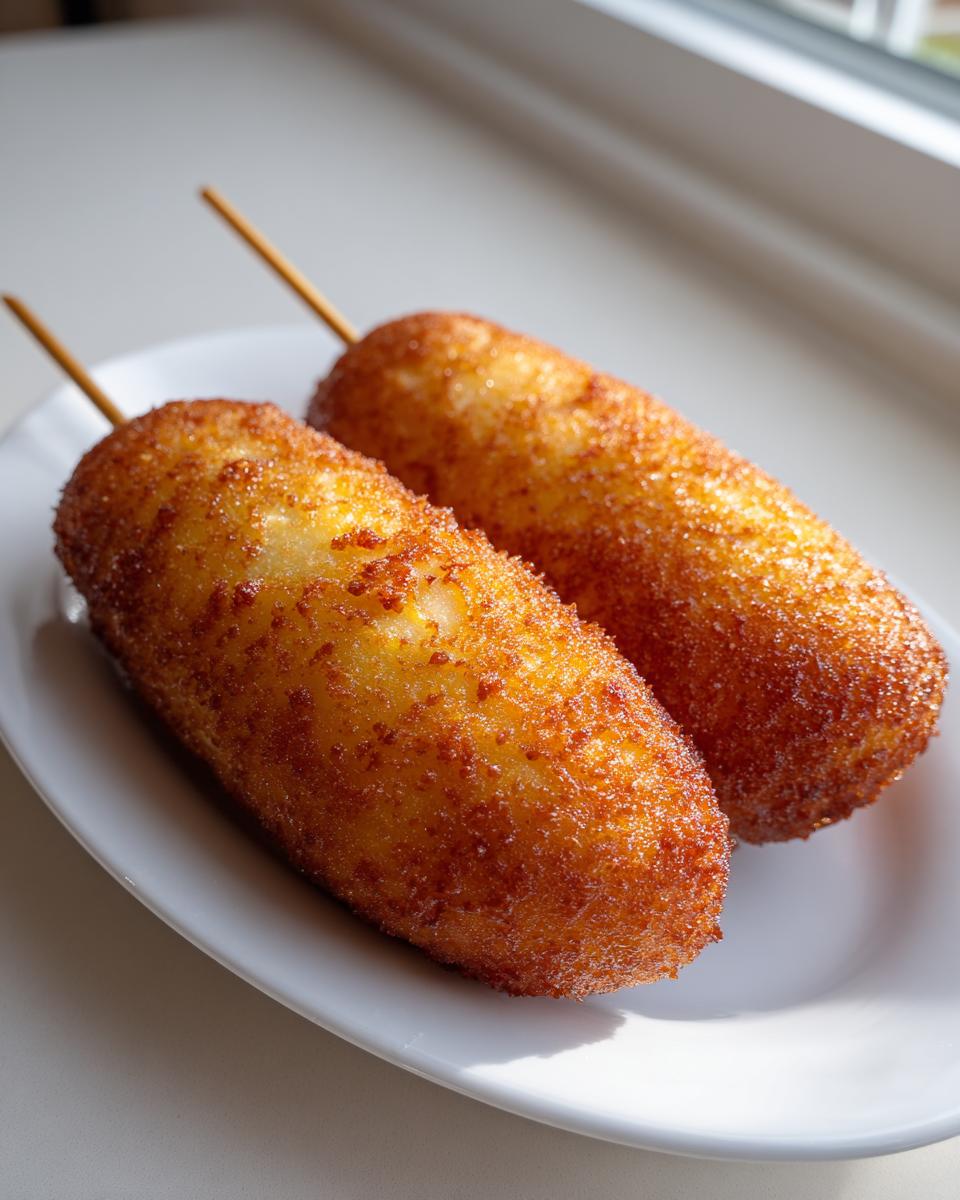
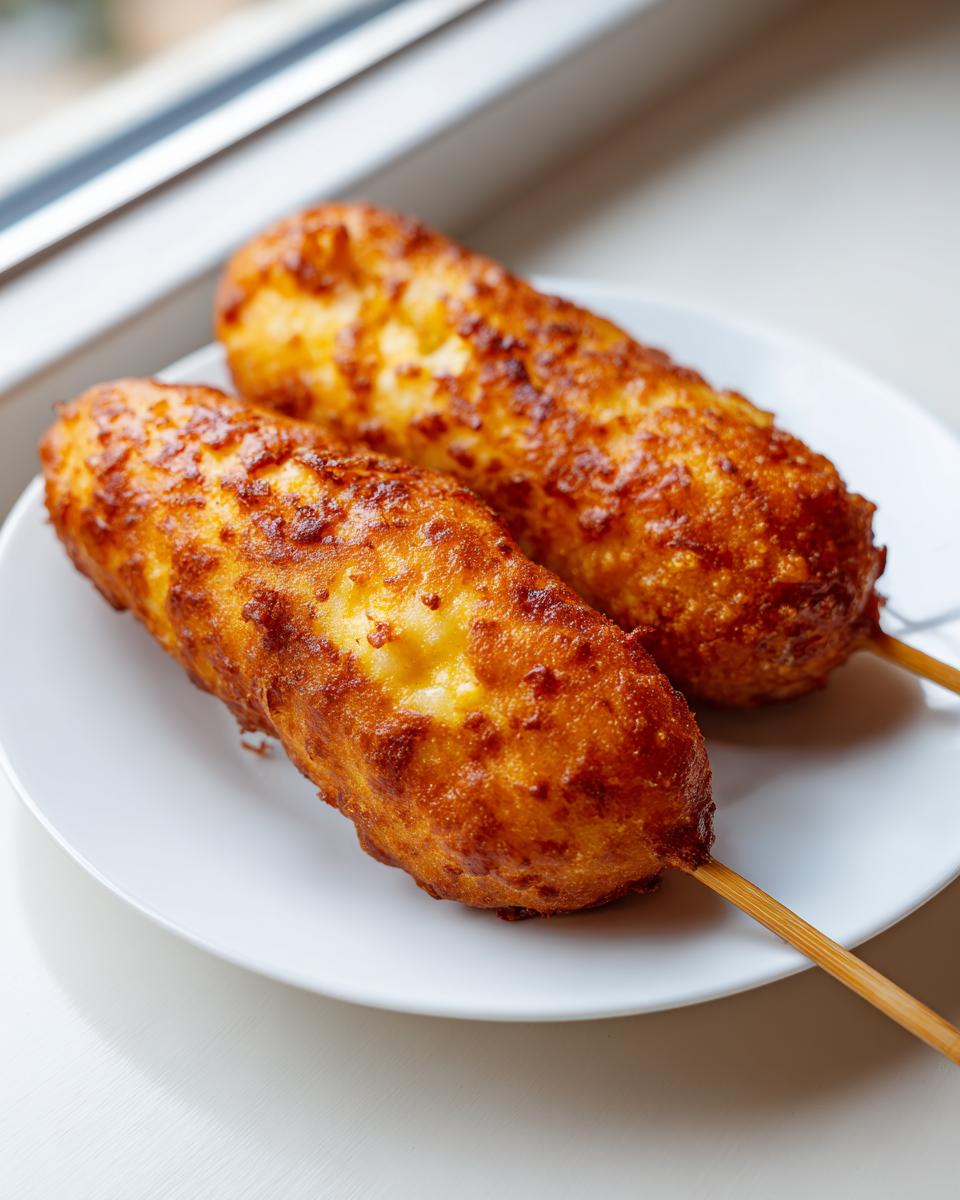
Once the oil is shimmering hot at 375°F, take a skewered hot dog and dunk it completely into that beautiful buttermilk corn dog batter. Let the excess drip off for just a second—we want a thick coating, not a dripping mess. Now, carefully lower the battered dog into the oil. You can only do two or maybe three at a time. Overcrowding drops the temperature immediately, which ruins the crisp factor. Fry these beauties for about 3 to 4 minutes total, turning them gently with some tongs so they brown evenly on all sides. When they are deep golden brown, pull them out onto a wire rack lined with paper towels to drain. That beautiful golden shell means you’ve nailed the crispy corn dogs look!
Tips for Success Making Corn Dogs Like a Pro
I’ve made my share of sad, floppy corn dogs in my early days, so I learned a few tricks to make sure yours turn out like the professional corn dogs you dream about. This is all about small details that add up to one impressive, crispy package. Don’t worry if you mess up the first batch; learning what works is part of the fun!
You already know about chilling the hot dogs before dipping—that’s a game-changer. You should also remember that oil management is everything when deep-frying. When you drop a cold, battered dog into the hot oil, the temperature naturally dips a bit. That’s why keeping your batches small is crucial. If you crowd the pot, the oil temperature plummets, and you end up steaming the batter instead of frying it. Fry in small numbers, let the oil recover its heat between dips, and you’ll keep that perfect crunchy shell.
Another professional tip I picked up just comes from managing the batter itself. Since we mixed this so lightly, the batter can sometimes settle quickly, especially if you take a break between batches. Give it a quick, gentle whisk right before you dip the next hot dog. You want to make sure that cornmeal hasn’t sunk to the bottom and that you’re getting the aeration you worked so hard to achieve in the mixing bowl. These little checks will make sure every single one of your delicious corn dogs is just as good as the first one you pulled from the oil.
Variations: Mini Corn Dog Bites and Baked Corn Dogs
While my heart belongs to the classic deep-fried version, I know sometimes we need to adjust for parties or maybe just for lighter eating! That’s why I always keep a couple of easy-to-manage variations ready in my back pocket for these corn dogs. Whether you need something bite-sized for a big group or want to skip the deep fryer altogether, we’ve got you covered so you never have to miss out on that cornbread flavor.
Making Crowd-Pleasing Mini Corn Dog Bites
If you’re hosting game day or just have a crew of little ones who can’t handle a full-sized stick treat, you have to try the mini version. It’s so simple! You just take your hot dogs—or those little cocktail sausages if you prefer—and slice them into thirds before you even think about skewering them. You’ll use shorter little pretzel sticks or toothpicks for these. Since they are so much smaller, they fry up even faster. Seriously, we’re talking two minutes, tops, until they are golden brown little nuggets of pure joy. They are perfect for dipping, and they disappear faster than you can say “Carnival Snacks!”
The Baked Alternative for Easier Cleanup
Look, I get it. Sometimes the cleanup from frying just isn’t worth it, and that is okay! If you want to skip the oil but still want decent crunch, we can bake them. Remember how I mentioned baking in the notes? Here’s the deal: Preheat your oven to 400 degrees Fahrenheit. Lay your skewered (or uncut, if you want baked dogs instead of baked corn dogs) treats on a parchment-lined baking sheet. You won’t get that deep-fried bubble, but you’ll get a nice, firm coating.
Bake them for about 15 to 20 minutes. The key here is turning them halfway through. You want to make sure both sides get some direct heat so the batter doesn’t just turn soggy. They won’t be quite as perfectly golden as the fried batch, but they are still miles better than anything freezer-aisle can offer. If you want to see a really neat way to make a platter of these bite-sized wonders, check out this guide on Irresistible Mini Corn Dog Bites. It’s a lifesaver for parties!
Serving Suggestions for Your Homemade Corn Dogs
Making these incredible corn dogs means they are ready to eat right off the cooling rack, but they really need a good dipping sauce to complete the experience! Of course, you can’t go wrong pairing these savory snacks with classic American staples: bright yellow mustard or that indispensable bottle of ketchup. We grew up on those two, and they still hit the spot!
But if you’re looking to elevate your spread for game day—because everything is better with a gourmet touch, right?—try skipping the plain mustard for a homemade honey mustard. Mix equal parts Dijon, yellow mustard, a good squeeze of honey, and a tiny splash of apple cider vinegar. It gives that sweet and tangy kick that works so perfectly with the crispy shell and salty hot dog inside. Seriously, this makes them feel instantly fancy!
Storage and Reheating Instructions for Corn Dogs
So, what if you have too many amazing corn dogs? Don’t you dare throw them out! We put this much effort in for a reason. The biggest mistake people make when storing leftovers is trying to reheat them in the microwave. Please, resist that urge! The microwave will instantly turn that beautiful crispy shell into a sad, limp rubber blanket. We want to keep that hard-earned crunch!
For storage, let any leftover corn dogs cool completely to room temperature first. Then, place them in a single layer inside an airtight container. They should keep nicely in the fridge for about three days. If you know you won’t eat them that quickly, you can definitely freeze them! Lay them on a baking sheet until frozen solid, then transfer them to a freezer-safe bag. This prevents them from freezing into one giant corn dog clump, which is a disaster.
Now for the best part: reheating to bring back that golden exterior. The oven or an air fryer is your savior here. If you’re using a standard oven, set it to 375 degrees Fahrenheit. Place the cold corn dogs directly on a wire rack set over a baking sheet (this allows air to circulate underneath, which is key for crisping both sides!). Bake them for about 8 to 12 minutes, checking after 8 minutes. If you have an air fryer, even better! Pop them in at 350 degrees for about 5 to 7 minutes. Either way, they come out tasting almost exactly like they did straight from the hot oil!
Frequently Asked Questions About Making Corn Dogs
I always get so many questions when people try this recipe for the first time! It’s great because it means you’re being thoughtful about making seriously good corn dogs. Whether you’re planning for a big crowd or just trying to fit these into your schedule, here are the answers to the most common things I hear about this recipe for homemade corn dogs.
Can I use oil other than vegetable oil for frying corn dogs?
Yes, absolutely! Vegetable oil is what I use because it has a super high smoke point and doesn’t impart much flavor, letting that sweet cornbread shine. But if you’re out or have a preference, canola oil is a fantastic substitute with a similar profile. If you want a little bit of that classic fair taste, peanut oil is traditional, but make sure you’re fine with a faint nutty note in the final product! Just avoid oils like olive oil because they smoke way too low for the 375°F we need for that perfect crunch.
What is the best hot dog to use for homemade corn dogs?
For the absolute best results, especially since these are going to taste so much better than the frozen ones, you want a good quality sausage or hot dog. I really prefer using all-beef frankfurters because they have a great snap when you bite into them. If you’re making these for a really special occasion or trying to nail that Disneyland copycat vibe, try using high-quality smoked sausages instead of standard franks! The extra spice and depth in the sausage really elevate the whole experience. You can also check out other ideas for fun topping combinations over on Parade if you want to mix things up!
Can I make the batter for my corn dogs ahead of time?
This is a common question for anyone planning Game Day Food ahead of time! Honestly, I don’t recommend making the full buttermilk corn dog batter more than an hour ahead of time. Because we use baking powder and buttermilk, the leavening reaction starts right away. If it sits too long, the bubbles deflate, and the batter becomes flat and heavy. You’ll lose that beautiful lightness! It’s best to stick to my 30-minute timeframe and mix the batter right before you start frying to guarantee the crispiest results.
Do I have to deep fry my corn dogs?
To get that quintessential, puffy, blistered, golden shell that makes you feel like you’re at the state fair, deep frying is absolutely the way to go. That high, even heat of the oil creates that signature texture instantly. However, if you really feel you must reduce the oil, you can bake or air fry them—but be warned, they will be firmer and certainly less crispy than the fried version. For the best carnival snacks experience, stick to the frying method!
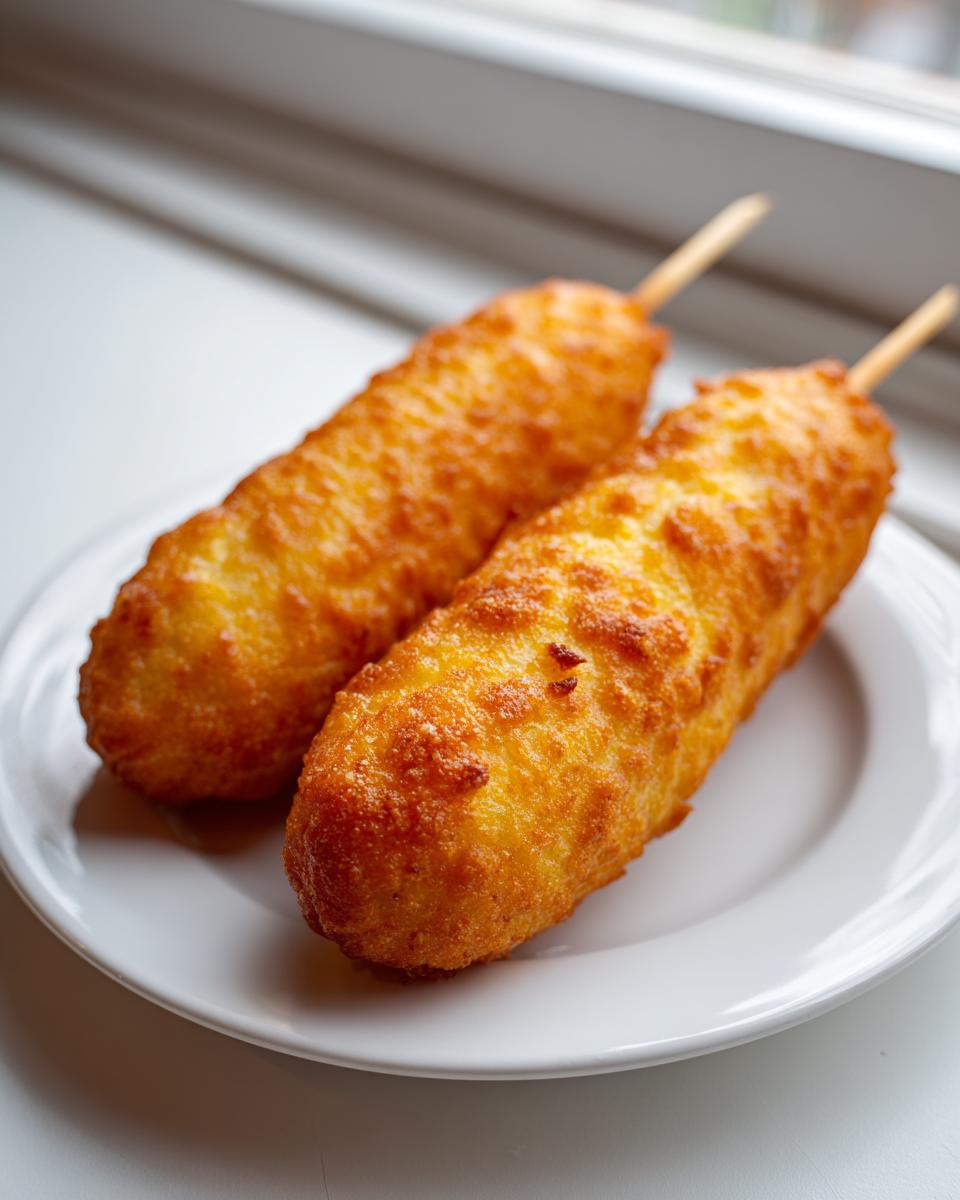
Making Corn Dogs: A Quick Family Meal Alternative
I started this blog because I believe amazing food shouldn’t need to be complicated, and these corn dogs really prove that point! They take less than 30 minutes total, which means you can serve up a fun, satisfying dinner that blows anything questionable from those meal planning services out of the water. This recipe is all about taking a classic American favorite and making it approachable for every cook who wants to bring a little bit of that happy, celebratory feeling right to their own table. It’s fun for the kids and genuinely delicious for us adults too!
PrintThe Ultimate Crispy Homemade Corn Dogs Recipe

Make classic, crispy corn dogs at home using a simple buttermilk batter. This recipe delivers fairground flavor that tastes better than store-bought versions, perfect for family dinners or game day snacks.
- Prep Time: 15 min
- Cook Time: 15 min
- Total Time: 30 min
- Yield: 8 servings 1x
- Category: Snack
- Method: Deep Frying
- Cuisine: American
- Diet: Vegetarian
Ingredients
- 8 hot dogs or sausages
- 1 cup all-purpose flour
- 1 cup fine cornmeal
- 2 tablespoons granulated sugar
- 1 teaspoon baking powder
- 1 teaspoon salt
- 1 large egg
- 1 cup buttermilk
- 1 teaspoon vanilla extract
- Vegetable oil, for frying
- Wooden skewers or popsicle sticks
Instructions
- Prepare the hot dogs: Pat the hot dogs dry. Insert a wooden skewer into the bottom of each hot dog, leaving enough stick exposed to hold. Set aside.
- Make the batter: In a medium bowl, whisk together the flour, cornmeal, sugar, baking powder, and salt.
- In a separate small bowl, whisk the egg, buttermilk, and vanilla extract until combined.
- Pour the wet ingredients into the dry ingredients. Whisk until the batter is just smooth. Do not overmix; a few small lumps are fine.
- Heat the oil: Pour 2 to 3 inches of vegetable oil into a deep, heavy-bottomed pot or Dutch oven. Heat the oil to 375 degrees Fahrenheit (190 degrees Celsius). Use a thermometer to monitor the temperature.
- Dip the hot dogs: Hold a hot dog by the stick and dip it completely into the batter, allowing excess batter to drip off briefly.
- Fry the corn dogs: Carefully lower the battered hot dog into the hot oil. Fry 2 to 3 corn dogs at a time to avoid overcrowding the pot and lowering the oil temperature.
- Fry for 3 to 4 minutes, turning occasionally, until the batter is deep golden brown and crispy on all sides.
- Remove the corn dogs from the oil using tongs and place them on a wire rack lined with paper towels to drain excess oil.
- Serve immediately with your favorite condiments. This recipe is a great alternative to using meal planning services for quick family meals.
Notes
- For extra crispy corn dogs, chill the skewered hot dogs for 15 minutes before dipping them in the batter.
- If you prefer a less traditional method, you can bake these at 400 degrees Fahrenheit for 15-20 minutes, turning halfway, though the texture will be less crispy than frying.
- To make Mini Corn Dog Bites, cut the hot dogs into thirds before skewering and frying in batches.
Nutrition
- Serving Size: 1 corn dog
- Calories: 350
- Sugar: 6
- Sodium: 750
- Fat: 22
- Saturated Fat: 6
- Unsaturated Fat: 16
- Trans Fat: 0
- Carbohydrates: 28
- Fiber: 1
- Protein: 10
- Cholesterol: 55