
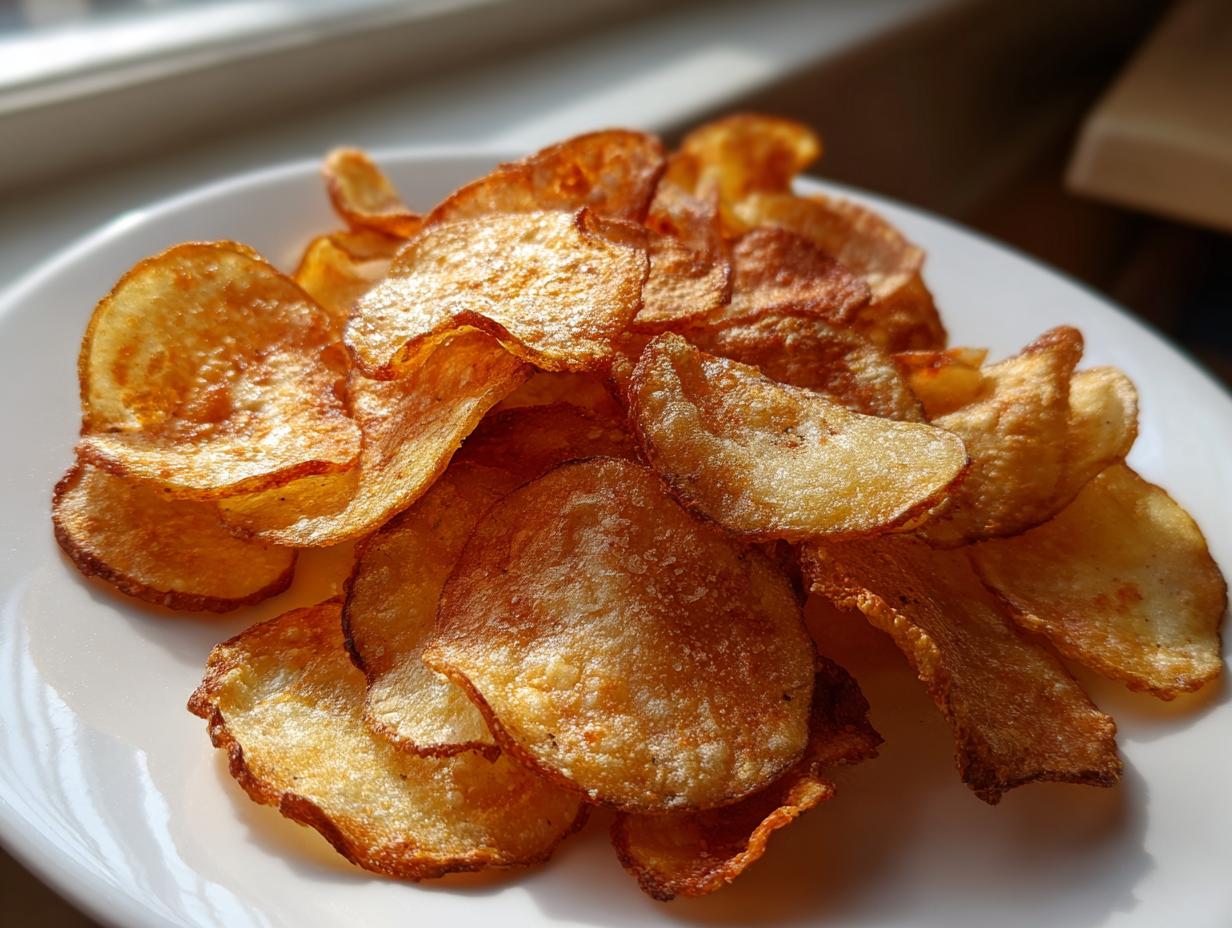

Oh my gosh, you know how sometimes you just *need* that perfect, salty, shattering crunch? That sound when you bite into a handful of store-bought potato chips? I used to always reach for a bag, but honestly, they felt like junk food fuel. I spent *years* trying to replicate that satisfying shatter at home without dipping them in a vat of oil. If you want to see all my other fun kitchen explorations, check out my main blog page!
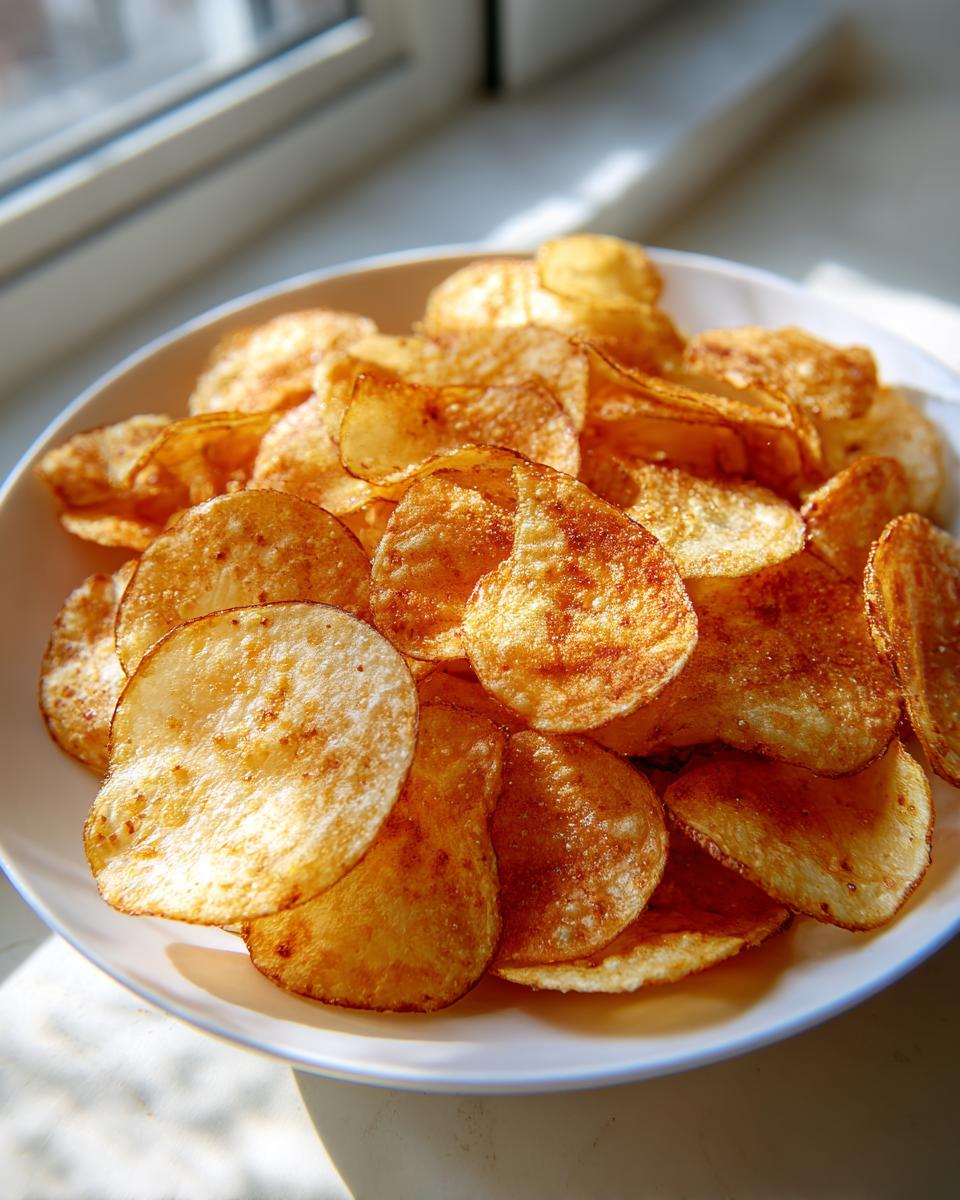
I finally cracked the code, and trust me, once you try these, you won’t look back! We’re keeping these super simple—just potatoes, a little oil, and salt—but the magic is in the technique. Whether you’re a newbie or just looking for the ultimate crispy potato chips recipe, I’ve got you covered with both the air fryer and the oven methods. Get ready for the best guilt-free snack you’ve ever made!
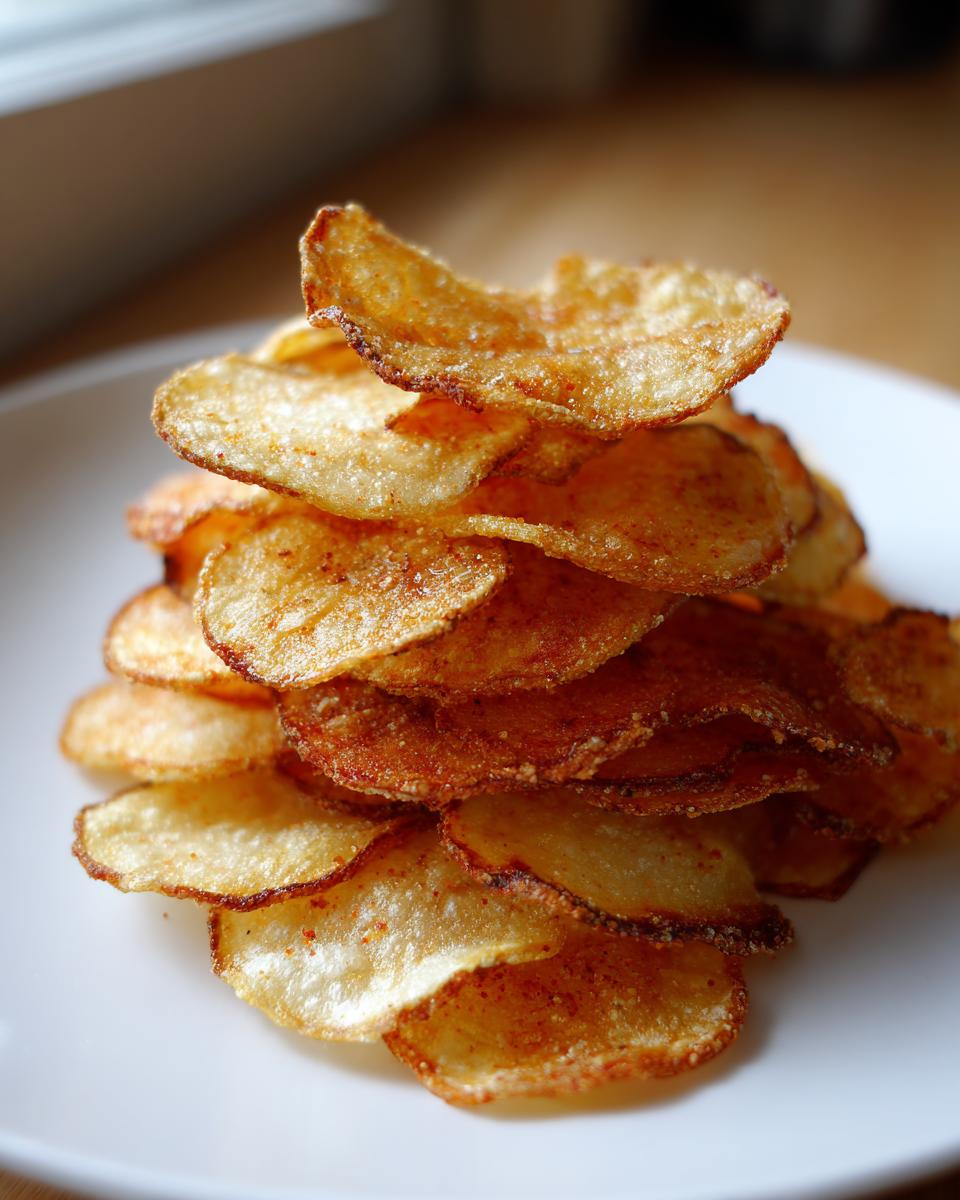
- Why You Will Love These Crispy Potato Chips Recipe
- Essential Ingredients for Perfect Homemade Potato Chips
- Equipment Needed for Making Your Potato Chips
- Step-by-Step Guide: How to Make Crispy Potato Chips From Scratch
- Cooking Methods for Ultimate Crispy Potato Chips
- Expert Tips for Perfectly Salted Chips Every Time
- Storage and Reheating Instructions for Homemade Potato Chips
- Variations: Customizing Your Savory Potato Recipes
- Frequently Asked Questions About Making Potato Chips
Why You Will Love These Crispy Potato Chips Recipe
Seriously, this recipe has changed my life. No more feeling guilty about snack time! Here’s why you absolutely have to try making the homemade potato chips right now:
- The CRUNCH factor is off the charts! I’m talking true, shattering crispness, not sad, bendy chips.
- They are truly guilt free snacks because you control every single drop of oil used!
- You only need four main ingredients, making this one of the most easy potato chips recipes out there.
- Perfect for any gathering! These are guaranteed hits for party snack recipes or just an evening on the couch.
- You get that amazing kettle style chips homemade texture without deep frying—hello, safety!
- They are infinitely better than anything you buy off the shelf—you just can’t beat natural potato chips, fresh from the oven or air fryer.
- Great for keeping near if you need quick crunchy snack ideas ready in under an hour!
Essential Ingredients for Perfect Homemade Potato Chips
Listen up, because the ingredient quality here makes or breaks the crunch! I use Russet potatoes every single time; they have the starch we need for that shatter. If you want to see how I use potatoes in other ways, check out my amazing cheese soup recipe!
For oil, use a very light hand—just enough to help the seasonings stick and brown. Also, skip the coarse kosher salt for this one; we need fine sea salt so it dissolves properly and seasons evenly across those delicate slices.
- Three large Russet potatoes (please, no others!)
- A tiny amount of olive oil (2 tablespoons for the oven, just 1 teaspoon for the air fryer)
- Fine sea salt—don’t skimp on the quality here!
- A dash of paprika, if you want a little warm color.
Equipment Needed for Making Your Potato Chips
Okay, prepping for chips is almost as important as the cooking itself. You don’t need a fancy commercial kitchen, but if you want that super-thin texture without your fingers getting tired, you need the right tools. Trust me on the mandoline; it’s a game-changer for consistency!
Make sure you have these things ready to go before you even start washing the potatoes:
- A Mandoline Slicer: This is non-negotiable for thin, uniform slices. If you slice them unevenly, some will burn before others are even cooked. Safety guard ON, people!
- Large Bowls: You need one huge bowl for soaking—they need to be fully submerged. Then another medium bowl for tossing them with oil and salt without making a huge mess.
- Baking Sheets (for Oven): If you’re baking, you’ll need at least two large, rimmed baking sheets. They must be lined with parchment paper; anything else invites sticking, and we hate ripping up our easy potato chips when they come off the tray.
- Air Fryer Basket (for Air Fryer Method): If you’re using the air fryer, make sure the basket is clean and ready. You’ll work in batches, so have a plate lined with paper towels ready for cooling.
- Kitchen Towels or Paper Towels: You’ll need a mountain of these to dry the slices later. Seriously, they need to be bone dry.
Step-by-Step Guide: How to Make Crispy Potato Chips From Scratch
Okay, we’ve got the gear, we’ve got the ingredients, now it’s time for the real work! Getting the texture right in these potato chips comes down to two critical steps right at the start: slicing uniformly and eliminating starch. If you nail this prep work, you are 90% of the way to the ultimate snack. Want to see my full guide on the best preparation methods? You can find all the details over here on my how to make potato chips from scratch page!
Don’t rush these initial steps. A soggy slice equals a steamed, sad chip, and we are aiming for maximum crunch today!
Preparing the Thinly Sliced Potatoes Recipe
This is where we use that mandoline! You want your potato slices to be incredibly thin—I aim for about 1/16 of an inch. If they are too thick, they just won’t get that lovely snap. Slice every potato and immediately dump all the slices into a big bowl of cold water. Seriously, cover them completely. You need to soak them for at least 30 minutes, or even up to two hours if you have the time; this washes away that surface starch that causes sticking and sogginess. When the water looks cloudy, you know you’re on the right track; just keep soaking until that water clears up a bit!
Drying and Seasoning Your Potato Chips
This is the part where everyone gets impatient, but you cannot skip this! After you drain those slices, you have to dry them until they feel almost papery. Use a few layers of clean kitchen towels or grab a massive stack of paper towels and press down hard. If there is any water left, the oil won’t adhere properly later. Once they are perfectly dry, put them in a clean bowl, drizzle that *tiny* amount of oil over them, and toss gently until every slice is lightly coated. Now you sprinkle on your salt! Toss just enough so they are subtly seasoned before hitting the heat.
Cooking Methods for Ultimate Crispy Potato Chips
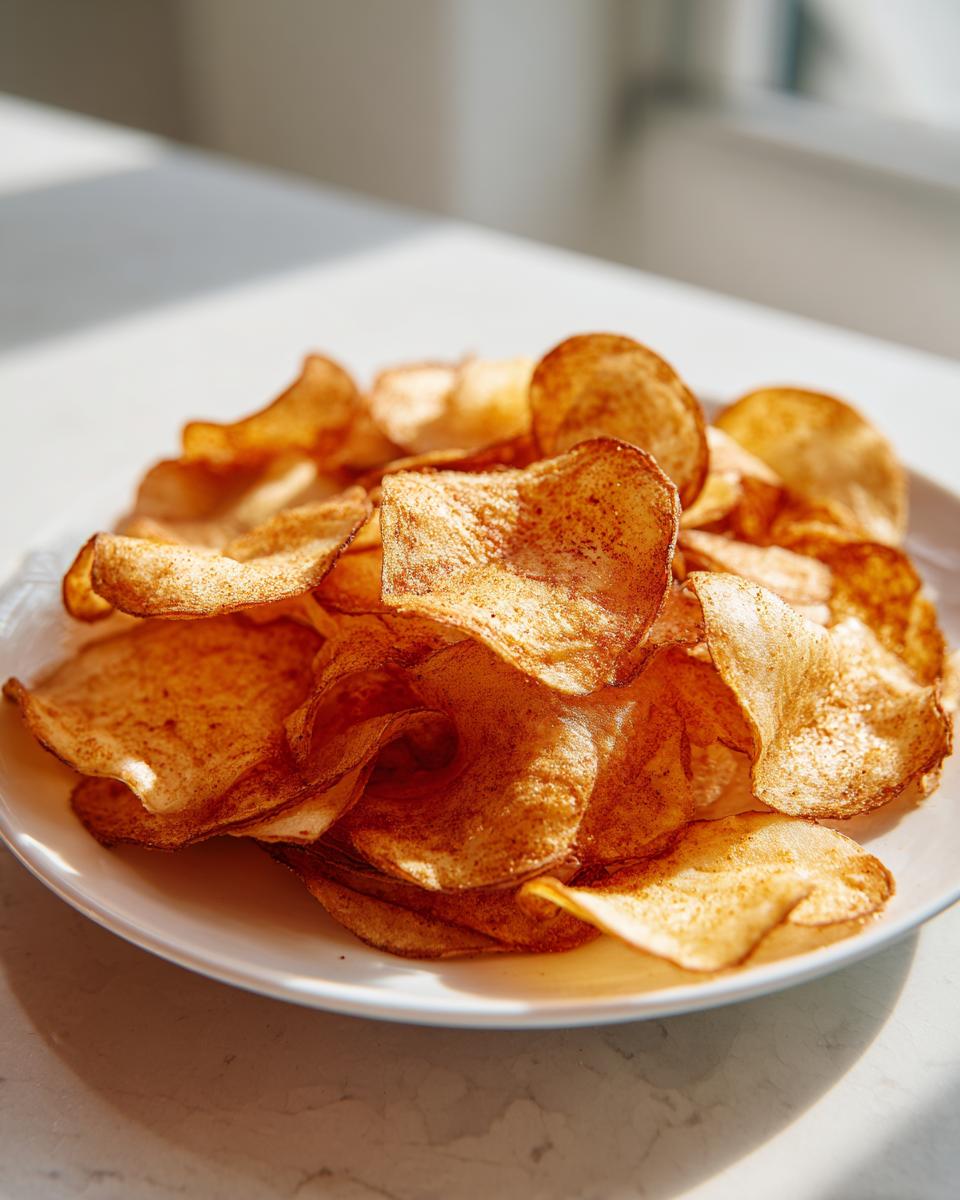
Now that our little slices are clean, dry, and seasoned, it’s time for the fun part—turning them into crunchy snacks! I love that we have two fantastic options here, depending on what your kitchen setup looks like. If you’re looking for other super simple appliance recipes, you must see my Nutella bomb recipe—it’s wild!
My biggest piece of shared wisdom, no matter which method you choose, is this: DO NOT CROWD YOUR PAN OR BASKET. Seriously, treat them like VIPs; they need personal space. Overcrowding traps steam, and steam turns your crisp chips soggy instantly. Cook in small batches; it takes longer, but it’s the only way to guarantee the ultimate crispy experience.
Achieving Crunch with Air Fryer Potato Chips
The air fryer is my go-to for super fast, smaller batches of air fryer potato chips. First things first, you must preheat that machine to 350°F (175°C). It needs to be hot before the potatoes go in! Shingle them neatly in a single layer in the basket. Don’t pile them up! You’ll cook these for about 12 to 18 minutes total, but you absolutely must pull the basket out and give it a good shake every five minutes. This redistributes them so they brown evenly. They go from golden to burnt surprisingly fast, so stay close!
Baking the Best Homemade Potato Chips in the Oven
For when I need a huge batch for movie night snacks, the oven is the way to go. Set your oven nice and hot at 400°F (200°C). Remember that parchment paper I told you about? Lay those seasoned slices out in a perfect single layer on the lined baking sheets. Again, if they overlap, they steam! These usually take 15 to 25 minutes. You need to flip them halfway through to make sure they brown evenly on both sides. These baked potato chips are fantastic because they fit right into our goal of making healthier chip recipes without sacrificing flavor!
Expert Tips for Perfectly Salted Chips Every Time
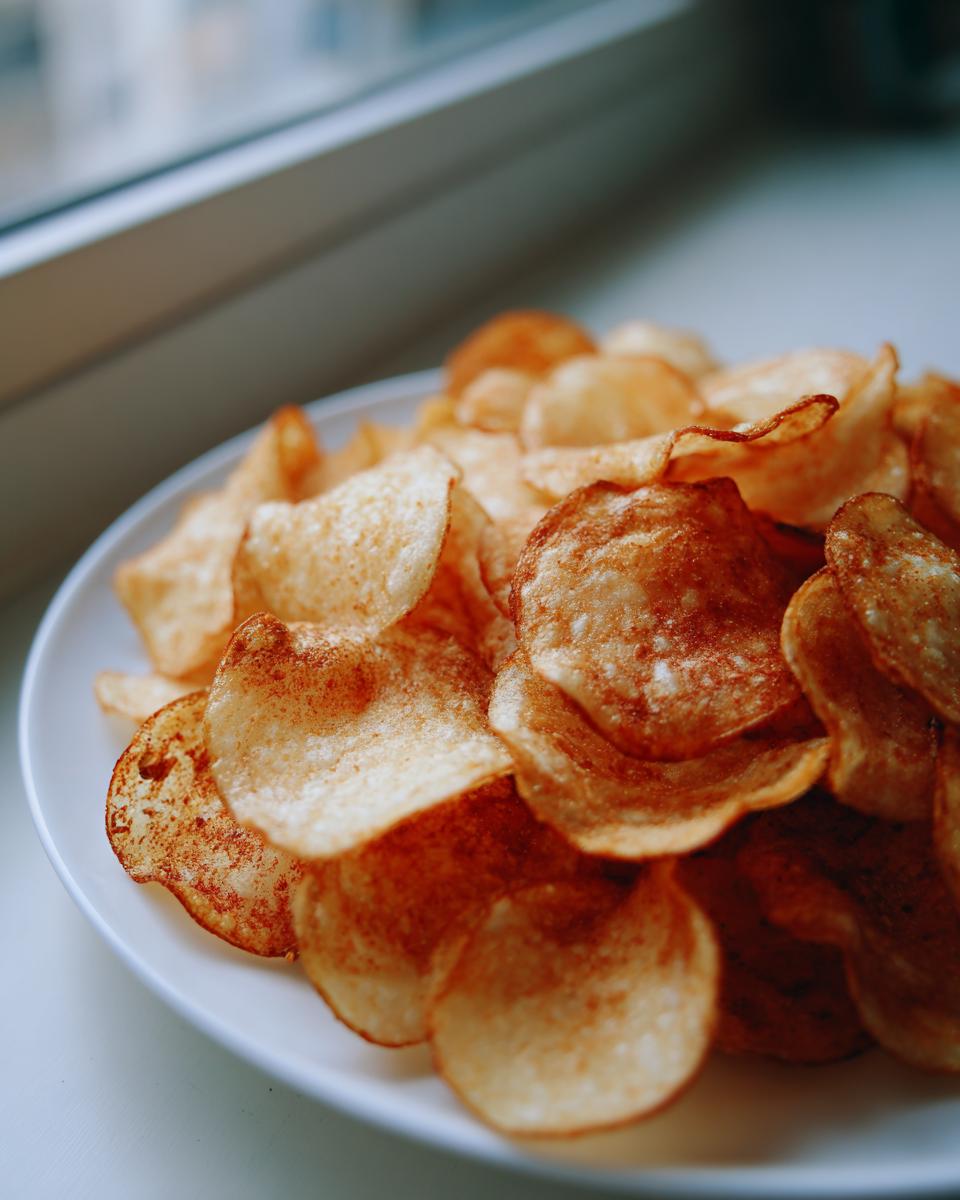
I’ve learned a few little secrets over the years that take these from being ‘good’ homemade potato chips to being ‘oh my goodness, did you buy these at a gourmet shop?’ territory! It’s all about timing and technique, especially when it comes to seasoning. For instance, if you’re ever looking for another amazing, totally scratch-made treat, you have to try my French bread recipe—it’s deceptively easy!
The biggest debate in my kitchen used to be when to salt. If you salt them when they’re hot, right out of the oven or air fryer, the salt sticks great, but sometimes it tastes a little harsh. If you wait too long, it just falls right off. Here is the move!
When I finally managed to make my first batch that truly tasted like *real* kettle style chips homemade, I was shocked by how much crunch they had. The trick wasn’t the oil; it was the cooling process. You must let the cooked chips rest on a wire rack completely until they are fully cooled down—this is when they achieve maximum rigidity!
Once they are completely cool to the touch, that’s when you hit them with the final dusting of salt. They are still slightly porous when completely cooled, allowing the salt to adhere perfectly without tasting burnt or sharp. It distributes so much better this way, giving you that balanced, savory flavor in every single bite across the whole batch.
Another neat trick for that extra-special salt distribution? If you’re feeling fancy, mix your final salt with a pinprick amount of garlic powder or onion powder right before you sprinkle it over the cooled chips. It adds depth without changing the main flavor profile. It’s these little finalizing touches that turn simple snacks into something truly special!
Storage and Reheating Instructions for Homemade Potato Chips
Okay, this is where we test your willpower! Since these potato chips are so unbelievably good right out of the oven or air fryer, it’s hard to imagine saving any for later, right? But let’s be realistic; sometimes you make too much, or you wanted a snack for the next day’s lunch.
The absolute key to storing them correctly is ensuring they are 100% cool before they go anywhere near a container. I mean *completely* cool—if they’re even slightly warm, they will steam themselves into sad, limp potatoes overnight, and that defeats the entire purpose of all that drying we did earlier!
Once you’re positive they’ve fully cooled on the wire rack, you have a couple of choices. I prefer an old-fashioned paper bag. If you seal the top loosely, the paper absorbs any lingering trace moisture but still allows the chips to breathe just enough to stay crunchy. Put the bag in a cool, dark cupboard. This usually keeps them perfectly crisp for about 24 hours.
Now, if you are trying to keep them for a couple of days, you might be tempted to use a heavy-duty, airtight plastic container. I say try to avoid that if you can! If you absolutely must use an airtight container for more than one day, put a small square of paper towel at the bottom of the container first. This acts like a little sponge for ambient moisture.
If your chips do end up getting a little soft or stale the next day—it happens!—don’t throw them out! Reheating them for just a minute or two in a 300°F oven, or even 30 seconds in the air fryer, sucks the moisture right back out and restores about 90% of that original glorious crunch. Give it a try!
Variations: Customizing Your Savory Potato Recipes
One of the best parts about making your own chips is that you get to be the flavor boss! Store-bought chips are stuck with whatever seasoning they came with, but we get to experiment. This is where we can easily turn these into the absolute best simple savory snacks for any craving you have!
Before you toss the slices with that light coat of oil, consider throwing in one of these flavor combos instead of just plain salt. If you want to see how I get creative with other savory dishes, you have to check out my pepper steak recipe—it’s quick and packed with flavor, just like these!
Here are a few of my favorite seasoning swaps that make these potato rounds taste completely different:
- Tangy Dill Pickle: Mix your salt with about half a teaspoon of dried dill weed and a tiny splash of white vinegar (you can mix the vinegar right into the oil before tossing!). It’s bright and refreshing.
- Spicy Chili Lime: This is perfect for movie night! Use a combination of fine sea salt, a generous amount of chili powder, and a pinch of zest from one fresh lime. It gives you a great little kick.
- Smoky BBQ: If you love that dark, rich flavor, grab some smoked paprika, garlic powder, and a pinch of onion powder along with your salt. It gives the chips a wonderful, meaty depth without any actual meat!
- Classic Pepper & Onion: Sometimes simple is best! Just fresh, coarse ground black pepper mixed with a little garlic powder is sublime. It enhances the potato flavor beautifully.
Remember, these seasonings stick best when the potatoes are lightly oiled, so make sure you experiment *before* the oil toss, or sprinkle them on right as they come out of the heat source if you’re worried about burning spices. Have fun mixing things up!
Frequently Asked Questions About Making Potato Chips
I get so many questions whenever I post photos of these treats online! People always want to know the nitty-gritty details, especially since we’re aiming for that perfect crunch in the homemade potato chips. If you have a question about cooking potatoes in general, you might find some answers over on my twice-baked potato recipe page too!
Here are some of the most common things readers ask me about perfecting their crunchy snack ideas:
Can I use regular potatoes instead of Russets for these potato chips?
That’s a great question about ingredient versatility! While I absolutely insist that Russets are the best for achieving those classic, high-starch, low-moisture chips, you *can* use other types in a pinch. Just know that waxy potatoes, like red potatoes, have way more moisture, so they’ll need a longer soaking time—maybe even an hour and a half—to pull out the starch. They might also need a few extra minutes in the oven or air fryer to fully dry out and crisp up, so keep a very close eye on them!
How do I prevent my air fryer potato chips from burning?
Air fryers are fast, which is great, but they can turn your yummy snack into charcoal quickly! The key, which I cannot stress enough, is that those potatoes cannot overlap at all when they are cooking. If they are shingled, the ones on top will burn while the ones underneath stay soft. You must cook in single, completely spaced-out layers. Also, shake that basket aggressively every five minutes, even if you think you don’t have to. That movement is what stops the hot spots from burning your favorite chips!
Are these healthy chip recipes truly better than store-bought?
Absolutely, one hundred percent yes! When you buy bags of potato chips at the store, you have no idea how much oil is being wicked up during the deep frying, and the sodium levels are often through the roof. With these healthy chip recipes, you are using maybe a teaspoon of oil total for the whole batch in the air fryer, or just a light drizzle for the oven. You control the salt, and you know exactly what potato you started with. It makes them a totally legitimate, delicious, guilt free snack!
PrintCrispy Homemade Potato Chips: Air Fryer and Oven Methods

Make perfectly crispy and crunchy potato chips at home using either an air fryer or your oven. This recipe uses simple ingredients for a guilt-free snack.
- Prep Time: 15 min
- Cook Time: 25 min
- Total Time: 40 min
- Yield: 4 servings 1x
- Category: Snack
- Method: Air Frying or Baking
- Cuisine: American
- Diet: Vegetarian
Ingredients
- 3 large Russet potatoes
- 2 tablespoons olive oil (for oven method) or 1 teaspoon oil (for air fryer method)
- 1 teaspoon fine sea salt, or to taste
- 1/2 teaspoon paprika (optional)
Instructions
- Wash and thinly slice the potatoes. Aim for a uniform thickness of about 1/16 inch. A mandoline slicer works best for consistency.
- Place the sliced potatoes in a large bowl and cover them completely with cold water. Let them soak for at least 30 minutes, or up to 2 hours, to remove excess starch.
- Drain the potatoes completely and rinse them under cold water until the water runs clear.
- Dry the potato slices thoroughly using clean kitchen towels or paper towels. Moisture prevents crisping.
- In a bowl, toss the dry slices with the oil and salt (and paprika, if using).
- **For Air Fryer Method:** Preheat your air fryer to 350°F (175°C). Arrange the chips in a single layer in the basket, working in batches. Cook for 12-18 minutes, shaking the basket every 5 minutes, until golden brown and crisp.
- **For Oven Method:** Preheat your oven to 400°F (200°C). Arrange the chips in a single layer on baking sheets lined with parchment paper. Bake for 15-25 minutes, flipping halfway through, until edges are browned and chips are crisp. Watch closely to prevent burning.
- Remove the chips from the heat source immediately and transfer them to a wire rack to cool completely. They will crisp up more as they cool.
- Taste and add more salt if needed once cooled.
Notes
- For the crunchiest results, ensure the potatoes are completely dry before adding oil and seasoning.
- If using the oven, use two baking sheets if necessary to avoid overcrowding, which causes steaming instead of crisping.
- Adjust cooking times based on the thickness of your slices and your appliance.
Nutrition
- Serving Size: 1 serving (approx. 1 cup)
- Calories: 180
- Sugar: 1
- Sodium: 350
- Fat: 9
- Saturated Fat: 1
- Unsaturated Fat: 8
- Trans Fat: 0
- Carbohydrates: 23
- Fiber: 3
- Protein: 3
- Cholesterol: 0