
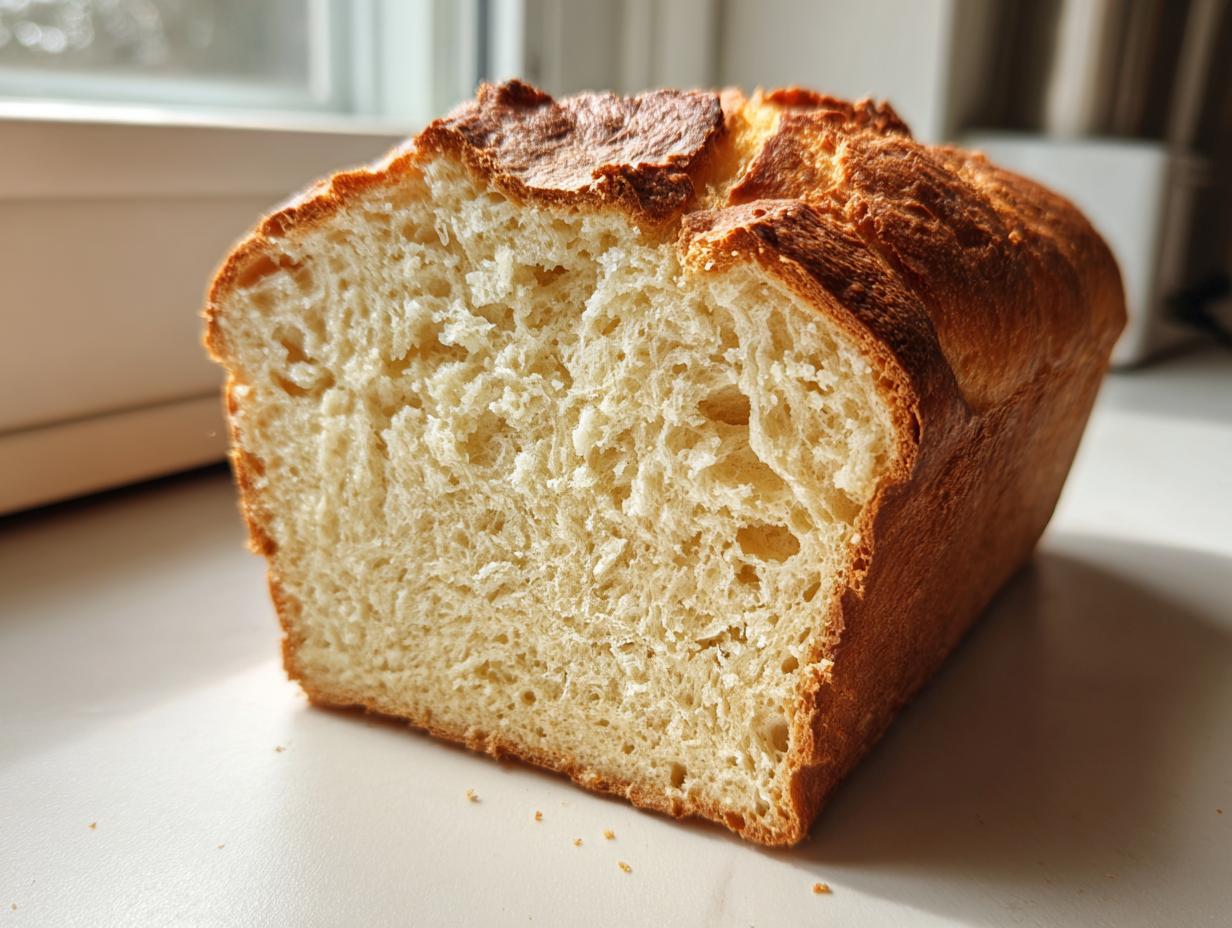

When life gets busy, and you suddenly realize you need a fantastic side dish for dinner that isn’t boring, that’s when I turn to comfort food that moves fast. If you love great bread but hate waiting for yeast to wake up—trust me, I get it! This recipe for classic beer bread is my absolute go-to. It’s honestly the easiest, no-yeast formula you’ll ever find. My dad—the master of celebration cooking—would have loved how quickly we can get this warm, buttery loaf on the table for a busy weeknight meal. This is proof that you don’t need fancy techniques to make something truly special at home. You can find more reliable, tested recipes just like this one over on my main blog page!
- Why This Classic Beer Bread Recipe Works So Well
- Essential Ingredients for Perfect Beer Bread
- How to Prepare Your Easy Homemade Bread
- Tips for the Best Buttery Quick Bread
- Savory Quick Bread Variations for Beer Bread Lovers
- Serving Suggestions for Your Warm Loaf Recipe
- Storage and Reheating Instructions for Leftover Beer Bread
- Frequently Asked Questions About Beer Bread
- Share Your Experience Making This Beer Bread
Why This Classic Beer Bread Recipe Works So Well
This isn’t just another loaf; it’s the definition of a Quick Bread Recipe that actually delivers comfort food fast. Seriously, when you need Easy Homemade Bread right now, this is your answer. It hits every mark: minimal ingredients, virtually no effort, and a texture that tastes slow-baked.
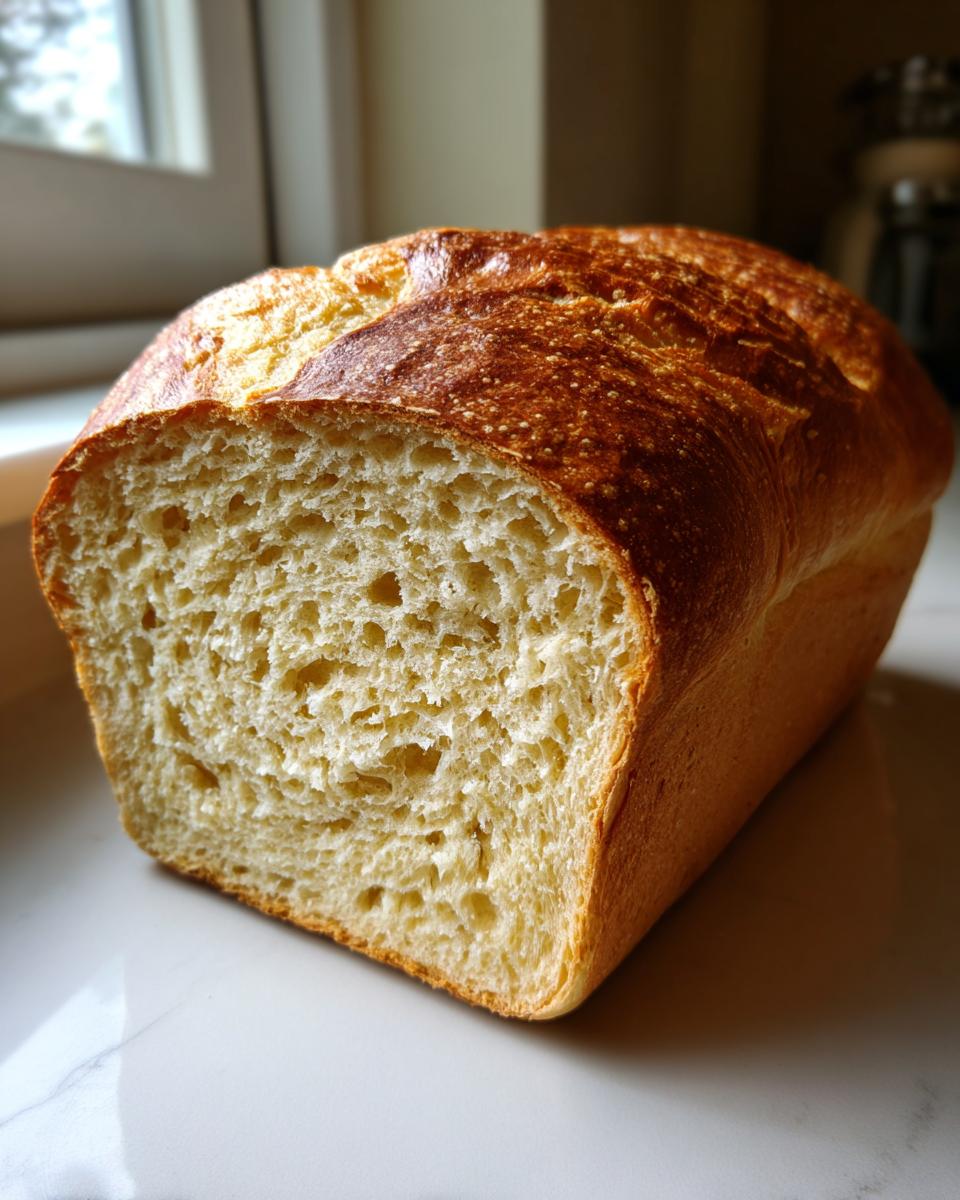
The real genius here is that it’s true No Yeast Bread. You save so much time because there’s zero waiting around. If you’re looking for reliable starter recipes, you might want to check out my soft milk bread, but when speed is the goal, this beer bread wins every time.
Speed: Making Beer Bread with No Rising Time
Prep time is about five minutes. Five! That’s the magic, right? You dump, stir, and pour. Because we skip yeast entirely, we rely on the chemical reaction between the beer’s carbonation and the baking powder. This is pure, simple, stress-free Yeast Free Baking, perfect for those last-minute dinner emergencies.
Texture: Achieving a Fluffy Quick Bread Interior and Crisp Crust
People always ask me how it gets that beautiful, crackly crust without any fancy steps. The beer does most of the work by introducing air while the fats melt in the oven. Combined with baking powder, you get lift, but because there’s no kneading, you end up with that signature dense-yet-tender crumb. It’s the best kind of Fluffy Quick Bread you can imagine!
Essential Ingredients for Perfect Beer Bread
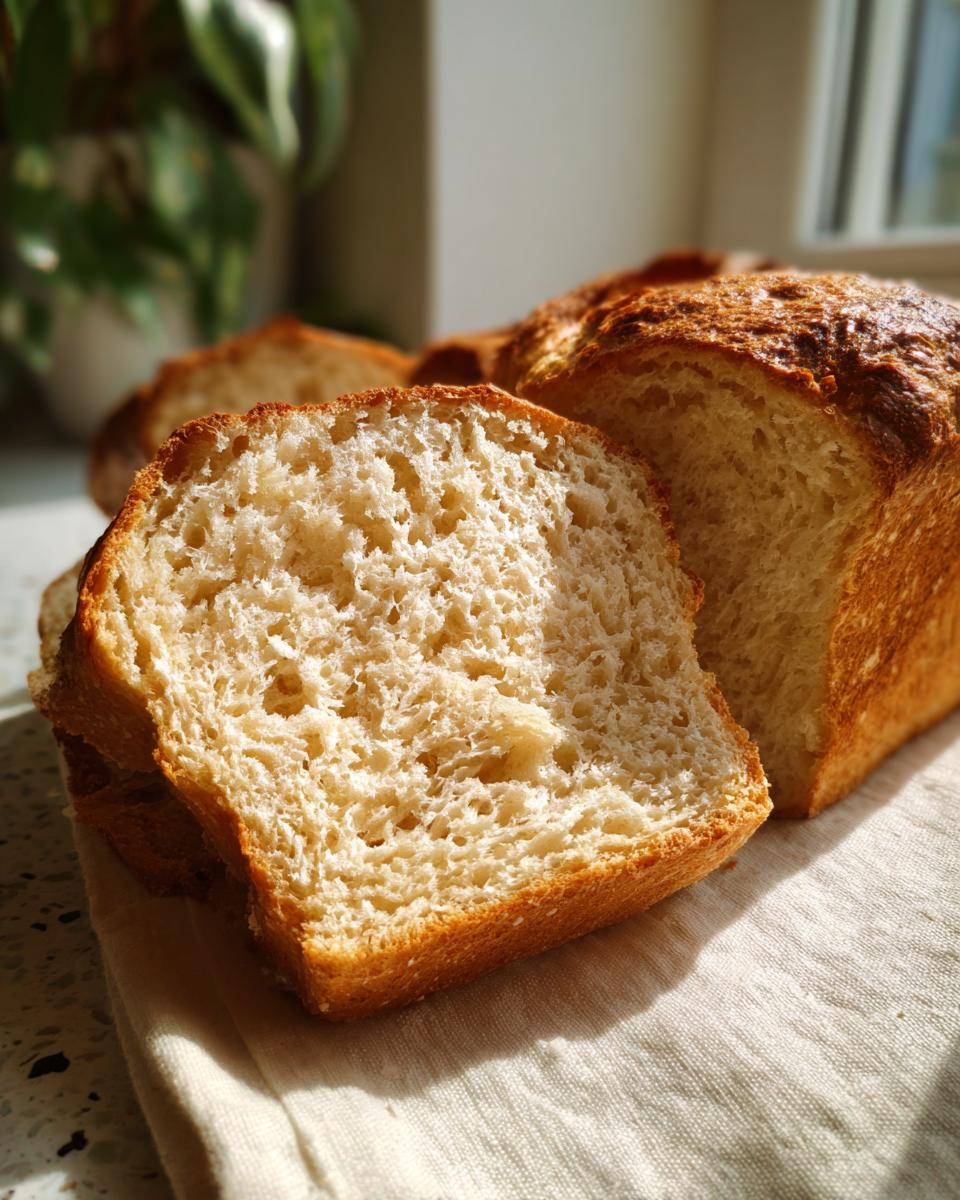
The beauty of this recipe is that it truly is a 5 Ingredient Bread champion! Seriously, when I look at these ingredients laid out on my counter, I know I’m only moments away from having fresh bread. Because this is such a simple approach, every single ingredient needs to be right. Remember what my Grandma always said? Quality over quantity!
Dry Ingredients for Your Beer Bread
We mix everything dry first—this ensures the chemical leaveners are evenly distributed. Get these ready in a big bowl before you even think about opening that beer bottle. You’ll need:
- 3 cups all-purpose flour (make sure it’s spooned and leveled, not scooped!)
- 1 tablespoon baking powder (don’t skimp here, this is our lift!)
- 1 teaspoon salt for flavor balance
- 1/4 cup granulated sugar—yes, sugar! Don’t skip this in the classic version.
Wet Components and Fat for This Beer Bread Recipe
This is where the magic really starts to happen because we incorporate the fat with the liquid base. For the best reaction in this Simple Baking method, make sure your beer isn’t ice cold right out of the fridge. Room temperature beer helps the carbonation integrate better, leading to a slightly better rise.
Make sure you have:
- 1 (12 ounce) bottle of beer, and get it to room temperature first! Seriously, take the chill off.
- 1/2 cup (that’s one full stick!) of unsalted butter, fully melted. We’re using this both in the batter and on top for that amazing crust.
How to Prepare Your Easy Homemade Bread
Okay, now that we have our ingredients standing by, let’s get this loaf into the oven quickly! Since there’s no kneading involved, this is mostly measure-and-mix, and you should have your loaf prepped in under five minutes. Remember, we are aiming for a quick, comforting side dish, not a complicated sourdough, so keep your movements simple!
First thing: Get that oven fired up to 375 degrees Fahrenheit. While it heats, grease and flour your 9×5 inch standard loaf pan really well. I learned my lesson early on with sticky quick breads—never skip greasing and flouring, or you’ll be wrestling that gorgeous loaf out later! If you are looking for tips on making other easy handles for dinner, I have a great breadstick recipe you might love.
Mixing the Beer Bread Batter: Key to No Kneading
Since this is the definition of Baking Without Kneading, mixing is crucial! First, gently whisk all those dry ingredients we just talked about in your big bowl—flour, baking powder, salt, and sugar. Make sure they are friends! Then, pour in that room-temperature beer and about half of the melted butter. Use a wooden spoon and mix until everything is *just* incorporated. I mean it, stop stirring the second you don’t see any more dry pockets of flour. Overmixing develops the gluten, and we want tender air pockets, not chewiness here!
Baking and Achieving Golden Perfection for Your Beer Bread
Pour that loose batter right into your prepared pan. Now for the grand finale before the oven: Drizzle that remaining melted butter right over the top surface. This is what creates that amazing, savory, crisp layer everyone raves about.
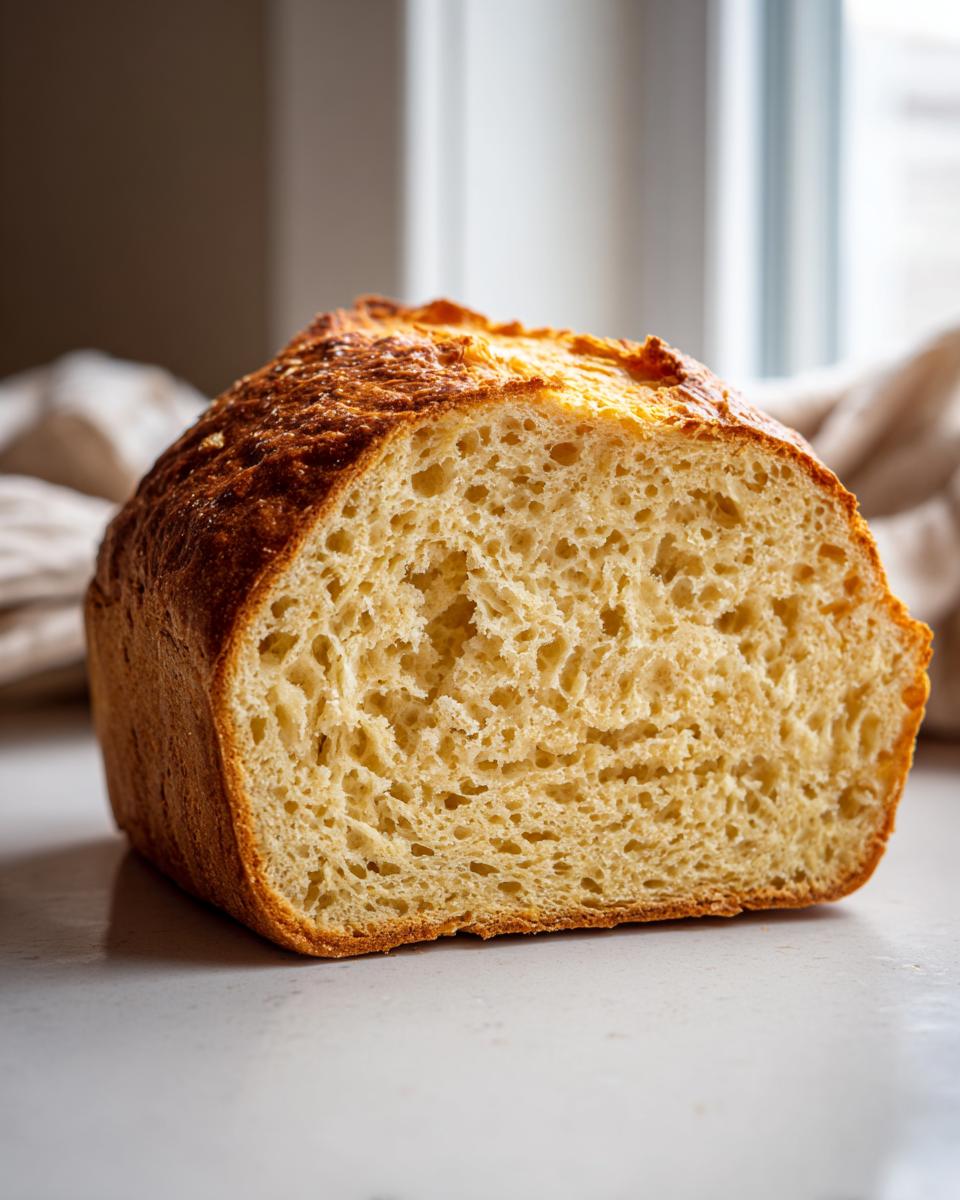
Pop the pan into your preheated 375°F oven. It usually takes about 45 to 55 minutes. You’re looking for a deep golden brown top. When you test it with a toothpick inserted near the center, it should come out clean, meaning the heat has done its job. Let it hang out in the pan for 10 minutes before flipping it onto a rack to finish cooling. Don’t rush that 10 minutes, though—it lets the loaf firm up!
Tips for the Best Buttery Quick Bread
Since this beer bread recipe is so beautifully simple, the few tips I have really make the difference between a good loaf and an amazing one. You want that satisfyingly crisp top, right? It all comes down to what you pour in and how you treat the pan.
Selecting the Right Beer for Your Beer Bread
You might think you need some super hoppy, exciting craft beer for this, but nope! The beer here is acting mostly as a liquid base and a fizz agent. If you use something too strongly flavored, like a heavy stout or a really bitter IPA, that flavor is going to totally dominate the bread. For the most classic taste that lets the butter shine, stick to something mild.
My go-to advice, which I picked up from one of my local brewery buddies, is this: lagers or pale ales work best for a neutral flavor. They give you the bubbles you need without fighting the plain, comforting profile of this Quick Bread Recipe.
Expert Tip: Butter Application for Maximum Crust Flavor
We put half the butter *in* the batter, which keeps the inside moist, but the other half is reserved for the top, and this step is non-negotiable! Do not skip drizzling that remaining melted butter right over the batter just before it goes into the oven. That fat sizzles down onto the surface as it bakes, creating that incredible, golden, crisp exterior that makes people think you slaved over this loaf for hours.
It’s the secret to maximizing that Buttery Quick Bread flavor profile that everyone loves when they are looking for a Fast Bread for Soup!
Savory Quick Bread Variations for Beer Bread Lovers
While I adore the classic, slightly sweet profile of the base recipe—that touch of sugar really balances the maltiness of the beer—I know some of you are looking for something bold and savory to go alongside your chili or stew. This is where this beer bread truly shows off its versatility! Since the base formula is so solid, it handles additions beautifully. If you want that comforting, pull-apart feel but with a sharper flavor, this is how you do it. It transforms into an amazing Savory Quick Bread!
Making a Cheddar Beer Bread Recipe
This modification is so easy, you barely have to change a thing! To shift this from a slightly sweet side dish to a full-on savory experience—think savory quick bread meets cheesy biscuits—you only need to make two small swaps based on what I put in our recipe notes. It’s a lifesaver when you’re planning weeknight meals and need something extra special.
Here’s the drill for your cheesy upgrade: First, you must omit that 1/4 cup of granulated sugar we used in the dry mix. That step stops the bread from tasting confusingly sweet next to the cheese.
Next, fold in the fun stuff when you mix your dry ingredients: Add 1 cup of sharp shredded cheddar cheese and 1 teaspoon of garlic powder. That’s it! Toss it all together, pour in the beer, and bake as directed. The cheese melts right into the batter, giving you that fantastic pull-apart texture that makes people ask for the recipe. If you want a great cheesy dipping sauce to go with it, you absolutely have to try my cottage cheese queso, too!
I actually found an amazing version that leans heavily into the garlic and cheese, which is super popular right now. If you want even more inspiration on this flavor combo, check out this great Garlic Cheddar Beer Bread recipe!
Serving Suggestions for Your Warm Loaf Recipe
What’s better than pulling this beautiful, crisp loaf out of the oven? Seeing what you get to eat it with! This truly is the perfect Side Dish Bread. Because it’s so sturdy and flavorful, it’s incredible for dipping. If you’re thinking about weeknight dinners, this automatically becomes your go-to Fast Bread for Soup!
It soaks up broth like a dream. Try it alongside a big, hearty bowl of chili—it’s pure comfort food baking right there. If you need a fantastic soup recipe that pairs perfectly with this loaf, you have to check out my creamy garlic chickpea soup. Seriously, dunking this warm bread into that creamy soup is heaven.
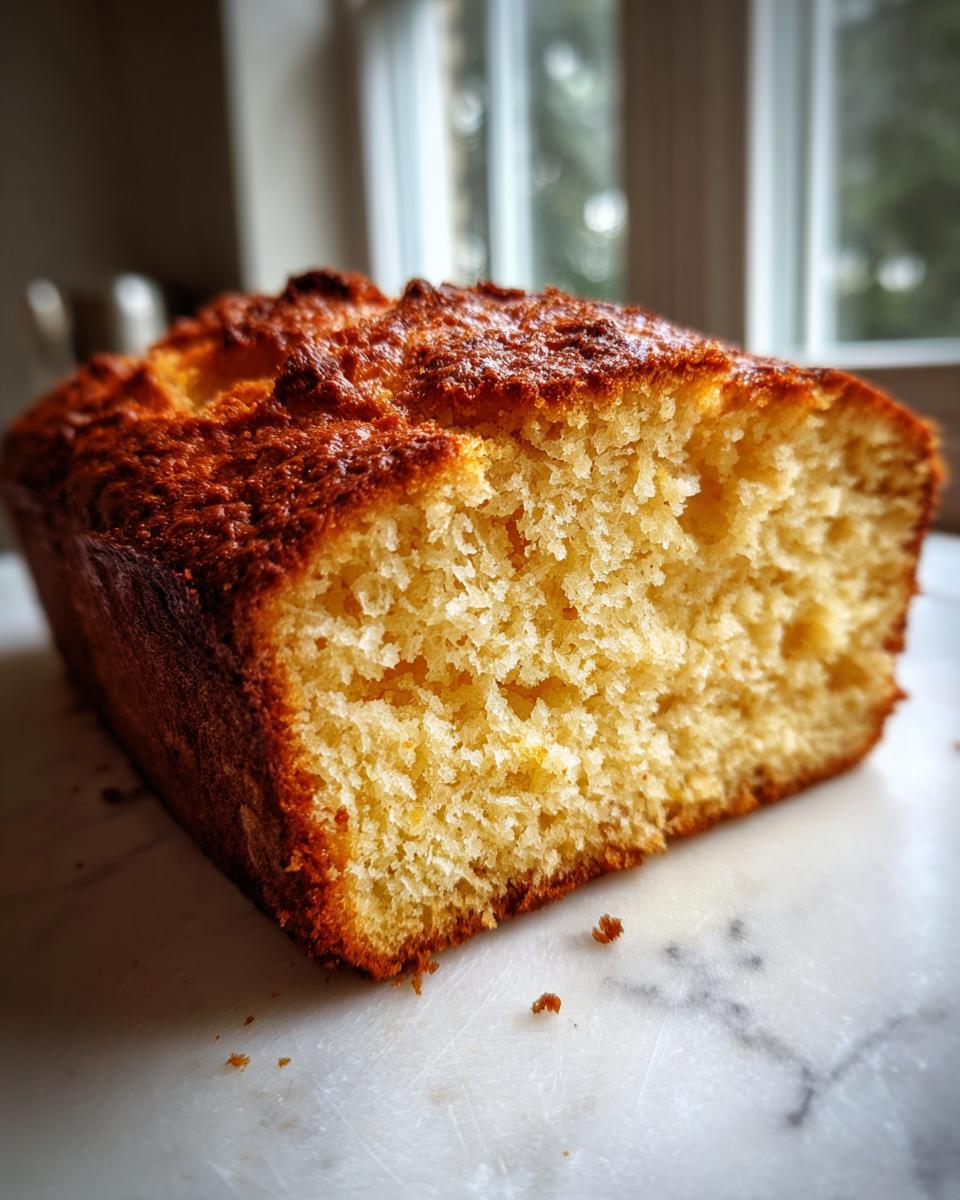
For those who want to skip the whole meal planning routine one night, just make this bread! If you prefer something a bit different than the classic, someone shared a great version over at this link that looked amazing too. Just make sure you’re ready to eat it while it’s piping hot!
Storage and Reheating Instructions for Leftover Beer Bread
Now, I know what you’re thinking: what if I don’t eat the entire loaf in one sitting? (Which, let’s be honest, is a real possibility when the smell of that Buttery Quick Bread fills the kitchen!) Don’t worry, this bread holds up really well, especially since it’s a quick bread and doesn’t rely on finicky yeast structures.
If you happen to have any leftovers, you want to keep that crisp crust while locking in what’s left of that soft interior. The trick here is keeping the air out. Store your leftover slices tightly wrapped at room temperature for about two or three days. Don’t toss it in the fridge! Cold temperatures actually make quick breads dry out and feel stale faster. An airtight Ziploc bag or wrapping it really tightly in plastic wrap works perfectly.
Restoring the Crisp Crust When Reheating
When it’s time to enjoy it again—maybe dipping it into a bowl of leftover stew—you absolutely mustn’t microwave it. Microwaving turns that beautiful crust into chewy rubber, and nobody wants that!
For the very best reheating experience, I highly recommend using your oven or a good toaster oven. Preheat it to about 350 degrees Fahrenheit. Slice off what you need and toast it directly on the rack for just 5 to 7 minutes. This wakes up the butter flavor, dries out any absorbed moisture overnight, and brings that crust right back to life. It’s like baking it all over again, but faster!
Frequently Asked Questions About Beer Bread
I get so many sweet messages from folks trying this recipe out, and sometimes those questions are just the same few things popping up again and again! It’s totally normal when you’re trying a new style of baking, especially one that ditches yeast. If this is your first time tackling a Beginner Bread Recipe like this, here are the answers to the most common things people ask me about getting this loaf just right.
Can I use non-alcoholic beer in this beer bread recipe?
That is a fantastic question! Yes, you absolutely can use non-alcoholic beer. The carbonation is doing most of the heavy lifting here, acting like a little fizzy helper to give your bread rise, so the fizz factor is what matters most. However, you need to know that the flavor profile will definitely change. Beer has a specific, slightly earthy or malty depth to it, and without the alcohol, that depth is lessened. You’ll still get a tasty loaf, but it won’t have that classic, subtle background note that beer drinkers recognize!
What is the best way to store this Quick Bread Recipe?
Because this is such a simple, straight-forward loaf—we aren’t loading it up with preservatives—it tastes best on day one! But if you have leftovers, you have to keep the air away from it to maintain that crumb. Store your leftover slices tightly wrapped, either in plastic wrap or an airtight container, at room temperature for up to three days. Please, please don’t put it in the fridge! The cold air makes quick breads feel stale almost instantly. If you need to keep it longer than three days, freezing works great, too!
Do I have to use sugar in this yeast free baking recipe?
I always get pushback on that one-quarter cup of sugar, but trust me when I say it serves a purpose! In this yeast free baking recipe, that tiny bit of sugar isn’t about making the bread sweet; it’s a balancing act! It helps counteract any slight bitterness the beer might lend and, crucially, it helps the crust brown up that gorgeous golden color we are aiming for. If you make the savory variations, like the cheese bread I mentioned above, you *do* skip the sugar, but for the classic recipe, keep it in for the best color and flavor balance!
If you try this loaf out and have another burning question, or maybe you found a way to make it even better, let me know! You can always reach me through my contact page. Happy baking!
Share Your Experience Making This Beer Bread
I really hope you take the time to whip up a batch of this easy beer bread soon! It’s the kind of kitchen win that makes you feel like a total baking rockstar, even if you only spent five minutes prepping it. Once you’ve pulled out that warm loaf, I’d absolutely love to hear about it!
Go ahead and give this recipe a proper star rating right below. Did you make the plain classic, or did you try sliding in some cheddar and garlic powder? I’m fascinated to know what additions you tried out! Every time someone tells me how this simple loaf saved their dinner plan, I nearly jump for joy right here in my kitchen.
If you have any other tips, tricks, or just want to chat about the magic of baking without yeast, please don’t hesitate! You can always send me a note directly through my contact page. Happy cooking, and I can’t wait to see your buttery, crisp creations!
PrintEasiest No-Yeast Classic Beer Bread
Make this simple, quick beer bread with only a few ingredients. It requires no yeast or rising time, resulting in a loaf with a crisp crust and soft interior, perfect for serving with soup or chili.
- Prep Time: 5 min
- Cook Time: 50 min
- Total Time: 55 min
- Yield: 8 servings 1x
- Category: Side Dish
- Method: Baking
- Cuisine: American
- Diet: Vegetarian
Ingredients
- 3 cups all-purpose flour
- 1 tablespoon baking powder
- 1 teaspoon salt
- 1/4 cup granulated sugar
- 1 (12 ounce) bottle of beer, room temperature
- 1/2 cup (1 stick) unsalted butter, melted
Instructions
- Preheat your oven to 375 degrees Fahrenheit. Grease and flour a standard 9×5 inch loaf pan.
- In a large bowl, whisk together the flour, baking powder, salt, and sugar.
- Pour the room temperature beer into the dry ingredients. Mix with a spoon until just combined. Do not overmix the batter.
- Pour half of the melted butter into the batter and stir briefly.
- Pour the batter into the prepared loaf pan. Drizzle the remaining melted butter evenly over the top of the batter.
- Bake for 45 to 55 minutes, or until the top is golden brown and a toothpick inserted into the center comes out clean.
- Let the bread cool in the pan for 10 minutes before turning it out onto a wire rack to cool completely. Slice and serve warm.
Notes
- Use any type of beer you prefer; lagers or pale ales work well for a neutral flavor.
- For a savory variation, omit the sugar and add 1 cup of shredded sharp cheddar cheese and 1 teaspoon of garlic powder to the dry ingredients.
- This bread pairs well with chili or stew, making it a great addition to your meal planning for weeknight dinners.
Nutrition
- Serving Size: 1 slice
- Calories: 250
- Sugar: 5
- Sodium: 350
- Fat: 10
- Saturated Fat: 6
- Unsaturated Fat: 4
- Trans Fat: 0
- Carbohydrates: 35
- Fiber: 1
- Protein: 5
- Cholesterol: 25