
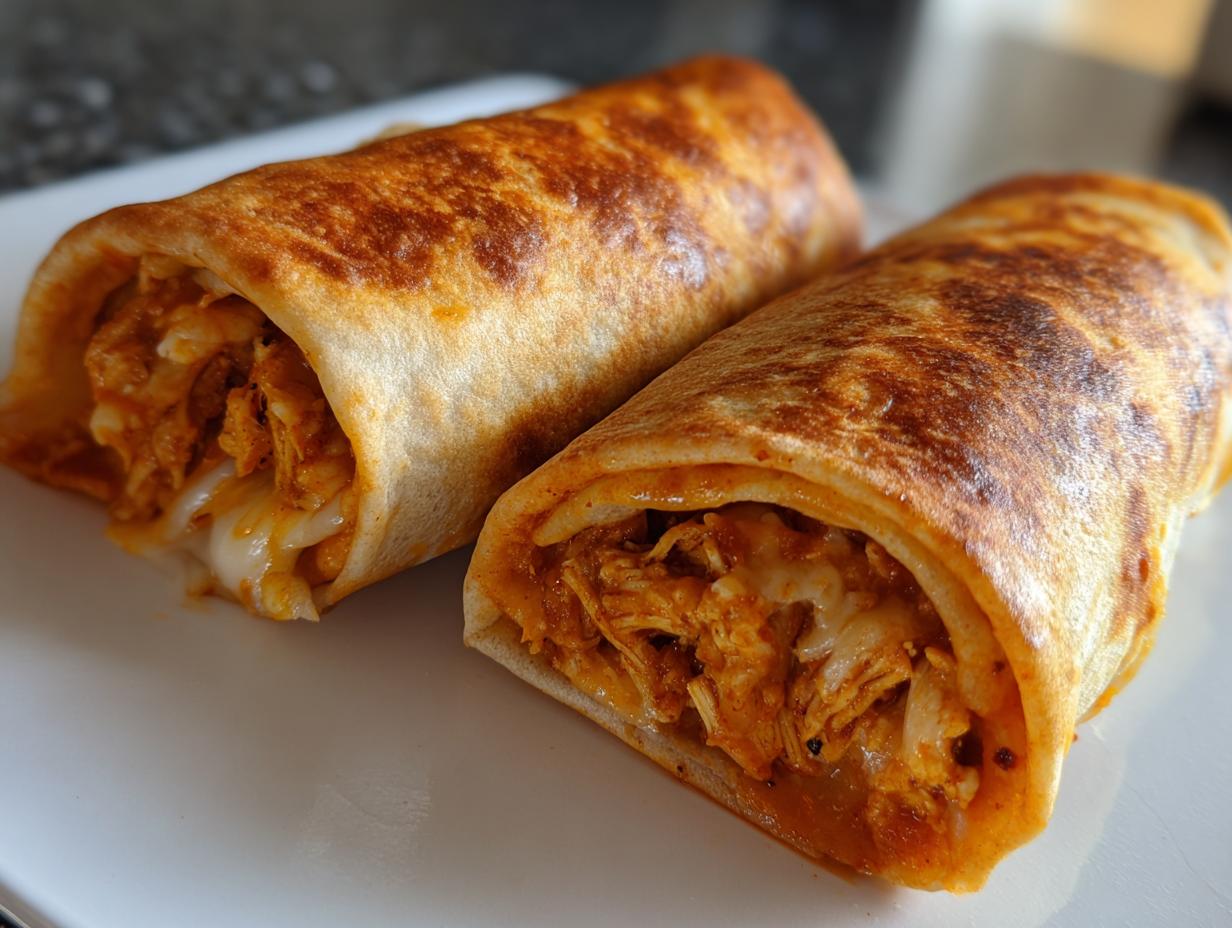

Sometimes, you just have that deep, fundamental craving for rich, cheesy Tex-Mex comfort food, right? But who has time for deep-frying on a Tuesday night? Trust me, I totally get it. That’s why I perfected this incredible recipe for Easy Baked Chicken and Cheese Chimichangas. They deliver that satisfying, crispy shell you want without the mess or the extra oil. I’ve been making these oven-baked versions for my family for years now; they’re fast enough for a weeknight dinner but taste like a weekend treat. If you’re looking for a genuinely quick, crave-worthy dinner solution, you absolutely need to try these!
- Why You Will Love These Quick Baked Chimichangas
- Essential Ingredients for Perfect Chicken Chimichangas
- Step-by-Step Instructions for Crispy Baked Chimichangas
- Tips for Making the Best Crispy Chimichangas
- Variations on Classic Chimichangas: Beef and Beyond
- Make-Ahead and Storage for Easy Chimichangas
- Serving Suggestions for Your Tex Mex Dinner Ideas
- Frequently Asked Questions about Making Chimichangas
- Estimated Nutritional Information for Baked Chimichangas
Why You Will Love These Quick Baked Chimichangas
I know you scan recipes looking for what makes them *the one*, so here’s the quick rundown on why these **Chimichangas** will officially make it into your weekly rotation. You deserve easy meals that taste like you spent all afternoon on them!
- Ridiculously Fast: Seriously, we’re talking about mixing the filling and getting these into the oven in under 15 minutes. Perfect for those nights when hunger strikes fast.
- Crispy, Not Greasy: We achieve that signature crunch we all crave by spraying them with a little cooking spray and baking at a high heat. It’s the healthier alternative that tastes just as good as the fried stuff—maybe even better because you don’t feel heavy afterward!
- Super Cheesy Filling: Who doesn’t love cream cheese mixed into a savory filling? It melts beautifully and holds everything together, making every bite wonderfully gooey.
- Family-Approved Flavor: The seasoning mix is spot-on Tex-Mex flavor—just enough cumin and chili powder to say ‘awesome’ without setting off the smoke alarm.
- Great for Planning Ahead: If you prep the filling the night before, you can assemble and bake these beauties in about 20 minutes flat. Check out more dinner ideas here!
Essential Ingredients for Perfect Chicken Chimichangas
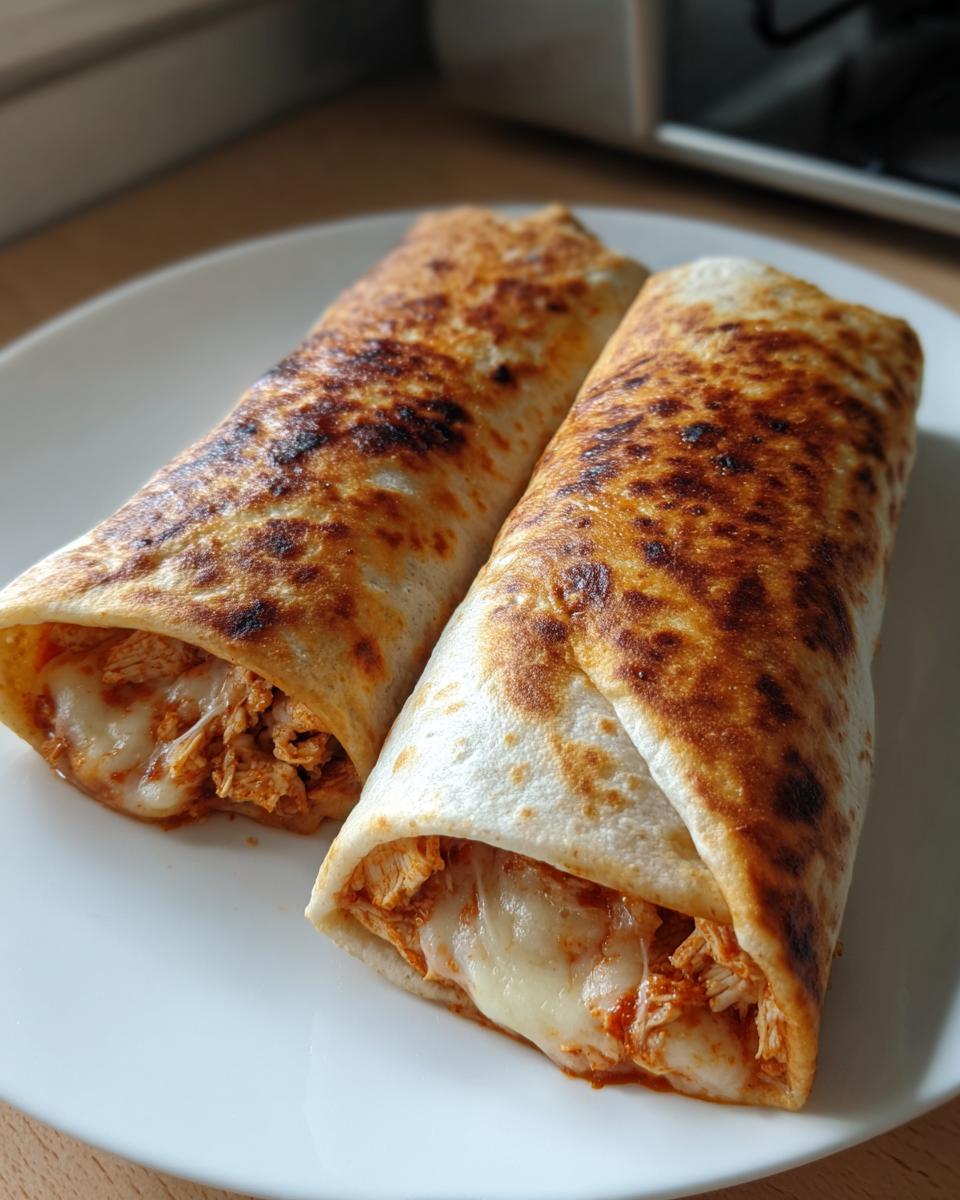
Okay, the secret to any great **Chimichanga Recipe** is keeping the filling simple but punchy. Because these bake up so fast, you need ingredients that are ready to go. I stick to this exact list every time because it gives you that perfect balance of savory chicken and melty cheese without making the tortilla soggy. Don’t skimp on softening that cream cheese!
- 8 large flour tortillas (make sure they are full size!)
- 2 cups cooked, shredded chicken (rotisserie works great here!)
- 1 cup shredded Monterey Jack cheese
- 1/2 cup cream cheese, left out on the counter so it’s soft
- 1/4 cup salsa (use your favorite jarred kind)
- 1 teaspoon chili powder
- 1/2 teaspoon cumin
- 1/4 teaspoon garlic powder
- Cooking spray (don’t forget this!)
If you want a little inspiration for other quick meals while you’re grabbing these ingredients, I always flip through my list of easy 30-minute meals. But for now, let’s focus on getting this cheesy filling mixed up perfectly!
Step-by-Step Instructions for Crispy Baked Chimichangas
Putting these together is the quickest part, I promise! We want them sealed tight so that creamy filling doesn’t decide to ooze out all over the baking sheet. Follow these steps exactly, and you’ll get that beautiful golden crunch we’re aiming for on these **Chimichangas**.
First things first: get your oven cranked up to 400 degrees Fahrenheit right away. You need that heat waiting so you can get them baking fast. While it’s warming up, lightly grease your baking sheet—I usually just use cooking spray, but you can absolutely use soft butter if you prefer!
Preparing the Chicken Chimichanga Filling
Grab your medium mixing bowl. Dump in that shredded chicken, the Monterey Jack, the softened cream cheese, and that quarter cup of salsa. Then add your spices: chili powder, cumin, and garlic powder. Now, mix it all up until it’s totally combined. My little trick here? I always taste a tiny bit before filling the shells. If my salsa was extra mild that day, I might sneak in an extra pinch of chili powder. Taste and adjust that seasoning! You’re the cook, so make it perfect for your crew.
Rolling and Baking Your Chimichangas
Here’s my Expert Tip for pliability: warm those tortillas up! Just 15 seconds in the microwave makes them flexible—if you skip this, they crack when you roll them, and nobody wants a broken wrapper.
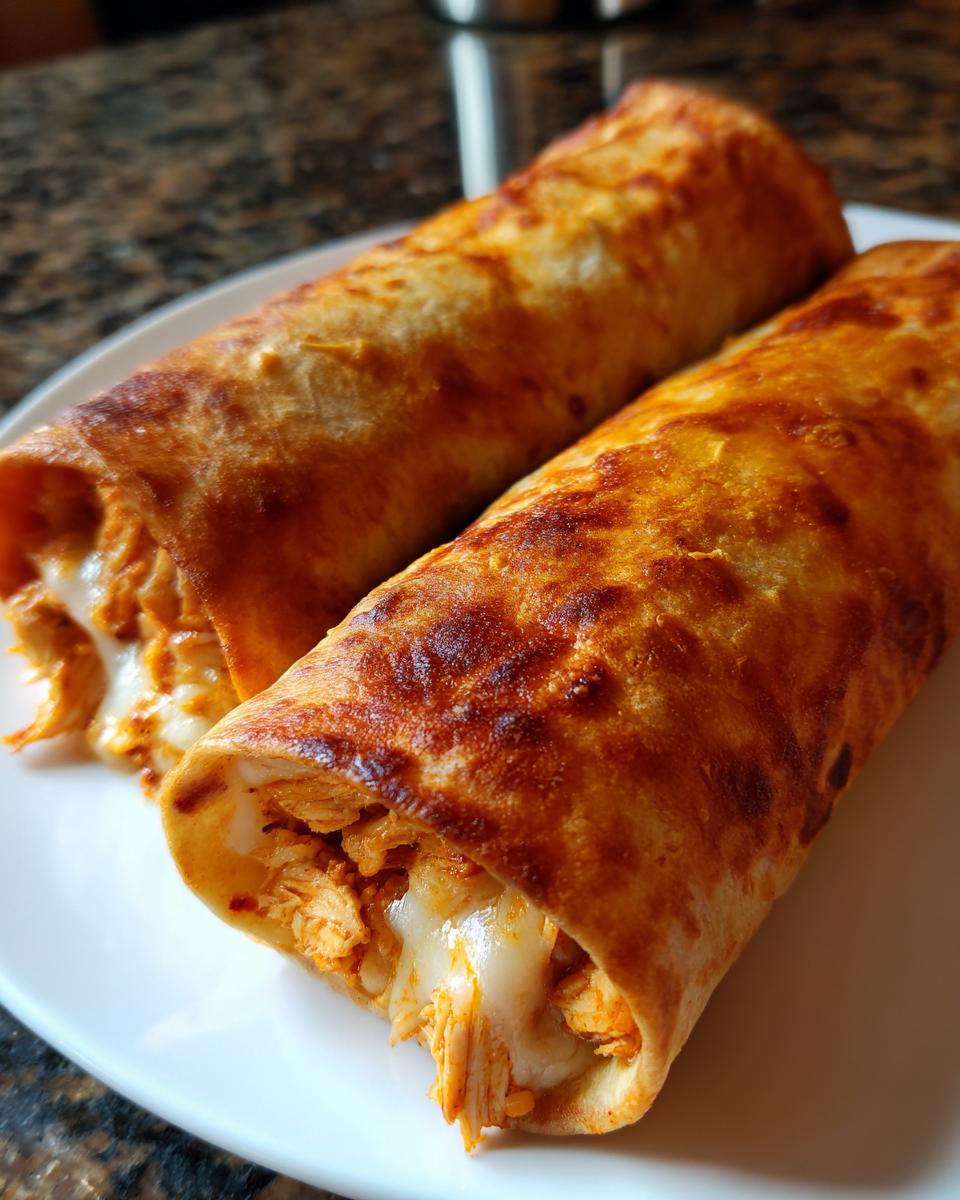
Spoon about a quarter cup of filling right in the center of each warm tortilla. Start folding the sides in just a little bit over the filling first. Then, roll it up tightly from the bottom edge, just like you’re rolling a classic burrito. Make sure those sides are tucked in so everything stays put! Place them seam-side down on that sprayed baking sheet. Don’t forget to give the tops another generous spray of cooking spray before they go in the oven. Bake for about 15 to 20 minutes total. You need to flip them halfway through—around the 10-minute mark—so both sides get gloriously golden and crispy.
If you need a little extra inspiration on timing or quick tips, check out this post on making things fluffy and fast—it often helps me when I’m trying to get dinner on the table!
Tips for Making the Best Crispy Chimichangas
Achieving that perfect, bubbly, crispy exterior without actually frying them is what separates a good **Chimichangas** night from a *great* one. If you want them to look and sound amazing when you cut into them, you need these little secrets. I learned all this through trial and fiery splatter, so save yourself the cleanup!
Listen, the cooking spray does a fantastic job, I won’t lie. It gets them golden and nice. But if you really want that deep, unmistakable *fried* texture—that slight bubble on the tortilla surface—you need a tiny bit of fat directly on top. My suggestion, which I included in the notes, is to melt a tablespoon of real butter and literally brush it over the tops of the chimichangas right before they go into the oven or air fryer.
That butter coating crisps up in such a lovely way because it sizzles just right under the high heat. It mimics that old-school frying method perfectly, but you control exactly how much fat gets used.
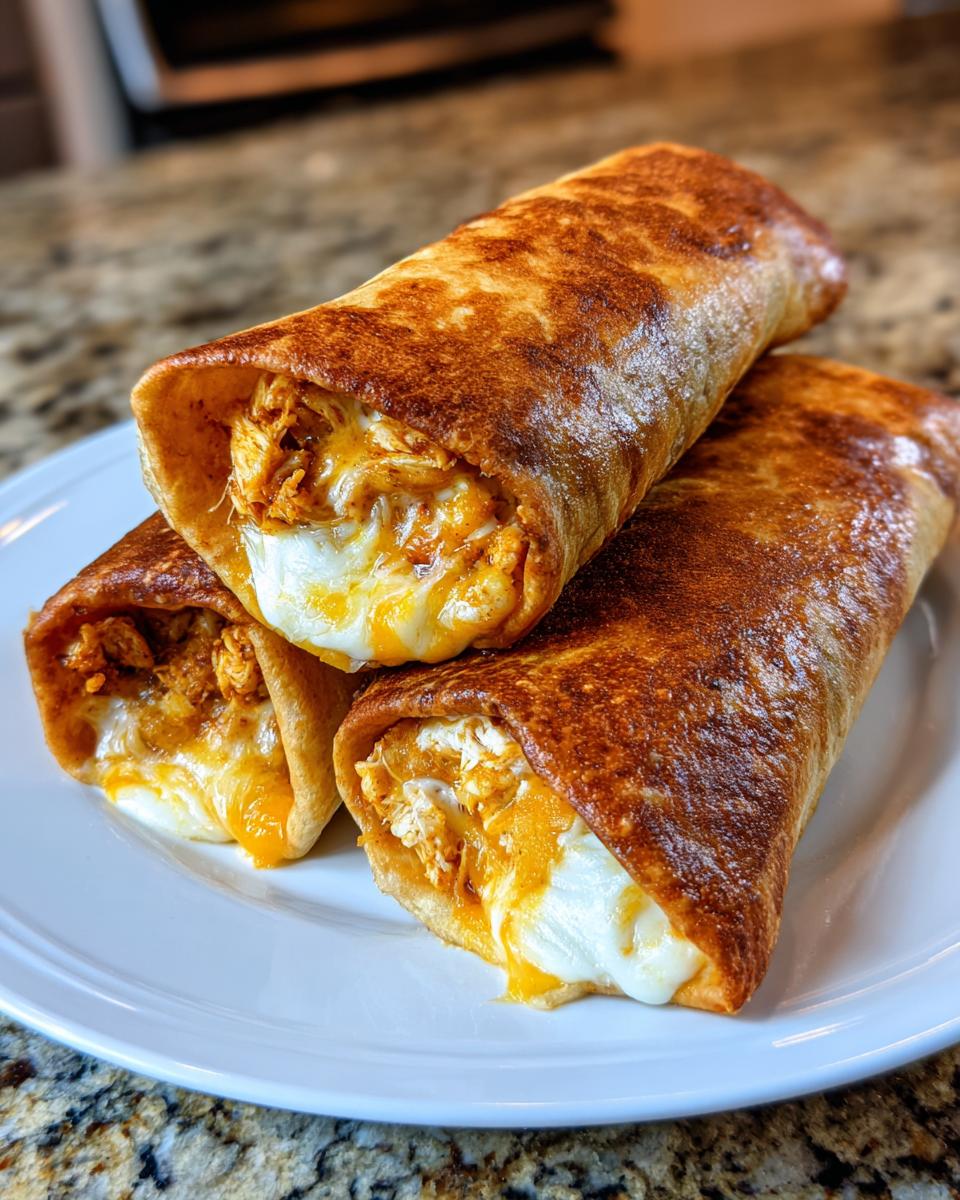
Also, don’t overload the tortilla! This is crucial whether you are baking them or using an air fryer variation. Too much filling means the sides won’t seal properly when you roll them, and when you bake them, that moisture escapes, leaving you with soggy bottoms instead of crispy edges. About a quarter cup, like I mentioned in the instructions, is the sweet spot for packing flavor without sacrificing texture.
Final super quick tip: If you have an air fryer, those come out *incredible* too, usually even quicker than the oven. Just spread them in a single layer and air fry around 380 degrees for about 8 to 12 minutes, flipping them halfway through!
Variations on Classic Chimichangas: Beef and Beyond
So, while this recipe is my go-to for that simple, quick Chicken Chimichanga fix, I know not everyone always has shredded chicken on hand. Or maybe you’re just in the mood for something richer! Please don’t feel restricted; these wrappers are just waiting for whatever delicious filling you want to throw at them. It’s all about maximizing that crispy tortilla shell!
The easiest swap you can make is turning this into a hearty **Beef Chimichanga**. You won’t have to change anything in the instructions other than the protein swap! If you’re making this on a night when you’re browsing for ground beef recipes anyway, just brown about a pound of ground beef first. Make sure you drain all that grease thoroughly—we want flavor, not oil slicks!
Once the beef is cooked, you just mix it right into the same cheesy binder we used before: the cream cheese, salsa, and spices. Some people like to add a little diced green pepper when they cook the beef, which adds a nice fresh crunch to the final baked product. It seriously takes the same amount of time!
If you’re looking for a vegetarian twist, which I love making when I need a lighter lunch, try this: skip the meat entirely. Instead, use about two cups of drained and rinsed black beans, mash about half of them roughly with a fork, and mix them with the cheeses and spices. That mash helps them blend nicely, sort of like a very savory bean dip holding everything together. It’s absolutely delicious when topped with some cool sour cream—a totally different vibe, but just as satisfying!
See? Whether you’re sticking to chicken, going hearty with beef, or opting for vegetarian, the method for getting that amazing baked crunch stays exactly the same. That’s the beauty of a great template recipe!
Make-Ahead and Storage for Easy Chimichangas
This is truly where these **Chimichangas** shine if you’re a slow cook or a heavy meal prepper! I love that I can roll a whole batch of these on a Sunday afternoon, and they are ready to go straight into the oven when I get home exhausted from errands later in the week. You get homemade Mexican comfort food without having to do *any* work later on.
If you want to use them within a day or two, the refrigeration trick is super simple. Just assemble the chimichangas exactly as the instructions say—filling, folding, and rolling them seam-side down onto your prepared baking sheet. Cover the whole sheet tightly with plastic wrap or foil and pop it into the fridge. They are good to go like this for up to 24 hours. When you’re ready for dinner, preheat that oven to 400 degrees, spray the tops, and bake them just like the recipe says, but you might need to add 5 extra minutes since they are starting cold.
Now, if you’re thinking long-term, freezing them is even better. You can freeze them either raw or cooked, though I slightly prefer freezing them raw before the final spray. Arrange the raw, rolled chimichangas in a single layer on a baking sheet that fits in your freezer. Freeze them completely solid—this usually takes about two hours. Once they are rock hard, transfer them to a zip-top freezer bag. I always squeeze out as much air as possible! They keep beautifully like this for up to two months.
When it’s time to reheat the frozen ones, skip the microwave if you want them crispy! Reheating frozen **Chimichangas** works best in the oven or the air fryer. If you use the oven, bake them straight from frozen at 400 degrees, but expect your time to jump up significantly—closer to 30 to 35 minutes. If you’re using the air fryer, you can pop the frozen ones in at 375 degrees for about 15 minutes, flipping halfway. They come out unbelievably crispy every time! For more ideas on getting food prepped ahead of time, you should definitely check out my guide to Freezer Friendly Meals!
Serving Suggestions for Your Tex Mex Dinner Ideas
Okay, that crispy, cheesy goodness of the **Chimichangas** deserves the best supporting cast! You can’t serve these amazing Mexican comfort food bites naked, obviously. My favorite way to round out this quick dinner is piling them high with fresh, cool things that balance the heat and richness.
You absolutely need a dollop of cool sour cream or Mexican crema. Guacamole is non-negotiable in my house—it just adds such a luxurious texture! I also always chop up some crisp lettuce and vine-ripened tomatoes for a little freshness. If you want a side dish that impresses but takes zero effort, you should check out the dressing recipe for my copycat Olive Garden Salad; it’s surprisingly good on the side of zesty Tex-Mex!
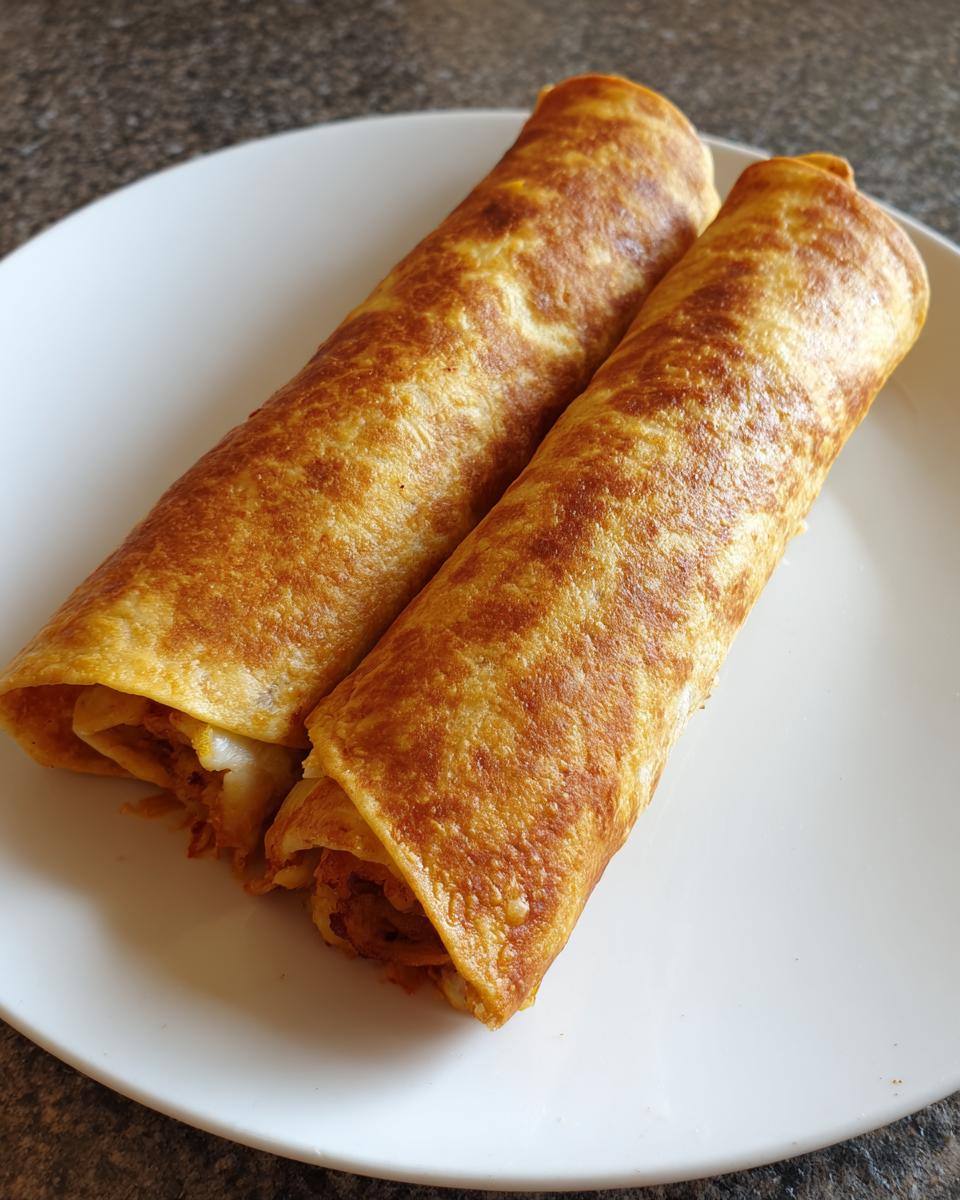
Frequently Asked Questions about Making Chimichangas
I always get peppered with questions when people try this recipe the first time, because honestly, baking them sounds too good to be true! So, let’s tackle some common things people wonder about when making these **Easy Chimichangas** at home. Don’t worry, the answers are always simple!
Can I use canned chicken instead of cooked, shredded chicken?
Yes, you totally can! If you have a can of chicken breast ready to go, just make sure you drain it *really* well. Canned chicken tends to hold onto more liquid than freshly cooked or rotisserie chicken. After you drain it, put it on a paper towel and gently pat it down to soak up any excess moisture. If you skip this, you risk making your filling a little too wet, and we definitely don’t want soggy bottoms on our **Crispy Chimichangas**!
I really miss the deep-fried ones—can I deep-fry these instead?
Oh, I know the temptation! Traditional **Chimichangas** are deep-fried and delicious. Since this is designed to be a baked alternative, the tortilla wrapper is different. If you *must* deep-fry, I recommend cutting back on the liquid ingredients slightly because the oil will crisp things up way faster than the oven. Heat your oil to about 350 degrees Fahrenheit, and only fry them for about 2 to 3 minutes per side until they are deeply golden brown. Just be careful when you drop them in; hot oil splatters!
What’s the best way to make these Cheesy Chimichangas even cheesier?
That’s a fantastic question! If you’re looking for maximum ooze factor on your **Chicken Chimichanga**, feel free to increase the cheese by about a quarter cup. But the real secret isn’t adding *more* cheese; it’s how you use the cream cheese. Make sure your cream cheese is *really* soft—almost room temperature—so it blends perfectly into the filling. It acts as a binder and melts beautifully. You can also swap half the Monterey Jack for a cheese known for melting well, like Pepper Jack or Oaxaca cheese. Trust me, that gooey center is the best part!
Are these freezer-friendly meals suitable for an Air Fryer?
Absolutely! If you followed the freezer instructions and have a pre-made, frozen chimichanga, the air fryer is my favorite reheating method. It gets them crispier faster than the oven. Set your air fryer to 380 degrees Fahrenheit. If you’re cooking them straight from frozen, it usually takes about 12 to 15 minutes, flipping them halfway through. They come out looking and tasting almost perfectly fried. If you ever need more easy soup ideas to go with them, check out my recipe for Chicken Tortilla Soup—it’s a natural pairing!
Estimated Nutritional Information for Baked Chimichangas
Alright, here’s the scoop on what you’re looking at calorically for a serving of these wonderful **Baked Chimichangas**. I always share this information because planning meals for the week—especially when you’re trying to hit certain goals—is important. Since we’re baking them instead of frying, we’re already way ahead of the game on fat content compared to traditional recipes!
Keep in mind that these numbers are just estimates. I used standard ingredients when calculating this, so if you use a fattier cut of chicken or decide to double up on the cheese (which I totally support!), your numbers will shift a bit. It’s just a guide to show you that this is a genuinely satisfying, yet reasonable, weeknight meal option.
For a serving size of two chimichangas, here’s the breakdown:
- Calories: 450
- Fat: 18g (with 8g of that being Saturated Fat)
- Cholesterol: 90mg
- Sodium: 650mg (Salty, I know! That usually comes from the cheese and tortillas.)
- Carbohydrates: 45g
- Fiber: 3g
- Protein: 30g
- Sugar: 3g
I’m always trying to keep my family eating well, and these are just too good not to share. If you’re looking for another great, slightly healthier meal idea that still hits all the comfort food marks, you have to look at my Easy Chicken Chili Recipe next. It’s fantastic!
PrintEasy Baked Chicken and Cheese Chimichangas
Make crispy, satisfying chicken and cheese chimichangas in the oven for a quick weeknight Tex-Mex dinner.
- Prep Time: 15 min
- Cook Time: 20 min
- Total Time: 35 min
- Yield: 4 servings 1x
- Category: Dinner
- Method: Baking
- Cuisine: Tex-Mex
- Diet: Vegetarian
Ingredients
- 8 large flour tortillas
- 2 cups cooked, shredded chicken
- 1 cup shredded Monterey Jack cheese
- 1/2 cup cream cheese, softened
- 1/4 cup salsa
- 1 teaspoon chili powder
- 1/2 teaspoon cumin
- 1/4 teaspoon garlic powder
- Cooking spray
Instructions
- Preheat your oven to 400 degrees Fahrenheit. Lightly grease a baking sheet or spray it with cooking spray.
- In a medium bowl, combine the shredded chicken, Monterey Jack cheese, softened cream cheese, salsa, chili powder, cumin, and garlic powder. Mix until well combined.
- Warm the tortillas briefly in the microwave (about 15 seconds) to make them pliable.
- Spoon about 1/4 cup of the chicken mixture onto the center of each tortilla.
- Fold the sides of the tortilla inward over the filling, then tightly roll the tortilla from the bottom up, creating a sealed burrito shape. Place seam-side down on the prepared baking sheet.
- Lightly spray the tops of the rolled chimichangas with cooking spray.
- Bake for 15 to 20 minutes, flipping halfway through, until the tortillas are golden brown and crispy.
- Serve immediately with your favorite toppings.
Notes
- For extra crispiness, you can brush the tops with a small amount of melted butter before baking.
- You can prepare these ahead of time, place them on the baking sheet, cover, and refrigerate for up to 24 hours before baking.
- Use ground beef instead of chicken for a Beef Chimichanga variation.
Nutrition
- Serving Size: 2 chimichangas
- Calories: 450
- Sugar: 3
- Sodium: 650
- Fat: 18
- Saturated Fat: 8
- Unsaturated Fat: 10
- Trans Fat: 0
- Carbohydrates: 45
- Fiber: 3
- Protein: 30
- Cholesterol: 90