
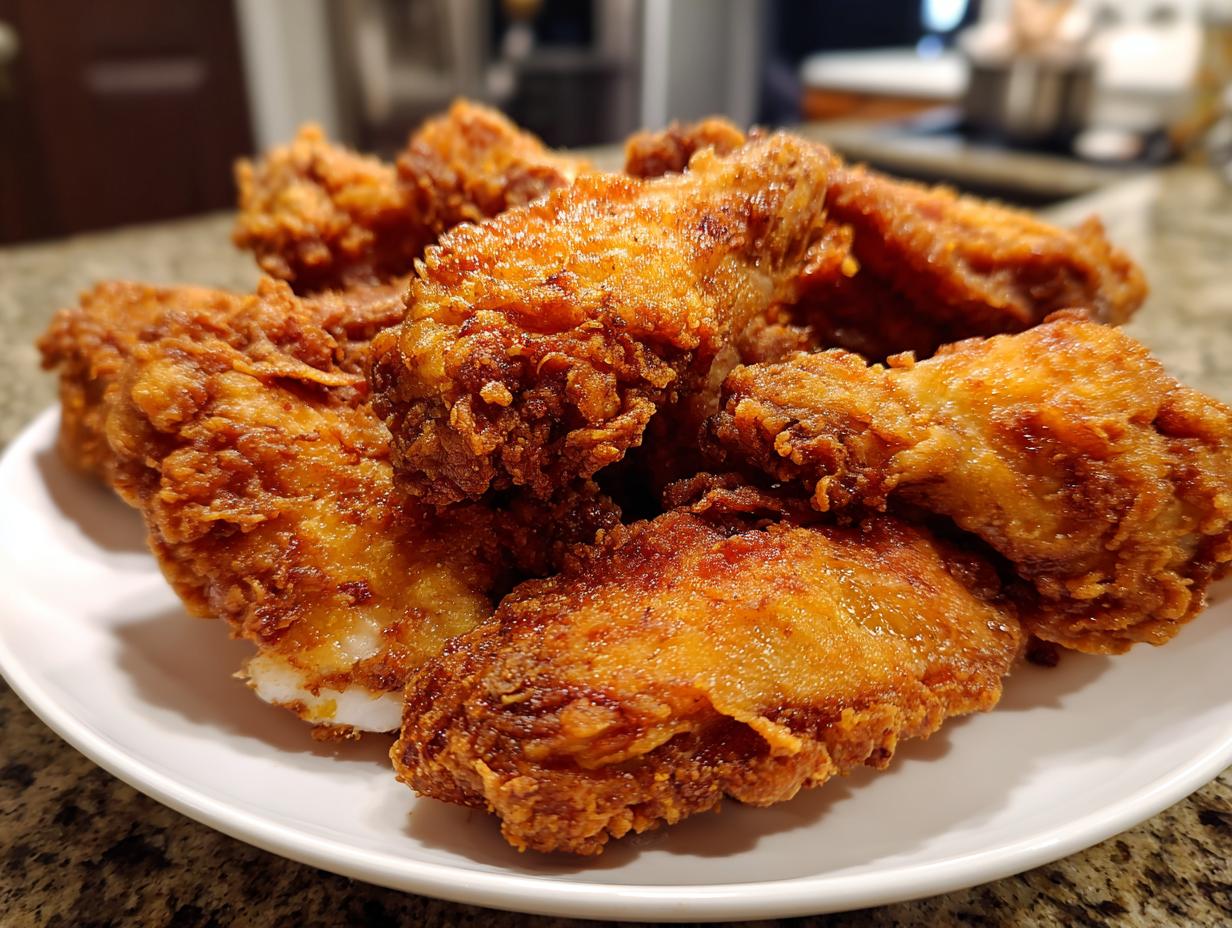

Let’s be honest, craving perfect, stadium-quality chicken wings usually means one thing: deep-frying. And that means grease, splattering oil, and a whole sink full of scrubbing later. Forget all that drama! I spent years trying to crack the code on oven-baked wings that *actually* come out crispy, not soggy. Trust me, after testing countless batches for my family’s Game Day spread, I finally nailed it. This isn’t just another baked chicken wing recipe; it’s my foolproof method that uses one simple pantry trick—baking powder—to dry out the skin and deliver that satisfying shatter you usually only get from the fryer. These are the juiciest, crispiest, no-fry wings you’ll ever make, and they make cleanup a total dream!
- Why This Baked Chicken Wing Recipe Delivers Ultimate Crispiness
- Essential Ingredients for Perfect Crispy Chicken Wings
- Step-by-Step Instructions for Baked Chicken Wings Recipe
- Transforming Your Chicken Wing with Flavor Variations
- Expert Tips for the Juiciest Chicken Wings
- Storage and Reheating Instructions for Leftover Chicken Wings
- Frequently Asked Questions About Making Chicken Wing
- Serving Suggestions for Your Party Appetizers Chicken
- Share Your Ultimate Chicken Wings Experience
Why This Baked Chicken Wing Recipe Delivers Ultimate Crispiness
This trick is pure kitchen science, and it’s amazing! When you toss your chicken wing pieces in baking powder, you raise the skin’s pH level. This slightly alkaline environment helps break down the proteins faster and allows the skin to dry out beautifully in the high heat of the oven. That’s the secret to getting Crispy Chicken Wings that taste oven-fried but leave you with zero messy oil baths.
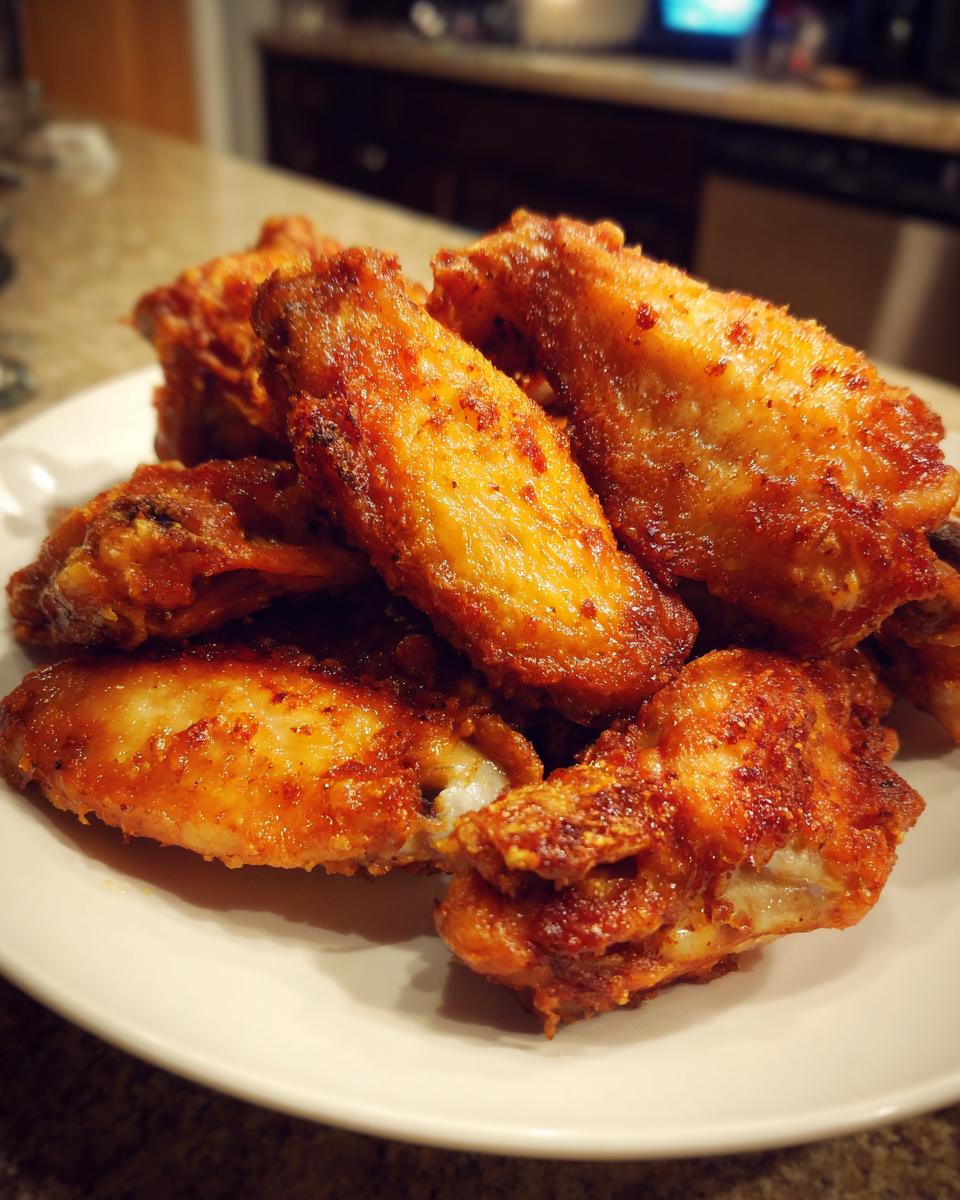
You absolutely do not need to deep fry anymore. If you want the absolute best results from this technique, make sure you check out my detailed breakdown on how the baking powder really works!
Essential Ingredients for Perfect Crispy Chicken Wings
See? That secret is just a couple of simple pantry items! You don’t need a dozen fancy powders or complicated marinades to get great flavor and incredible crunch on your baked chicken wing pieces. This list is short, sweet, and gets right to the point. It’s the foundation of a perfect appetizer!
For the Dry Rub Coating
This is where we build that crispy shell! You mainly need the baking powder, but we mix in basic seasonings for flavor before we sauce them later. Grab your aluminum-free baking powder if you can—I find it gives a cleaner finish, but regular works too in a pinch. You’re also going to need salt, pepper, garlic powder, and just a tiny dash of cayenne if you like a little warmth!
- 1 tablespoon baking powder (aluminum-free preferred)
- 1 teaspoon salt
- 1/2 teaspoon black pepper
- 1/2 teaspoon garlic powder
- 1/4 teaspoon cayenne pepper (optional)
For the Chicken Wing Prep
The chicken itself is arguably the most important part. You need about three pounds, and I always separate them into flats and drumettes because I hate trying to cook whole wings—it never cooks evenly! And seriously, dry wings are happy wings. Get out your paper towels and commit to patting them until they feel almost dusty. That dampness is the enemy of crisp!
- 3 lbs chicken wings, separated into flats and drumettes
- 1 tablespoon olive oil
Step-by-Step Instructions for Baked Chicken Wings Recipe
Okay, now that you have your perfectly dry, coated little nuggets, it’s time to send them to their happy place: the hot oven! Getting the timing right here is non-negotiable for that awesome, shatteringly crisp skin we’re after. Follow these steps exactly, and you’ll stop relying on messy frying forever. These tips come from years of trial and error, so trust me on the temps!
Prepping the Oven and Wings for Maximum Crisp
First thing first: blast that oven heat up! We need 425 degrees Fahrenheit—hot enough to crisp, but not so hot that the inside gets dry. Line a big baking sheet with some foil because cleanup is still important, and then—this is super important—place your wire rack right on top of that foil. That rack allows air to circulate all the way around your chicken wing pieces, which means crispy all around, top and bottom!
Coating and Arranging the Chicken Wing Pieces
Take a big bowl and mix up all your dry rub stuff. Dump those dry wings in and get tossing! Make sure every single flat and drumette is coated evenly with that white baking powder mixture. Then, arrange them on the rack completely single-file. They cannot touch each other! If they’re crowding, they steam, and we hate steaming. Once they are nicely spaced out, give them a very light drizzle of that olive oil. Just a touch helps the crust brown up nicely. To see how I get the best results, check out this other oven recipe for inspiration!
Baking Time and Flipping for Even Cooking
Into the hot oven they go for the first 20 minutes. Don’t peek too much! When the timer rings, use tongs to flip every single wing piece over. Then, bake for another 20 to 25 minutes. You aren’t looking for pale and cooked; you’re looking for deeply golden brown and audibly crispy skin. When you pull them out, they’ll look gorgeous and be ready for whatever sauce magic you decide on!
Transforming Your Chicken Wing with Flavor Variations
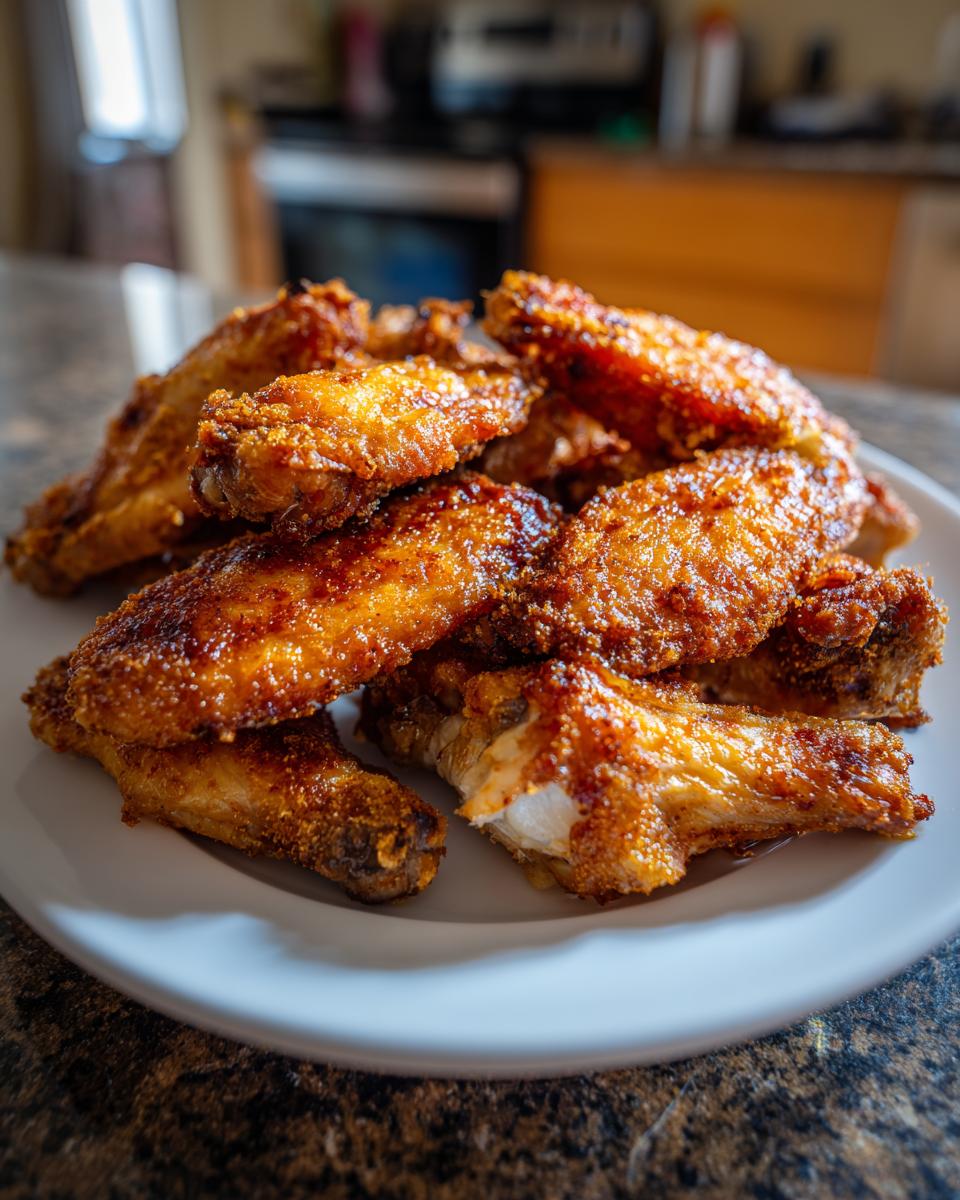
Once those beautiful, crispy wings are out of the oven, it’s time for the fun part! We’ve got the perfect texture, and now we can dress them up however we want. You can toss them in a simple dry rub, or you can go all-in with a sticky glaze. These wings need to be sauced *immediately* after they come off the rack, while they are still screaming hot, so the sauce clings perfectly. Don’t let them cool down!
Having recipes for big flavor variations means you can serve up a feast that pleases everyone at your next gathering. If you need some inspiration for non-wing recipes that also deliver huge flavor, you’ve got to check out my satay skewers—they’re totally different but equally addictive!
Making Sticky Honey Garlic Wings
This is such a crowd-pleaser, and it’s honestly shockingly easy to make right in a little saucepan while the wings finish baking. You’re just going to simmer together honey, soy sauce, a couple of cloves of minced garlic, and a bit of fresh grated ginger until it thickens up nicely. It turns them into these gorgeous, sticky bites of heaven. As soon as the wings come out, pour this right over them, toss quick, and serve them right away before the glaze sets!
Creating a Simple Chicken Wing Dry Rub
Sometimes you just want that classic, punchy flavor without the mess of a sticky glaze, right? That’s where a good dry rub swoops in. Since we already used a plain salt/pepper/garlic base with the baking powder, you can just sprinkle extra flavor on when they come out of the oven. For a really bright option, try a simple Lemon Pepper blend: just mix coarse black pepper, zest from one lemon, and a little extra salt. Or, if you want something smoky, grab your favorite store-bought BBQ dry rub and give those hot wings a heavy dusting. They stay crispier longer this way!
Expert Tips for the Juiciest Chicken Wings
We’ve talked about how to get them crispy, but how do we keep the meat inside juicy? That’s all about prep and timing. I pulled out all my grandma’s old tricks, adapted them for this awesome **chicken wing** recipe, and found a couple of modern secrets that really make a difference. You want that shattering skin, but you also want meat that falls right off the bone, not dry cardboard!
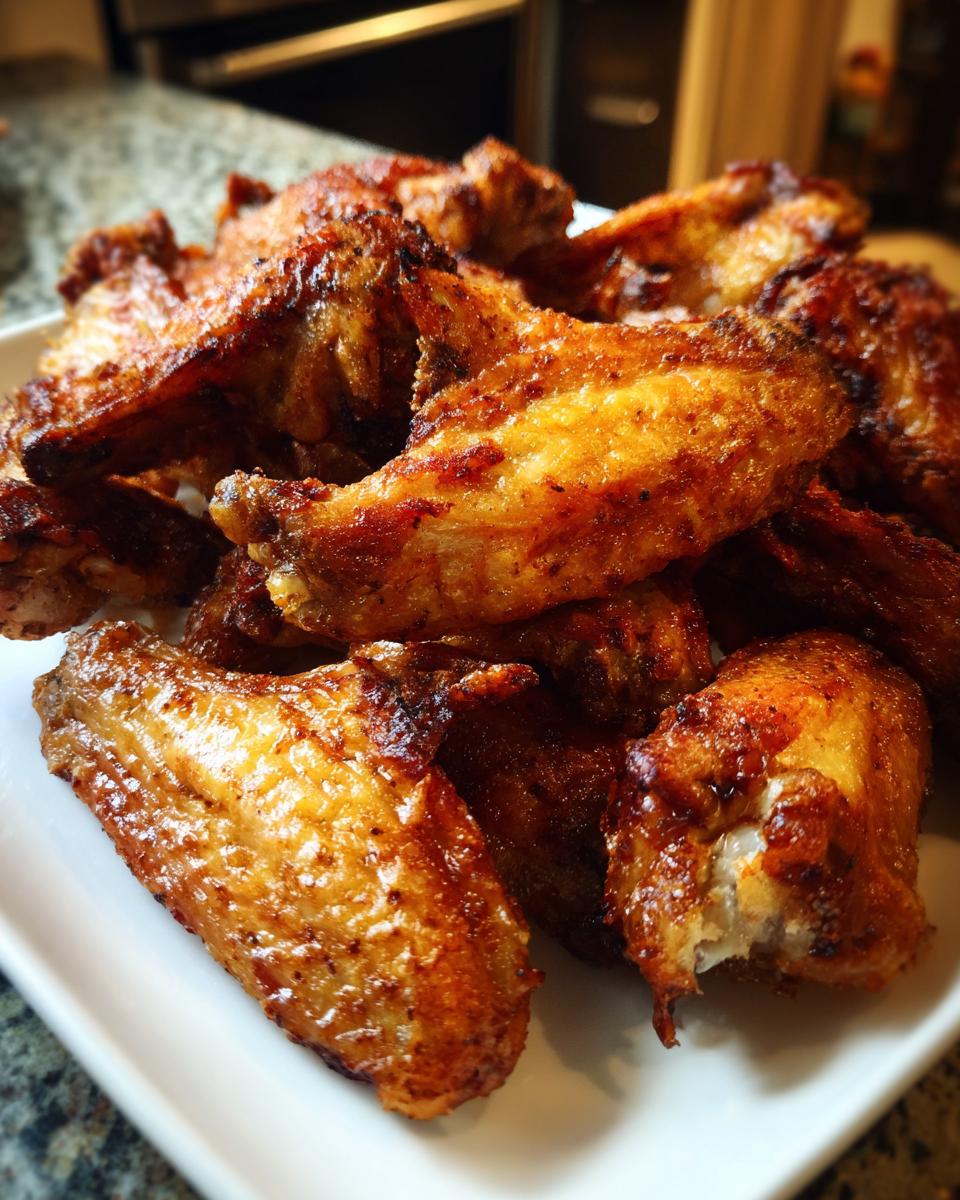
The single biggest insider secret for next-level crispiness, which I learned from desperate, last-minute party prep, is chilling them after coating. Seriously, if you have the time? After you rub those wings down with the baking powder mixture, toss them on that rack, uncovered, in the fridge for at least an hour. It lets the baking powder really work its magic and dry the skin out completely before it even hits the heat. The crisp factor goes up by like 50%! For more tips on keeping things simple and delicious, take a peek at my general easy chicken wing recipe post.
Also, remember the sauce rule! If you decide to make a super sticky glaze, like that Honey Garlic one we made earlier, toss the wings in the sauce the second they come off the sheet pan. They are hot, sticky, and ready to serve immediately. Letting sauced wings sit around while you wait for the rest to finish means that sauce just sinks in and they start getting soggy again. Serve those glazed beauties hot and fast!
Storage and Reheating Instructions for Leftover Chicken Wings
So, you lucked out and have some amazing leftovers! That’s the best kind of luck, right? Store any leftover **chicken wing** pieces in an airtight container—make sure they are completely cool before sealing them up, though. Keep them in the fridge for up to three or four days. Now, for reheating: please, please, please don’t microwave them! That’s instant soggy city.
If you want them crispy again, you have two choices. If you have a toaster oven or an air fryer, pop those wings in for about five to eight minutes at 375 degrees. They will crisp right back up! If you only have a regular oven, spread them back on a wire rack set over a baking sheet and bake at 400 degrees until they are hot all the way through. It only takes about ten minutes to resurrect that amazing crisp!
Frequently Asked Questions About Making Chicken Wing
I get so many messages about this recipe—it’s clearly a favorite for Game Day Chicken Wings around here! People always have great questions, especially when they are used to deep frying everything. Here are some of the things I hear most often when folks are trying to get that perfect oven-baked crust.
Can I use the baking powder method for Air Fryer Chicken Wings?
Oh, absolutely you can! The baking powder trick works just as well in the air fryer, maybe even faster! You’ll still coat the wings the exact same way, but you’ll need to adjust the cooking time a bit. Usually, 400 degrees for about 18 to 22 minutes, flipping halfway, does the trick. Just keep an eye on them and make sure they aren’t browning too fast since every air fryer is a little different. If you want the full breakdown on air frying, I wrote up a whole post on air fryer chicken wings!
What is the best way to ensure my chicken wing meat stays juicy?
This recipe is designed for juiciness, honestly! The biggest things are patting them bone-dry before you coat them (that helps the outside crisp up fast!) and then making sure you pull them exactly when they are done. Don’t walk away during the flip phase! If they are golden brown and crispy, they are done; pulling them even five minutes past that point is what dries the meat out. That’s why checking them frequently toward the end is key.
Are these considered a Healthy Chicken Wing Recipe?
They certainly swing that way far more than traditional methods! Since we’re focusing on No Fry Chicken Wings here, you are skipping the massive amount of oil absorption that happens when you deep fry. You’re getting all that amazing texture with way less added fat. It makes these perfect for satisfying that craving without feeling overly guilty about your Appetizer Finger Food selection!
Serving Suggestions for Your Party Appetizers Chicken
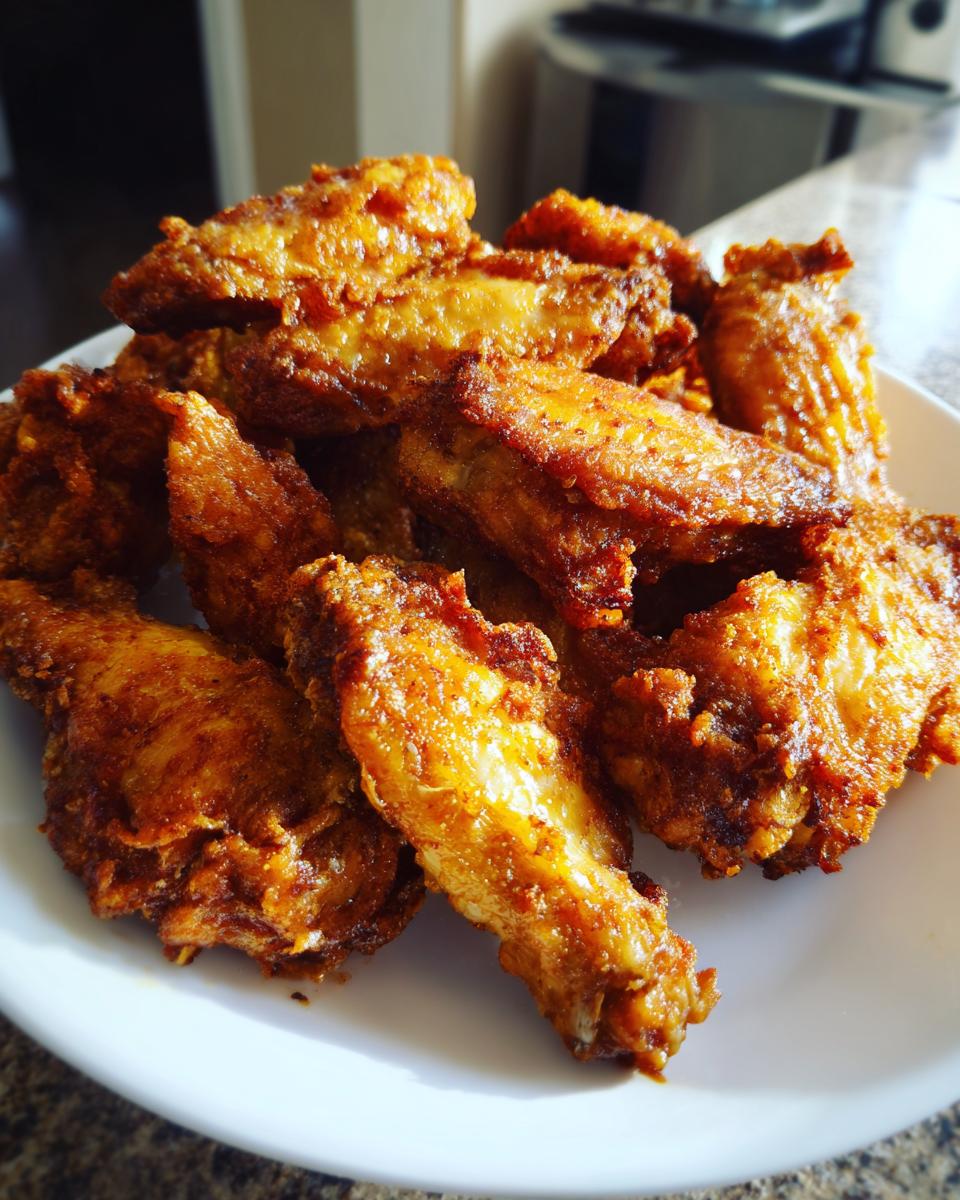
So you’ve got this mountain of perfectly crispy, flavorful **chicken wing** pieces—what do you serve them with? That depends entirely on how you tossed them! If you went with one of those sticky, super-saucy glazes, you need something cooling and refreshing on the side to cut through that richness. If you stuck with a simple dry rub, you can go a little heavier on the sides!
For any big **Game Day Chicken Wings** spread, you absolutely must have the classics: tubs of ranch and blue cheese dressing. They are non-negotiable dipping vehicles! I also always put out crisp carrot sticks and celery spears. They provide that necessary crunch, and they’re perfect for scraping up any leftover sauce on your plate.
Dips to Cool Down Zingy Wings
If you made something spicy—maybe a Buffalo style or using a heavier cayenne rub—you need serious cooling power. My go-to is always a really rich, cheesy dip. Forget the store-bought stuff; a homemade dip just hits different when you’re dunking a saucy wing. You NEED to try my famous creamy spinach and artichoke dip. It’s warm, it’s cheesy, and it brings perfect balance to intense heat. Just make a big batch, because everyone will be digging in!
Pairing with Simple Sides
If you’re serving these as more of a **Quick Chicken Dinner Ideas** instead of just an appetizer, you’ll want something heartier alongside those glorious wings. For dry-rubbed wings, a simple, fluffy side works great. I often whip up some creamy coleslaw—the sweetness contrasts nicely with savory spices. Another winner, especially if you’re serving a bigger crowd, is a big bowl of fluffy white rice to soak up any extra rub or sauce that drips off. It makes the whole plate feel more satisfying, doesn’t it?
Share Your Ultimate Chicken Wings Experience
Whew! We made it to the finish line, and I hope your kitchen smells incredible right now—mine certainly does!
This recipe for oven-fried chicken wings has been a total game-changer for me, moving wings from a messy weekend treat to an easy weeknight win. Now it’s your turn to take these tips and make them your own! I really want to know how they turned out for you.
Did you try the refrigeration trick? Which sauce did you use to toss them in? Are you a die-hard Honey Garlic fan, or did you stick with the simple Lemon Pepper dry rub? Don’t be shy!
Please leave a rating right below this section and tell me all about it in the comments. Seriously, photos are my favorite! If you snapped a picture of your perfect-looking stack of crispy wings, tag me so I can see your success! I love connecting with you all, and knowing that this recipe is making your Game Day Chicken Wings easier is the best reward. If you’re looking for even more of my kitchen adventures, you can always pop over to my main recipe index page for the next great idea!
PrintCrispy Baked Chicken Wings with Baking Powder
Make juicy chicken wings with a crispy skin using only your oven and a simple baking powder technique. This recipe avoids deep frying.
- Prep Time: 15 min
- Cook Time: 45 min
- Total Time: 60 min
- Yield: 4 servings 1x
- Category: Appetizer
- Method: Baking
- Cuisine: American
- Diet: Low Fat
Ingredients
- 3 lbs chicken wings, separated into flats and drumettes
- 1 tablespoon baking powder (aluminum-free preferred)
- 1 teaspoon salt
- 1/2 teaspoon black pepper
- 1/2 teaspoon garlic powder
- 1/4 teaspoon cayenne pepper (optional)
- 1 tablespoon olive oil
Instructions
- Preheat your oven to 425 degrees Fahrenheit (220 degrees Celsius). Line a large baking sheet with foil and place a wire rack on top of the foil.
- Pat the chicken wings completely dry using paper towels. This step is crucial for crispiness.
- In a large bowl, combine the baking powder, salt, pepper, garlic powder, and cayenne pepper.
- Add the dried chicken wings to the bowl and toss them thoroughly until every piece is evenly coated with the dry rub mixture.
- Arrange the coated wings in a single layer on the wire rack. Do not let the wings touch each other.
- Drizzle the olive oil lightly over the wings.
- Bake for 20 minutes. Flip the wings over.
- Continue baking for another 20 to 25 minutes, or until the skin is deeply golden brown and very crispy.
- Remove from the oven. Toss immediately in your favorite sauce, like Honey Garlic or BBQ, or serve plain with a dry rub.
Notes
- For extra crispy skin, place the wings in the refrigerator uncovered for at least one hour after coating them with the baking powder mixture before baking.
- If you prefer a saucy wing, toss the wings in sauce only after they come out of the oven.
- If you want to make Honey Garlic wings, combine 1/2 cup honey, 1/4 cup soy sauce, 2 cloves minced garlic, and 1 teaspoon grated ginger in a small saucepan. Simmer until slightly thickened, then toss with the hot wings.
Nutrition
- Serving Size: 4 wings
- Calories: 280
- Sugar: 1
- Sodium: 350
- Fat: 18
- Saturated Fat: 5
- Unsaturated Fat: 13
- Trans Fat: 0
- Carbohydrates: 1
- Fiber: 0
- Protein: 26
- Cholesterol: 90