
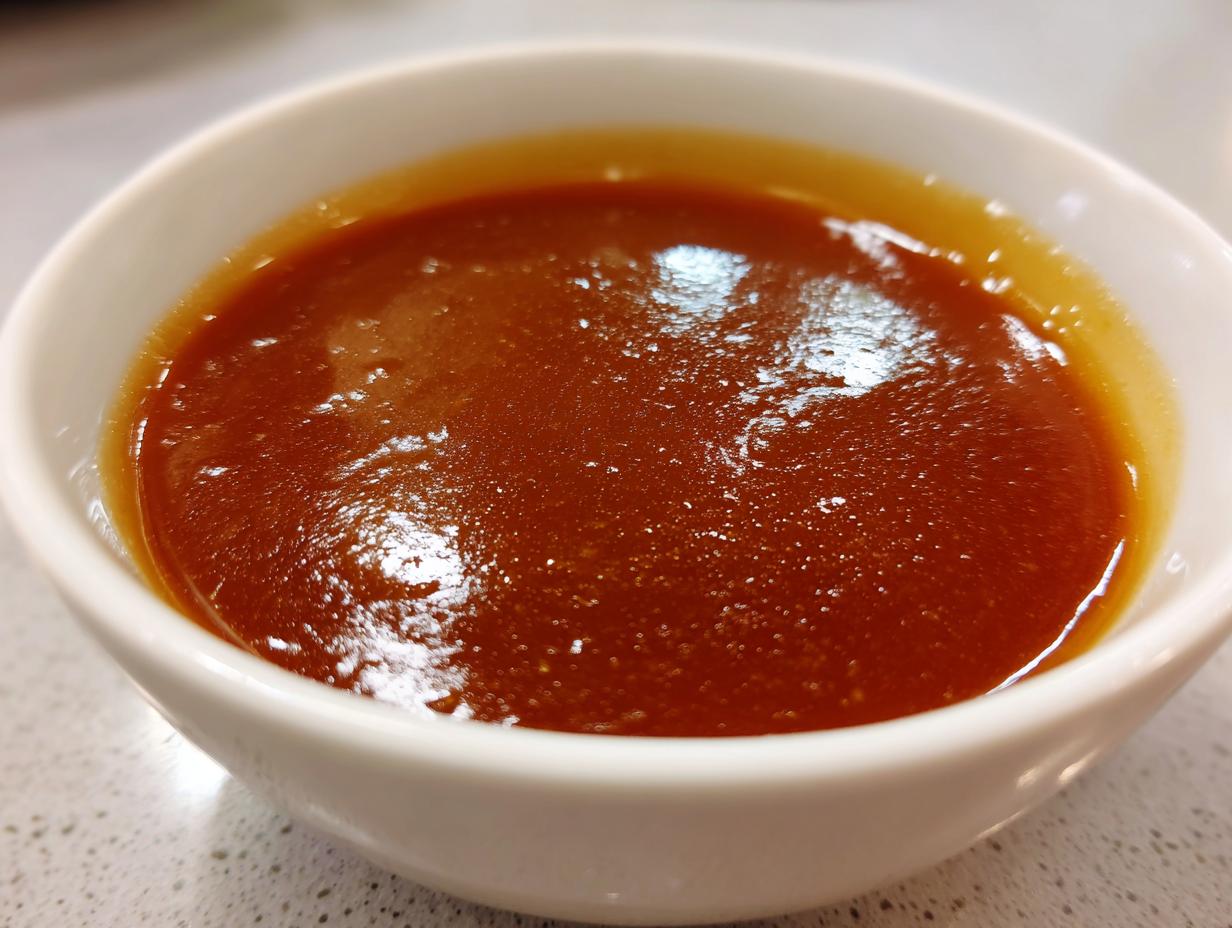

Let’s be honest, Thanksgiving isn’t really done until you’ve drowned your potatoes in something rich, savory, and smooth. The centerpiece of any amazing holiday plate is absolutely the gravy—and I’m not talking about that stuff from a jar! I’m going to give you my foolproof recipe for the richest, silky turkey gravy made completely from scratch using those amazing pan drippings. I promise, once you nail this technique, you’ll never buy a packet again. I’ve spent my whole life perfecting American classics in my kitchen, just like my grandmother taught me, and this savory roast turkey sauce is definitely one of my proudest achievements.
This recipe is designed to tackle the number one complaint I hear: lumps! We aren’t having lumps at our holiday table. We are shooting for that beautiful, velvety pour that coats everything just right. Trust me on this; we’re going to keep this straightforward so you can focus your energy on the turkey itself.
- Why This Homemade Turkey Gravy Recipe Delivers Flavor
- Ingredients for Your Classic Holiday Turkey Gravy
- Step-by-Step Instructions for Foolproof Turkey Gravy
- Tips for Success Making Turkey Gravy
- Make Ahead Turkey Gravy Storage and Reheating
- Serving Suggestions for Your Turkey Gravy
- Frequently Asked Questions About Turkey Gravy
- Nutritional Snapshot of This From Scratch Turkey Sauce
- Share Your Experience with This Turkey Gravy
Why This Homemade Turkey Gravy Recipe Delivers Flavor
Making turkey gravy from scratch is totally worth the extra five minutes of effort time, especially when the aroma starts filling your house. This method ensures you get incredible depth of flavor that you just can’t capture with bouillon cubes alone. We focus on two things here: maximum flavor extraction and zero lumps!
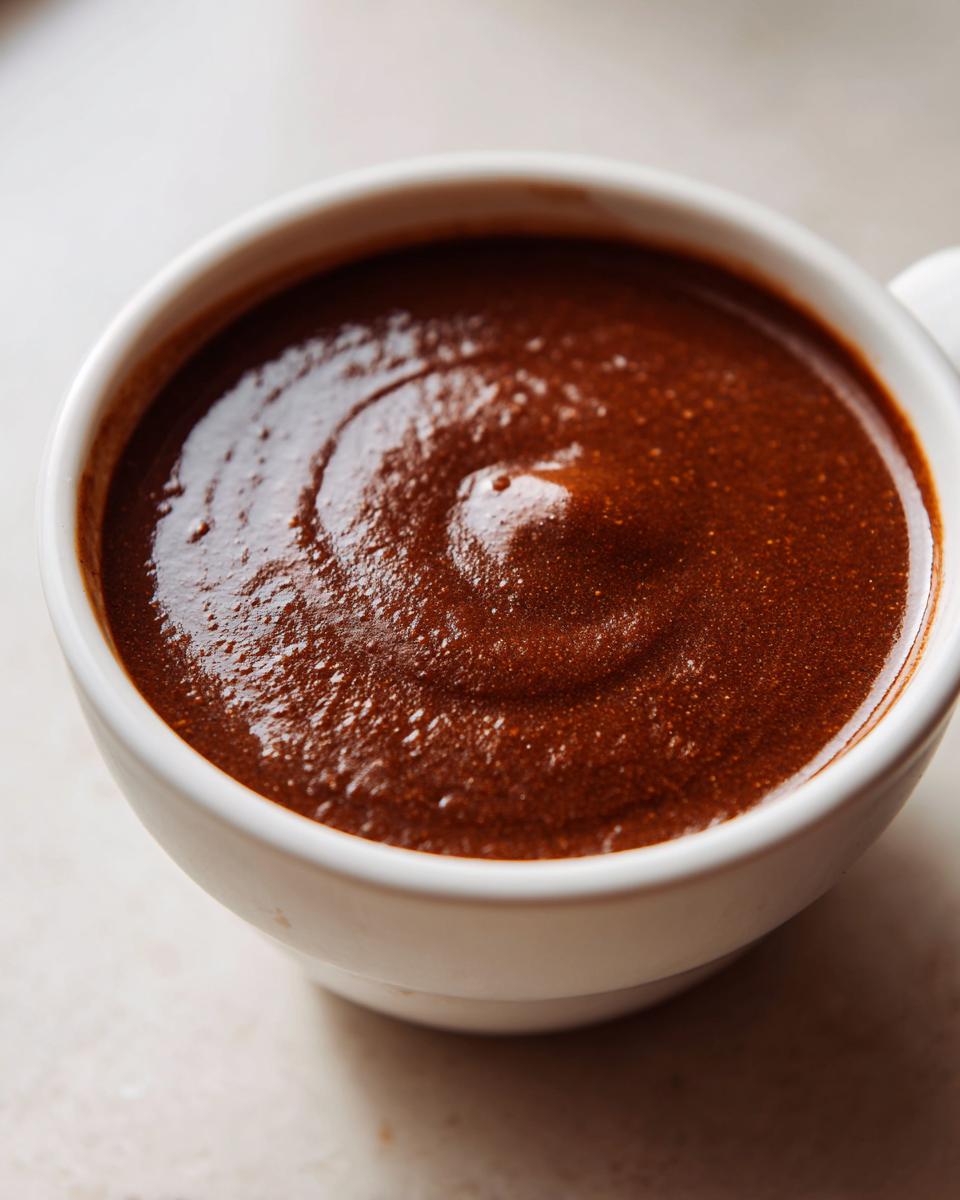
- It captures every bit of savory flavor trapped in your roasting pan.
- The technique guarantees a rich, beautiful color without relying on artificial shortcuts.
- It’s fast! You can whip this up while the turkey rests, meaning it’s piping hot when you serve.
Achieving Silky Smooth Gravy Sauce Every Time
If lumps send you into a panic, relax! That’s why we are using the classic roux method here. The key to a perfect, silky smooth gravy sauce is cooking that flour paste long enough to lose its raw taste, but before it browns too much. Taking your time to whisk in the liquid slowly is the ultimate lump-free gravy trick. It takes just a moment longer, but oh boy, the payoff is worth it.
The Best Turkey Gravy From Drippings: Flavor Foundation
We are leveraging the absolute best part of making a roast bird: the pan drippings! Don’t just pour off the fat; we want those browned, caramelized bits stuck to the bottom of your roasting pan—that’s the fond, the secret to a truly authentic flavor boost. Scraping that up while making the roux is what separates amazing homemade turkey gravy from everything else. This technique creates the richest savory roast turkey sauce possible.
Ingredients for Your Classic Holiday Turkey Gravy
To make the best classic holiday gravy, you need a few key players, and making sure you have them ready before you start whisking is half the battle. We are using warm stock because cold liquid shocks the hot roux and guarantees lumps—we learned that lesson the hard way! You’ll need about a quarter cup of your turkey pan drippings or good quality unsalted butter to start things off. Then, grab the same amount of all-purpose flour for the roux base. For liquid, stock is essential, so make sure you have two cups of turkey or chicken stock, and it really needs to be warm before it goes in. We’ll also use about a half cup of the actual liquid fat that separated from the drippings for that amazing richness, plus salt and fresh black pepper to taste.
Ingredient Notes and Substitution Options
I know not every turkey is a gusher, so if you don’t have a lot of drippings—maybe your bird was just super lean—don’t sweat it! Just supplement the fat part with unsalted butter until you hit that quarter cup mark. That’s your primary turkey gravy without drippings alternative, trust me.
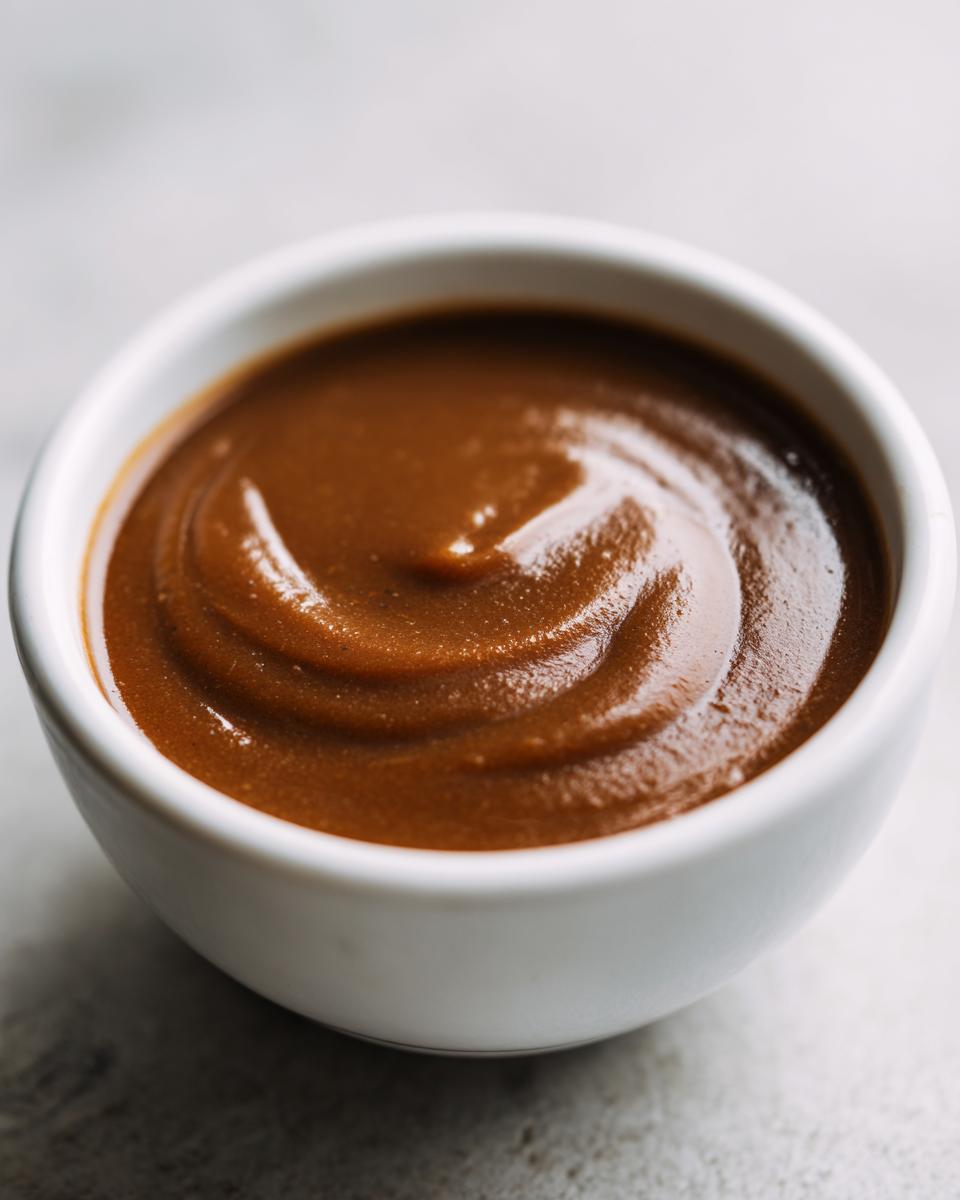
Also, if you’re trying to keep things gluten-free (which happens sometimes!), you can easily swap the flour! Instead of combining flour and fat for the roux, mix two tablespoons of cornstarch with two tablespoons of cold water to create a slurry. You add that slurry right at the end when the stock is simmering to thicken it up. Easy peasy!
Step-by-Step Instructions for Foolproof Turkey Gravy
Okay, deep breath! This is the moment where we turn our drippings into liquid gold. Remember, the goal here is rich turkey gravy without the awful little lumps that ruin the whole presentation. Seriously, the secret is just patience during the first two steps. You’ll want to start by collecting all those good bits from your roasting pan—the fat and the solids—and let them sit in a measuring cup so the fat separates easily on top. Measure out exactly 1/4 cup of that fat (or supplement with butter, we talked about that!) and pour it into a saucepan over medium-low heat. Now, scrape up any tasty browned bits stuck to your pan bottom, because those are pure flavor!
Creating the Flavorful Roux for Perfect Turkey Gravy
Once your fat is melted and hot, whisk in your 1/4 cup of flour vigorously until it makes a smooth paste—that’s your roux. It might look like wet sand, which is perfect. Now, listen closely: you must cook this paste for 1 to 2 minutes, stirring constantly. This gets rid of that starchy, raw flour taste, but be careful not to let it get dark brown if you want a classic light holiday gravy! The aroma will start smelling a little nutty, and that’s your cue. If you’re using that optional splash of sherry or wine, pour it in now and whisk until it bubbles off for about a minute. This step really deepens the flavor of our turkey gravy.
Thickening and Finishing Your Savory Roast Turkey Sauce
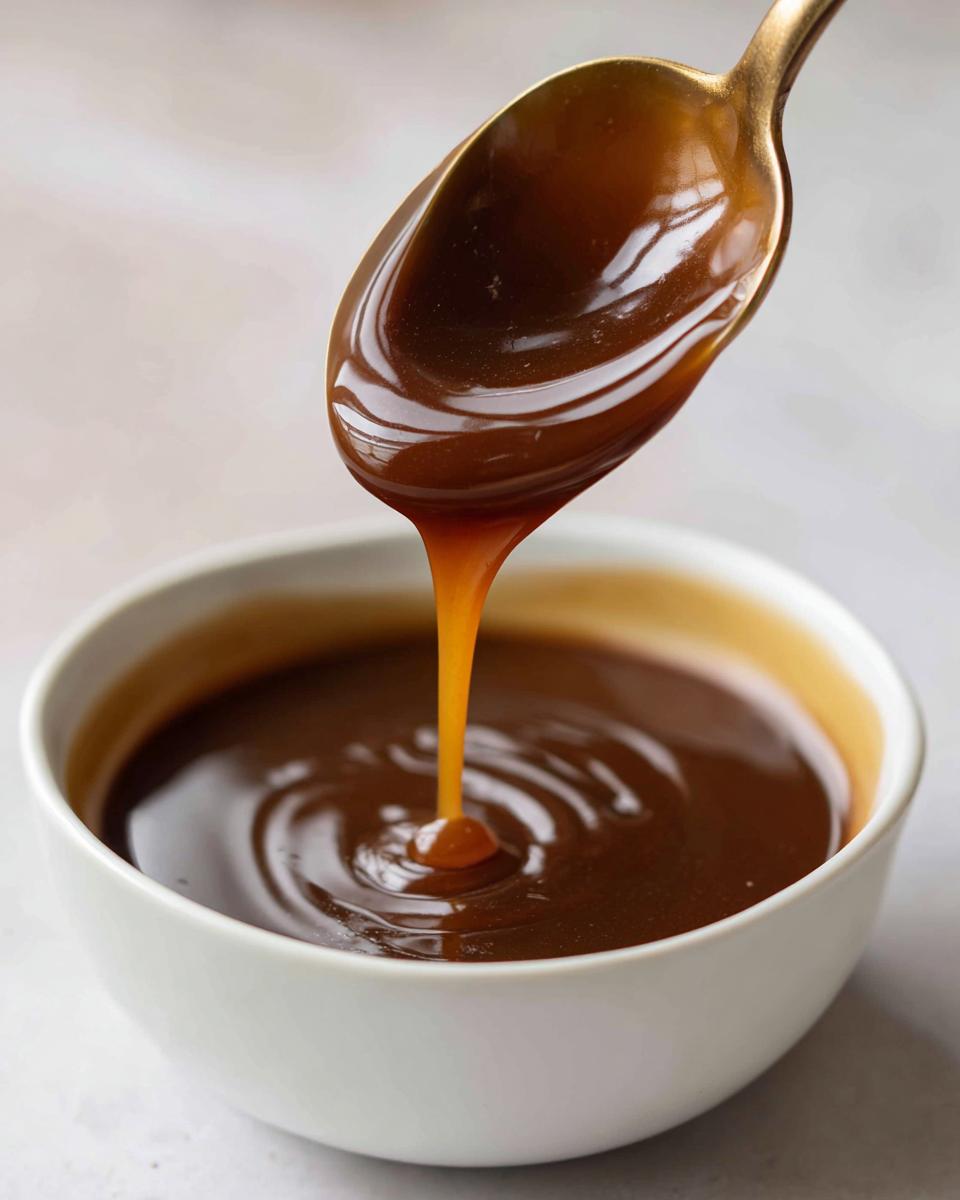
This is the crucial stage for the lump free gravy trick. Take your two cups of warm stock and add it in *slowly*—think a quarter cup at a time—whisking constantly until the liquid is completely smooth before adding the next small splash. Once all the stock is in and smooth, bring the whole thing up to a gentle simmer. Let it bubble quietly for about 5 to 10 minutes, stirring often, until it thickens enough to coat the back of your spoon. Stir in that reserved liquid fat for extra decadence. For guaranteed perfection, if you see even one tiny lump, pour the whole thing through a fine-mesh sieve right before serving. That finishes your incredibly rich savory roast turkey sauce!
Tips for Success Making Turkey Gravy
Even with a foolproof recipe, gravy can sometimes feel a little temperamental, right? It’s all about temperature and timing! The very first tip I want to stamp onto your brain is: use WARM stock. If you dump cold stock into your hot roux, it’s going to seize up instantly, and boom—lumps city! Warming your stock slightly beforehand makes it much more receptive to the flour and fat base, helping that silky texture develop naturally.
Another thing people rush? The simmering stage. Don’t try to rush that thickening process. You need that gravy to simmer gently for at least five minutes after you add the liquid. Why? Because that’s when the starch in the flour fully hydrates and thickens everything up, which is how you get that perfect richness that clings to your mashed potatoes. If it looks thin, just keep it simmering and stirring. It will thicken!
Finally, learn to trust your nose and your spoon. If you cooked your roux until it smells nutty, you’ve officially killed the raw flour taste. If it coats the back of a metal spoon without dripping off immediately, the consistency is spot on. If you’re still nervous, just remember what I mentioned before: a quick pass through a sieve will fix almost anything. For more great insights on achieving that perfect pour, check out what my friends are doing over at Murray’s Menu for inspiration.
Make Ahead Turkey Gravy Storage and Reheating
This is one of my favorite parts of the whole process: you can totally get ahead of the game and make your make ahead turkey gravy! Knowing that a major component of Thanksgiving dinner is ready a few days early cuts down on so much stress on the big day. It really makes the whole experience easier, especially when you’re juggling oven space and timing.
Once your gravy has cooled down completely—and I mean completely, don’t put hot gravy straight into the fridge, please!—transfer it into an airtight container. It keeps beautifully in the refrigerator for up to three days. If you’re planning further out, you can definitely freeze it. Gravy freezes wonderfully in a sturdy freezer bag or container.
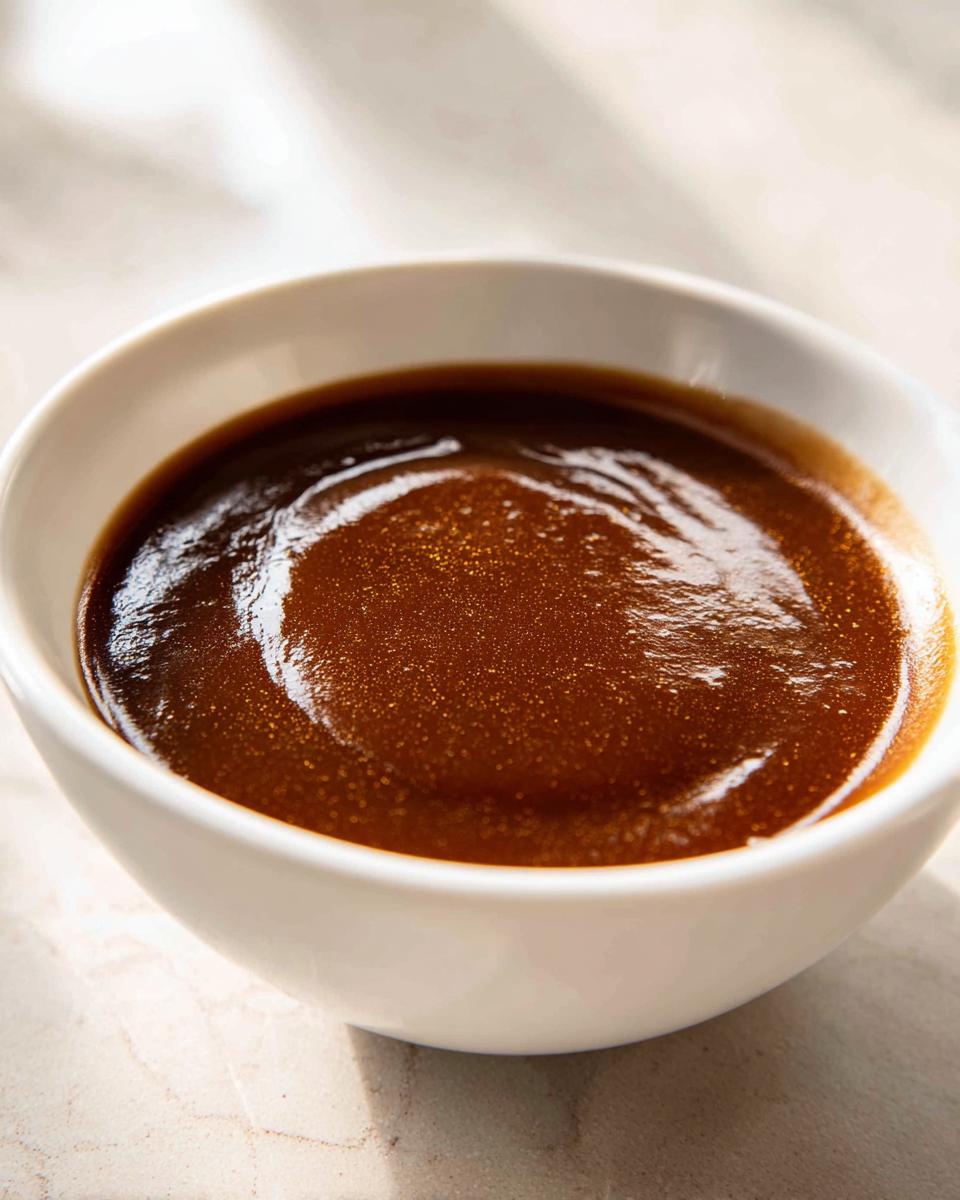
Now, let’s talk reheating because this is important for texture. When you pull your **homemade turkey gravy recipe** out of the fridge, it’s going to look like thick cement—don’t panic! That’s normal because all that glorious fat solidifies.
Reheating needs to happen slowly right on the stovetop over medium-low heat. You must whisk it constantly as it warms up. As the fat melts, it will start loosening up and smoothing out again. If, even after whisking, it seems way too thick to pour nicely over your stuffing or potatoes, just whisk in an extra splash of warm stock or even just some warm water until you hit that perfect, luscious texture. It should come back to life beautifully. For tips on making things ahead, check out what the folks at The Food Charlatan are doing with their make-ahead secrets!
Doing this prep work lets you focus on things like your snickerdoodle cookies or getting the turkey skin crispy without worrying about making a sauce from scratch right before dinner.
Serving Suggestions for Your Turkey Gravy
Now that you have the silkiest, richest from scratch turkey sauce imaginable, where are you going to put it all? Well, the answer is everywhere, obviously! This savory sauce is the key player among all our easy Thanksgiving side dishes.
It absolutely must go over a giant pile of creamy mashed potatoes—that’s non-negotiable! It’s also incredible when you ladle it generously over savory stuffing or dressing. Don’t forget about biscuits or even pouring a little bit over leftover sliced turkey to keep it moist the next day. Honestly, if you can eat it with a fork, it needs this gravy!
Frequently Asked Questions About Turkey Gravy
I know when the pressure is on, especially around the holidays, you have questions! We want your experience with this recipe to be stress-free, so here’s a quick rundown of the things people ask me most often about getting that perfect, comforting sauce ready for the table.
Can I make this turkey gravy recipe without drippings?
Yes, absolutely, you can! We totally rely on those delicious drippings because they pack the biggest punch of savory flavor, but if your bird didn’t give you enough fat, don’t panic. Just substitute the required amount of turkey fat with good quality unsalted butter. That’s your best route to a delicious homemade turkey gravy recipe, even if you don’t have a lot of drippings on hand.
What is the secret to lump free gravy trick?
The best lump free gravy trick is a combination of timing and temperature! First, you must cook your roux (the flour and fat paste) for a solid minute or two until it smells nutty—this cooks out the raw flour taste. Second, and this is the huge one: your stock MUST be warm when you add it. Whisk in that warm stock *very slowly*, adding only a small amount at a time, and whisk until it’s completely smooth before adding the next splash. If you follow those steps, your final sauce will be wonderfully smooth.
How do I get my turkey gravy to be dark brown?
That deep, rich brown color usually comes from cooking your roux for much longer, turning it into a brown roux. I keep mine pretty light because I want that classic, lighter color that complements a holiday spread perfectly, but if you want a dark, almost beef-gravy looking sauce, just let that flour and fat mixture cook, stirring, until it turns a deep caramel color—like milk chocolate. Just be warned: the longer you cook that roux, the deeper the flavor gets, and it starts moving away from that light, fresh *turkey gravy* taste we are aiming for here.
Nutritional Snapshot of This From Scratch Turkey Sauce
Now, I’m not making any promises here about this being a diet food—it’s gravy! It’s meant to be rich and indulgent for your big holiday meal. But, because we are getting everything right from scratch, we have a slightly better handle on what’s going into it compared to the canned stuff. We aren’t loading this up with tons of unnecessary fillers, which is a win!
These numbers are just an estimate for a single half-cup serving size, based on using average turkey fat content and standard flour. Your final numbers might swing a little depending on how fatty your drippings were or if you used extra butter. Please use this as a guide for your amazing from scratch turkey sauce, not a hard guarantee.
- Calories: About 120
- Fat: Roughly 8g (a good chunk of this is the flavor!)
- Saturated Fat: About 4g
- Cholesterol: Around 15mg
- Carbohydrates: About 8g
- Protein: Around 3g
- Sodium: Roughly 350mg (This relies heavily on how salty your stock and turkey were!)
Keep in mind, this doesn’t include whatever you ladle it over—so the potatoes underneath might need some adjustments! But for a naturally rich, savory sauce meant for comfort food, I think this richness is totally warranted.
Share Your Experience with This Turkey Gravy
Okay, now that you’ve made the best, silkiest, most wonderful turkey gravy of your entire life—I really want to hear about it! Creating these recipes isn’t just about the cooking for me; it’s about sharing those moments around the table, which is why I love connecting with all of you.
Did this recipe finally conquer your issues with lumps? Did that nutty smell from the roux take you right back to your own childhood kitchen? Please take a moment and leave a star rating below—five stars if you’re feeling the holiday love! And if you have a minute, drop me a comment telling me what you poured this phenomenal sauce over. Did it make your mashed potatoes sing? Did it save your slightly dry stuffing? Let me know how this homemade turkey gravy recipe worked for your big feast this year!
PrintFoolproof Turkey Gravy from Drippings for a Silky Finish
Make rich, savory turkey gravy from scratch using pan drippings. This recipe focuses on simple steps to achieve a smooth, lump-free sauce perfect for your holiday meal.
- Prep Time: 10 min
- Cook Time: 15 min
- Total Time: 25 min
- Yield: 4 servings 1x
- Category: Side Dish
- Method: Stovetop
- Cuisine: American
- Diet: Vegetarian
Ingredients
- 1/4 cup turkey pan drippings (or unsalted butter)
- 1/4 cup all-purpose flour
- 2 cups turkey or chicken stock, warm
- 1/2 cup reserved turkey drippings liquid (fat separated from the solids)
- 1/2 teaspoon salt, or to taste
- 1/4 teaspoon black pepper, or to taste
- Optional: 1 tablespoon white wine or sherry
Instructions
- Collect the drippings from your roasted turkey pan. Pour the drippings into a measuring cup. Let the fat separate and settle on top. Measure out 1/4 cup of the fat/drippings mixture for the roux. If you have less than 1/4 cup of drippings, supplement with unsalted butter to reach 1/4 cup total.
- Place the roasting pan over medium-low heat on the stovetop, or transfer the drippings to a medium saucepan. Scrape up any browned bits (fond) from the bottom of the pan using a wooden spoon.
- Whisk the flour into the melted drippings/butter until a smooth paste (roux) forms. Cook the roux for 1 to 2 minutes, stirring constantly, until it smells slightly nutty. Do not let it brown too much.
- If using, pour in the white wine or sherry and cook for 1 minute, stirring until it evaporates slightly.
- Slowly whisk in the warm stock, a little at a time, ensuring no lumps form before adding more. Continue whisking until the gravy is smooth.
- Bring the mixture to a simmer, stirring frequently. Allow it to cook for 5 to 10 minutes, or until the gravy thickens enough to coat the back of a spoon.
- Stir in the reserved liquid fat/drippings for extra richness. Season with salt and pepper to your taste.
- If you find any small lumps, strain the gravy through a fine-mesh sieve before serving.
Notes
- To make this gravy ahead of time, cool it completely, then store it in an airtight container in the refrigerator for up to 3 days. Reheat gently on the stove, whisking in a splash of extra stock if it becomes too thick.
- If you need a gluten-free option, substitute the all-purpose flour with an equal amount of gluten-free all-purpose flour blend or cornstarch (use 2 tablespoons cornstarch mixed with 2 tablespoons cold water instead of the flour/roux step).
- This recipe is a great alternative to relying on meal planning services when you need a quick, satisfying side dish.
Nutrition
- Serving Size: 1/2 cup
- Calories: 120
- Sugar: 1
- Sodium: 350
- Fat: 8
- Saturated Fat: 4
- Unsaturated Fat: 4
- Trans Fat: 0
- Carbohydrates: 8
- Fiber: 0
- Protein: 3
- Cholesterol: 15