
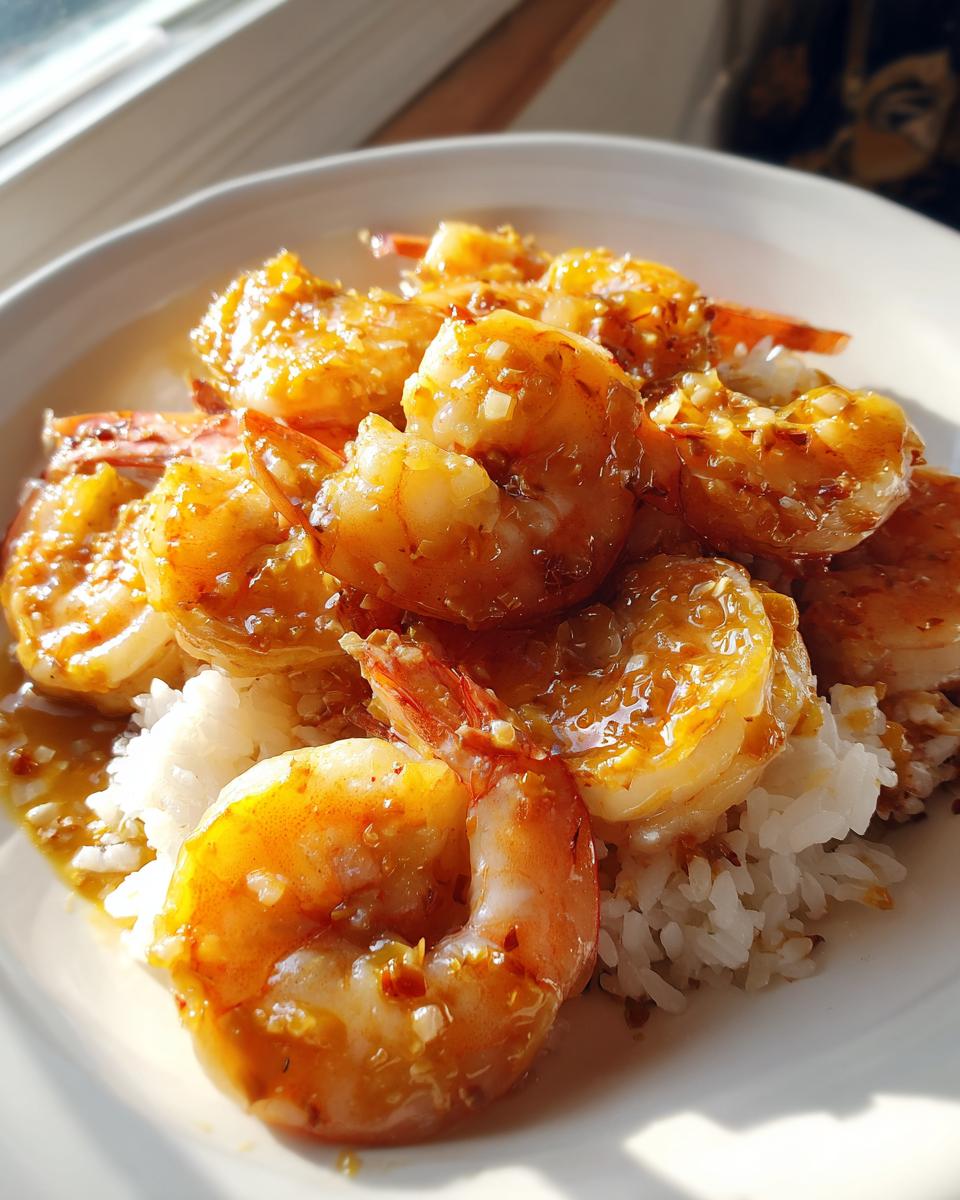

Oh my gosh, if you’ve ever driven past those famous shrimp trucks on Oahu, you know exactly what I’m talking about. That rich, glorious cloud of garlic and butter scent that just pulls you right over? Well, you don’t need a plane ticket to taste it! I’m Sarah Peterson, and I’ve spent way too many evenings trying to nail that legendary flavor right here in my own kitchen. Trust me, I’m all about reliable, flavorful home cooking, and this **hawaiian garlic shrimp** recipe is my absolute ticket to the islands. We’re ditching fancy techniques and focusing on one thing: a truly authentic, buttery, and intensely garlicky experience that tastes like vacation. It’s quick, it’s bold, and it’s going straight into your weeknight rotation, I just know it!
- Why This Hawaiian Garlic Shrimp Recipe is Your New Weeknight Favorite
- Gathering Ingredients for Authentic Hawaiian Garlic Shrimp
- Step-by-Step: Making the Perfect Hawaiian Garlic Shrimp
- Expert Tips for the Best Hawaiian Garlic Shrimp
- Serving Suggestions for Your Flavorful Shrimp Dinner
- Storage and Reheating Instructions for Garlic Butter Shrimp
- Variations on the Tropical Shrimp Recipe
- Frequently Asked Questions About Hawaiian Food Truck Shrimp
- Nutritional Snapshot of This Quick Island Seafood Dish
Why This Hawaiian Garlic Shrimp Recipe is Your New Weeknight Favorite
I know you’re busy—we all are! That’s why I don’t mess around with recipes that demand your whole evening. This dish is truly designed for maximum flavor delivered in minimum time. Honestly, the payoff for how little effort you put in is just unbelievable.
Here’s why I think this shrimp is about to become your go-to whenever you need a quick escape:
- Ready in 20 Minutes! Seriously, prep and cook time combined is usually around 20 minutes. You can get this on the table faster than most frozen meals, and it tastes a million times better. Check out all my latest creations in my recipe index!
- Serious Garlicky Punch: We use a generous amount of fresh garlic. None of that weak bottled stuff! It melts beautifully into that butter to create the deeply savory, garlicky sauce the trucks are famous for.
- The Ultimate Flavor Sponge: This sauce wasn’t meant to just coat the shrimp; it’s meant to soak into fluffy white rice. It’s a requirement, trust me. Grab your favorite rice cooker recipe and get ready! We have a super simple rice recipe if you need one.
- Perfectly Succulent Shrimp Dishes: Because the cooking time is so short, if you follow my tip about drying the shrimp first, you end up with shrimp that are tender and plump, never rubbery.
- Island Vibe, No Passport Needed: The blend of lemon and a tiny bit of brown sugar gives it that bright, tropical lift. It’s the easiest way to pretend you’re on vacation, even if you’re just in your kitchen.
Gathering Ingredients for Authentic Hawaiian Garlic Shrimp
Okay, friends, let’s get our gear ready! The magic of this Hawaiian garlic shrimp really hinges on using simple, quality ingredients, especially the stars of the show: the butter and the garlic. Since this is a ‘sauce-forward’ dish, you need that sauce to sing, right? Don’t skimp here; it makes all the difference in achieving that signature poolside flavor.
Here’s what you need to pull together this flavorful shrimp dinner. Remember, this recipe makes about two satisfying servings, perfect for a quick weeknight treat for yourself or someone special!
- 1 pound large shrimp, peeled and deveined (Make sure they are totally ready to go!)
- 1/2 cup (that’s one whole stick!) unsalted butter (Use real butter, please! Margarine just doesn’t cut it here.)
- 6 glorious cloves of garlic, minced (Yes, six! We aren’t shy about the garlic in this recipe.)
- 1/4 cup fresh lemon juice (It has to be fresh. The bottled stuff is too harsh.)
- 1 tablespoon soy sauce
- 1 teaspoon brown sugar (This is part of the tropical balance.)
- 1/2 teaspoon black pepper
- 1/4 teaspoon salt
- A tiny pinch of red pepper flakes (This is optional, but it gives you that little ‘island kick’ that cuts through the richness.)
- Hot, cooked white rice, for serving (The official vehicle for soaking up that garlicky butter sauce.)
- Fresh parsley, chopped (Just for a pretty green garnish at the end, but it looks nice!)
See? It’s straightforward. But I’m telling you, that ratio of butter to garlic is what locks in that authentic food truck taste. Once you have these laid out—we call that ‘mise en place’ in fancy kitchen terms, but I just call it being organized—you are moments away from your delicious meal!
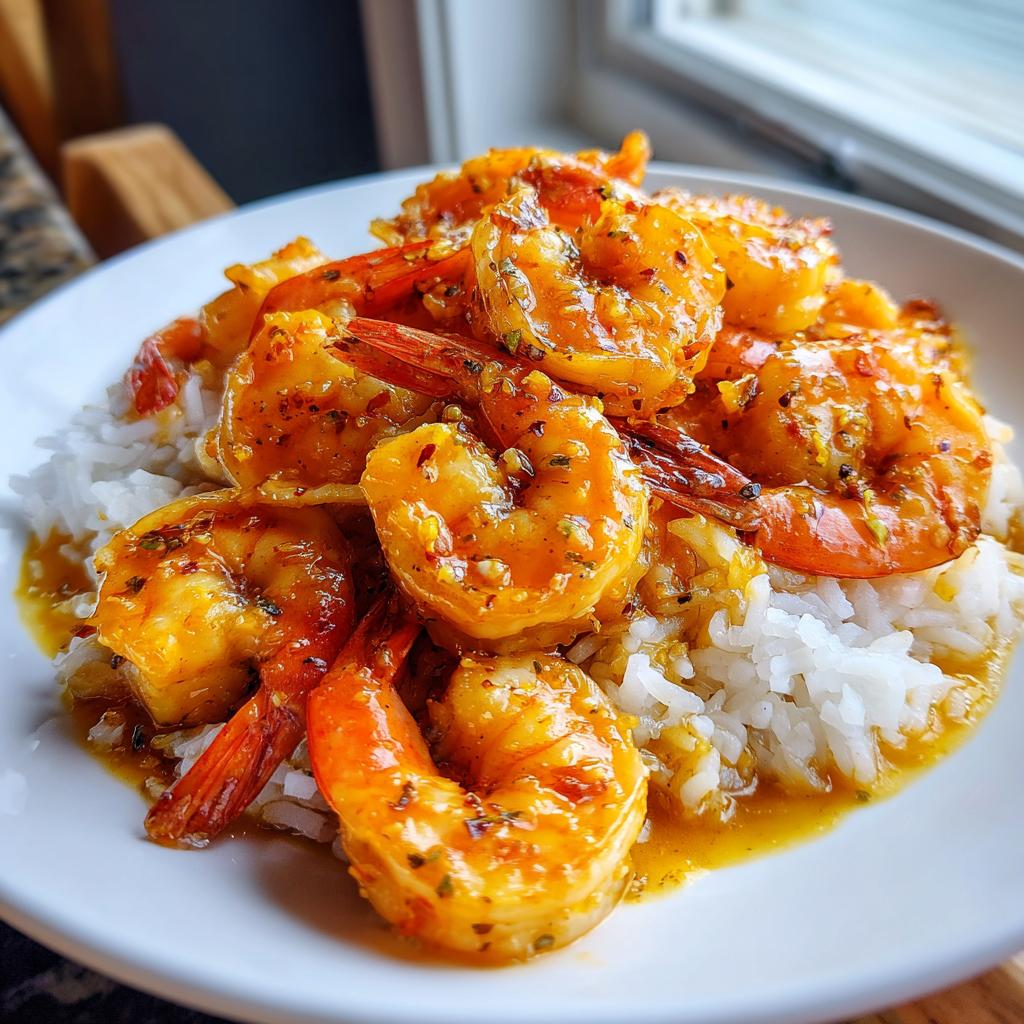
Step-by-Step: Making the Perfect Hawaiian Garlic Shrimp
This is where the magic happens, and trust me, it moves fast! Since we are aiming for that succulent shrimp dishes quality that food truck fans rave about, speed and attention to temperature are key here. I’ve broken down the **Hawaiian garlic shrimp** steps so you can time everything perfectly. Remember, the whole cook process is usually under 10 minutes once you start heating the pan!
Preparing the Shrimp for Searing
My biggest non-negotiable tip? You absolutely have to pat your shrimp dry before they even think about touching that hot pan. Grab paper towels and press them all over those peeled and deveined beauties until they feel totally dry. If they are wet, they will steam in the skillet instead of searing, and we want that beautiful caramelized exterior. We are going for a lovely sear, not a soggy texture!
Building the Signature Garlicky Shrimp Sauce
Time to turn on the heat! In your largest skillet, melt that whole stick of butter over medium heat. Once it’s shimmering, drop in your minced garlic—all six cloves! Now, listen to me here: you only cook the garlic for about a minute until it’s super fragrant. If it turns dark brown, it gets bitter, and that ruins the whole profile. Once fragrant, immediately stir in the soy sauce, lemon juice, brown sugar, pepper, salt, and those optional red pepper flakes. Give it a good swirl to combine everything into your base sauce.
Cooking and Finishing Your Hawaiian Garlic Shrimp
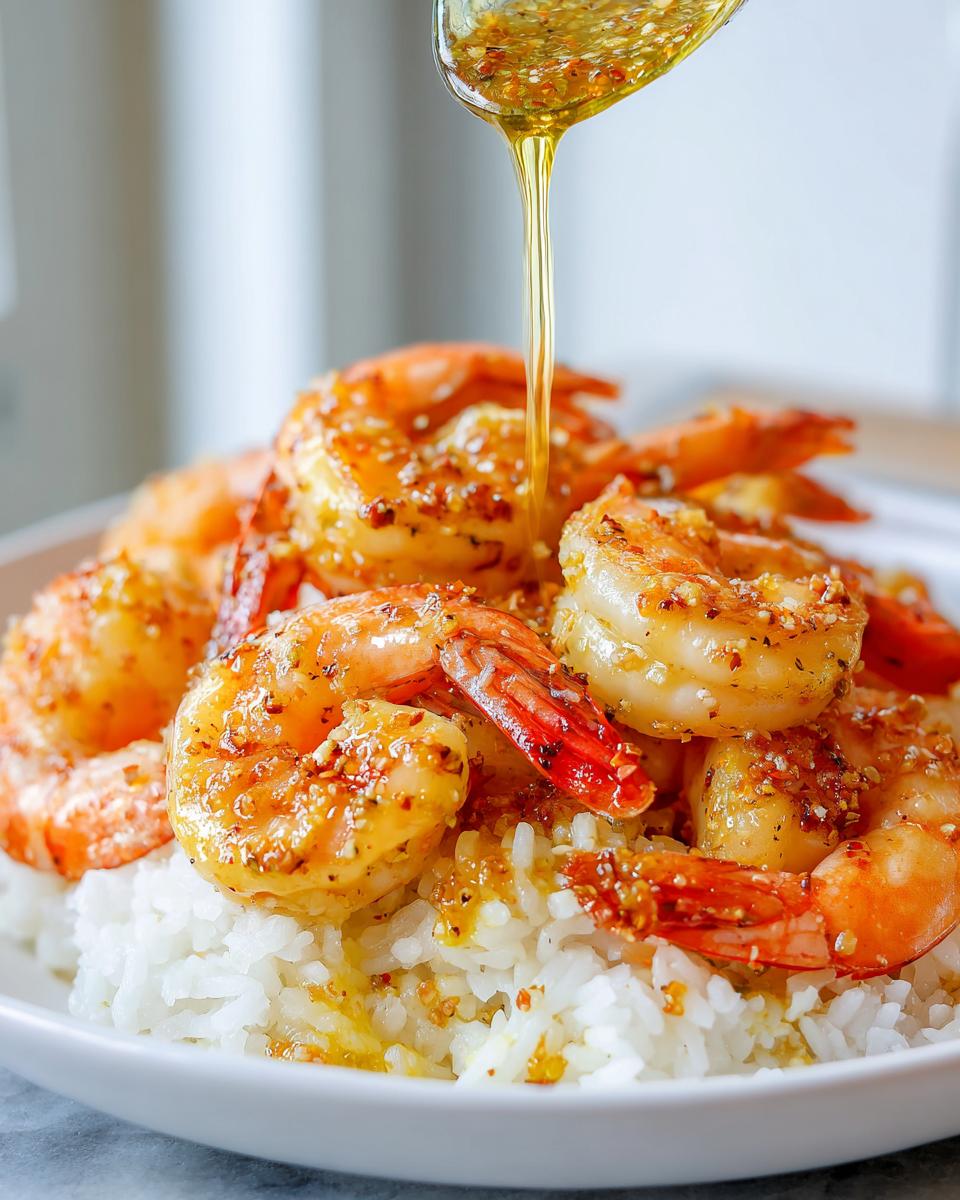
Crank that heat up to medium-high. Now, put those dry shrimp right into your pan in a single layer—don’t crowd them if you can help it! Cook them hard for just 2 to 3 minutes on that first side until they start turning pink and opaque. Flip them quickly and cook the other side for another 2 minutes *maximum*. The second they look done, pull the skillet completely off the heat. Toss everything gently right there in the pan so every piece gets fully drenched in that amazing garlicky butter sauce. If you want to see how I make the perfect side for soaking up every drop, check out my side dish guide!
Expert Tips for the Best Hawaiian Garlic Shrimp
Even though this **hawaiian garlic shrimp** recipe seems super simple, there are a couple of little tricks I swear by that take it from “good” to “call the neighbors and tell them to come try this!” Since you’re looking for the absolute best garlic shrimp recipe, these are the details I honed over weeks of testing until I got that perfect food truck finish without leaving my countertop.
First, let’s talk about that garlic. Seriously, use the fresh stuff. I know grabbing the jar seems convenient for your weeknight shrimp meals, but jarred garlic is packed in water or oil, and it just doesn’t have the sharp, pungent kick needed to cut through all that butter. I’m always grating mine fresh—the stronger the flavor, the better your **garlicky shrimp sauce** will taste.
Next up is texture. If you find your shrimp isn’t holding onto all that glorious sauce, or maybe you just want a little extra crispiness on the edges, I lean on a little trick my dad taught me for fried chicken—a light dusting of cornstarch! Before you dry the shrimp, toss them gently with just about 1 tablespoon of cornstarch. It creates this really thin shield that helps crisp up slightly when it hits the hot butter, making it a truly memorable bite. I have a ton of other simple coating and frying tips over in my archives if you get adventurous later!
Finally, a reminder about timing: this dish absolutely shines when it’s eaten the second it’s finished. That sauce is liquid gold when hot, but it will start to solidify as the butter cools down. You want that immediate flavor burst. If you want to get a real taste of the famous trucks, check out this great background on where the style originated. It really makes you appreciate the simplicity of this cooking!
Serving Suggestions for Your Flavorful Shrimp Dinner
Okay, you’ve made the most incredible, saucy, garlicky shrimp imaginable. Now what? If you serve this masterpiece on its own, you’re leaving half the joy of the meal on the table! The whole point of that super-rich, intense **garlicky shrimp sauce** is to have something underneath it that soaks up every last drop. This is not a dish where you leave sauce in the bottom of the bowl, no way!
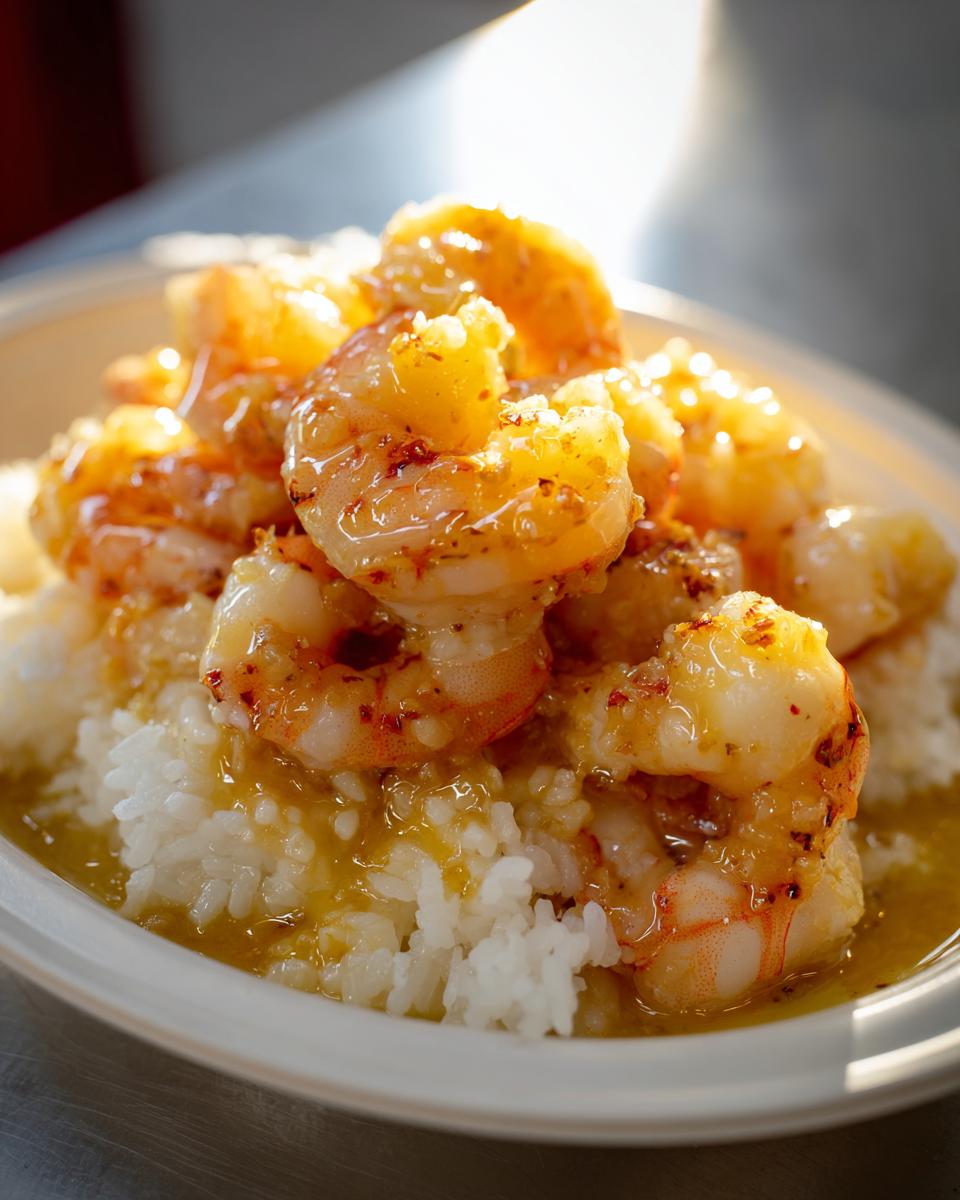
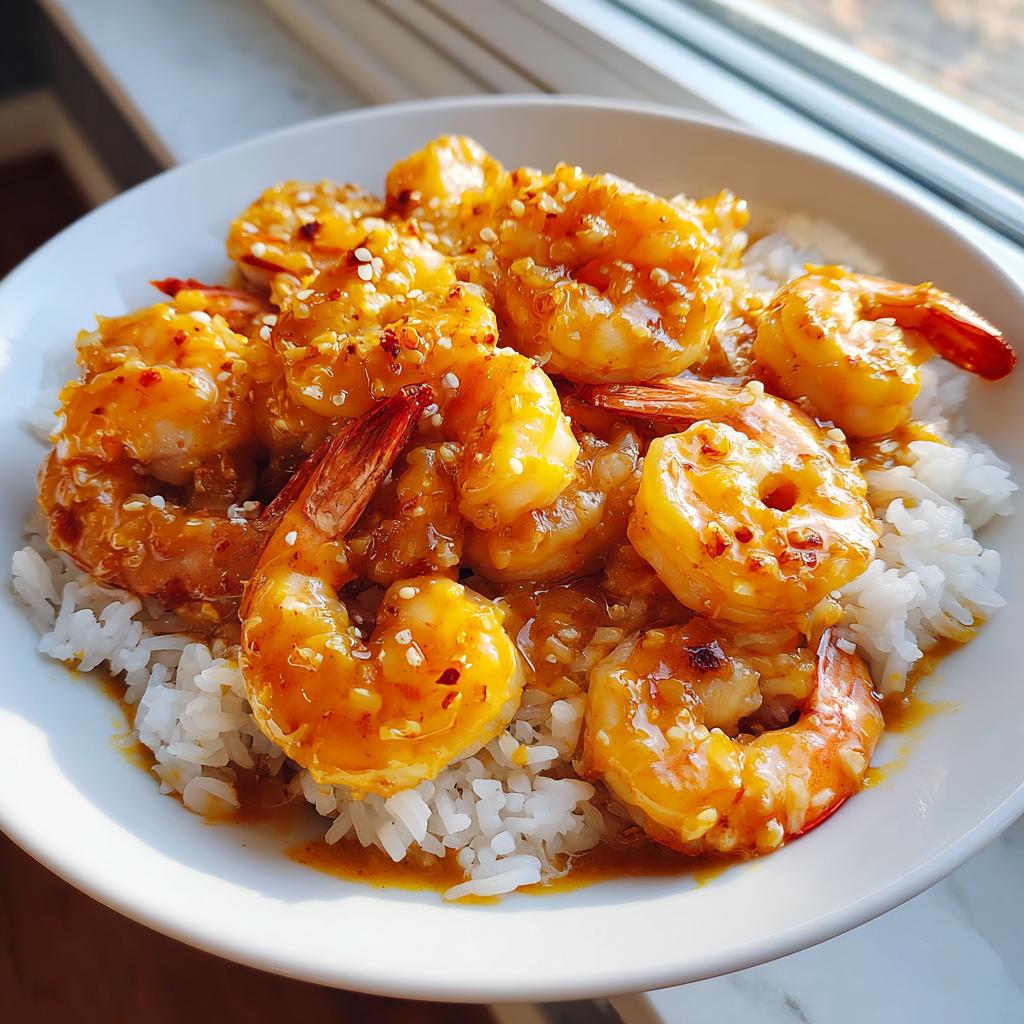
The classic and non-negotiable partner for this **hawaiian garlic shrimp** is hot, perfectly cooked white rice. This isn’t just an add-on; it’s the foundation. That fluffy rice acts like a sponge, capturing the melted butter, the savory soy, and that incredible fresh garlic flavor. I highly recommend making sure your rice is ready to go before you even start melting the butter.
If you need a good baseline, our easy fluffy rice pilaf recipe works perfectly—it’s simple enough not to compete with the shrimp, but tasty enough to enhance the meal. But hey, if you want to explore beyond basic white rice for your **shrimp recipe with rice**, I have a few other ideas that work great for creating a complete **flavorful shrimp dinner**:
- Seasoned Rice: Stir a little bit of turmeric or a pinch of dried parsley into your white rice before serving. It adds color and keeps the focus right on the shrimp.
- Steamed Veggies on the Side: Since this dish is rich, you need something light to balance it out. Quick-steamed broccoli, asparagus spears, or even just some simple sliced cucumbers are fantastic at offering a fresh, clean bite between the buttery shrimp.
- A Wedge of Lemon: I know we cook with lemon juice, but having extra wedges on the side for a final squeeze just before eating is a must. It brightens everything up instantly!
Honestly, once you spoon that big helping of rice onto the plate and nestle the shrimp right on top, drizzling that excess sauce over the mound, you’ve made an authentic **quick island seafood** meal worthy of any food truck stand. Enjoy every saucy bite!
Storage and Reheating Instructions for Garlic Butter Shrimp
Now, I’m going to be honest with you: this **hawaiian garlic shrimp** is meant to be eaten the second it comes out of the skillet. That garlicky butter sauce is liquid gold when it’s piping hot, and the shrimp are perfectly bouncy. Whenever you tackle this recipe, try to aim for eating it all fresh, because that’s truly when it shines the brightest. It’s such a **quick seafood dinner**, it’s easier to just make what you need!
But life happens, right? Maybe you had too much, or maybe you made a double batch because you’re a **seafood lovers favorite** enthusiast like me! If you do have leftovers of your **garlic butter shrimp**, you need to handle them with care so you don’t end up with shrimp that taste like tiny rubber bands later.
Here is my simple guide for saving this island flavor explosion:
Storage Tips:
- First, you need to cool it down fast. Don’t leave the shrimp sitting on the counter! Transfer the shrimp and any leftover sauce into a shallow, airtight container.
- It keeps well in the fridge for about 2 days, tops. After that, the shrimp texture starts to change, and nobody wants sad, old shrimp waiting for them.
The Reheating Challenge (How to Avoid Rubbery Shrimp):
This is the part where people go wrong! You absolutely cannot blast leftover shrimp in the microwave hoping for the best. That’s how you guarantee a tough texture. We need gentle heat to coax that butter and flavor back to life without overcooking the protein.
For the best results when reheating your **buttery shrimp dinner** leftovers:
- Transfer the shrimp and all the leftover sauce into a small skillet over the lowest possible heat setting—seriously, the absolute lowest.
- Let it heat slowly, stirring only occasionally. You’re not cooking the shrimp again; you’re just gently warming them through in their own sauce bath. This usually takes 3 to 5 minutes.
- If the sauce looks too thick or has solidified, add just a teaspoon of water or a small splash of fresh lemon juice to loosen it up as it warms.
If you skip the slow heat and just blast it, the shrimp gets tight immediately. Slow and low keeps them feeling almost as succulent as when they first came off the fire and keeps that garlicky butter goodness nice and saucy!
Variations on the Tropical Shrimp Recipe
I love that this **hawaiian garlic shrimp** recipe is so pure and classic—it tastes exactly like what you’d get from a food truck. But you know me; once I have a solid base, I can’t help but start tinkering! Keeping things easy is still my goal, so these aren’t massive overhauls, but tiny tweaks that can make this **flavorful shrimp dinner** feel brand new every time you make it. It keeps things interesting for us **seafood lovers favorite** fans!
Don’t feel like you have to stick to the script. If you’re feeling that tropical vibe and want to play around with the sauce just a little, try tweaking these elements:
Boost the Citrus Zest: We use fresh lemon juice, and that’s fantastic, but if you have a zester (or just use a microplane carefully!), adding the zest of one whole lemon right into the sauce at the end makes a huge difference. This really amps up the brightness and moves this toward a **garlic shrimp with lemon** profile. It smells incredible when you stir it in!
More Island Spice: If you felt the pinch of red pepper flakes I suggested earlier wasn’t enough of an ‘island kick,’ you can swap those out or add another layer of heat. A tiny dash of cayenne pepper mixed in with the butter works wonders, or you could try using a teaspoon of minced fresh ginger along with your garlic for a warmer, earthier spice note.
Adding a Little Green Goodness: I always garnish with parsley, but why stop there? Right before you serve your **quick island seafood** over rice, toss in a handful of freshly chopped cilantro or thinly sliced green onions along with your parsley. It adds a nice fresh pepperiness and a visual pop. It’s so simple, but it makes the whole presentation feel fresher.
These small adjustments let you own the recipe and keep coming back to it. If you try one of these twists, snap a picture and let me know how it goes! I’m always happy to see how you’re adapting the recipes I share here on Cut Cook Taste.
Frequently Asked Questions About Hawaiian Food Truck Shrimp
I totally get it when you have questions before diving into a new recipe, especially when you’re trying to recreate that iconic food truck flavor. I want every batch of this **hawaiian garlic shrimp** to be perfect for you! So, here are the top things folks ask me about when they are making this famous dish at home.
Can I use frozen shrimp for this Buttery Shrimp Dinner?
Absolutely, you can use frozen shrimp! In fact, many of us home cooks rely on that for convenience, especially for a **weeknight shrimp meal**. The most important thing, if you are starting with frozen shrimp, is the thawing process. Don’t just run lukewarm water over them! My suggestion is to place the frozen shrimp in a colander set inside a bowl, and run *cold* water over them until they are just pliable enough to separate. Then, you *must* dry them thoroughly, just like I mentioned in the instructions. If you skip that step with thawed shrimp, you’re guaranteed to steam them in that beautiful garlic butter!
How do I get the sauce to thicken slightly for the Garlicky Shrimp Sauce?
That rich sauce is key to a good **flavorful shrimp dinner**! If you want it to cling just a hair better without turning your shrimp into lumps, use that little cornstarch trick I mentioned earlier in the Expert Tips. Dusting the dried shrimp lightly with cornstarch adds just enough body to the sauce as it cooks. If you forgot that step, the next best bet is to let the sauce simmer *without* the shrimp for about a minute longer—but be quick! You only want to reduce the liquid slightly. Watch the shrimp carefully, though; they go from perfect to overcooked in seconds!
Is this considered an Easy Seafood Dinner?
Oh, yes! If there’s one thing I preach here at Cut Cook Taste, it’s that incredible flavor shouldn’t require hours of labor. Given that the entire process—from unwrapping the shrimp to serving it hot over rice—usually clocks in at about 20 minutes total, I absolutely classify this as an **Easy Seafood Dinner**. It’s one of the fastest ways to make a meal that tastes like you spent all afternoon making it. Perfect for when you need a quality **seafood lovers favorite** without the fuss!
Nutritional Snapshot of This Quick Island Seafood Dish
I always love including a little nutritional look at what we’re whipping up in The Kitchen! While I’m certainly not a food scientist—I’m just a home cook passionate about what we eat—I like to give you an idea of what’s in a serving of this **hawaiian garlic shrimp**. Keep in mind that these numbers are always estimates based on the precise ingredients I listed, and how much sauce sticks to your rice, they are going to vary a bit!
This recipe is wonderfully quick, but it is on the richer side because, well, we use a full stick of butter because that’s what makes it so amazing! Here’s a quick overview for one serving, based on the recipe I’ve laid out for you:
- Serving Size: 1 serving (approx. 8 oz)
- Calories: Roughly 450
- Fat: Around 28g (This is where that rich butter comes in!)
- Saturated Fat: Approximately 17g
- Protein: A fantastic 35g (Shrimp is such a great source!)
- Carbohydrates: About 15g (Mostly from the little bit of brown sugar and whatever rice you use to serve it over.)
- Sugar: Low, just about 3g
- Sodium: Around 650mg (This is mostly from the added soy sauce, so if you need to cut sodium, use a low-sodium soy sauce!)
- Cholesterol: About 300mg
So, while it’s a beautiful, flavorful **quick island seafood** treat, remember that rich sauce is what gets the flavor across! If you serve it with a huge mountain of rice, that will shift the carb and calorie counts significantly. Enjoy this **buttery shrimp dinner** responsibly, knowing you made something incredibly delicious right at home!
PrintAuthentic Hawaiian Food Truck Style Garlic Butter Shrimp
You will make juicy shrimp coated in a rich, garlicky butter sauce, capturing the famous flavor of Hawaiian shrimp trucks. This quick island seafood recipe is perfect served over rice.
- Prep Time: 10 min
- Cook Time: 10 min
- Total Time: 20 min
- Yield: 2 servings 1x
- Category: Seafood
- Method: Stovetop Sauté
- Cuisine: Hawaiian
- Diet: Low Fat
Ingredients
- 1 pound large shrimp, peeled and deveined
- 1/2 cup (1 stick) unsalted butter
- 6 cloves garlic, minced
- 1/4 cup fresh lemon juice
- 1 tablespoon soy sauce
- 1 teaspoon brown sugar
- 1/2 teaspoon black pepper
- 1/4 teaspoon salt
- Pinch of red pepper flakes (optional, for island kick)
- Cooked white rice, for serving
- Fresh parsley, chopped (for garnish)
Instructions
- Pat the peeled and deveined shrimp completely dry using paper towels. This step helps the shrimp sear instead of steam.
- In a large skillet, melt the butter over medium heat. Add the minced garlic and cook for about 1 minute until fragrant. Do not let the garlic brown.
- Add the soy sauce, lemon juice, brown sugar, black pepper, salt, and red pepper flakes (if using) to the skillet. Stir well to combine the garlicky butter sauce.
- Increase the heat to medium-high. Add the dried shrimp to the skillet in a single layer. Cook for 2 to 3 minutes per side until the shrimp are pink and opaque. Do not overcook.
- Remove the skillet from the heat immediately. Toss the shrimp gently in the sauce until every piece is fully coated in the buttery garlic sauce.
- Serve the Hawaiian garlic shrimp immediately over generous portions of hot white rice. Spoon extra garlicky sauce over the rice.
- Garnish with fresh chopped parsley before serving.
Notes
- For the best flavor, use fresh garlic; jarred minced garlic will not provide the same depth.
- If you want a crispier texture, you can lightly dust the shrimp with 1 tablespoon of cornstarch before adding them to the pan.
- This dish is best eaten right away while the sauce is hot and liquid.
Nutrition
- Serving Size: 1 serving (approx. 8 oz)
- Calories: 450
- Sugar: 3
- Sodium: 650
- Fat: 28
- Saturated Fat: 17
- Unsaturated Fat: 11
- Trans Fat: 0
- Carbohydrates: 15
- Fiber: 1
- Protein: 35
- Cholesterol: 300