
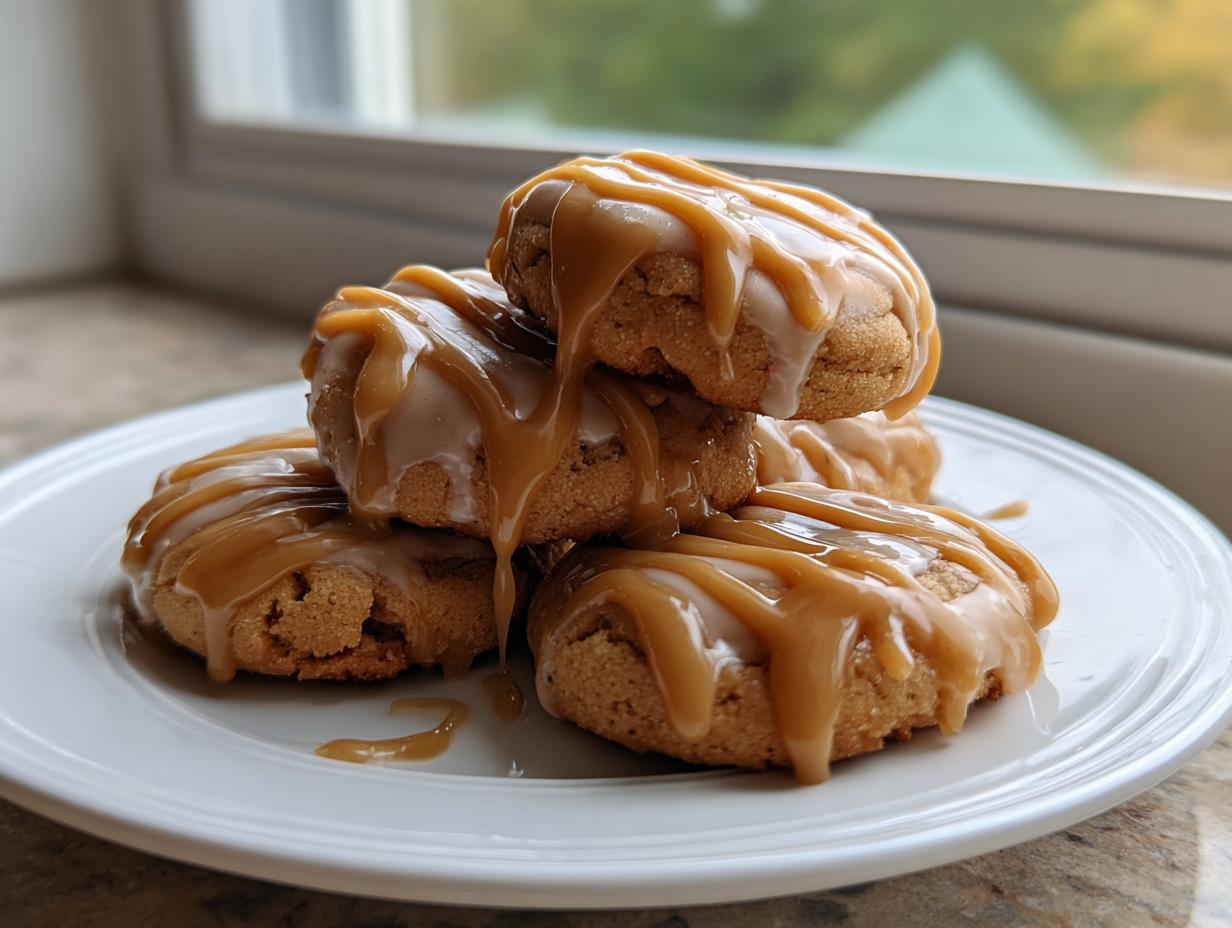

Oh, my friends, you know I live for those moments when the air gets crisp and I can finally pull out my favorite fall baking spices. Forget pumpkin spice for just a second—today, we are diving headfirst into the cozy world of maple! If you are searching for the absolute best maple cookie recipe out there, one that delivers that perfectly soft and delightfully chewy bite every single time, you’ve come to the right place. These maple cookies aren’t just a treat; they’re like getting a warm hug from the inside out. I’ve tweaked and perfected this recipe over many autumns, and I’m so excited to share them with you straight from my kitchen to yours!
- Why These Soft Maple Cookies with Brown Butter Icing are the Best Maple Cookie Recipe
- Gathering Ingredients for Your Maple Cookies Recipe
- Step-by-Step Instructions for Bakery Style Maple Cookies
- Creating the Perfect Brown Butter Maple Icing for Maple Cookies
- Tips for Success When Making Brown Sugar Maple Cookies
- Variations on Classic Maple Cookies
- Serving Suggestions for Your Maple Cookies
- Storage and Reheating Instructions for Maple Cookies
- Frequently Asked Questions About Maple Cookies
Why These Soft Maple Cookies with Brown Butter Icing are the Best Maple Cookie Recipe
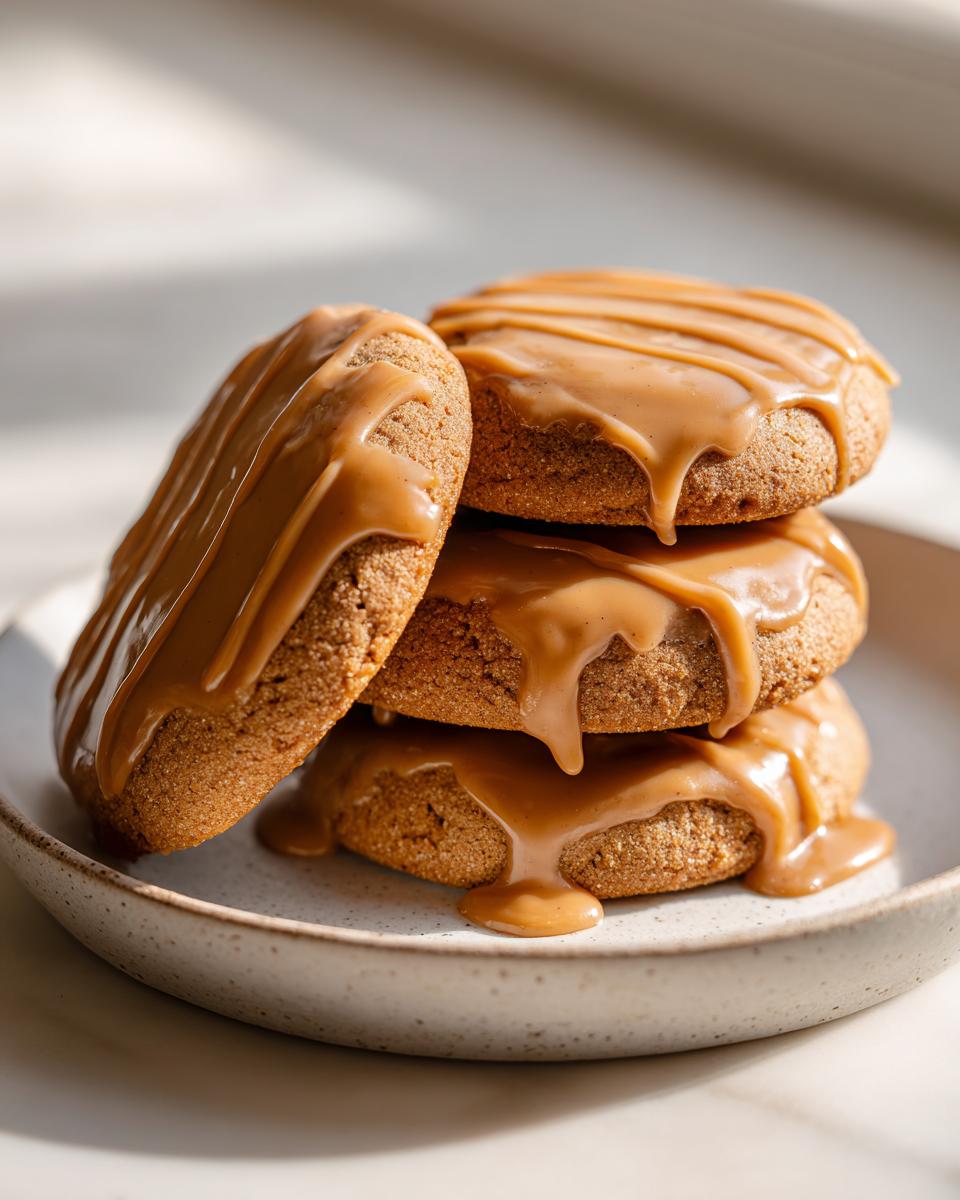
So many cookies promise that soft, chewy experience, but these soft maple cookies? They actually deliver! What sets them apart, truly, is that gorgeous contrast between the tender cookie base and the rich, slightly smoky brown butter maple icing. It’s subtle, but that caramelized, nutty depth the brown butter brings is just unbeatable. If you love that chewy maple cookies vibe, this is your winner. This recipe is designed to keep them feeling fresh-from-the-oven even a day later.
Achieving Perfect Soft Maple Cookies Texture
The biggest texture secret, honestly, is making sure your butter and brown sugar are perfectly creamed—think light, fluffy, and pale yellow. But here’s a little trick I learned: use room-temperature egg. If the egg is cold, it shocks the creamed butter and you lose those beautiful little air pockets. Keep your ingredients happy, and your cookies will turn out wonderfully soft and chewy every time!
Gathering Ingredients for Your Maple Cookies Recipe
Okay, time to gather supplies! Baking these maple cookies recipe treats is seriously easy because most of this is stuff you probably have in the pantry already. Remember what I always say: quality matters here, especially when it comes to maple. You absolutely must use pure maple syrup, not the imitation stuff. The flavor difference is huge, trust me! If you ever need a savory break after all this sweetness, try my maple mustard salad dressing, but for now, focus on these cookies!
- 1 cup unsalted butter, softened
- 1 cup packed light brown sugar
- 1 large egg
- 1 teaspoon vanilla extract
- 1/4 cup pure maple syrup
- 2 1/2 cups all-purpose flour
- 1 teaspoon baking soda
- 1/2 teaspoon salt
- 1/4 teaspoon ground cinnamon
Ingredients for the Brown Butter Maple Icing
And here are the stars for our incredible glaze. Don’t skip the browning step for the butter—it’s worth the extra minute!
- 1 cup powdered sugar
- 2 tablespoons melted butter (this needs to cool slightly before mixing!)
- 2 tablespoons pure maple syrup
- 1-2 tablespoons milk or cream (we use this only to adjust the final consistency)
Step-by-Step Instructions for Bakery Style Maple Cookies
Alright, let’s get these bakery style maple cookies into the oven! First things first, crank that temperature up to 350°F (175°C). Don’t forget to line those baking sheets with parchment paper; that makes cleanup practically nonexistent, which I appreciate after a long day! If you ever need inspiration for other baked goods, you have to check out my instructions for cinnamon roll bites when you’re done here.
Mixing the Dough for the Best Maple Cookies
Start by getting your butter and brown sugar nice and fluffy in a big bowl. I mean, really beat them until they lighten up. Then, mix in that egg, the vanilla, and your 1/4 cup of pure maple syrup. In a separate bowl, whisk your dry stuff—the flour, baking soda, salt, and cinnamon.
Now for the most important part for texture: add those dry ingredients slowly, mixing on low speed until they just disappear. Seriously, stop mixing the second you don’t see any more flour streaks. Overmixing those maple cookies is how you get hockey pucks instead of soft treats. Be gentle!
Baking and Cooling Your Homemade Maple Treats
Grab a rounded tablespoon of dough and make sure they sit about two inches apart on the sheet. If you want them a little flatter, press down gently with a fork, but I like them puffy! They only need 9 to 11 minutes; look for slightly set edges but you want the center to still look soft when you pull them out. They keep cooking on the pan! Let them rest there for about five minutes before moving them to a cooling rack. If you try moving them too soon, they’ll just crumble apart on you.
Creating the Perfect Brown Butter Maple Icing for Maple Cookies
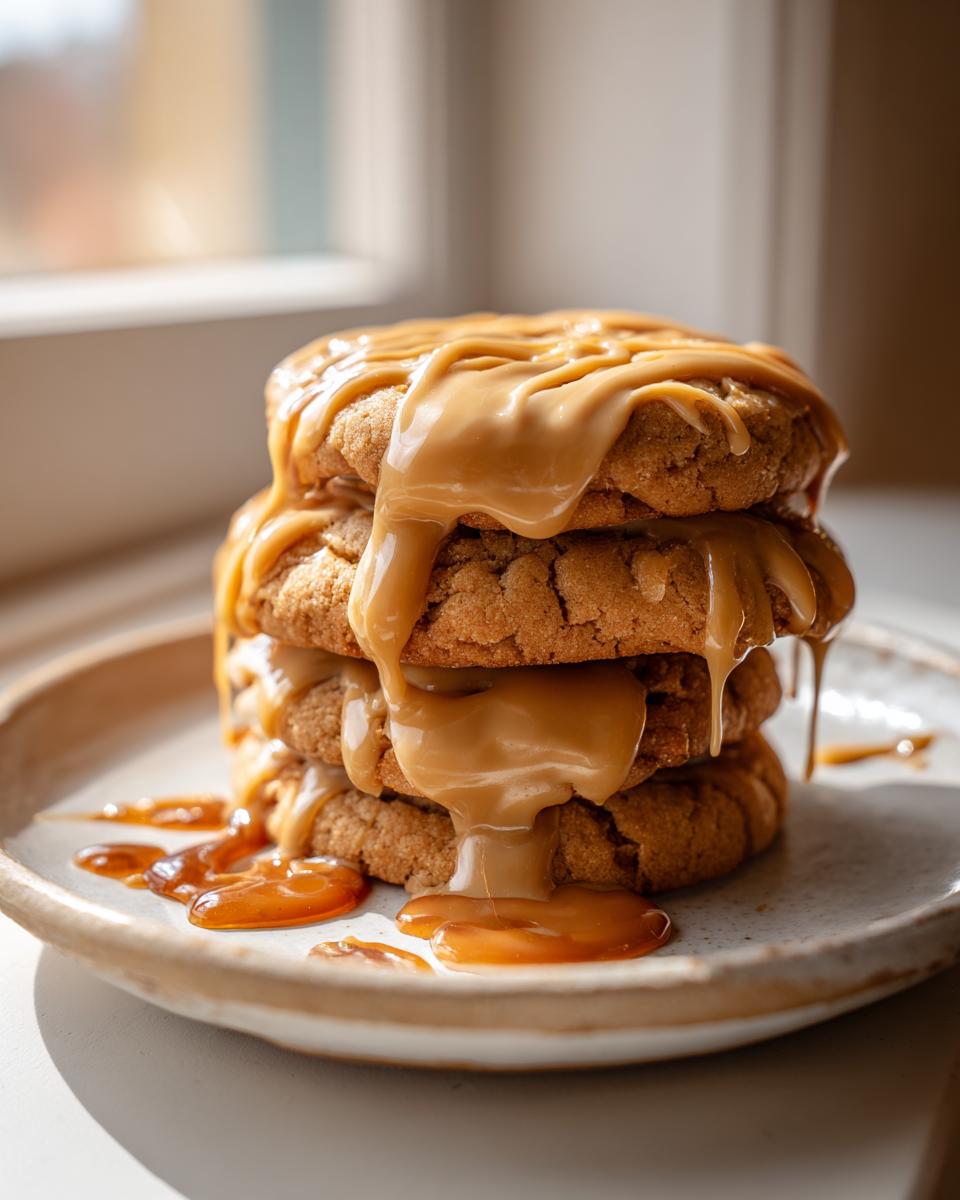
Now for the part that takes these from great to truly phenomenal: the icing! We are using that amazing, nutty brown butter here, which really enhances the warmth of the maple flavor in our maple cookies with icing. It seems fancy, but honestly, it’s the easiest flavor boost ever. Just take your 2 tablespoons of butter and put it in a small saucepan over medium heat. Don’t walk away!
You’ll see it bubble and foam, and then suddenly, you’ll see little brown specks forming at the bottom, and the smell will turn wonderfully nutty—that’s your cue! Take it off the heat right away before it burns. Let it cool just a touch so it doesn’t melt all your powdered sugar.
In a bowl, whisk that slightly cooled brown butter with your powdered sugar and the other 2 tablespoons of maple syrup. If it’s too thick, add that milk or cream just a teaspoon at a time until you get that perfect, slightly thick but still drizzly consistency for your maple glaze cookies. Once the cookies are totally cool (and I mean totally cool!), drizzle it on and try not to eat them all before they set!
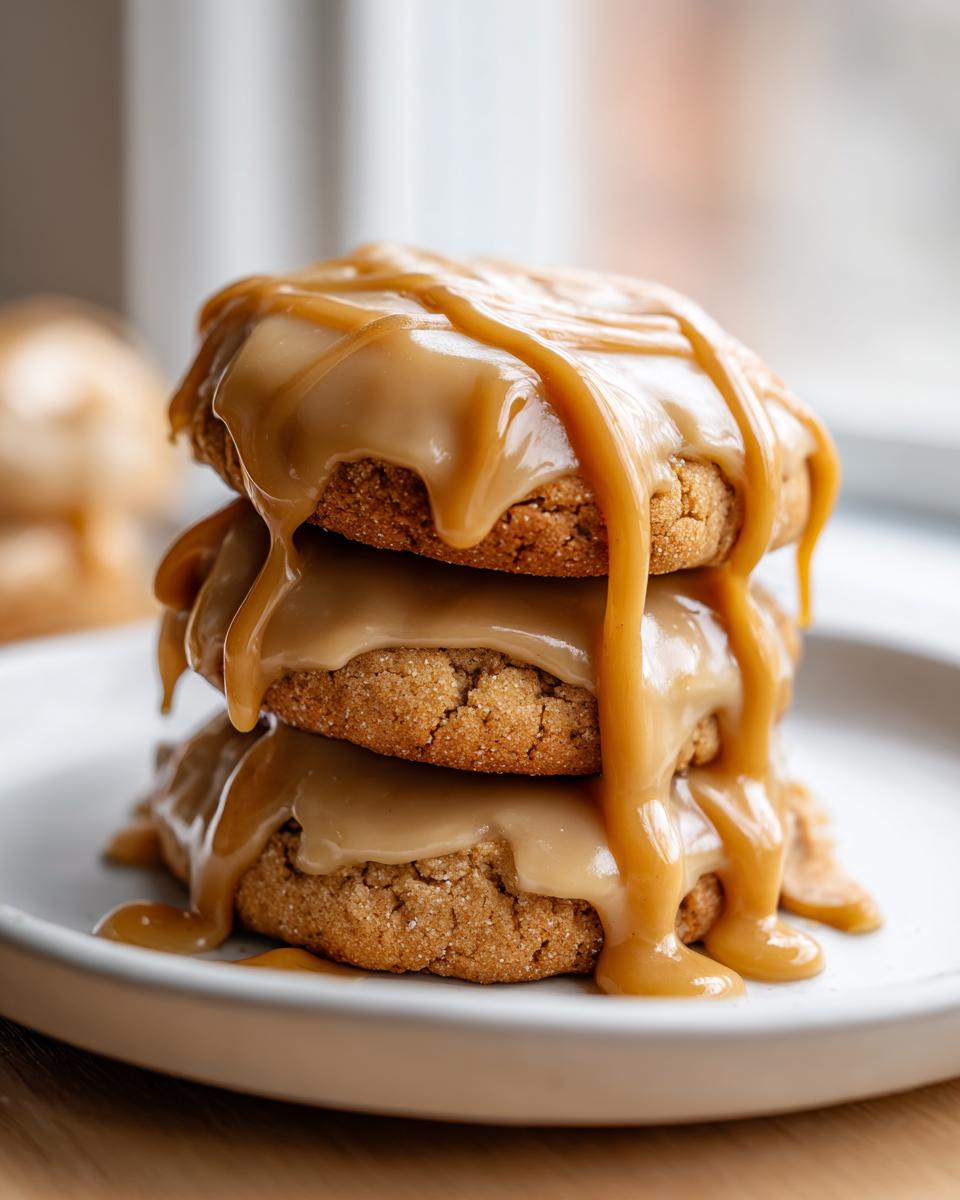
If you want a recipe that skips the browning process but still gives you that maple goodness, you might want to check out this recipe for maple cookies from my friend over at Back for Seconds: Maple Cookies with Maple Icing usually features a simpler pourable glaze, but I promise, the brown butter is worth the effort!
When you need something super fast and easy later, remember how simple homemade sauces can be, like this no-cook pizza sauce—it proves that taking an extra simple step adds massive flavor!
Tips for Success When Making Brown Sugar Maple Cookies
I want you to have the best experience making these brown sugar maple cookies, so let’s talk about ensuring they hold up beautifully. Remember that note I left in the recipe about chilling the dough? Don’t skip it if you can help it! Chilling the dough for about 30 minutes firms up those fats just enough so the cookies spread less dramatically in the oven. This keeps them thick and guarantees that wonderfully soft texture we are aiming for.
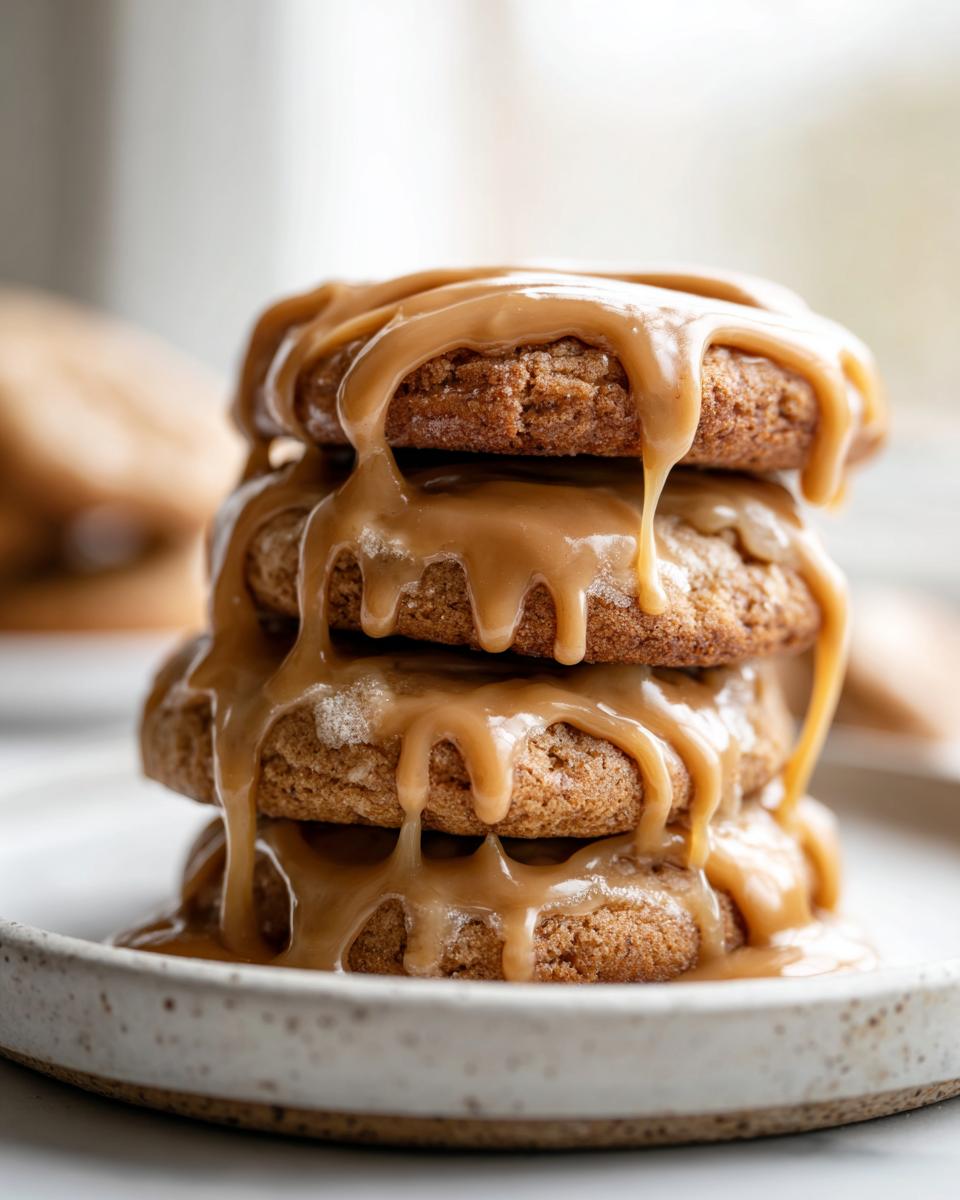
Also, I need to stress again: only use pure maple syrup. I know the pancake syrup is cheaper, but that imitation stuff is mostly corn syrup and artificial flavors. When you want that authentic, warm sweetness that makes these homemade maple treats taste like fall itself, pure syrup is non-negotiable for both the cookie dough and the icing. It brings depth that the substitutes just can’t touch. If you’re making these for gifting, these cookies are perfect alongside some soft rolls like my Texas Roadhouse Rolls!
Variations on Classic Maple Cookies
Part of the fun in baking is making a recipe your own, right? These maple cookies are so versatile! Once you nail the basics—that soft, chewy texture and the brown butter icing—you can easily adapt them to fit whatever cozy flavor you’re craving. If you want to try something new for holiday cookie swaps, I suggest playing around with the spices. These are definitely comforting cookies, but we can keep them interesting!
Making Maple Cinnamon Cookies
If you want a little more zip and warmth, leaning toward a maple spice cookies profile is super easy. For this, you just need to boost the spice cabinet just a tiny bit when you mix your dry ingredients. Take that 1/4 teaspoon of cinnamon that’s already in the recipe and bump it up to a full 1 teaspoon total. That extra kick marries beautifully with the maple syrup. You could even add a tiny pinch of ground cloves if you’re feeling extra autumnal!
Another idea that leans into that maple snickerdoodles vibe without completely changing the recipe structure is rolling the dough balls lightly in a mix of cinnamon and sugar before baking. They get a lovely little crisp shell while keeping that soft interior. If you love easy upgrades, you should check out how simple my red velvet cake mix cookies are; they use a cake mix base, proving that sometimes the shortcut makes a great outcome!
Serving Suggestions for Your Maple Cookies
These maple cookies are the essence of cozy baking, so you need the perfect pairing to go along with them, right? Honestly, these are fantastic on their own, but if you’re serving them up for a casual get-together, they are divine with a hot beverage in hand. I usually make a big batch when I’m warming up a pot of hot apple cider—the apple and maple flavors just sing together!
Of course, they are equally wonderful alongside a strong cup of coffee in the morning for an easy breakfast treat. If you want to make a full dessert spread, try placing these next to a warm bowl of my apple cinnamon oatmeal for a brunch party.
Storage and Reheating Instructions for Maple Cookies
Since we worked so hard getting these chewy maple cookies perfectly soft, we need to treat them right for storage! The biggest thing is keeping air out. You want to cool them completely first, and then store them in a truly airtight container right on the counter. They should stay soft for about three or four days this way. I wouldn’t recommend leaving them out in the open, or they look lovely on ceramic plates, but they get hard fast!
If you’ve made a massive batch—which, honestly, happens to me all the time—freezing is a great option. They freeze beautifully! Just place them in a freezer-safe bag or container. If you ever need to refresh one, just pop it in the microwave for about 10 seconds, long enough to soften up that icing again. I have a few tips in my blueberry banana bread recipe post about keeping baked goods moist, and those rules totally apply here too!
Frequently Asked Questions About Maple Cookies
It’s only natural that questions pop up when you’re diving into a new recipe, especially one as special as these maple cookies! I’ve collected the most common things folks ask me about texture, flavor, and getting that perfect finish. Let’s clear up any lingering doubts so you can bake with full confidence!
Can I make these maple cookies without icing?
Absolutely! If you aren’t a big fan of the glaze, or maybe you’re baking them early and don’t want the icing to get sticky, they are still fantastic plain. They are incredibly flavorful just from the maple baked into the dough. For a little extra something, try rolling the dough balls in a mix of coarse sugar and cinnamon before baking. It gives them a slight crunch that’s lovely!
What is the difference between pure maple syrup and pancake syrup in these cookies?
This is huge for flavor! Pure maple syrup is boiled-down tree sap, giving you rich, complex caramel notes that work beautifully with the brown sugar. Pancake syrup is mostly corn syrup with artificial flavoring—it doesn’t have the depth required for these **sweet comforting treats** and can actually change how the cookie texture sets. Always use the 100% pure stuff for the best results here.
How do I keep my maple cookies chewy and soft?
We talked about this, but it’s the number one thing people worry about! The main trick is resisting the urge to overbake them. Pull them when they look *slightly* underdone in the center—the residual heat will finish the job. Also, using that pure maple syrup, as mentioned above, locks in chewiness better than artificial alternatives. Don’t skip the creaming step, either!
PrintSoft Maple Cookies with Brown Butter Icing
You will love these incredibly soft maple cookies. The nutty, rich brown butter icing elevates these treats, making them perfect for fall baking or holiday sharing.
- Prep Time: 20 min
- Cook Time: 11 min
- Total Time: 31 min
- Yield: 2 dozen 1x
- Category: Dessert
- Method: Baking
- Cuisine: American
- Diet: Vegetarian
Ingredients
- 1 cup unsalted butter, softened
- 1 cup packed light brown sugar
- 1 large egg
- 1 teaspoon vanilla extract
- 1/4 cup pure maple syrup
- 2 1/2 cups all-purpose flour
- 1 teaspoon baking soda
- 1/2 teaspoon salt
- 1/4 teaspoon ground cinnamon
- 1 cup powdered sugar (for icing)
- 2 tablespoons melted butter (for icing)
- 2 tablespoons pure maple syrup (for icing)
- 1–2 tablespoons milk or cream (for icing consistency)
Instructions
- Preheat your oven to 350°F (175°C). Line baking sheets with parchment paper.
- In a large bowl, cream together the softened butter and brown sugar until light and fluffy.
- Beat in the egg and vanilla extract until combined. Mix in the 1/4 cup of maple syrup.
- In a separate bowl, whisk together the flour, baking soda, salt, and cinnamon.
- Gradually add the dry ingredients to the wet ingredients, mixing on low speed until just combined. Do not overmix.
- Scoop rounded tablespoons of dough and place them 2 inches apart on the prepared baking sheets. You can gently press the tops slightly if you prefer a flatter cookie.
- Bake for 9 to 11 minutes, or until the edges are set but the centers still look soft.
- Let the cookies cool on the baking sheet for 5 minutes before transferring them to a wire rack to cool completely.
- Prepare the brown butter icing: Melt 2 tablespoons of butter in a small saucepan over medium heat. Cook, swirling constantly, until the butter foams, then brown bits form at the bottom and it smells nutty (about 3-5 minutes). Remove from heat immediately and let cool slightly.
- In a medium bowl, whisk together the powdered sugar, the slightly cooled brown butter, and 2 tablespoons of maple syrup. Add milk or cream one teaspoon at a time until you reach a smooth, thick but pourable consistency for your maple glaze cookies.
- Once the cookies are completely cool, drizzle or spread the brown butter maple icing over the tops. Let the icing set before serving.
Notes
- Chilling the dough for 30 minutes before scooping helps the cookies hold their shape better during baking.
- For the best flavor, use pure maple syrup, not pancake syrup.
- If you want a thicker icing, use less milk. If you want a thinner glaze, add a little more milk.
Nutrition
- Serving Size: 1 cookie
- Calories: 210
- Sugar: 18g
- Sodium: 120mg
- Fat: 11g
- Saturated Fat: 7g
- Unsaturated Fat: 4g
- Trans Fat: 0g
- Carbohydrates: 27g
- Fiber: 0g
- Protein: 2g
- Cholesterol: 35mg