


When the holidays arrive, my kitchen just begs for color, doesn’t it? We all want those show-stopping cookies for our platters, but honestly, who has time for complicated piping or fussy decorating after a big meal? That’s why I’m bringing you my absolute favorite solution for stunning, yet totally simple, Christmas pinwheel cookies. These buttery guys are pure slice-and-bake magic, giving you those gorgeous, vibrant red and green swirls that just scream ‘festive!’ Growing up in the Midwest, my grandmother always taught me that holiday food needed to look special, but it also needed to be reliable enough for a busy family gathering. This recipe is the ticket—tried, tested, and guaranteed to be a crowd-pleaser without keeping you in the kitchen all day.
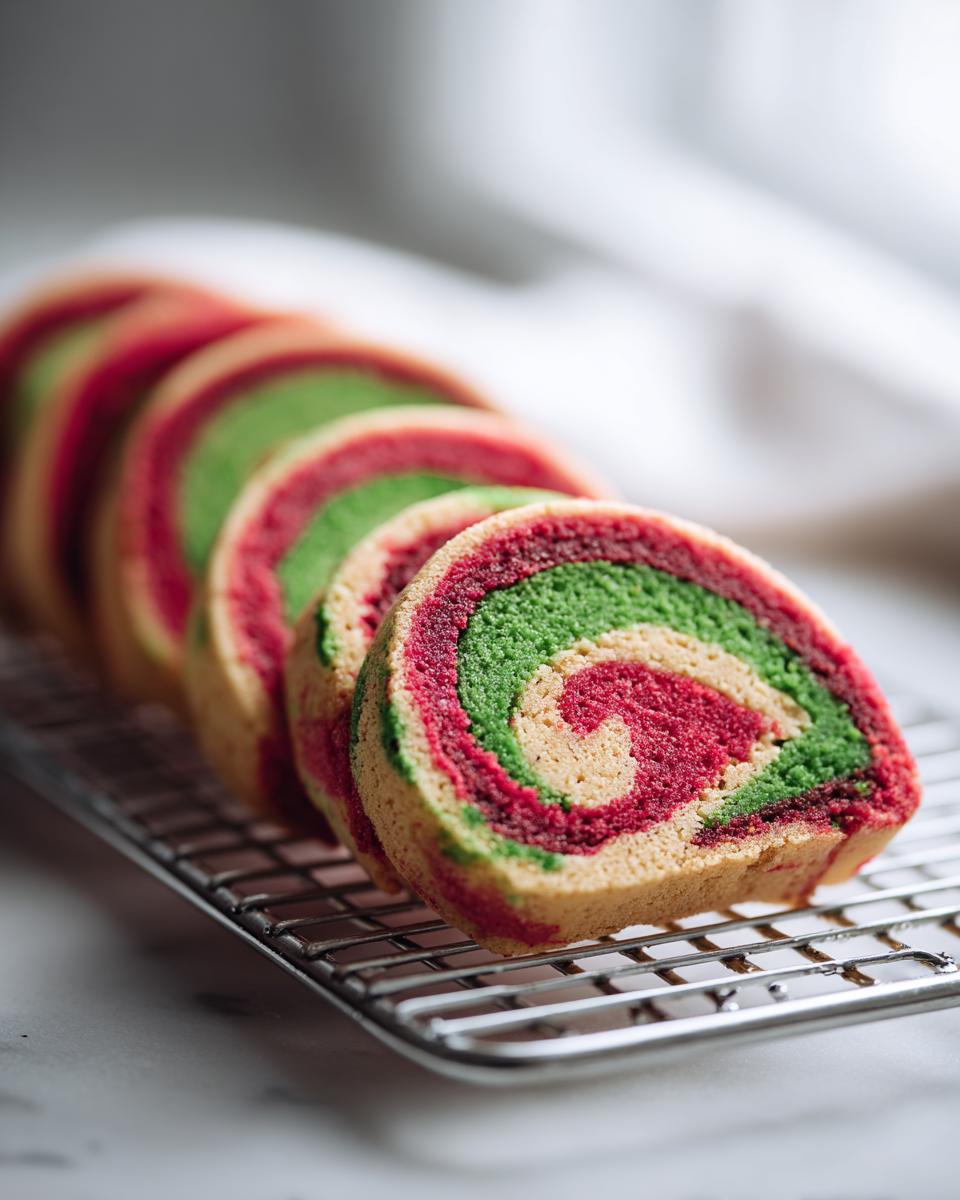
If you’re looking for other simple fixes for your holiday tray, be sure to check out my guide on easy festive sugar cookies—they pair perfectly with these swirls!
- Why You Will Love These Christmas pinwheel cookies
- Essential Ingredients for Perfect pinwheel cookies
- Mastering the Cookie Dough Swirl Technique for pinwheel cookies
- How to Prepare and Bake These Slice and Bake pinwheel cookies
- Tips for Success: Achieving Perfect Holiday Cookie Designs
- Storage and Make-Ahead Tips for Your pinwheel cookies
- Serving Suggestions for these Buttery Swirl Cookies
- Frequently Asked Questions about pinwheel cookies
- Approximate Nutritional Data for pinwheel cookies
Why You Will Love These Christmas pinwheel cookies
Seriously, these are going to be your new holiday go-to. You get maximum impact for minimum effort, which is the best kind of baking if you ask me! Here’s why everyone always devours these first:
- Stunning Festive Food Visuals: The sharp red and green swirls look complicated, but it’s all done before the dough ever sees the oven. So pretty!
- True Slice-and-Bake Ease: Once you roll them up, the hard work is done. No messy decorating required after they bake.
- Buttery Sugar Cookie Base: They taste just like a high-quality, buttery sugar cookie. Seriously melt-in-your-mouth good.
- Perfect for Gifting: They hold their shape beautifully, making them great for cookie exchanges or gifting because they travel so well.
Essential Ingredients for Perfect pinwheel cookies
When we talk about getting reliable results, it all comes down to what you’re mixing together, right? This recipe is built on simple pantry staples that deliver maximum buttery flavor. I listed everything out below so you can grab your ingredients list and double-check your pantry. Clarity here makes sure your dough chills perfectly later on.
Dough Base Ingredients
You’ll need the standard lineup for a fantastic sugar cookie dough base. Make sure your butter is truly softened—I mean, you can press into it easily, but it isn’t starting to look greasy indoors. Those two large eggs need to be at room temperature too, it helps everything blend smoother.
- 2 1/4 cups all-purpose flour
- 1 teaspoon baking powder
- 1/2 teaspoon salt
- 1 cup (2 sticks) unsalted butter, softened
- 1 1/2 cups granulated sugar
- 2 large eggs
- 1 teaspoon vanilla extract
- 1/2 teaspoon almond extract
Coloring for Vibrant pinwheel cookies
This is where we make the magic happen! For the best contrast and flavor control, you absolutely must use gel food coloring, not the regular liquid drops you might have in your cupboard. Liquid dye adds too much extra moisture to the dough when you add enough drops for a deep color, and that moisture causes the cookies to spread! Gel coloring gives you intense color saturation with just a tiny amount, keeping your dough firm and your swirls perfectly defined.
- Red food coloring (gel preferred)
- Green food coloring (gel preferred)
Mastering the Cookie Dough Swirl Technique for pinwheel cookies
Okay, deep breath! This rolling and layering part is where we earn those gorgeous pinwheel cookies designs. It seems fussy, I know, but trust me, getting the layers right before the chill turns this into an easy process. Getting the Cookie Dough Swirl Technique down means you get those crisp edges and beautiful spirals instead of a muddy blob. The key to success here, and I can’t stress this enough, is patience during the chilling phases. We need everything firm before we roll!
Coloring and Initial Chill
First things first, once your main dough is mixed up, divide that fluffy batch evenly into three separate bowls—one will stay lovely and plain white. Into the second bowl goes your red gel coloring, and into the third goes the green. Mix each bowl until that color is completely uniform. I usually set a timer for mixing the color because I don’t want to overwork the dough once the color is going in. Once they are colored, wrap each dough ball tightly in plastic wrap and into the fridge they go for at least one whole hour. They need to firm up so they don’t squash when you roll them out later.
Creating the Layered Rectangle for pinwheel cookies
Now for the fun part! This takes a bit of muscle, but nothing crazy. You’re going to roll each colored brick of dough out separately between two sheets of plastic wrap or parchment paper. The goal is to create three rectangles that are all exactly the same size—aim for about 1/8 inch thick. If you look at my guide for making Snickerdoodle Cookies, you’ll see I talk about keeping things even for uniform baking, and that same rule applies 100% here! Once they are all uniform, peel the top plastic layer off the white dough, place the red dough right on top, and press it gently so they stick. Peel the plastic off the red layer, place the green dough on top, and press again. You should have one big, colorful stack! Then, starting from a long edge, roll that stack up tightly, like you’re rolling a jelly-roll.**
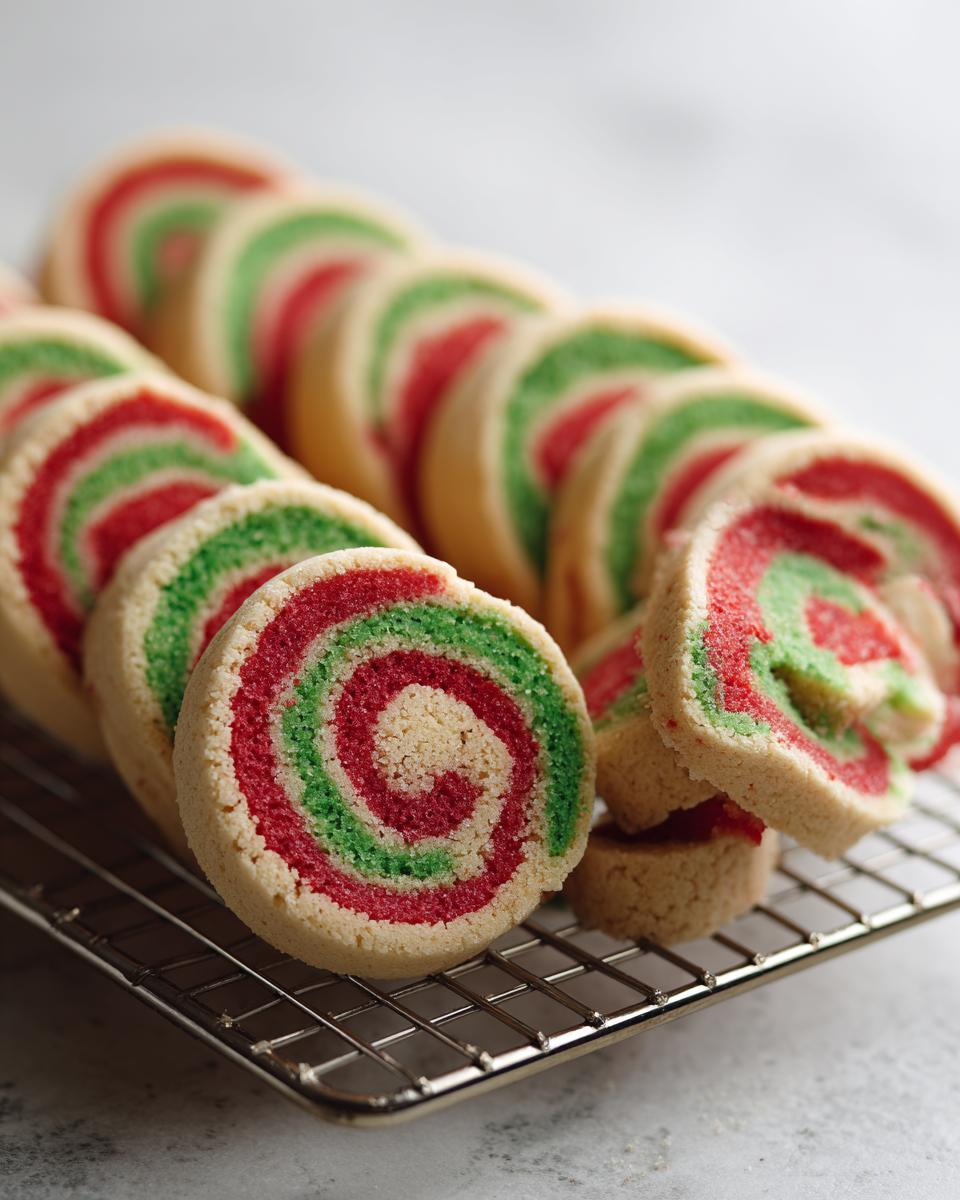
How to Prepare and Bake These Slice and Bake pinwheel cookies
Once you have that beautiful, tightly rolled log, you are so close to enjoying these amazing slice and bake cookies! The most important thing now is to make sure that log is rock solid cold. If you’re impatient (like me sometimes!), you need to chill it for at least two more hours in the fridge. If you need these for tomorrow or later, just wrap that log super tight and toss it in the freezer! That firmness is what keeps your beautiful swirls from turning into melted messes when they hit the heat.
When it’s time to bake, crank that oven—we’re going hot and fast at 375 degrees F (190 degrees C). Line up those sheets with parchment paper, because nobody wants to scrape sticky sugar cookies off a hot pan! Use a sharp knife to slice your chilled log into rounds about 1/4 inch thick. Don’t try to hack them off; a good, steady slice keeps those pinwheels looking perfect. Space them about two inches apart on the baking sheet.
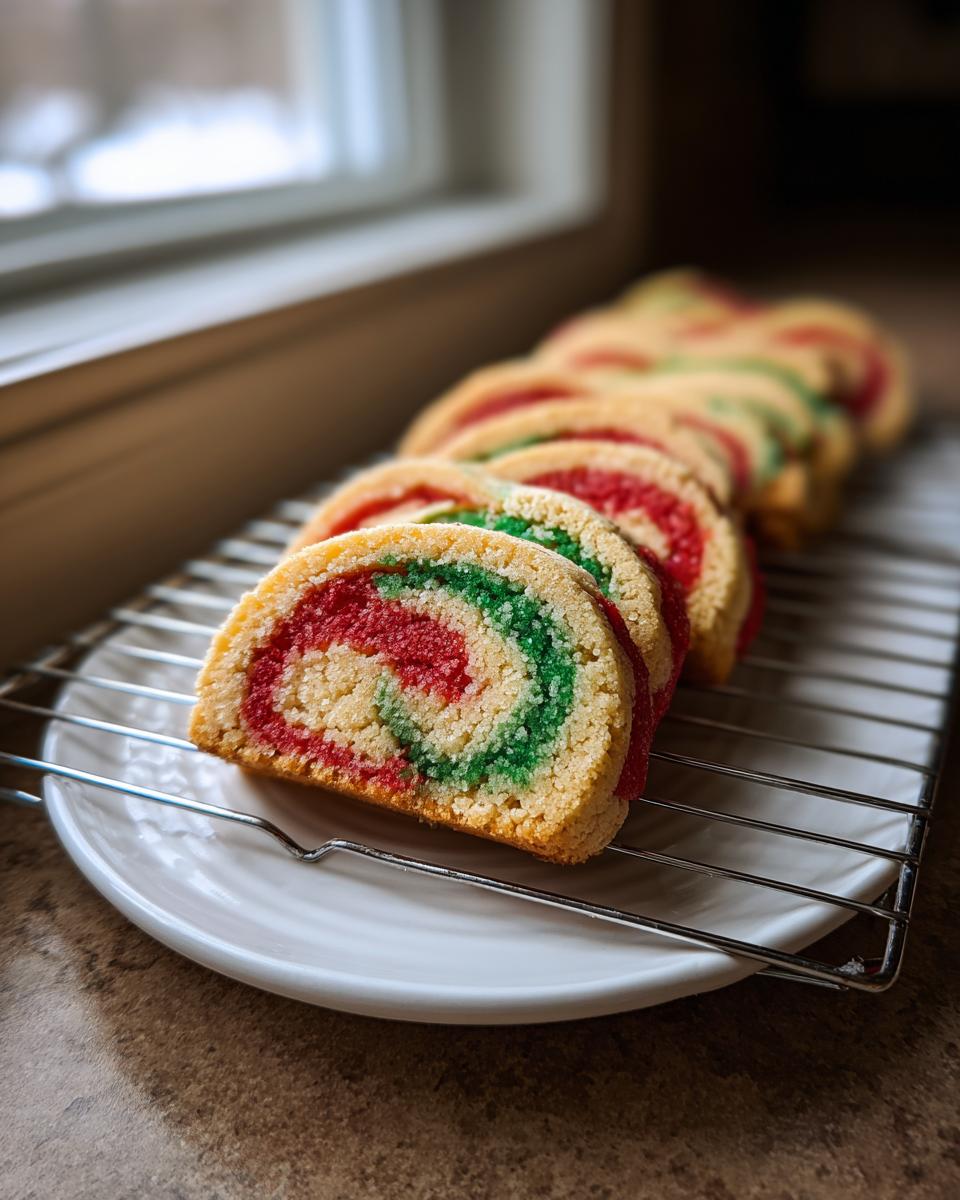
They bake quickly, usually just 8 to 10 minutes. You’ll know they are done when the edges just start to look lightly set. Don’t overbake these! They should still look a *little* soft in the middle because they set up more as they cool. If you are testing different techniques, maybe check out how I prep my cardamom shortbread cookies; it’s a different dough, but the idea of gentle baking is the same!
Tips for Success: Achieving Perfect Holiday Cookie Designs
Even though these are slice-and-bake, we still need to be smart about the execution if we want those sharp, beautiful swirls! The biggest culprit for smudged designs is dough that’s too soft. If your dough log feels soft when you go to slice it, just pop it back in the freezer for 15 minutes. Firm equals clean cuts! Also, make sure you are leaving plenty of space between them on the baking sheet, about two inches is perfect.
This spreading issue is why chilling is my favorite part of making these pinwheel cookies; it locks everything into place! These are such wonderful Family Baking Projects because the kids can handle the dough division and coloring, while the adults nail the rolling and chilling. If you’re looking for more reliable holiday baking tips, you absolutely have to read my overview on preparing Cranberry Sugar Cookies—the lessons on preventing spread are universal!
Storage and Make-Ahead Tips for Your pinwheel cookies
One of the best things about this style of cookie is how incredibly easy they are to prepare ahead of time! I love batch baking, especially during the busy holidays, and these logs are lifesavers. Since these are easy rolled cookies, you can do the entire rolling and shaping process days before you plan to serve them.
For freezing the dough log, wrap it *very* tightly in a double layer of plastic wrap, making sure to squeeze out all the air. Then, you can toss that log into a freezer-safe zip-top bag. They keep beautifully for up to three months this way. When you’re ready to bake—even if it’s last minute—just pull the log out, slice, and bake! You might need to add an extra minute or two to the baking time since they’ll be starting frozen, but they come out looking perfect.
Once they are baked and completely cooled, storing the finished pinwheel cookies is simple too. They are sturdy! You can keep them in an airtight container right on your counter for about five days, and they stay wonderfully fresh thanks to that rich butter content. If you’ve made too many (which, honestly, is always my problem), you can freeze the baked cookies as well. Just put a layer of wax paper between them so the colors don’t stick together, wrap them in foil, and freeze. That means if you need a quick treat for unexpected guests, you can just grab a few and reheat them for just a minute or two! It’s amazing what a little planning can do; check out my favorite no-bake Christmas treats for other make-ahead ideas!
Serving Suggestions for these Buttery Swirl Cookies
These buttery swirl cookies really shine when you present them well, and that’s half the fun of holiday baking, right?
Because they look like little edible holiday jewels, they don’t need much help, but presentation really elevates them. They look absolutely gorgeous stacked on a simple white platter next to plain sugar cookies just so the colors pop. I love pairing them with a hot beverage in the afternoon. Imagine setting out a tray of these alongside a big mug of coffee or, even better, some rich hot cocoa!
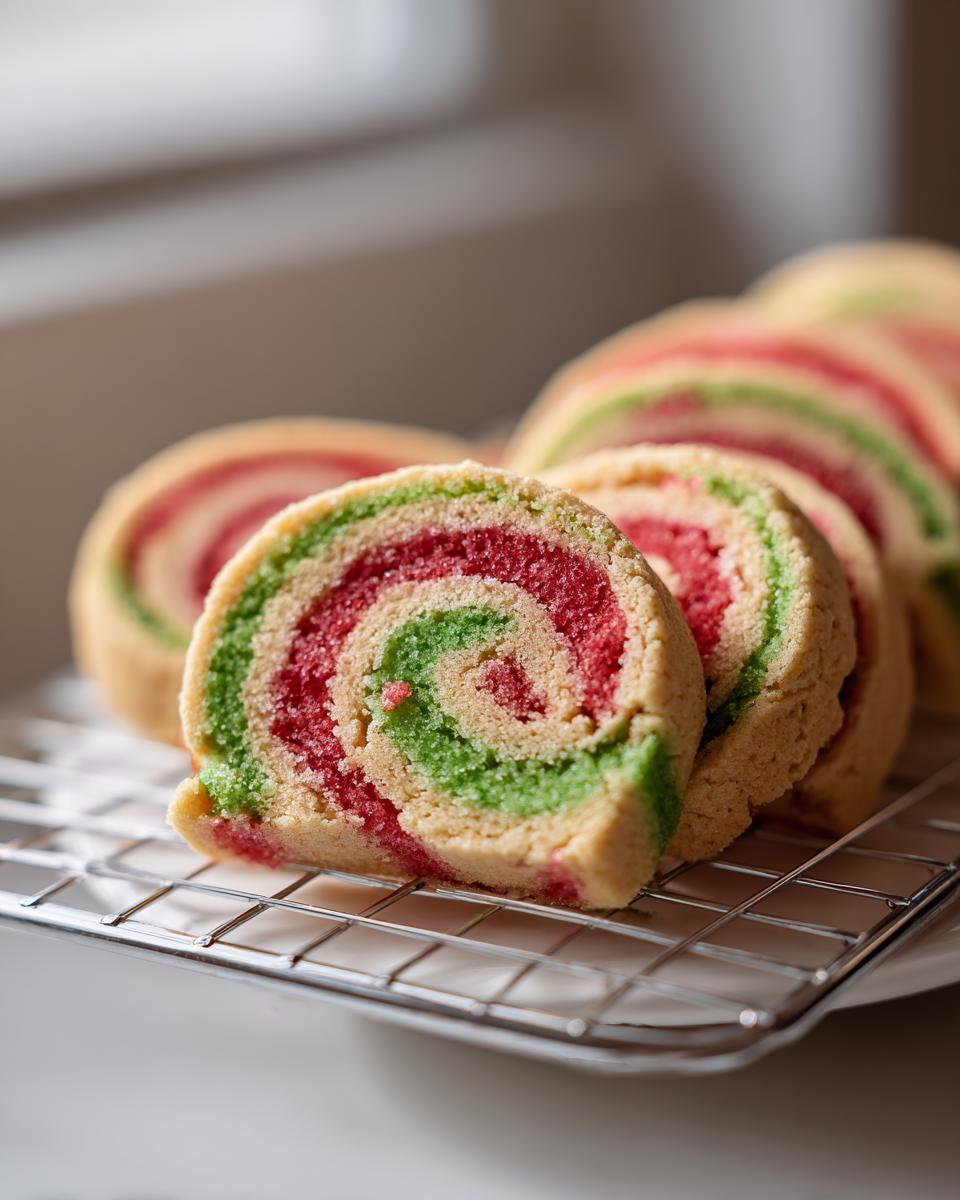
If you’re assembling a big cookie tray, these are the showstoppers you put front and center. They contrast beautifully with anything chocolatey or heavily spiced. Speaking of hot cocoa, if you need an even more decadent partner for those cold evenings, you must try my recipe for hot chocolate brownies with marshmallow topping. That combination is just pure winter happiness!
Frequently Asked Questions about pinwheel cookies
When you’re making something as intricate as layered pinwheel cookies, you’re bound to have questions pop up! I’ve answered the few things I get asked most often about achieving that perfect, crisp swirl.
Can I use regular liquid food coloring instead of gel coloring?
Technically, yes, you *can*, but I really, really advise against it for these swirl cookies. Like I mentioned before, liquid dye adds way too much water to the dough. If you use too much liquid dye to get that vibrant red or green, your dough gets sticky, and then your cookies spread out into flat, wide circles instead of holding that charming pinwheel shape. Stick to the gel if you can—it’s worth tracking down!
What happens if I skip the final, second chill time for the dough log?
Oh boy, don’t skip this one! That second chill, after you’ve rolled the dough into a log, is non-negotiable for clean slices. If you try to slice the dough when it’s even slightly soft, your layers will squish together, and your beautiful red and green pattern will blur into a greenish-brown mess. Trust me, while you wait for the dough to firm up, you can work on sorting out your other cookie template recipes or start wrapping up gifts!
My cookie spirals look wonky or messy after baking, what went wrong?
If your swirls look messy, it almost always comes down to two things: either the dough wasn’t rolled tightly enough when you made the log, or it was too warm when it hit the pan. When you roll, keep your hands firm and compact; imagine you are squeezing every bit of air out of the dough as you go. If the dough feels soft at all, chill it again! These buttery swirl cookies rely on firmness to keep that gorgeous design intact.
Can I make these chocolate and vanilla instead of red and green?
Absolutely! That’s the beauty of this basic recipe. If you want the classic Chocolate Vanilla Swirl Baking look, simply swap out the red dye for about 2 tablespoons of cocoa powder mixed thoroughly into one dough section, and leave the other two sections as white (vanilla/almond flavored). The technique for rolling and chilling stays exactly the same!
Approximate Nutritional Data for pinwheel cookies
I always keep things realistic in the kitchen, and that includes expectations for dessert! While these pinwheel cookies are certainly a treat and not something I eat every day, I want you to have a general idea of what’s in them. Remember that because this is homemade baking, these numbers are just great estimates based on the ingredients I used.
This data reflects one cookie, which is an average serving size for our family’s recipe. If you’re interested in things like meal planning to stay on track during the holidays, you might want to account for these little indulgences! The rich butter content definitely bumps up the fat slightly, but the texture is worth it!
- Serving Size: 1 cookie
- Calories: 130
- Sugar: 11g
- Fat: 7g (including 4g Saturated Fat)
- Carbohydrates: 15g
- Protein: 1g
A quick disclaimer: These values are calculated based on the ingredients listed in the recipe above and are only estimates. They don’t account for any additions or potential variations in ingredient brands!
PrintEasy Christmas Pinwheel Cookies (Slice-and-Bake Swirls)
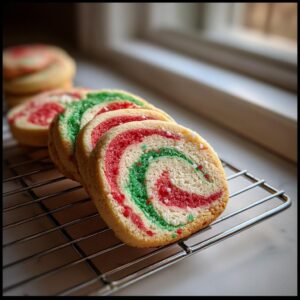
Make festive, colorful pinwheel cookies using a simple slice-and-bake method. These buttery sugar cookies feature striking red and green swirls perfect for holiday platters.
- Prep Time: 45 min
- Cook Time: 10 min
- Total Time: 3 hours 55 min
- Yield: 3 dozen 1x
- Category: Dessert
- Method: Baking
- Cuisine: American
- Diet: Vegetarian
Ingredients
- 2 1/4 cups all-purpose flour
- 1 teaspoon baking powder
- 1/2 teaspoon salt
- 1 cup (2 sticks) unsalted butter, softened
- 1 1/2 cups granulated sugar
- 2 large eggs
- 1 teaspoon vanilla extract
- 1/2 teaspoon almond extract
- Red food coloring (gel preferred)
- Green food coloring (gel preferred)
Instructions
- Whisk together the flour, baking powder, and salt in a medium bowl. Set aside.
- In a large bowl, beat the softened butter and granulated sugar with an electric mixer until light and fluffy.
- Beat in the eggs one at a time, mixing well after each addition. Mix in the vanilla and almond extracts.
- Gradually add the dry ingredients to the wet ingredients, mixing on low speed until just combined. Do not overmix.
- Divide the dough evenly into three separate bowls. Leave one bowl plain (white dough).
- Add several drops of red food coloring to the second bowl and mix until the color is uniform.
- Add several drops of green food coloring to the third bowl and mix until the color is uniform.
- Wrap each color of dough separately in plastic wrap and chill in the refrigerator for at least 1 hour, or until firm enough to handle.
- On a piece of plastic wrap or parchment paper, place a sheet of the white dough. Cover with another sheet of plastic wrap and roll it into a rectangle approximately 1/8 inch thick.
- Repeat the rolling process for the red dough and the green dough, making each rectangle the same size as the white one.
- Remove the top layer of plastic wrap from the white dough rectangle. Carefully place the red dough rectangle directly on top of the white dough. Gently press them together.
- Place the green dough rectangle on top of the red dough. Gently press the layers together to adhere.
- Starting from one long edge, roll the layered dough tightly into a log, keeping the roll compact. Wrap the log tightly in plastic wrap.
- Chill the dough log for at least 2 hours, or until very firm. This step is important for clean slices.
- Preheat your oven to 375 degrees F (190 degrees C). Line baking sheets with parchment paper.
- Remove the dough log from the refrigerator. Using a sharp knife, slice the log into rounds about 1/4 inch thick.
- Place the slices about 2 inches apart on the prepared baking sheets.
- Bake for 8 to 10 minutes, or until the edges are lightly set. The centers should still look slightly soft.
- Let the cookies cool on the baking sheet for 5 minutes before transferring them to a wire rack to cool completely.
Notes
- For the best swirl definition, use gel food coloring instead of liquid, as it adds less moisture to the dough.
- If you plan ahead, you can wrap the dough logs and freeze them for up to three months. Slice and bake directly from frozen, adding 1-2 minutes to the baking time.
- If you are looking for simple meal planning ideas for holiday baking, these slice and bake cookies fit well into any schedule.
Nutrition
- Serving Size: 1 cookie
- Calories: 130
- Sugar: 11g
- Sodium: 65mg
- Fat: 7g
- Saturated Fat: 4g
- Unsaturated Fat: 3g
- Trans Fat: 0g
- Carbohydrates: 15g
- Fiber: 0g
- Protein: 1g
- Cholesterol: 25mg