
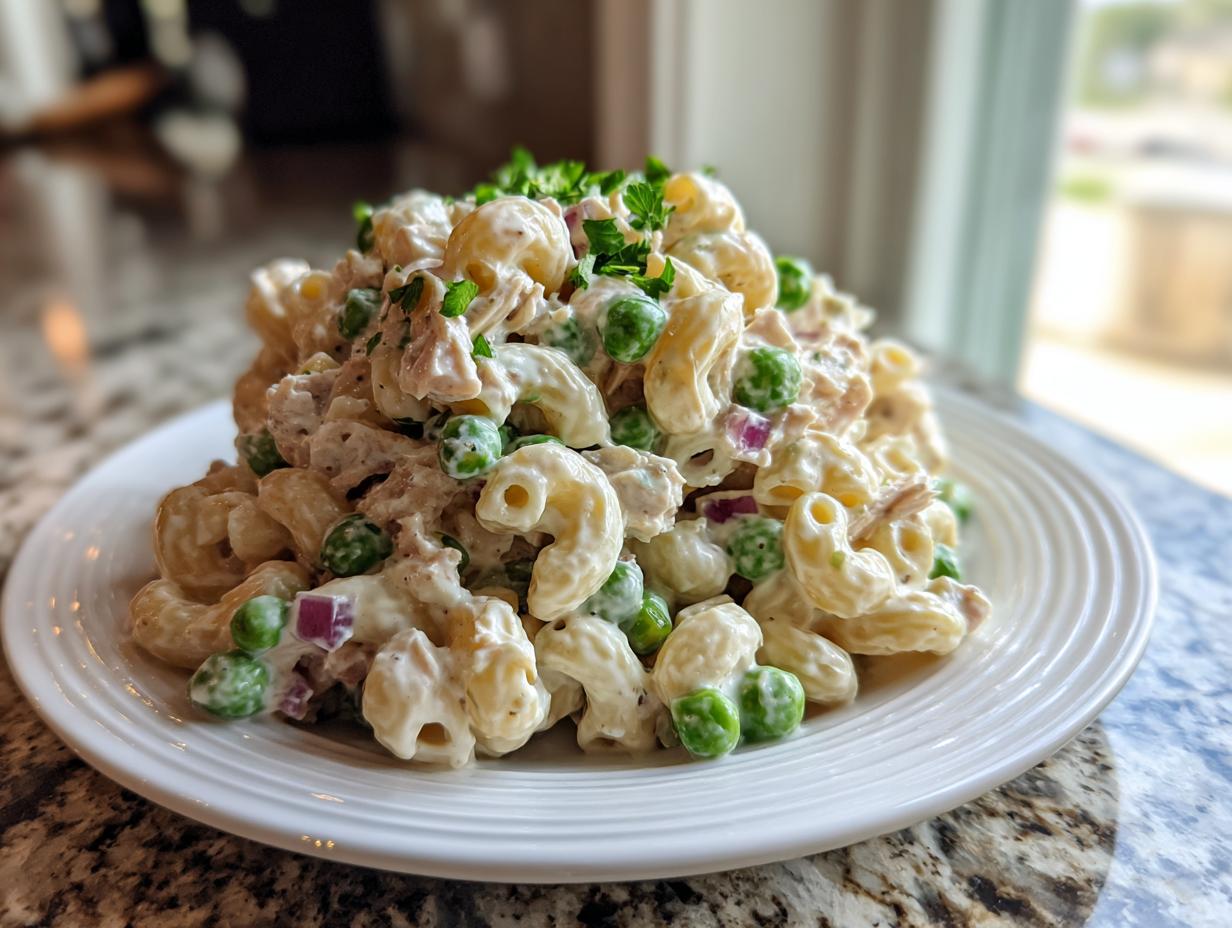

When the afternoon slump hits and you realize dinner needs to happen in about thirty minutes, what do you do? Trust me, I’ve been there a million times! That’s why I’m so excited to share what has become our absolute go-to for fast, satisfying meals: this Creamy & Quick Classic Tuna Pasta Salad. This isn’t some fussy, complicated dish; it’s humble, reliable comfort food.
Growing up in a busy kitchen, simple, dependable recipes like this Tuna pasta salad were lifesavers for my mom. This version hits that perfect sweet spot—super creamy, loaded with just the right crunch, and ready before you can even decide on takeout. It’s my favorite way to turn pantry staples into a protein-packed lunch or a fantastic side dish. You can read more about my journey in the kitchen over at my About Page!
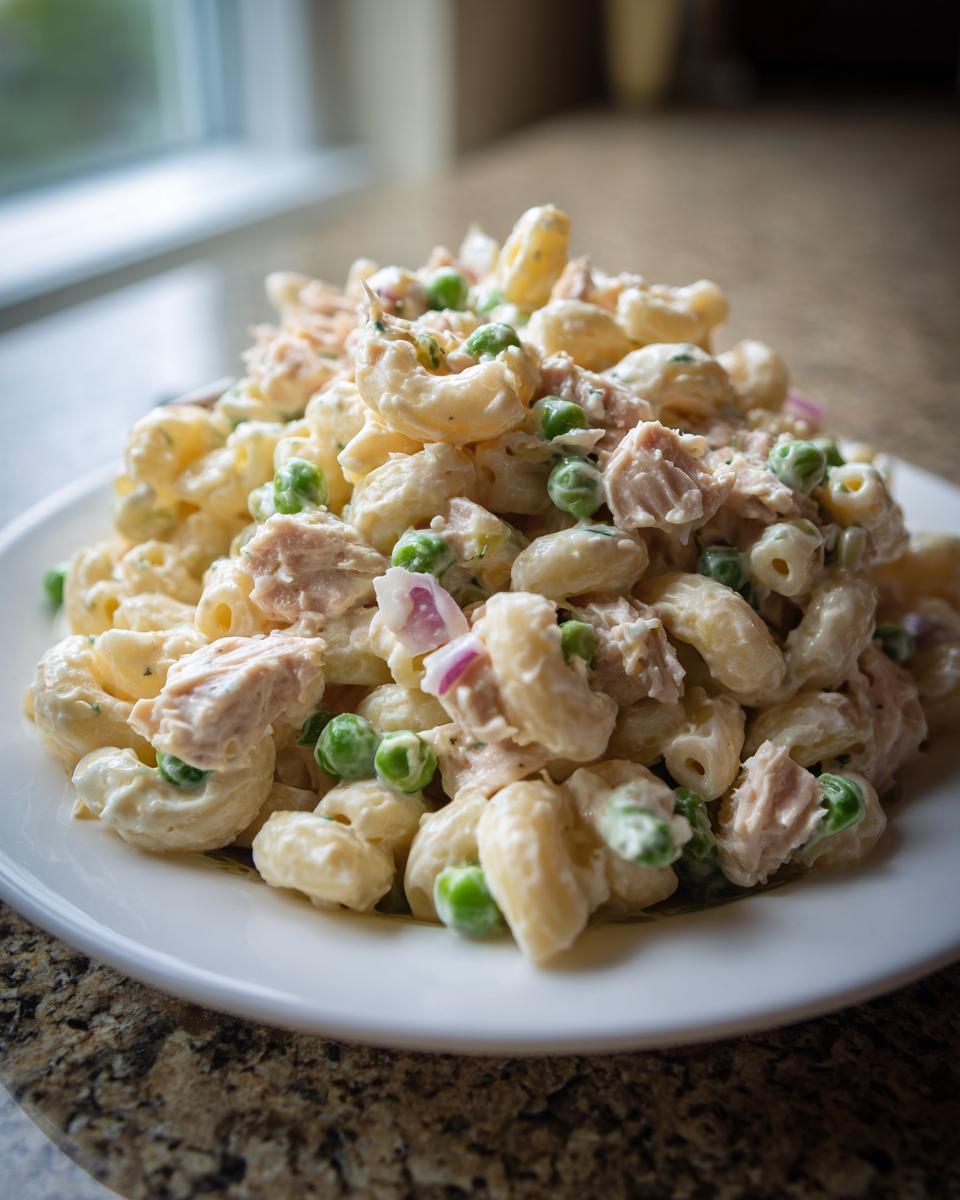
- Why This Creamy Tuna Pasta Salad Recipe Works So Well
- Gathering Ingredients for Your Classic Tuna Pasta Salad
- How to Make Tuna Pasta Salad Step-by-Step
- Tips for the Perfect Tuna Pasta Salad Every Time
- Variations on the Classic Tuna Pasta Salad
- Serving Suggestions for Your Easy Tuna Pasta Salad
- Storage and Make Ahead Salad Instructions for Tuna Pasta Salad
- Frequently Asked Questions About Tuna Pasta Salad
- Share Your Perfect Tuna Pasta Salad Creation
Why This Creamy Tuna Pasta Salad Recipe Works So Well
When you’re looking for something that doesn’t demand your whole evening, this recipe truly shines. It’s the kind of dish that crosses over from a simple side to a full, exciting meal without any fuss. In my house, it’s become a staple because it ticks all the boxes for busy life!
We focus on benefits here, because you deserve good food without the headache. Here’s why this recipe is a winner:
- Speed Demon: Seriously, we’re talking about a total time of right around 25 minutes, which makes it perfect for those last-minute Quick Lunch Ideas.
- That Creamy Factor: We nailed the dressing. It’s perfectly rich without being heavy—the hallmark of a truly great Creamy Pasta Salad.
- Meal Prep Hero: This holds up beautifully in the fridge. Pour it into containers, and you’ve got several days of easy, protein-packed lunches lined up. It’s one of my favorite Meal Prep Salads.
If you love seeing what else is cooking up on the blog, feel free to browse the recent posts on my main blog page! It really is the weeknight savior we all need sometimes.
Gathering Ingredients for Your Classic Tuna Pasta Salad
Okay, so gathering what you need for this Tuna pasta salad is half the battle, and honestly, it’s mostly just combining things from your pantry and fridge! One of the things I love about this recipe—along with being one of my favorite Simple Pasta Recipes—is that everything is measured out clearly. There’s no guessing game here, which keeps the texture consistently perfect.
I’ve broken it down below so you can easily check your fridge. You’ll notice we are using a mix of mayo and Greek yogurt in the dressing—that’s my little secret for getting that luxurious, Creamy Pasta Salad feel without using *only* mayo. Everything here is designed to work together beautifully for a satisfying, protein-packed lunch.
Pasta and Mix-Ins for the Best Tuna Pasta Salad
These are the crunchy, flakey, main components that make up the body of the salad. Make sure your pasta is cooked perfectly al dente—we don’t want mush!
- Rotini Pasta: You’ll need 1 pound of it. The spirals are fantastic for trapping all that wonderful dressing.
- Chunk Light Tuna: Two standard 5-ounce cans, and please, make sure you drain this really, really well before adding it in!
- Celery: 1 cup, chopped up nicely. This is where a lot of that essential crisp texture comes from.
- Frozen Peas: 1 cup, but you must thaw them first. I just run them under warm water for a minute, honestly.
- Red Onion: We need 1/2 cup of this, finely chopped. It adds the sharpness we need to cut through the creaminess.
Creating the Creamy Dressing for Your Tuna Pasta Salad
This dressing is what brings the whole dish together. Don’t skip whisking it separately—your dressing needs to be smooth before it meets the pasta!
- Mayonnaise: We start with 1/2 cup. This provides the classic flavor base, but don’t worry, the yogurt lightens it up!
- Plain Greek Yogurt: Use 1/4 cup of this. If you want a lighter version, you can actually swap your mayo out entirely for this, as I mentioned in the notes!
- Yellow Mustard: Just 1 tablespoon. It adds a tiny bit of tang that you won’t taste directly, but it balances the richness.
- Fresh Lemon Juice: 1 tablespoon is perfect. That citrus zest really keeps this from tasting flat.
- Dried Dill: 1 teaspoon. Dill and tuna are just destined to be together, trust me.
- Salt and Pepper: A half teaspoon of salt and a quarter teaspoon of black pepper to season everything just right.
How to Make Tuna Pasta Salad Step-by-Step
This is where the magic really happens, and I promise you, it’s so straightforward! We move quickly from boiling water to having a beautiful, ready-to-eat salad. Remember, cooking well isn’t about flashy techniques; it’s about following simple steps with a little bit of care. If you’re looking for my philosophy on getting back to basics in the kitchen, check out my Simple Pasta Recipes page!
Cooking and Cooling the Pasta for Tuna Pasta Salad
First things first: the pasta has to be perfect. Cook your rotini—or whatever fun shape you picked—strictly according to the package directions. We are aiming for al dente, which just means it still has a tiny bit of bite left in the center. Mushy pasta in a cold salad? Never acceptable!
The most important part for any Cold Pasta Salad is the cooling process. As soon as you drain the pasta, run it under a stream of very cold water. You need to stop the cooking immediately. If you skip this, the residual heat will turn your firm noodles soft while you’re mixing the other ingredients. Drain it well and let it sit while you handle the dressing. We need it completely cool before we mix anything wet in!
Preparing the Creamy Dressing Base
Now, let’s get that dressing singing! Since this recipe relies so heavily on that rich, yet light coating, we have to treat the dressing right. Grab a medium bowl—nothing fancy needed here, just a bowl where you can whisk easily.
In that bowl, pour in your mayonnaise, your half-cup of Greek yogurt, the pop of yellow mustard, the fresh lemon juice, and that dried dill. Get whisking! You want to blend these until everything is absolutely homogenous. When it looks perfectly smooth and glossy, you’ve achieved the right base for a truly satisfying Creamy Pasta Salad. Set that aside; it’s ready when you are.
Assembling and Chilling the Tuna Pasta Salad
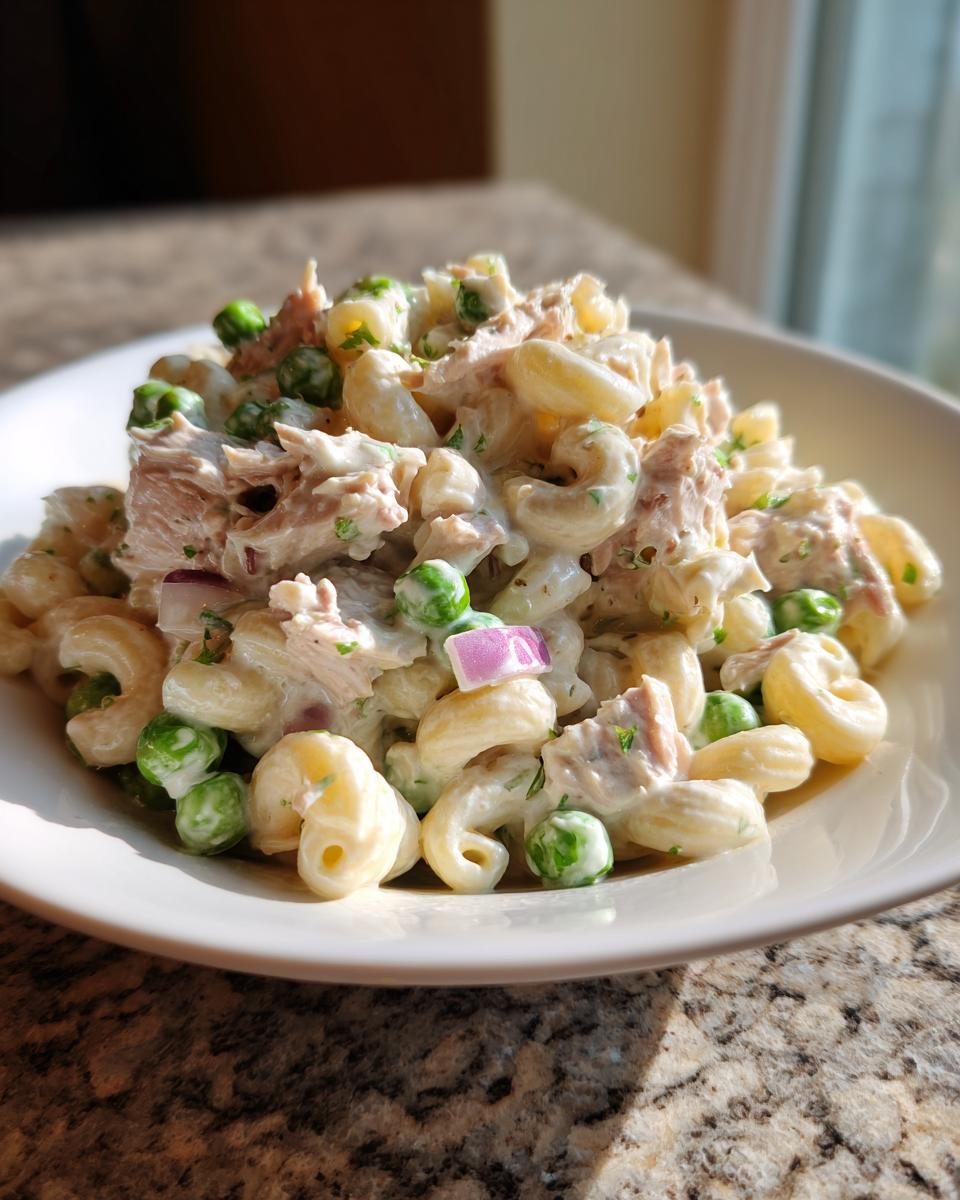
Time to combine the elements! In your biggest bowl—the one you want to serve from, maybe?—toss in your cooled pasta, the drained flaked tuna, that crunchy celery, the thawed peas, and the sharp red onion. Give that a gentle stir just to get the dry solids mixed.
Now, pour that gorgeous creamy dressing right over the top. Use a spatula to gently fold everything together. Be careful not to crush the tuna flakes or mash the vegetables; we want texture! Once everything looks evenly coated—you shouldn’t see any dry pasta peeking out—cover the whole bowl. You MUST let this chill in the refrigerator for a minimum of 30 minutes. Seriously don’t skip this step! If you want the flavors to really marry and deepen in your Tuna pasta salad, letting it meld low and slow is key.
Tips for the Perfect Tuna Pasta Salad Every Time
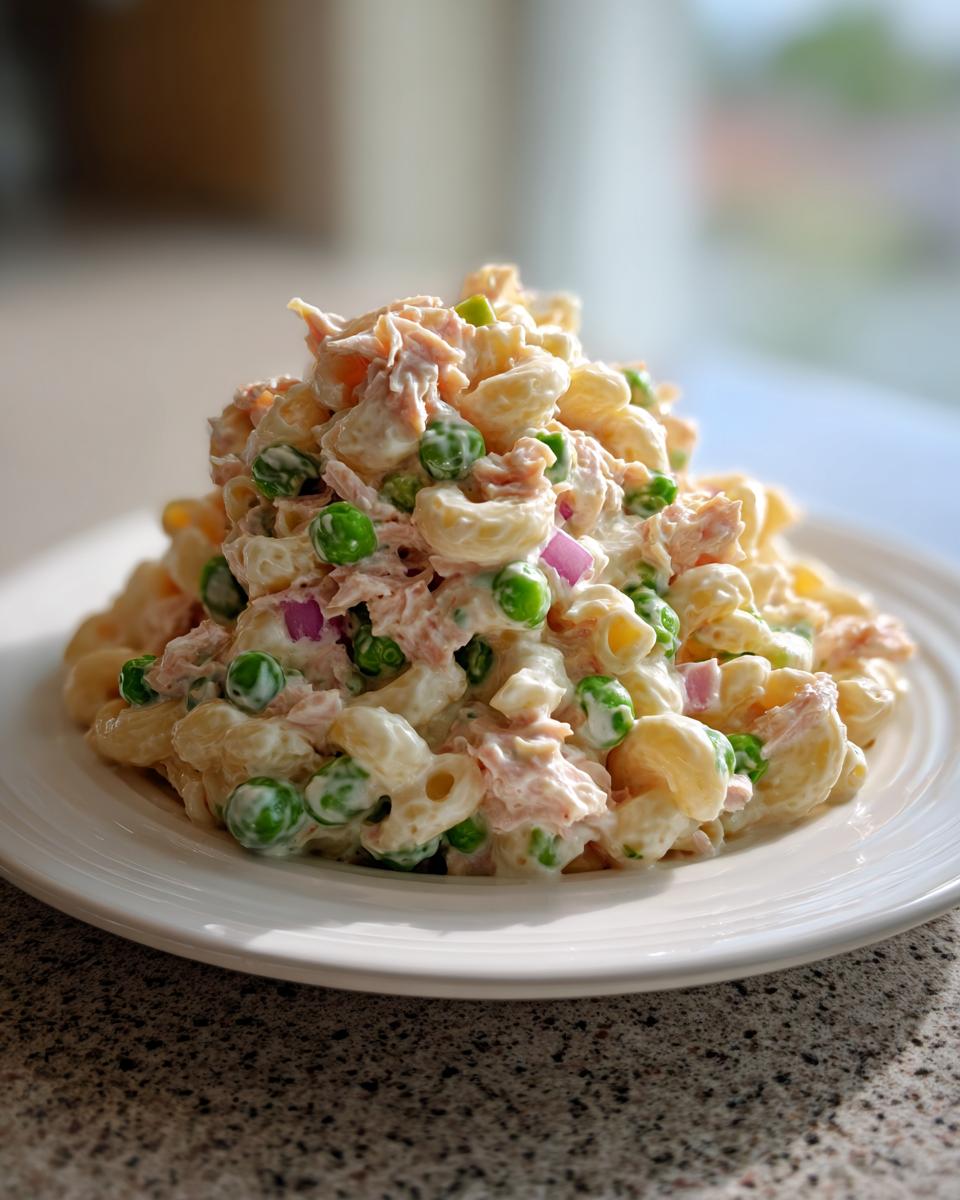
You know, making a really great Tuna pasta salad isn’t just about following the steps—it’s about knowing those little kitchen secrets that turn a regular dish into something your friends beg you to bring everywhere. Since I learned cooking from scratching through old recipes and making plenty of mistakes along the way, I’ve picked up a few habits that ensure this salad is always spot-on.
The main thing I want you to focus on is texture. A perfect **cold pasta salad** should never be watery or dry; it needs that satisfying blend of soft pasta, creamy sauce, and crisp vegetables. Here are the habits I swear by for every batch I make for my family. If you love making simple, delicious food for busy nights, you might want to check out some of my favorites on my Weeknight Dinner Salads page!
First up, let’s talk about the tuna. You need to drain it so thoroughly that you think you might accidentally squeeze out some of the actual fish! Seriously, use a good sieve or press the lid down hard. Extra water from the can is the fastest way to ruin the creamy dressing we worked so hard to perfect. Soggy tuna equals a sad salad.
Next, remember that note about letting it chill? That’s not just a suggestion; it’s absolutely necessary for a fantastic Tuna pasta salad. While you can certainly eat it right after mixing it, the flavors are still walking around saying hello to each other. Once it chills for at least half an hour, those flavors—the tang of the lemon, the earthiness of the dill, and the savory tuna—really settle into the pasta. It becomes a proper, harmonious dish!
And here’s a big one that makes this salad perfect for a **Make Ahead Salad**: it honestly improves overnight! I know, it sounds crazy, but the pasta absorbs just enough of that creamy dressing as it sits in the fridge. If you’re prepping for a picnic or packing lunches for the week, make it the day before. Trust me, the next day, it’s even better.
Finally, if you’re worried about the vegetables getting soggy down the line, make sure they are completely dry after washing and chopping. Even a little leftover water clinging to the celery or peas will thin out your dressing over time. Keep things dry during assembly, and you’ll enjoy that perfect crunch right up until the last bite!
Variations on the Classic Tuna Pasta Salad
We love the reliability of a classic, don’t we? But sometimes, you just need to shake things up a little bit, especially if you find yourself making this Tuna pasta salad on repeat! And you will, because it’s just that good for those Quick Lunch Ideas. I’ve included some swaps and changes in the recipe notes, but I want to chat a bit more about how you can make this recipe truly *yours*.
The base ingredients—the tuna and the pasta—are non-negotiable for consistency, but everything else is wide open for exploration. If you’ve been looking for ways to keep things fresh and interesting, or perhaps try out some different Healthy Tuna Recipes, here are my easy fixes that keep the integrity of the dish intact.
Let’s start with making it lighter. If you want to cut back on fat but keep that beautiful, luscious coating? Skip the mayonnaise entirely for a day! The Greek yogurt we use for balance can easily take the lead. Use all yogurt instead of the one-quarter cup we called for. It gives you a brighter, tangier finish that feels lighter, but it keeps that signature creaminess we’re looking for in a satisfying Cold Pasta Salad.
Next up, texture swaps! If you’re not wild about the crunch from the celery, or maybe you just ran out, I have a perfect stand-in. Instead of chopping celery, try swapping it out for sweet pickle relish. About a quarter cup of relish adds that necessary texture variety, plus a little bit of sweet-and-sour pop that goes wonderfully with the tuna. My dad always added relish when he made his comfort food salads!
Are you someone who prefers more zing? Simple: swap out that standard yellow mustard for Dijon mustard. It provides a much deeper, slightly spicier flavor profile that works beautifully if you plan on eating this as a Weeknight Dinner Salad rather than a light lunch. Just use the same 1 tablespoon measure. That little switch makes a world of difference.
And finally, if you’re looking at the veggies and wish you had more color or flavor, don’t be shy! Finely diced bell peppers (yellow or orange really look nice against the pale pink tuna) are fantastic additions. A small handful goes a long way. Or, for a slightly more herbaceous version, try adding in a spoonful of fresh parsley along with the dried dill. Remember, once you master the base, you can always find new ways to enjoy this Tuna pasta salad!
For more ways I like to mix up my reliable recipes, you can always check out my list of Healthy Tuna Recipes—sometimes a little variety keeps things exciting!
Serving Suggestions for Your Easy Tuna Pasta Salad
This Tuna pasta salad is so versatile, you’ll find yourself bringing it everywhere! Because it’s creamy, filling, and robust, it transitions seamlessly from a simple family lunch to the star side dish at a big gathering. Honestly, once I realized how easy it was to transport, I started pitching it for every single outdoor event we went to.
When people ask me how to serve it, I always say: lean into the classic American meal vibe! It’s the ultimate Potluck Side Dishes champion because it holds its own next to things like baked beans or coleslaw. If you grab some great **picnic food ideas** for your next outing, this needs to be on the checklist.
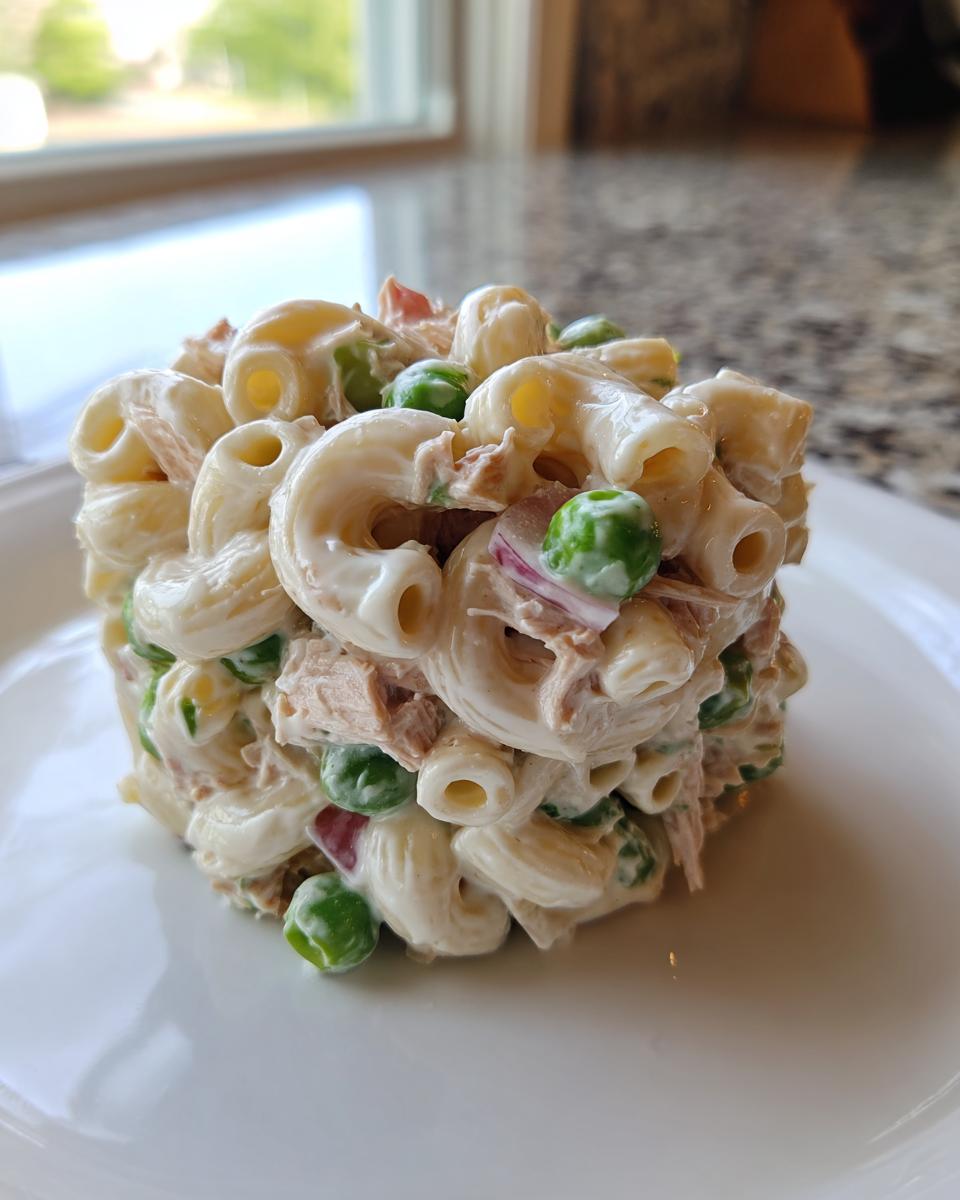
Here are my favorite ways to serve up this perfect cold pasta salad:
- As a Main Course Lunch: Let it shine! Serve a good, generous scoop on top of a bed of crisp, fresh lettuce—like romaine or mixed greens. This makes it feel extra fresh and gives you a little extra crunch.
- The BBQ Companion: This salad is the perfect counterbalance to smoky meats. It goes brilliantly next to grilled burgers, hot dogs, or pulled pork sandwiches. The cool, creamy texture cuts right through the richness of barbecue sauce.
- Potluck Power: When taking it to a gathering, always put it next to the serving spoons! It looks so inviting, especially in a big clear bowl, and it’s a real crowd-pleaser that appeals to almost everyone looking for a satisfying, protein-packed lunch option.
- Simple Dinner Side: If you’re having something light, like grilled chicken breasts or simple baked fish, this Easy Tuna Pasta Salad gives you all the carbs and veggies you need in one bowl. It feels like a complete meal without extra effort.
If you’re hosting a big summer get-together or just need reliable recipes that feed a crowd, make sure you peek at my category all about side dishes—you might find your next favorite barbecue pairing! Plus, if you want inspiration for light and bright flavors that feel perfect for summer gatherings, check out this great post on refreshing tuna salads; it’s always good to see what other flavors are out there!
Storage and Make Ahead Salad Instructions for Tuna Pasta Salad
One of the best things about this recipe is what I call its “self-sufficiency.” This Tuna pasta salad isn’t fussy once it’s made; it gets better with time! This is fantastic news for anyone who hates cooking every single night—that’s me, most of the time!
Because we made sure to rinse the pasta well and drain the tuna thoroughly, we don’t end up with a soupy mess the next day. That careful prep work we did to make sure the dressing wasn’t watered down really pays off when it comes to leftovers. This is why it’s one of my top picks for a Make Ahead Salad!
When it comes to storing it properly so it stays creamy and fresh, you need to follow a classic rule: airtight containers are your best friend. Don’t just cover the bowl with plastic wrap if you are planning to keep it for more than a few hours. Transfer the salad into smaller, individual containers if you are making it for lunches, or store the whole batch in one large, sealed container in the back of your fridge.
How long does it last? Because this Tuna pasta salad contains mayonnaise and tuna, we have to treat it like any other perishable dish. It stays wonderfully delicious and safe to eat for about three to four days when kept consistently cold. I often make a double batch on Sunday, and we happily eat the leftovers for lunch through Wednesday or so. They are perfect for those days when you need a quick grab-and-go lunch!
If you want some more tips on other salads that travel well and stand up to sitting in the fridge for an extended time, you absolutely must take a look at my dedicated post on Make Ahead Salad recipes. You’ll find great ideas for everything from grain bowls to sturdy green salads that don’t wilt after a day!
Frequently Asked Questions About Tuna Pasta Salad
It makes total sense that you have questions! When you are relying on a recipe for a **Protein Packed Lunch** all week, you want iron-clad answers. I’ve gathered up some of the most common things people ask me when they are learning **how to make tuna pasta salad** the right way. Let’s clear a few things up so you can bake (or mix!) with confidence!
Can I make this Tuna Pasta Salad recipe ahead of time?
Absolutely, yes! In fact, I encourage it. This Tuna pasta salad is one of those rare dishes that really improves after a good rest in the cold. If you are using this for meal prep, you can easily mix the entire thing up the night before you plan to eat it. I find that 12 to 24 hours chilling time lets the dill and the lemon really soak into the pasta and tuna. It’s always better the next day, so don’t hesitate to plan ahead!
What is the best pasta shape for Tuna Pasta Salad?
I use rotini shells in the main recipe because those little spirals are magnificent at trapping all of that creamy dressing. They grab onto the sauce and the little bits of onion and celery, making sure every single forkful is perfect! But if you don’t have rotini, don’t worry. Classic elbow macaroni works perfectly fine, and medium shells are also fantastic choices. The key isn’t the *exact* shape, but making sure you use a medium-sized pasta that can hold up to the dressing without collapsing.
How can I make this a healthier Tuna Pasta Salad?
That’s an easy one to tackle! The main area where we can boost the health factor without losing flavor is in the dressing. Remember how I mixed in that plain Greek yogurt? That’s your secret weapon for a lighter, high-protein coating. If you’re keen to make it even lighter, you can substitute all the mayonnaise with Greek yogurt—it will taste a little tangier, but it loses a good chunk of fat instantly. Also, make sure you are pressing every drop of water out of that canned tuna! Less can liquid means less chance of watering down your dressing, keeping it rich in that good tuna protein.
If you’re looking for other simple dishes that travel well or work as appetizers, feel free to browse some of my collections over on my Appetizers page!
Share Your Perfect Tuna Pasta Salad Creation
I truly hope you give this recipe a try! Seeing your creations and hearing how this Tuna pasta salad fits into your week—whether it’s a lifesaver for a quick lunch or the hit side dish at a church picnic—is genuinely why I spend hours testing recipes in my kitchen. That connection back to my readers is the whole point of Cut Cook Taste!
When you make this, please come back and leave a rating. Five stars means the world to me, but tell me if you made any swaps! Did you use shells instead of rotini? Did you try adding bell peppers? I love hearing how you adapt the classics to fit your family’s needs. Don’t be shy about snapping a picture and sharing it too; I check my comments here constantly!
If you have any super specific questions that I missed in the FAQ section, or if you want to talk about substituting dill for thyme (please call me first!), you can always reach out directly through my Contact Page. Now go enjoy that perfectly creamy salad!
PrintQuick & Creamy Classic Tuna Pasta Salad
This is an easy tuna pasta salad recipe perfect for a quick lunch, simple dinner, or meal prep. It features tender pasta, flaky tuna, crisp vegetables, and a light, creamy dressing. This cold pasta salad is ready fast and tastes great chilled.
- Prep Time: 15 min
- Cook Time: 10 min
- Total Time: 25 min
- Yield: 6 servings 1x
- Category: Lunch
- Method: Mixing
- Cuisine: American
- Diet: Vegetarian
Ingredients
- 1 pound rotini pasta
- 2 cans (5 ounces each) chunk light tuna in water, drained
- 1 cup chopped celery
- 1 cup frozen peas, thawed
- 1/2 cup chopped red onion
- 1/2 cup mayonnaise
- 1/4 cup plain Greek yogurt
- 1 tablespoon yellow mustard
- 1 tablespoon fresh lemon juice
- 1 teaspoon dried dill
- 1/2 teaspoon salt
- 1/4 teaspoon black pepper
Instructions
- Cook the rotini pasta according to package directions until al dente. Drain the pasta and rinse immediately with cold water to stop cooking. Set aside to cool completely.
- While the pasta cools, prepare the dressing. In a medium bowl, whisk together the mayonnaise, Greek yogurt, yellow mustard, lemon juice, dried dill, salt, and pepper until smooth.
- In a large bowl, combine the cooled pasta, drained tuna, chopped celery, thawed peas, and chopped red onion.
- Pour the creamy dressing over the pasta and vegetable mixture. Gently fold all ingredients together until everything is evenly coated.
- Cover the bowl and chill the tuna pasta salad in the refrigerator for at least 30 minutes before serving. This allows the flavors to combine.
- Serve cold as a side dish, main course for lunch, or pack it for your next picnic or potluck.
Notes
- For a lighter version, substitute all the mayonnaise with plain Greek yogurt.
- This make ahead salad tastes even better the next day, making it excellent for meal prep.
- If you need a low-carb option, substitute the pasta with cauliflower florets or a low-carb pasta alternative.
- You can substitute the celery with chopped sweet pickle relish for a different texture.
Nutrition
- Serving Size: 1 cup
- Calories: 410
- Sugar: 5
- Sodium: 550
- Fat: 18
- Saturated Fat: 3
- Unsaturated Fat: 15
- Trans Fat: 0
- Carbohydrates: 45
- Fiber: 3
- Protein: 21
- Cholesterol: 35