
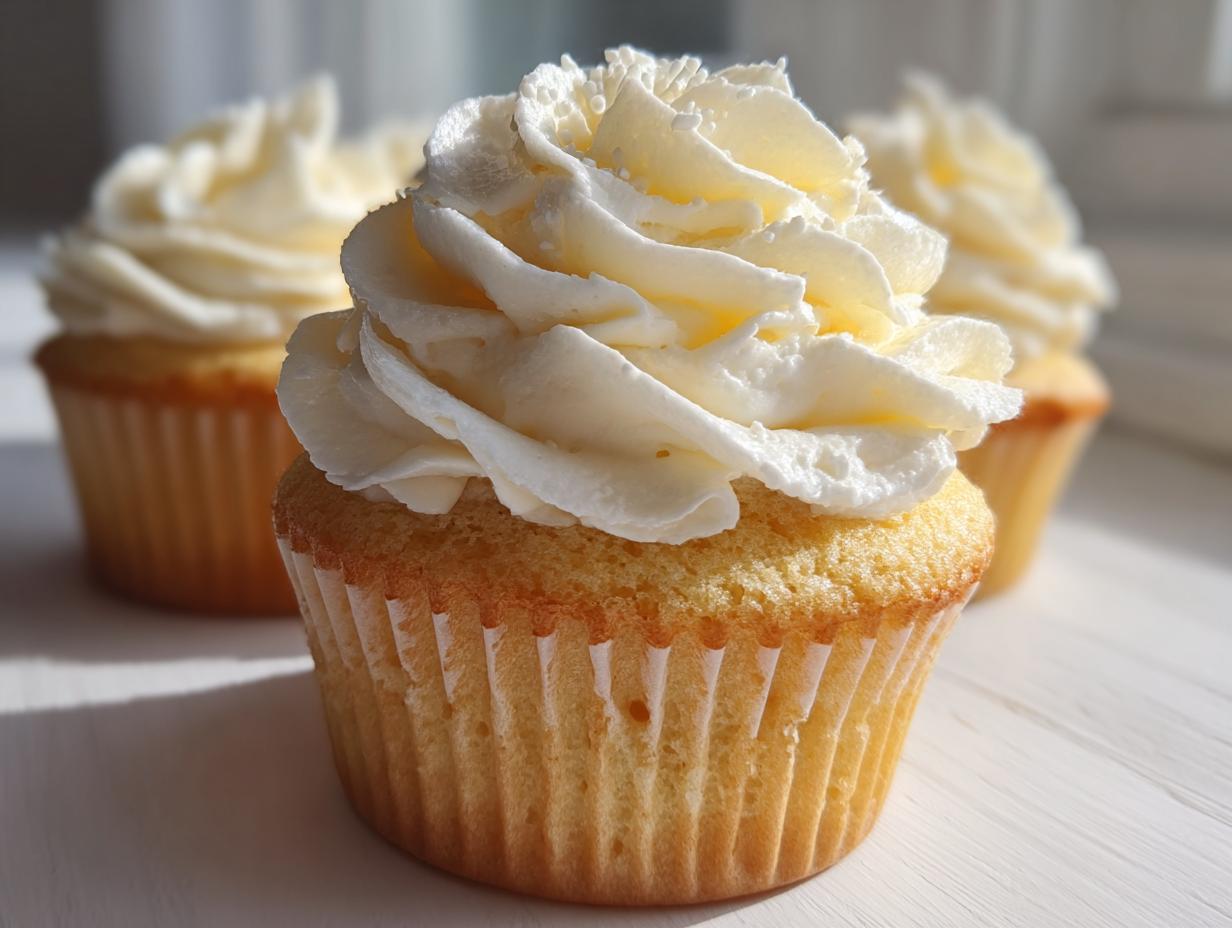

Oh, I just love the smell when you open the oven door and that sweet, comforting scent of vanilla just wraps around you. It reminds me instantly of my grandmother’s kitchen back in the Midwest. We need fewer fussed-over desserts and more classics that just *work*, and believe me, these vanilla cupcakes are the height of classic baking done right! Forget those dry, crumbly things you sometimes get. I’ve spent ages tweaking this recipe until I landed on the ultimate moist & fluffy vanilla cupcakes from scratch. These are the keepers. They’re bakery-style without any of the hard work. If you’re looking for a dependable, absolutely delicious cupcake for birthdays or just because you deserve a treat, grab your butter and let’s get mixing! I promise this dedication to timeless baking principles is why I started Cut Cook Taste.
- Why These Vanilla Cupcakes Are Your New Go-To Recipe
- Gathering Ingredients for Vanilla Cupcakes From Scratch
- Step-by-Step Instructions for Perfect Vanilla Cupcakes
- Expert Tips for Bakery Style Vanilla Cupcakes
- Customizing Your Easy Vanilla Cupcake Recipe
- Making Homemade Birthday Cupcakes Ahead of Time
- Frequently Asked Questions About Vanilla Cupcakes
- Nutritional Estimates for These Vanilla Cupcakes
- Share Your Homemade Vanilla Cupcakes Creations
Why These Vanilla Cupcakes Are Your New Go-To Recipe
I’m telling you right now, these little gems will replace every other vanilla recipe you have saved. Why? Because they deliver on every promise: moist, fluffy, totally from scratch, and they taste exactly like the best bakery style vanilla cupcakes you’ve ever had. No weird ingredients, just pure, honest flavor.
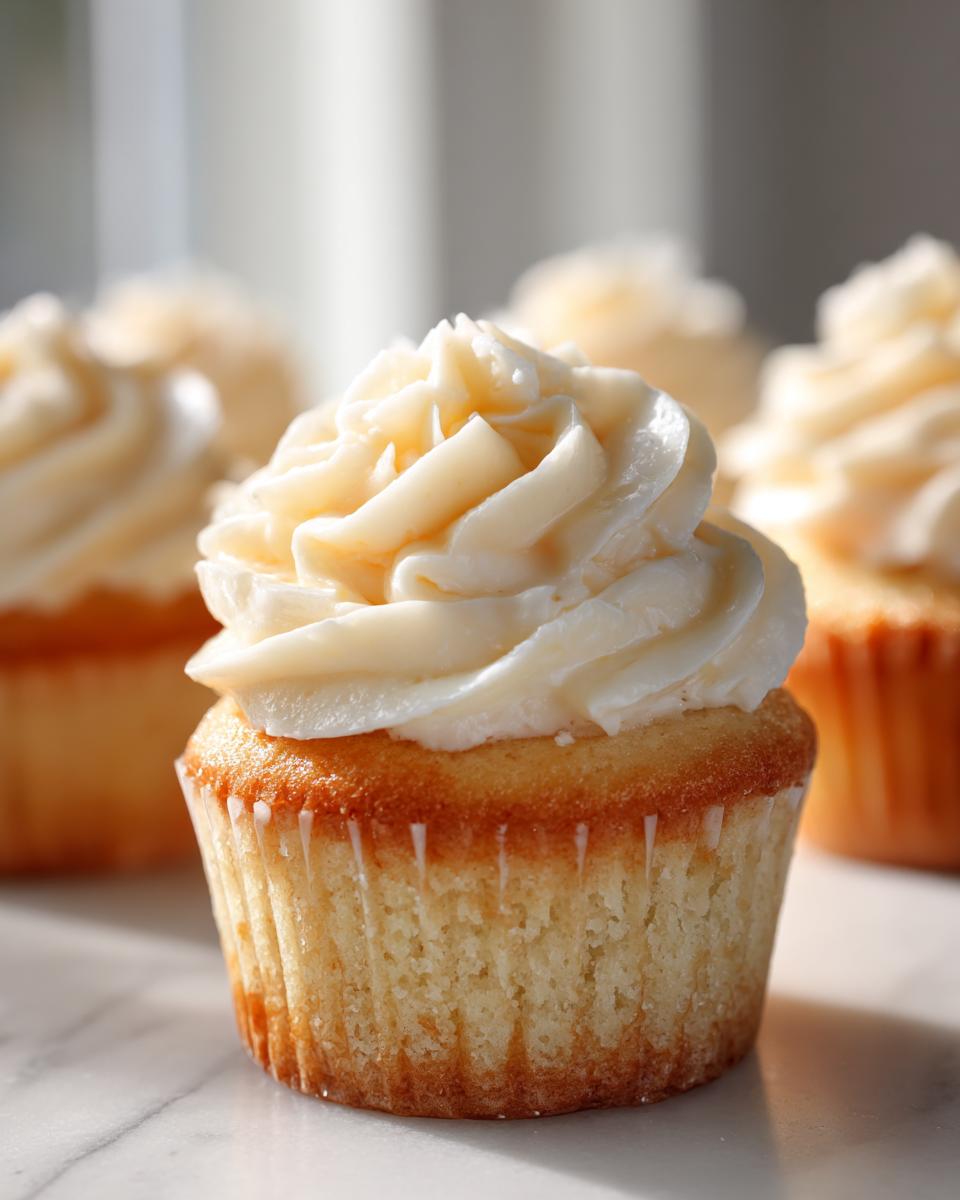
- Incredibly soft crumb that never gets dry.
- A balanced, rich vanilla flavor that shines through.
- The process is shockingly simple—perfect for beginners!
- They hold their shape beautifully, ready for any frosting design.
If you want to skip the box mixes forever and try something truly reliable, click over and look at my easy chocolate cake recipe too, because once you see how easy this method is, you’ll be hooked on baking from scratch.
Achieving the Perfect Moist Vanilla Cupcakes Texture
The secret to our amazing texture isn’t some fancy emulsion; it’s respecting your ingredients! When you use room temperature eggs and milk, they mix into the butter and sugar much more smoothly. This creates a beautiful, strong batter that locks in moisture. That’s why these are truly the best moist vanilla cupcakes you will ever meet. Seriously, don’t rush taking the butter and eggs out of the fridge!
Quick Steps for Fluffy Vanilla Cupcakes Recipe Success
I know you’re busy, so ease of use is high on my list, too. We aren’t whipping things for an hour! The method I walk you through next is fast—we mostly rely on the baking powder and careful mixing to get that lift. You’ll have 12 perfect little treats ready for the oven in under 20 minutes. That’s why this fluffy vanilla cupcakes recipe is a weeknight winner for me.
Gathering Ingredients for Vanilla Cupcakes From Scratch
Okay, you are ready to go. Remember what I always say? Good food starts with good ingredients. Since we are making these vanilla cupcakes from scratch, make sure you read the temperature requirements on the list below—it makes such a difference, I promise! I never substitute the butter for anything else; we need that richness for the absolute best texture. You can find my favorite low-effort baking tool recommendations if you look at my guide on snickerdoodle cookies, by the way!
For the Ultimate Vanilla Cupcakes Cake Base
These are the dry guys first, then the wet ones:
- 1 3/4 cups all-purpose flour
- 1 1/2 cups granulated sugar
- 1 tablespoon baking powder (this gives us that lift!)
- 1/2 teaspoon salt
- 1/2 cup unsalted butter, softened just right
- 2 large eggs, warmed up to room temperature
- 1 teaspoon pure vanilla extract (splurge here!)
- 1 cup whole milk, also at room temperature, please!
Making the Classic Vanilla Buttercream Frosting
This frosting is fluffy, simple, and the perfect counterpart to our soft cake. Don’t skimp on the vanilla extract here, either—it’s what makes it so special.
- 1 cup powdered sugar (sifted if your kitchen is humid!)
- 1/2 cup unsalted butter, softened
- A generous 1 teaspoon vanilla extract
- 1 to 2 tablespoons milk or heavy cream (we adjust this for perfect pipe-ability)
Step-by-Step Instructions for Perfect Vanilla Cupcakes
Alright, here we go! This is where the magic of making vanilla cupcakes from scratch really shines. We’re going to keep things moving quickly, but patience in the mixing is key to getting that light, gorgeous interior. I always preheat my oven first—don’t forget that part! I also like to line my muffin tin with paper liners; it just saves such a headache later. You can find my general baking tips and tricks over on the blog if you want a refresher on prep!
Preparing the Batter for Soft Vanilla Cake Recipe
First thing, get your oven up to 350°F (175°C) and line those cups. Now for the mixing! In one big bowl, combine all your dry ingredients: flour, sugar, baking powder, and salt. Next, add in the softened butter. You want to beat this until it looks like coarse sand. This step is crucial for a light texture in your soft vanilla cake recipe! Then, gently whisk your room temperature eggs, vanilla, and milk together in a separate small bowl. Add those wet ingredients to the dry mixture gradually, stopping the mixer as soon as everything just comes together. Please, please do not overmix, or we lose that fluffiness!
Baking and Cooling Your Vanilla Cupcakes
Once you’ve filled your liners about two-thirds full, slide them into that hot oven. They only take about 18 to 20 minutes. Watch them closely! You know they’re done when a toothpick inserted comes out clean. Don’t just yank them out immediately, though! Let them hang out in the tin for a solid 5 minutes; this lets them firm up so they don’t tear when you move them. Then, move those babies to a wire rack to cool totally—and I mean totally cool—before even thinking about frosting!
Whipping Up the Classic Vanilla Buttercream Frosting
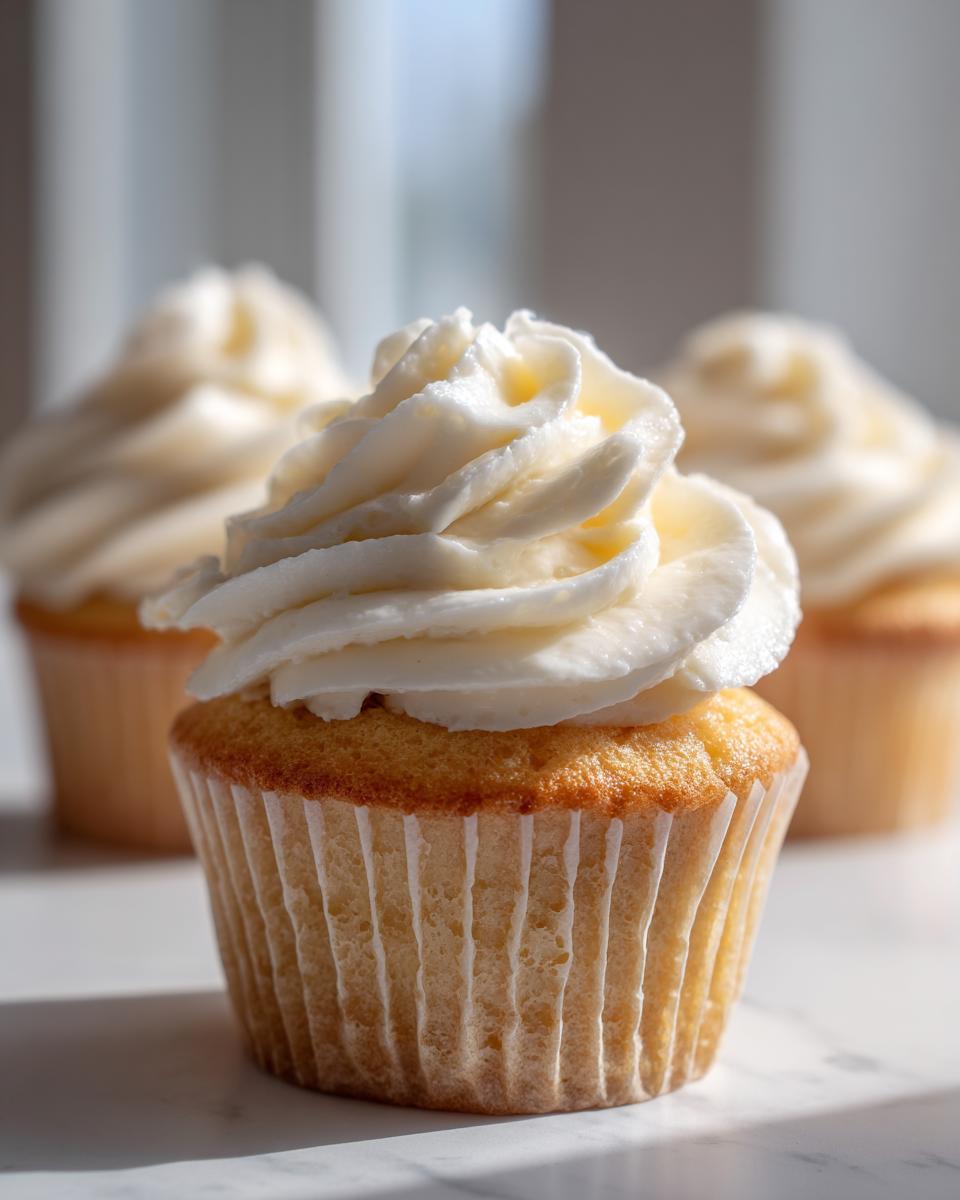
While those are chilling out, let’s make the star topping: the classic vanilla buttercream frosting. Beat your softened butter until it’s super creamy. I mean, really beat it until it looks pale and fluffy! Then, start adding your powdered sugar slowly so it doesn’t turn into a sugar cloud explosion across your kitchen. Once it’s incorporated, add your vanilla and then the milk, one teaspoon at a time, until you hit that perfect dreamy, spreadable consistency. It should look heavenly!
Expert Tips for Bakery Style Vanilla Cupcakes
Even with a straightforward recipe, there are always little tricks that take your bakes from ‘good’ to ‘wow, did you buy these?’ Over the years, I’ve learned a few professional secrets that really lock in that amazing bakery flavor and texture. I remember the first time I tried skipping the chilling step on my frosting—I ended up with a runny mess that looked like white paint sliding off the cake! Never again! These little points of emphasis will save you headaches down the line.
Ingredient Temperature Secrets for Better Vanilla Cupcakes
I know I mentioned it before, but I have to stress it again because it’s the key to achieving that super smooth, almost satiny batter. Everything—your butter, your eggs, your milk—needs to be room temperature. When cold ingredients hit mixed fats, they cause the emulsion to break, resulting in a slightly granular texture, or worse, tiny pockets of butter in your finished cake. Think of room temperature as being slightly cooler than your skin, not soft enough to melt if you look at it funny. For truly superior vanilla cupcakes, this step is non-negotiable!
The Best Frosting for Vanilla Cupcakes: Consistency Check
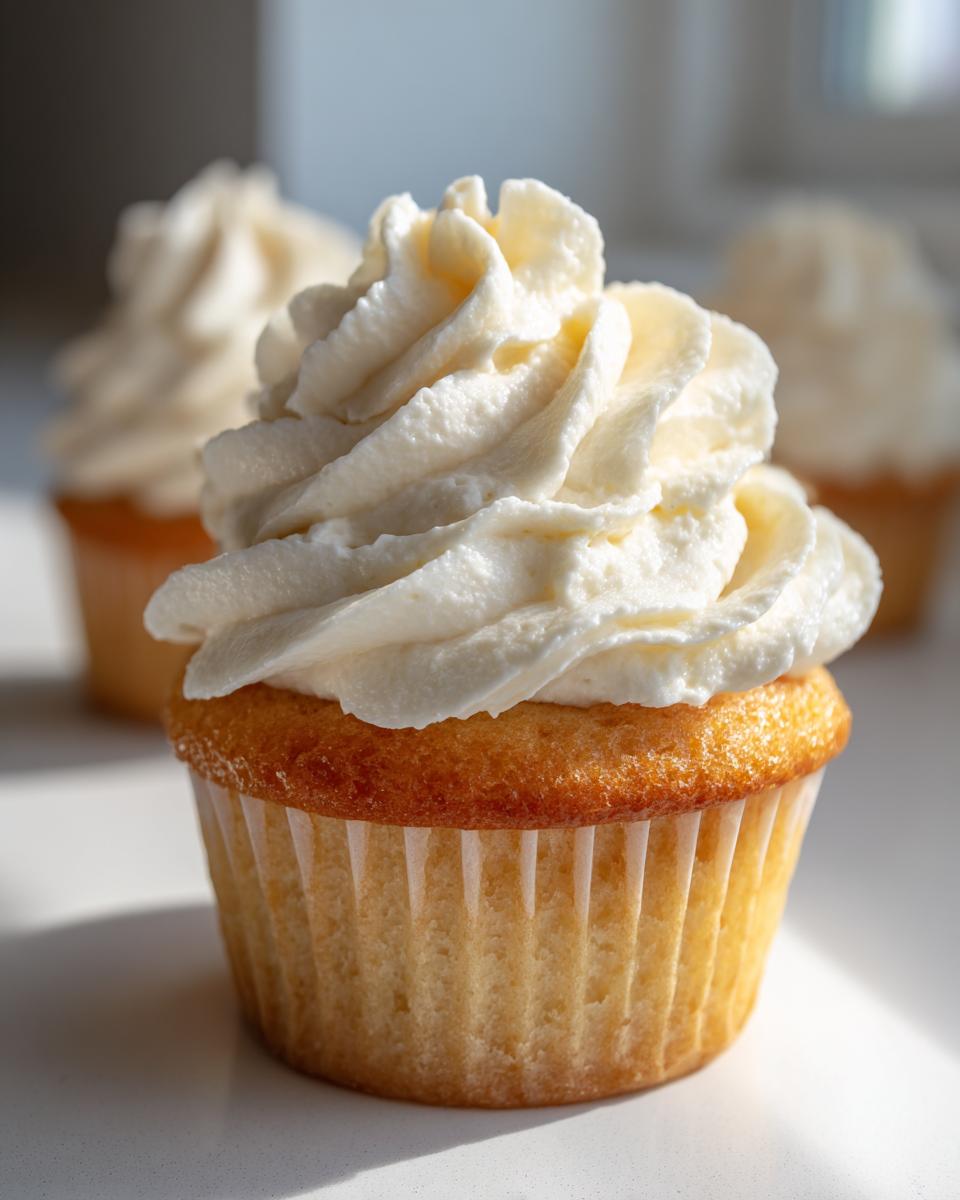
Frosting trouble is the bane of my existence, but it happens to everyone. If your classic vanilla buttercream frosting looks stiff, gluey, and just won’t spread nicely? Don’t panic! It usually just needs a tiny bit more liquid. Add milk or cream, just one teaspoon at a time, and beat it on medium speed until it loosens up beautifully. On the flip side, if you’ve added too much liquid and it’s looking soupy? Turn off the mixer, add another quarter cup of powdered sugar, and mix it slowly again. Knowing how to adjust the thickness is vital to getting the best frosting for vanilla cupcakes that holds its shape but still tastes dreamy.
If you are looking for a different kind of professional finish, check out my tips on creating perfect tops on my lemon poppy seed muffins—the oven temperature advice applies here too!
Customizing Your Easy Vanilla Cupcake Recipe
Part of the joy of baking these reliable vanilla cupcakes from scratch is making them truly your own! While this base recipe is perfection on its own—especially when you follow the steps for that easy vanilla cupcake recipe—sometimes you need a little twist for a special occasion or just a change of pace. I love experimenting after the core recipe is nailed down. Once you have mastered the fluffiness, try these fun customizations!
Simple Vanilla Desserts: Adding Flavor Extracts
If you want to keep the cake base exactly the same but boost that vanilla experience? Add a little friend! When you add the vanilla extract to the wet ingredients, try mixing in about half a teaspoon of almond extract along with it. It sounds weird, right? But almond enhances vanilla beautifully, giving the cupcakes a depth that tastes almost like marzipan—it’s gorgeous! Or, if you want something brighter, toss in a tiny bit of fresh lemon zest right when you mix in the flour. It transforms your simple vanilla desserts into something light and perfect for spring gatherings!
Alternative Toppings: Cream Cheese Frosting for Vanilla Cupcakes
I absolutely adore the classic buttercream I shared earlier, but you know what makes these cupcakes even more decadent? Tang! If you’re looking for a richer, slightly more complex topping, save your buttercream and swap it for cream cheese frosting for vanilla cupcakes instead. It’s super easy—just beat equal parts softened cream cheese and butter together until smooth, then add your powdered sugar and a dash of lemon juice or vanilla. That little bit of tang cuts through the sweetness of the cake perfectly, making the whole experience feel incredibly lush. It also pairs amazingly well with my recipe for butterbeer cupcakes if you ever want to try a whimsical theme!
Making Homemade Birthday Cupcakes Ahead of Time
Planning is half the battle when you’re baking for a big party, especially when you need homemade birthday cupcakes to be ready right when guests arrive. The good news about these vanilla cupcakes is that they are superstars when it comes to making them in advance! I rely heavily on make-ahead strategies, just like when I prepare my make ahead breakfast burritos for busy mornings. Proper storage means you can bake the cake base the day before, and then just focus on the fun frosting part in the morning!
Storing Unfrosted Vanilla Cupcakes
The cake base is surprisingly sturdy. Once your cupcakes are completely cool—and I mean rock-solid cool, not even a hint of warmth—you can store them covered at room temperature. The trick here is containment! Put them in a large, airtight plastic container. Don’t stack them unless you have to; if you must stack, place a layer of parchment paper between the two rows so the tops don’t get smushed during storage. They will stay perfectly fresh and soft for a full 24 hours this way. Don’t put them in the fridge yet; the fridge air tends to dry out the cake faster!
Freezing Tips for Your Sweet Vanilla Treats
If you need more than a day, we go straight to the freezer! If the cupcakes are unfrosted, wrap each one individually in a layer of plastic wrap, making it nice and tight. Then, lock those wrapped beauties into a heavy-duty freezer bag. They keep beautifully for up to three months! This is perfect for saving your sweet vanilla treats for a future holiday or just when you need a quick dessert.
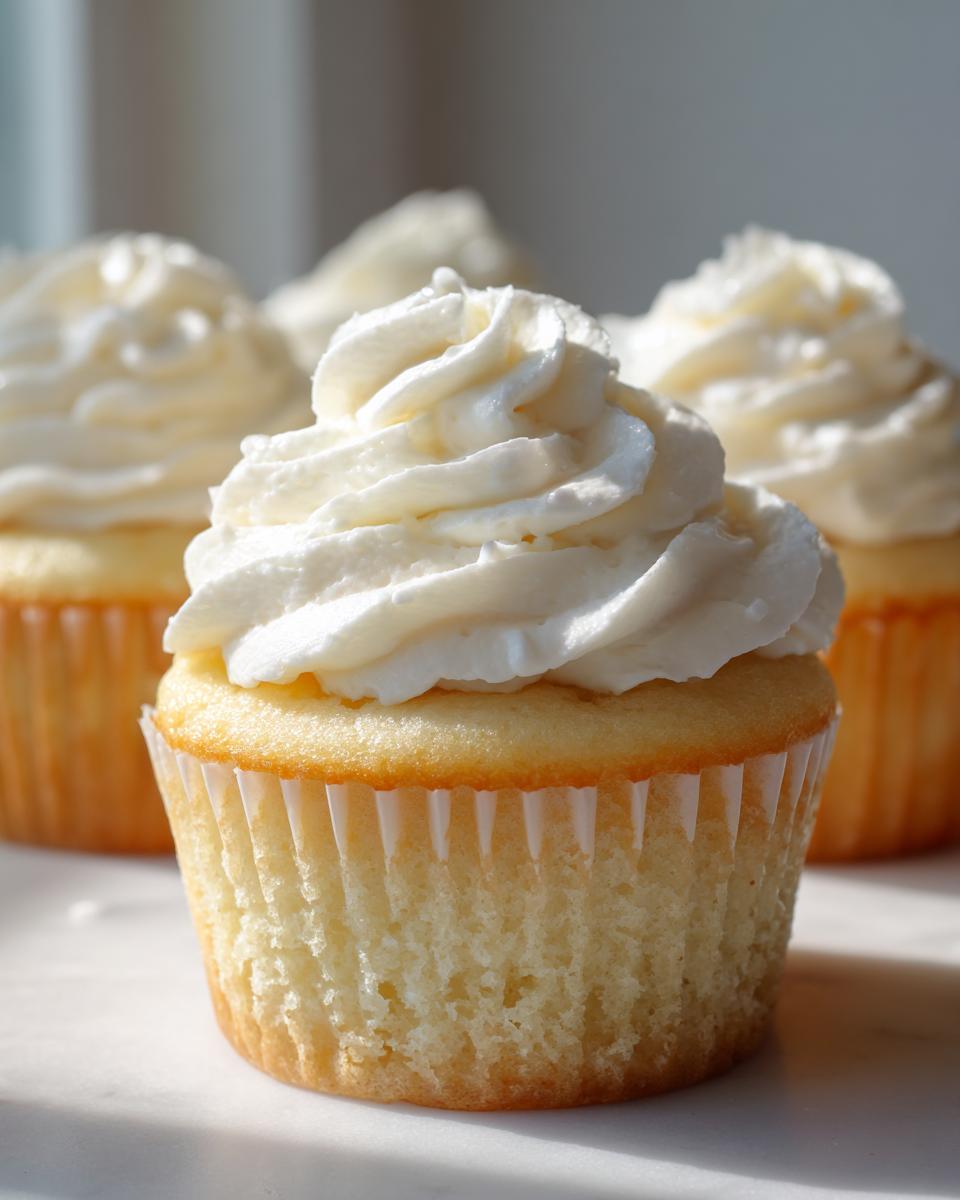
Now, if you are planning to freeze them *already frosted*—which I sometimes do for major events—you have to freeze them unfrosted first for about an hour until the frosting is rock hard. Then, you can freeze them flat in a single layer in a container. When you go to thaw them, take them out of the freezer and let them thaw overnight in the fridge *still covered*. Don’t uncover them until they are fully thawed, or condensation will make the frosting weep! It sounds like a lot of steps, but trust me, having perfect cupcakes ready to go is worth it!
Frequently Asked Questions About Vanilla Cupcakes
I get so many emails asking for clarification after folks try this one, and that’s totally fine! When you’re baking something classic like these, you want to make sure you nail it. I’ve gathered the top questions I hear about making the best vanilla cupcake recipe, especially when keeping them easy and from scratch!
Can I use oil instead of butter in this easy vanilla cupcake recipe?
You absolutely can, and that’s a great question for anyone looking for an even quicker fix! If you swap the butter for oil in this easy vanilla cupcake recipe, they will definitely be super moist. Oil coats the flour differently than solid fat does, which keeps the crumb incredibly soft and moist for days. However, you will lose that wonderful, slight richness and flavor depth that softened butter gives the cake. For the *best* flavor, I stick to butter, but for pure moisture insurance? Oil works in a pinch!
What makes these vanilla cupcakes taste like bakery style vanilla cupcakes?
Ah, the elusive bakery flavor! It comes down to a couple of things we did right here. First, the ratio of baking powder is set perfectly to give you that light, fluffy lift without tasting metallic. Second, and most importantly, is the vanilla itself. Bakery cupcakes often use a blend of extracts or vanilla bean paste to get that strong, rounded flavor. Since we are using high-quality extract here, it really sings alongside the sugar and fat, giving you that recognizable—and addictive—classic flavor profile. That’s what makes them taste like true bakery style vanilla cupcakes, not just home-baked ones.
How do I get perfectly domed vanilla cupcakes?
This is one of my favorite things to troubleshoot! No one wants flat tops, right? First, make sure your oven temperature is accurate. If your oven runs cool, the batter sits too long before it sets, and it spreads out instead of rising up. I always double-check my oven temp with a separate thermometer! Second, and this is crucial for the dome: don’t overfill your liners! The recipe says about two-thirds full. When they are too full, the batter spills over the sides before the center is set, resulting in a mushroom top or, worse, a messy overflow. Keep them two-thirds full, 350°F, and you’ll get those beautiful, tidy domes perfect for piping on that classic vanilla buttercream frosting. If you do have any slight domes you don’t like, feel free to trim them flat once cooled; I sometimes do that before covering them in my frosting!
If you have any other questions at all while you’re busy baking these tasty recipes, don’t hesitate to reach out to me on my contact page!
Nutritional Estimates for These Vanilla Cupcakes
Now, I know we aren’t baking these with the goal of counting every calorie, because honestly, enjoying a wonderful homemade treat is part of a happy life! But I always like to give you an estimate based on the recipe provided. Please remember these are based on 12 standard-sized cupcakes topped with the classic buttercream, and they should be considered a rough guide. If you start making extra batches for celebrations or perhaps you want to read up on how to incorporate healthier eating into your routine, check out the information on celebrating National Vanilla Cupcake Day!
Here are the rough numbers:
- Serving Size: 1 cupcake
- Calories: 350
- Sugar: 35g
- Fat: 18g
- Protein: 4g
If you’re looking for lighter options later on, maybe check out my pumpkin cheesecake bars recipe—they use Greek yogurt to lighten things up!
Share Your Homemade Vanilla Cupcakes Creations
Well, you made it! Give yourself a big pat on the back. Now that you have experienced the magic of these truly fluffy vanilla cupcakes, I absolutely need to see what you whipped up! Sharing is what Cut Cook Taste is all about, whether it’s your first batch of vanilla cupcakes from scratch or your hundredth.
Please, if you made these, let me know how they turned out. Did you go high with the classic vanilla buttercream frosting? Did you try adding that splash of almond extract I mentioned? Pop over to the comments below and leave a star rating and tell me all about your experience. Your feedback genuinely helps other bakers decide to try this recipe, and frankly, I just love hearing how happy these simple treats make people!
And listen, if you made them right around October 18th, I hope you celebrated National Vanilla Cupcake Day in style! These are the *perfect* treats for any party.
If you’re looking for more easy recipes to share with friends and family—like my super simple pumpkin energy balls for a healthier snack later—keep coming back to the site. Happy baking, and bring those delicious vanilla creations to my attention!
PrintThe Ultimate Moist & Fluffy Vanilla Cupcakes from Scratch with Classic Vanilla Buttercream Frosting
Bake bakery-style vanilla cupcakes that are incredibly moist and fluffy. This easy, from-scratch recipe includes instructions for the best classic vanilla buttercream frosting, perfect for birthdays and celebrations.
- Prep Time: 20 min
- Cook Time: 20 min
- Total Time: 40 min
- Yield: 12 servings 1x
- Category: Dessert
- Method: Baking
- Cuisine: American
- Diet: Vegetarian
Ingredients
- 1 3/4 cups all-purpose flour
- 1 1/2 cups granulated sugar
- 1 tablespoon baking powder
- 1/2 teaspoon salt
- 1/2 cup unsalted butter, softened
- 2 large eggs, room temperature
- 1 teaspoon vanilla extract
- 1 cup whole milk, room temperature
- 1 cup powdered sugar, for frosting
- 1/2 cup unsalted butter, softened, for frosting
- 1 teaspoon vanilla extract, for frosting
- 1–2 tablespoons milk or heavy cream, for frosting
Instructions
- Preheat your oven to 350°F (175°C). Line a 12-cup muffin tin with paper liners.
- In a large bowl, whisk together the flour, sugar, baking powder, and salt.
- Add the softened butter to the dry ingredients. Beat with an electric mixer on low speed until the mixture resembles coarse sand.
- In a separate bowl, whisk together the eggs, vanilla extract, and milk.
- Gradually add the wet ingredients to the dry ingredients, mixing on low speed until just combined. Do not overmix.
- Divide the batter evenly among the 12 cupcake liners, filling each about two-thirds full.
- Bake for 18 to 20 minutes, or until a toothpick inserted into the center comes out clean.
- Let the cupcakes cool in the pan for 5 minutes before transferring them to a wire rack to cool completely.
- To make the frosting, beat the softened butter until creamy. Gradually add the powdered sugar, mixing until smooth.
- Add the vanilla extract and 1 tablespoon of milk or cream. Beat until light and fluffy. Add more liquid, one teaspoon at a time, if the frosting is too stiff.
- Once the cupcakes are completely cool, pipe or spread the vanilla buttercream frosting onto each cupcake.
Notes
- Use room temperature ingredients for the cake batter; this helps create a smoother, more uniform texture.
- For extra vanilla flavor, use high-quality vanilla extract or vanilla bean paste.
- If you are planning your weekly meals, these are a great make-ahead dessert option.
Nutrition
- Serving Size: 1 cupcake
- Calories: 350
- Sugar: 35g
- Sodium: 150mg
- Fat: 18g
- Saturated Fat: 11g
- Unsaturated Fat: 7g
- Trans Fat: 0.5g
- Carbohydrates: 45g
- Fiber: 1g
- Protein: 4g
- Cholesterol: 60mg