
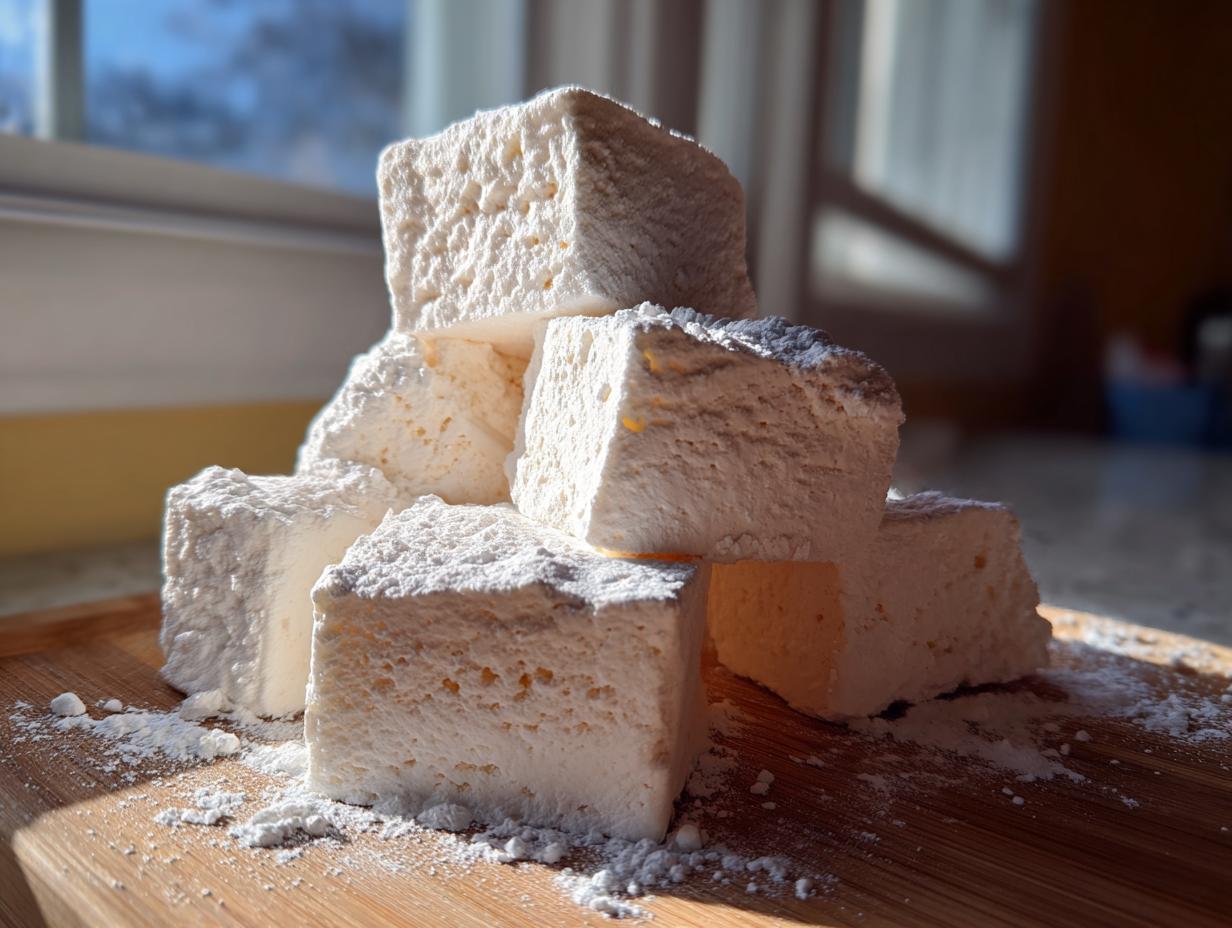

Oh my goodness, you have to stop buying those sad, stale little squares from the grocery store! Seriously, once you try making your own, you’ll never look back. I’m Sarah, and I want to invite you into my kitchen today because I’ve spent way too long perfecting what I genuinely call the ultimate guide for making soft, fluffy homemade marshmallows from scratch. Down here at Cut Cook Taste, I live for taking those classic recipes—the ones that seem intimidating—and breaking them down into simple, totally reliable steps. Trust me, this vanilla marshmallow recipe achieves that cloud-like texture we all dream about. If you’re looking for more reliable recipes, feel free to browse my full collection on my recipe index. Get your candy thermometer ready; you’re going to love this!
- Why This is the Best Homemade Marshmallows Recipe (Beginner Marshmallow Making)
- Gather Your Ingredients for Homemade Marshmallows
- Step-by-Step Guide: How to Make Marshmallows From Scratch
- Setting and Cutting Your Perfect Homemade Marshmallows
- Tips for Perfect Homemade Marshmallows Texture
- Homemade Marshmallow Variations for Gourmet Marshmallows
- Using Your Homemade Marshmallows for Hot Cocoa and S'mores
- Storage and Shelf Life for Homemade Candy Recipes
- Frequently Asked Questions About Making Homemade Marshmallows
Why This is the Best Homemade Marshmallows Recipe (Beginner Marshmallow Making)
I’ve made batches of these homemade marshmallows more times than I can count—sometimes for testing, sometimes just because I needed a marshmallow fix! Every time, they come out perfectly, which is why I can stand behind this being the absolute best, easiest recipe out there for beginners. Forget struggling with grainy sugar or sticky messes.
We tested every temperature and whipping time so you don’t have to worry. You get genuine, reliable results when you follow these steps. I’ve linked my favorite sugar cookie recipe if you’re looking for another easy baking project, but for now, let’s focus on these beauties.
What Makes These Homemade Marshmallows Superior
- They are unbelievably soft—truly those melt in your mouth marshmallows you dream about.
- The texture is unbelievably light and airy, achieving that perfect fluffy marshmallows from scratch quality.
- You get that pure, unmistakable vanilla flavor that store-bought versions just can’t touch, making them the star of any batch of s’mores ingredients homemade.
- We include an easy option if you prefer making these homemade sweets for gifting without corn syrup!
Gather Your Ingredients for Homemade Marshmallows
Okay, this is where we lay the groundwork. Candy making sounds serious, but I promise this list of ingredients is super straightforward. We’re going to use the classic formula, but I want to point out right away that if you’re avoiding corn syrup, there’s an easy swap noted in the tips section later—you still get great results!
Gathering everything before you start is key because the cooking moves fast once that syrup gets hot. If you’re looking for other simple but impressive recipes, you should definitely check out my cranberry scones recipe next!
Coating Mixture for the Pan
- 1/2 cup powdered sugar
- 1/2 cup cornstarch
Syrup Base and Gelatin Bloom for Homemade Marshmallows
You’ll bloom the gelatin in 1/2 cup of cold water. For the syrup, you need:
- 3 packets unflavored gelatin
- 1 cup granulated sugar
- 1 cup light corn syrup (or the homemade syrup substitute!)
- 1/4 cup water (for the syrup)
- 1/4 teaspoon salt
- 1 teaspoon vanilla extract
Step-by-Step Guide: How to Make Marshmallows From Scratch
This is the part where all your prep work pays off! Making homemade marshmallows feels like chemistry class, but trust me, if you follow this timing, you will end up with the fluffiest clouds ever. Remember how I talked about my dad and turning cooking into an event? This feels like the main event of the candy-making process.
If you’re new to this sticky science, this guide will make sure everything goes perfectly. If you need a refresher on quick doughs, my French bread recipe is also on my site, showing that the timing is everything in baking!
Preparing the Pan for Easy Marshmallow Recipe Success
First things first, grab that 9×13 pan! Lightly grease it, and then line it with parchment paper. You need that overhang on the sides—this is your handle for lifting the whole thing out later, so don’t skip it! Now, take that mixture of powdered sugar and cornstarch we made earlier and dust that pan generously. Shake it all around; you want a thick, slippery coating everywhere. Tap out the excess, but seriously, don’t be shy here.
Creating the Syrup and Blooming the Gelatin
While your pan is getting ready, put the 1/2 cup of cold water in your stand mixer bowl. Spritz that gelatin right over the top and just let it sit—that’s called blooming—for about 10 minutes. It’s hydrating! Meanwhile, start your syrup base in the saucepan: sugar, corn syrup, the other 1/4 cup water, and salt. Heat this up, stirring until the sugar dissolves, but the absolute critical moment comes next: once it boils, stop stirring! You must watch that candy thermometer until it hits exactly 240 degrees Fahrenheit. That’s the soft-ball stage, and it’s non-negotiable for the right structure.
Whipping the Fluffy Marshmallows From Scratch
As soon as you hit 240°F, take that hot syrup off the heat! Turn your mixer to low speed and, using extreme care, slowly drizzle that hot syrup down the inside edge of the bowl—don’t let it hit the whisk directly! Once it’s all incorporated, crank that mixer up to high. You need to whip this for a solid 12 to 15 minutes. This is an arm workout if you’re using a hand mixer, so buckle up! You’re done when the mixture is super thick, looks glossy, holds stiff peaks, and the outside of the bowl feels cool to the touch. Finally, whip in that vanilla extract in the last minute.
Setting and Cutting Your Perfect Homemade Marshmallows
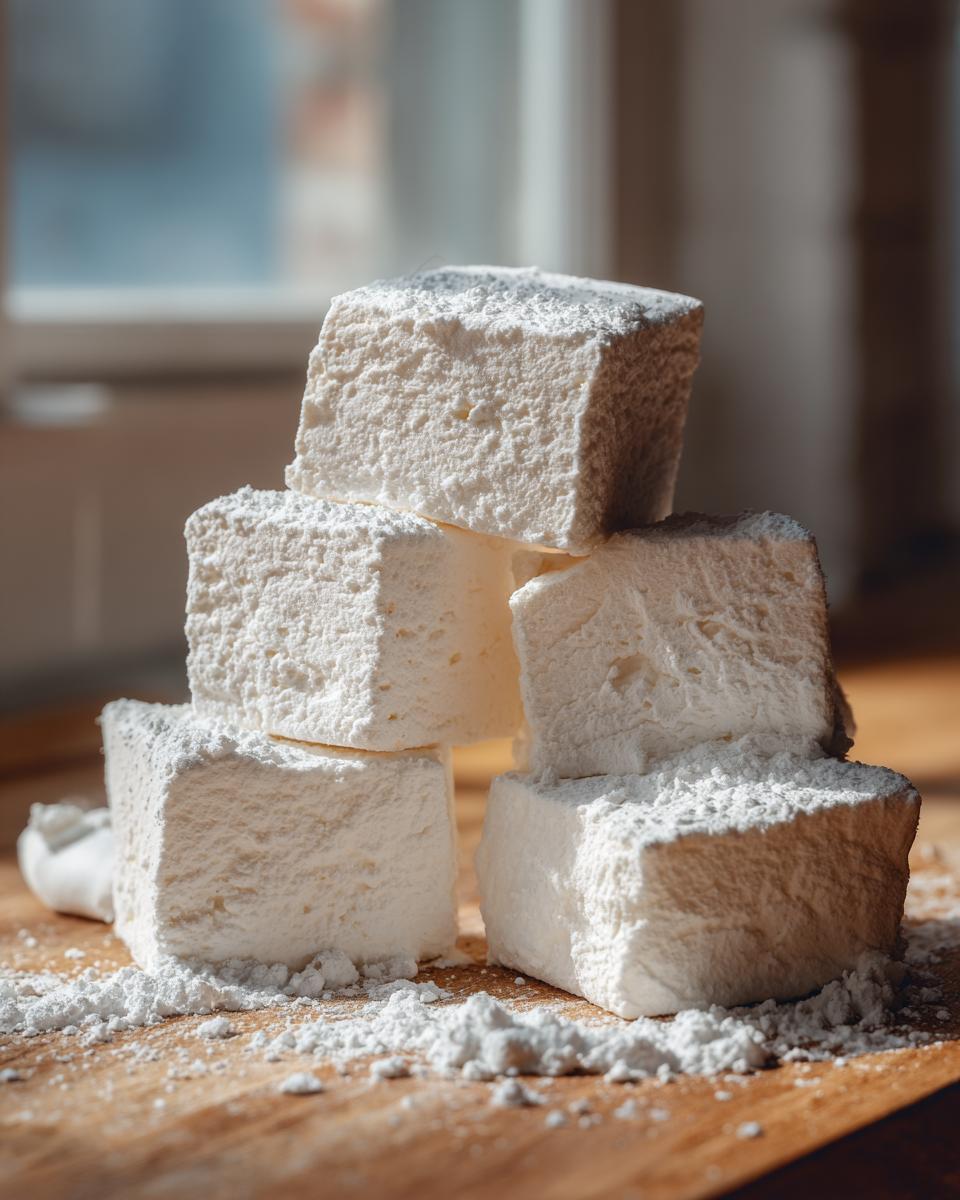
This is the waiting game, and I know it’s hard when you have a bowl of sticky, amazing fluff sitting on your counter! You have to resist the urge to touch it. We let this mixture set, uncovered, for at least four hours, but honestly, leaving it overnight is what gives you those beautiful, sturdy, melt in your mouth marshmallows. The absolute rule here is: do not put it in the fridge! Cold temperatures mess with the texture.
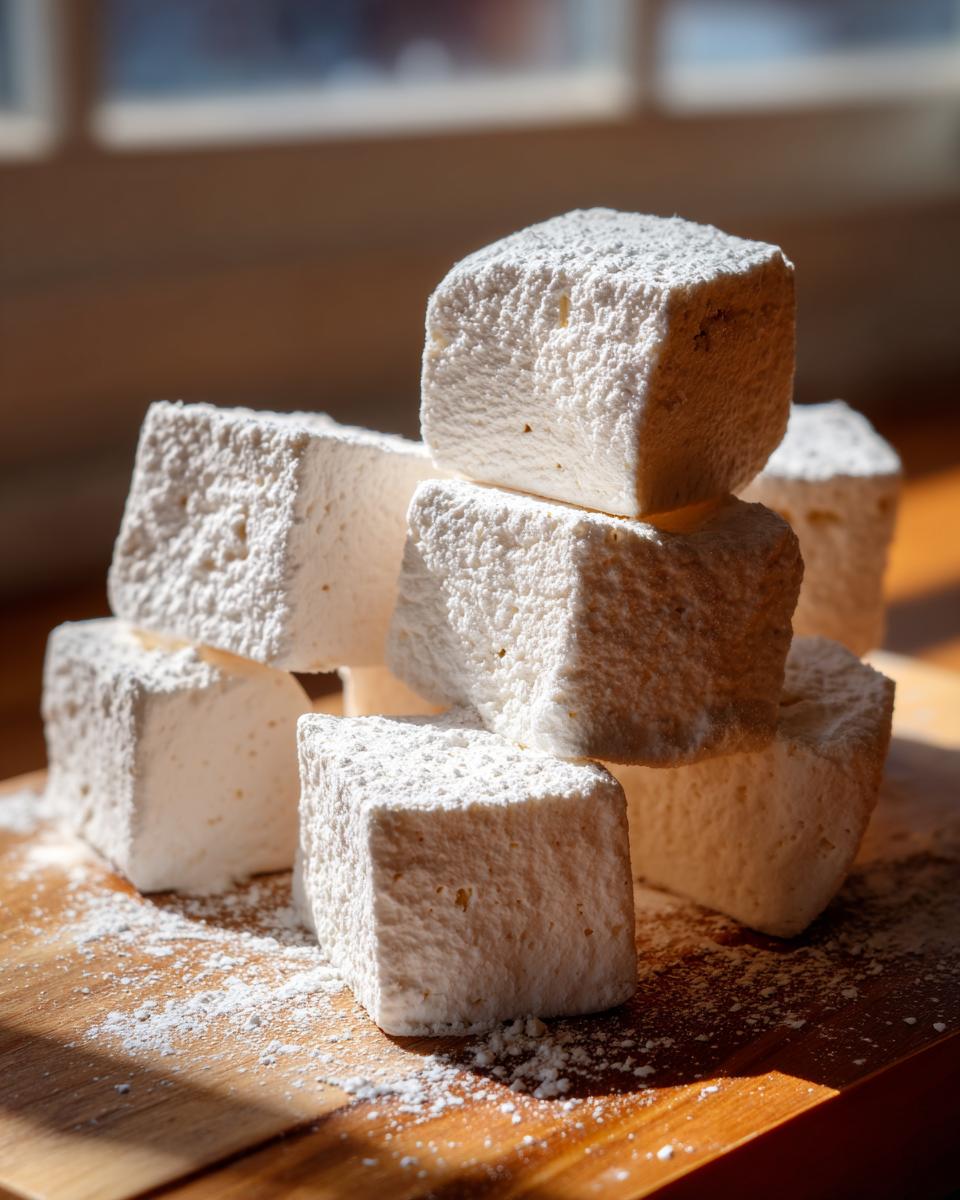
Once it’s totally firm, use that parchment paper overhang like a handle to gently lift the entire slab onto your cutting board—remember, dust that board first! Use a large, sharp knife that you’ve oiled up a bit, and cut it into squares. Work quickly! After you cut them, toss every single sticky side into that reserved cornstarch/powdered sugar mix. That final dusting is what makes these treats easy to handle for gifting or popping into your favorite cream cheese brownie platter!
Tips for Perfect Homemade Marshmallows Texture
I’ve learned a few things over the years of making candy that can save you a huge headache later, especially when dealing with something as temperamental as this fluff. The consistency really depends on your environment! Trust me, humidity is the great enemy of homemade marshmallows. If it’s raining outside, you might need to add an extra minute or two to that whipping time because the air is holding moisture.
If you’re ever looking for a comforting side dish while you wait for these to set, my potato cheese soup recipe is an absolute winner!
Troubleshooting Common Homemade Marshmallows Issues
What happens if things go a little sideways? Don’t toss the batch yet! Here are the two main meltdowns I’ve seen:
- If your syrup burns: If you see scorched bits on the bottom when you pull it off the heat, you have to be fast. Strain the hot syrup through a fine-mesh sieve right away into a clean, dry bowl. You’ll lose a tiny bit of sugar, but you save the batch from tasting bitter. Pour that clean syrup into your gelatin as normal.
- If the mixture won’t thicken: This usually happens if your syrup didn’t quite hit 240°F. Keep whipping! If it’s still too loose after 18 minutes on high, you can try adding just a tiny pinch more gelatin dissolved in a tablespoon of warm water and whip until stiff. It usually just needs more time, though. Be patient!
- If they are too sticky after setting: You likely didn’t use enough coating mixture, or maybe you used too much vanilla extract. The key is making sure every surface of the cut marshmallow gets thoroughly tossed in the cornstarch and powdered sugar mix. Don’t be afraid to re-toss them later if they start sweating!
Homemade Marshmallow Variations for Gourmet Marshmallows
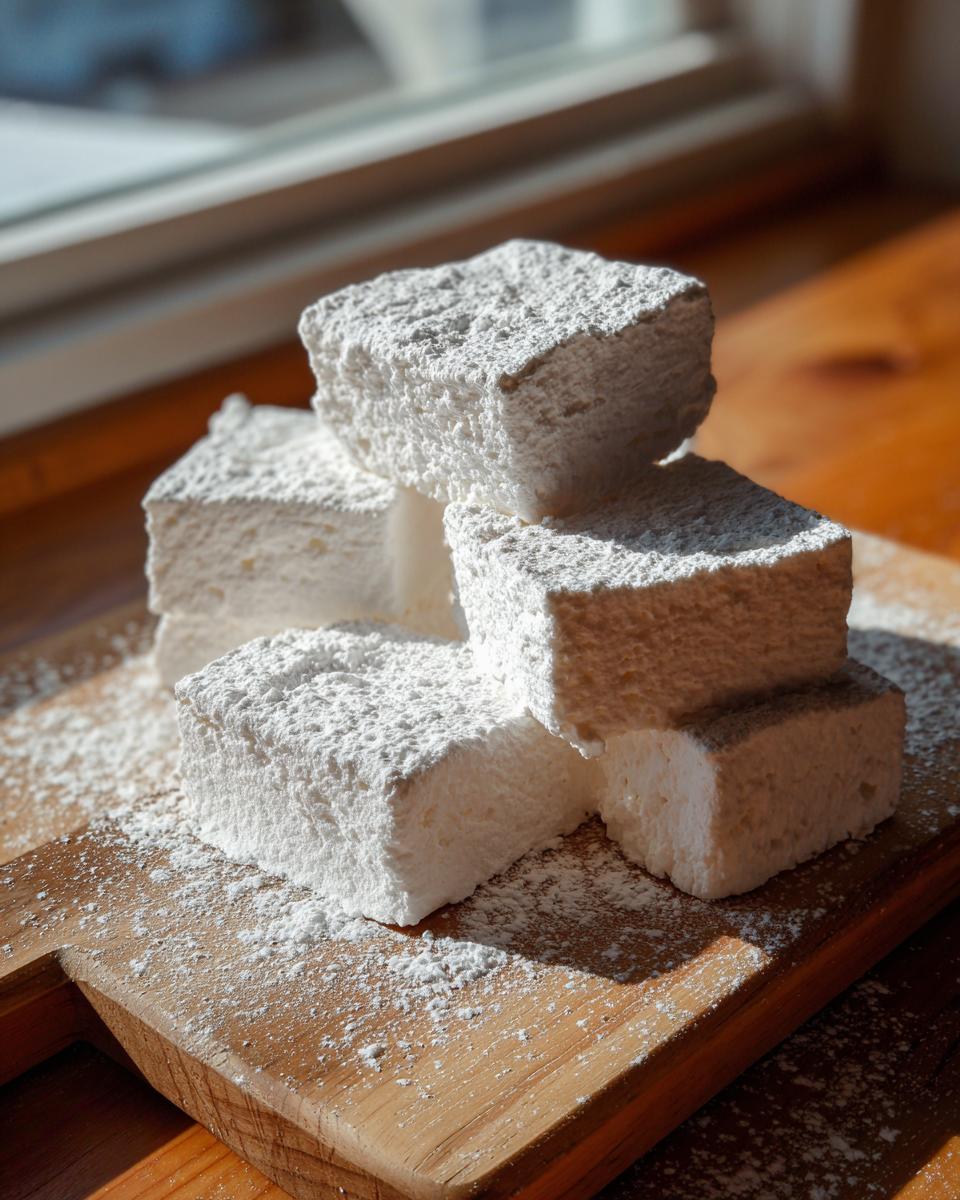
Now that you’ve mastered the vanilla marshmallow recipe, you’ve got a blank, fluffy canvas! Making gourmet marshmallows is ridiculously easy—you just introduce a new flavor right at the very end of the whipping process. It’s such a fun way to dress these up, especially if you’re planning on making these holiday marshmallow recipes for gifts.
I know you’ll want to try some of these additions. If you’re looking for something else sweet to make for giving away, check out my Italian ricotta cookies; they are always a huge hit!
Here are two quick ways to level up your batch:
- Peppermint Dream: Substitute the vanilla extract with 1 teaspoon of peppermint extract. Mix it in during that last minute of whipping. These are amazing for Christmas hot chocolate toppers!
- Chocolate Swirl: Melt about 1/4 cup of good quality chocolate chips. Let it cool down until it’s just warm, not hot, and drizzle it in during the final minute. Don’t mix it in completely—you want those beautiful ribbons of chocolate running through the fluff.
Using Your Homemade Marshmallows for Hot Cocoa and S’mores
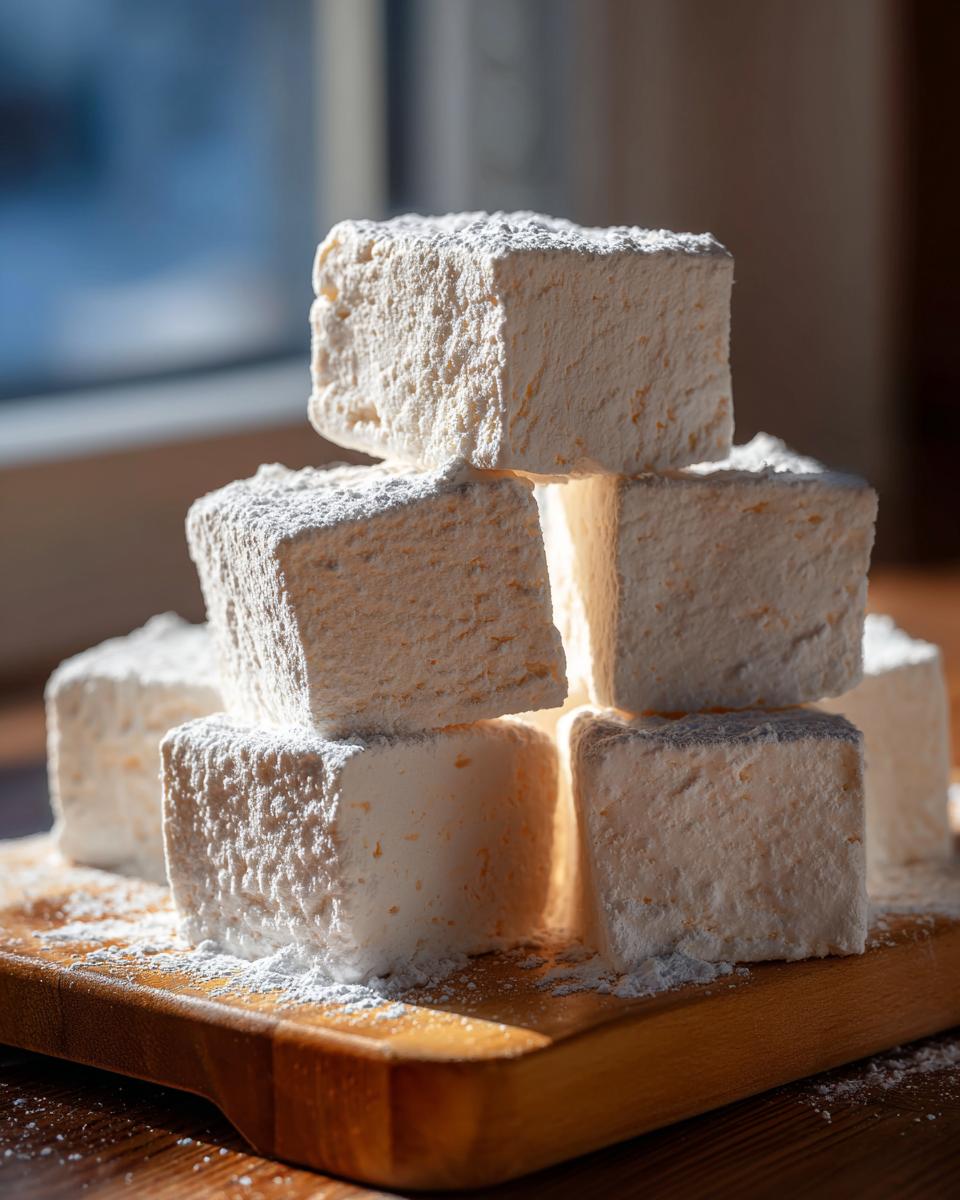
Honestly, the best part of conquering this recipe is using the final product! These aren’t just pretty; they are the ultimate upgrade for classic comfort foods. If you’re planning on making these homemade marshmallows for your next cozy night in, you absolutely have to pair them with my homemade hot chocolate. You can find the recipe for my ultra-creamy hot chocolate recipe linked right here!
They melt perfectly, giving you that rich, sweet infusion you never get from a bag. And for s’mores ingredients homemade style? Nothing beats tossing one of these fluffy squares over a campfire. A quick tip for toasting: hold them a little further back than you think you need to. Because they don’t have all those stabilizers store-bought ones do, they go from fluffy to burnt in a second, but they brown beautifully when watched closely!
Storage and Shelf Life for Homemade Candy Recipes
Now that you’ve made perfect homemade marshmallows, you need to know how to keep them soft! This is crucial because you want them to stay melt-in-your-mouth good, not rock hard. The main rule here is to treat them nicely; they are delicate little sweets!
You must store them in an airtight container at room temperature. That means no plastic bags unless the bag is sealed tightly, and definitely no tossing them in the fridge! The cold temperatures can make them dry out faster or get sticky, depending on the humidity in your house. Since these are true from scratch treats without all those commercial stabilizers, they taste best when they are fresh.
If you’ve coated them properly and stored them well, they should stay wonderfully soft for about one to two weeks. If you find they dry out just a tad after a week, don’t worry! You can revive them by letting them sit next to a slice of bread in the airtight container overnight—the bread releases moisture, and it works like magic. If you have leftover vanilla ones that are a little too firm, they are still perfect for baking into things or using in that applesauce cake I shared last month!
Frequently Asked Questions About Making Homemade Marshmallows
I know you might have a few last-minute questions floating around before you dive into making these incredible homemade marshmallows. That’s totally normal when you’re trying a new candy like this! I put together the most common things folks ask me so you can feel totally confident starting this beginner marshmallow making adventure.
If you’re looking for another straightforward recipe to try after mastering these, check out my juicy chicken satay recipe—it’s all about simple techniques working together to create huge flavor!
Can I make homemade marshmallows without a stand mixer?
You absolutely can! I grew up watching my grandma make all sorts of things without fancy gadgets. You’ll need a very sturdy, heavy-duty hand mixer for this. The warning I have is that once the mixture starts to thicken up after you add the syrup, it takes a lot of power. Be prepared; your arms might get a little tired because you’ll be whipping for 12 to 15 minutes. It works, but it requires some muscle!
How do I prevent my fluffy vanilla treats from sticking together?
This is the biggest rookie mistake, and it’s easily fixed! Before you even think about pouring the fluff, your pan needs to be coated religiously with that cornstarch and powdered sugar mixture. After you cut the set slab, you must toss every single cut side in the leftover coating mixture. Don’t skimp on this step; it creates a light, dry barrier that keeps these heavenly fluffy vanilla treats from melding into one giant sticky block overnight.
Is it really necessary to use corn syrup?
That’s a great question, especially if you’re aiming for a marshmallow recipe without corn syrup! The corn syrup provides that specific chewiness and stabilizes the sugar structure, which is why I list it first. However, yes, you can substitute it with an equal amount of sugar dissolved in water and cooked to 240°F, just like the regular sugar. Just know the texture might be slightly less springy, but you’ll still get fantastic, soft homemade marshmallows!
When is the best time of year to try this recipe?
While I love making these year-round, I always recommend trying your first batch on a day that isn’t super humid—like a dry winter afternoon or anytime in the fall! Humidity makes the sugar syrup harder to judge and can make the final product sticky faster. If you try them on a humid day, just whip for those extra few minutes until the bowl is totally cool. They’re the perfect holiday marshmallow recipes starter, though!
PrintThe Ultimate Easy & Fluffy Homemade Vanilla Marshmallows Recipe
Learn how to make soft, fluffy homemade marshmallows from scratch. This easy recipe yields melt-in-your-mouth vanilla treats perfect for topping hot cocoa, making s’mores, or giving as gifts. Skip the store-bought versions for this superior homemade candy.
- Prep Time: 20 min
- Cook Time: 15 min
- Total Time: 4 hr 35 min
- Yield: About 4 dozen 1x
- Category: Dessert
- Method: Candy Making
- Cuisine: American
- Diet: Vegetarian
Ingredients
- 3 packets unflavored gelatin
- 1 cup cold water, divided
- 1 cup granulated sugar
- 1 cup light corn syrup
- 1/4 cup water
- 1/4 teaspoon salt
- 1 teaspoon vanilla extract
- 1/2 cup powdered sugar, for dusting
- 1/2 cup cornstarch, for dusting
Instructions
- Lightly grease a 9×13 inch baking pan. Line the pan with parchment paper, leaving an overhang on the sides for easy removal. In a small bowl, whisk together the powdered sugar and cornstarch. Dust the prepared pan generously with this mixture, tapping out the excess. Set aside.
- In the bowl of a stand mixer fitted with the whisk attachment, pour 1/2 cup of the cold water. Sprinkle the gelatin over the water and let it bloom for 10 minutes while you prepare the syrup.
- In a medium saucepan, combine the granulated sugar, corn syrup, 1/4 cup water, and salt. Heat over medium heat, stirring constantly until the sugar dissolves. Stop stirring once it boils.
- Attach a candy thermometer to the side of the saucepan. Continue to cook the syrup, without stirring, until it reaches 240 degrees Fahrenheit (soft-ball stage). This usually takes about 8 to 10 minutes.
- Once the syrup reaches 240 degrees F, immediately remove the pan from the heat. Turn the stand mixer on low speed and carefully and slowly pour the hot syrup down the side of the mixing bowl into the bloomed gelatin mixture. Be careful not to pour the syrup onto the whisk.
- Once all the syrup is added, increase the mixer speed to high. Beat for 12 to 15 minutes, or until the mixture is very thick, glossy, holds stiff peaks, and the outside of the bowl feels cool to the touch. Beat in the vanilla extract during the last minute of mixing.
- Working quickly, use a rubber spatula to transfer the sticky marshmallow fluff into your prepared pan. Lightly dust the top with some of the reserved powdered sugar/cornstarch mixture. Use oiled hands or another piece of parchment paper to gently spread the mixture evenly into the pan.
- Let the marshmallows set, uncovered, at room temperature for at least 4 hours, or preferably overnight. Do not refrigerate.
- Once fully set, use the parchment overhang to lift the marshmallow slab out of the pan onto a cutting board dusted with more of the coating mixture. Dust the top surface generously.
- Use a large, sharp, oiled knife or a pizza cutter to cut the slab into desired squares. Toss the cut sides of each marshmallow in the remaining coating mixture to prevent sticking. Store in an airtight container at room temperature.
Notes
- For a no-corn-syrup option, substitute the 1 cup corn syrup with 1 cup of granulated sugar dissolved in 1/2 cup of water, heated to 240 degrees F. This yields a slightly less chewy texture but works well.
- If you do not have a stand mixer, you can use a heavy-duty hand mixer, but be prepared for arm fatigue as the mixture thickens considerably.
- To make gourmet marshmallows, add 1 teaspoon of peppermint extract or 1/4 cup of melted, cooled chocolate during the last minute of mixing.
Nutrition
- Serving Size: 4 squares
- Calories: 140
- Sugar: 28
- Sodium: 15
- Fat: 0
- Saturated Fat: 0
- Unsaturated Fat: 0
- Trans Fat: 0
- Carbohydrates: 35
- Fiber: 0
- Protein: 2
- Cholesterol: 0