
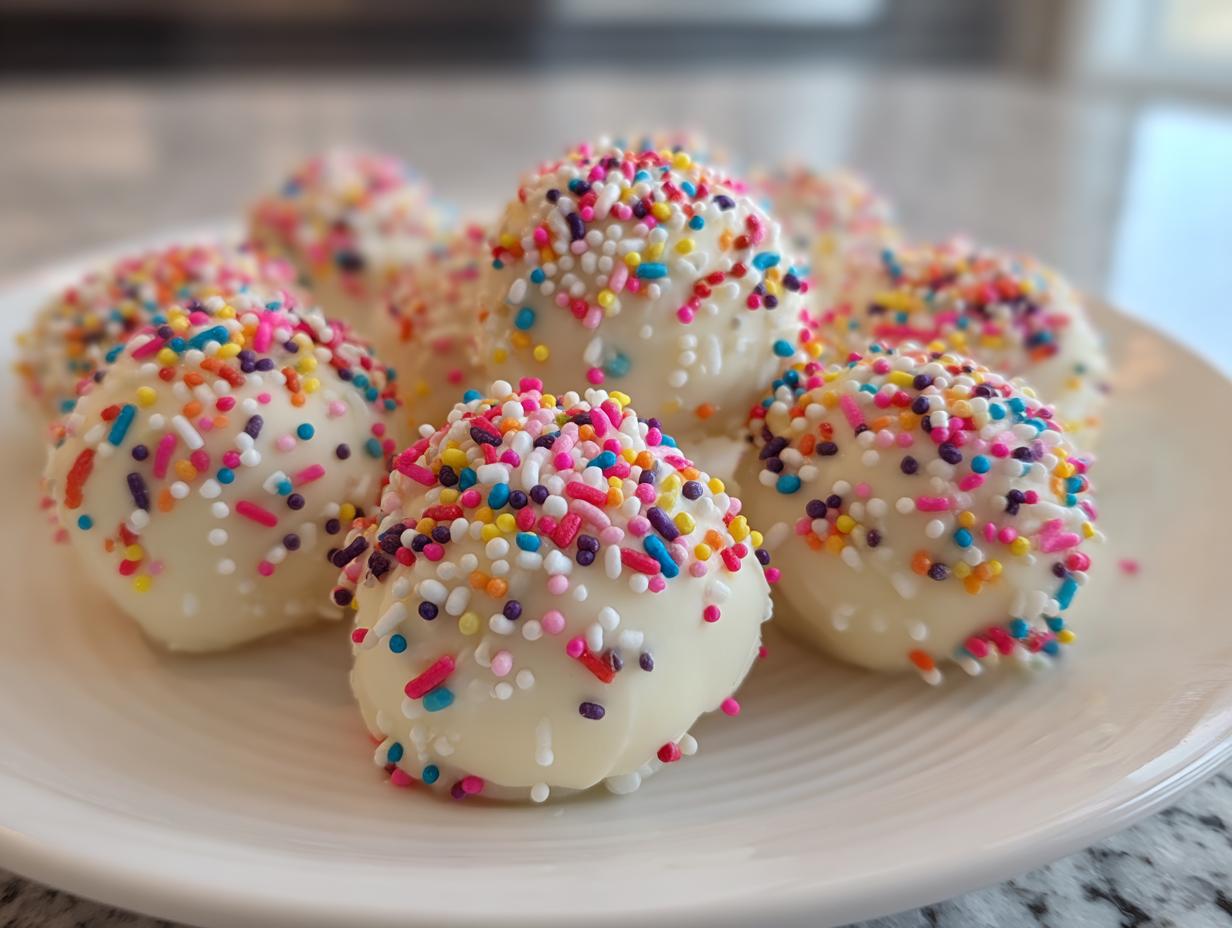

Welcome! I’m Sarah, and I’m so happy you’re here. Do you ever just need something utterly decadent, impossibly sweet, that tastes like pure nostalgia but takes zero time in the oven? Me too! That’s why I’m sharing what might be my most reliable pantry hack: these amazing **sugar cookie truffles**. Forget complicated steps; this is the ultimate no-bake solution when a sweet craving hits hard. I love simple, reliable home cooking, and these little bites prove you can achieve rich flavor without turning on the stove. For more of my tested favorites, check out my latest posts over here: find your next favorite recipe here. Trust me, once you make these, they’ll become your go-to quick sweet treat!
- Why These Sugar Cookie Truffles Are Your New Favorite Easy Dessert Recipe
- Gathering Ingredients for Your Sugar Cookie Truffles
- How to Make Sugar Cookie Truffles Step-by-Step
- Tips for Perfect Sugar Cookie Truffles Every Time
- Storage and Making Make Ahead Desserts with Sugar Cookie Truffles
- Serving Suggestions for These Bite Sized Desserts
- Frequently Asked Questions About Cookie Ball Recipe Variations
- Estimated Nutritional Data for Sugar Cookie Truffles
- Share Your Decadent Cookie Bites Creations
Why These Sugar Cookie Truffles Are Your New Favorite Easy Dessert Recipe
I honestly don’t know why I used to bother with complicated layered cakes when these little wonders exist! These **sugar cookie truffles** take the flavor of your favorite soft cookies and transform them into something incredibly rich without any baking time at all. That’s right—my **easy dessert recipe** notebook doesn’t have many entries that skip the oven, but this one earns its spot because it’s just that good and that fast. If you’re looking for a serious shortcut to an impressive sweet, this is it. You can see how I use speed in other weeknight favorites, like this quick pepper steak stir-fry, but sweet treats need speed too!
The Ultimate No Bake Truffles Experience
The best part? Absolutely no oven necessary, which means zero preheating mess and minimal cleanup. We mix, chill, dip, and we are done! That creamy center, combined with the crisp chocolate shell, gives you that incredible sensation of **melt in your mouth desserts**. They are satisfyingly rich but perfectly portioned as **bite sized desserts**, so you don’t feel guilty grabbing two. It’s simple magic!
Perfect for Holiday Baking Ideas and Gifting
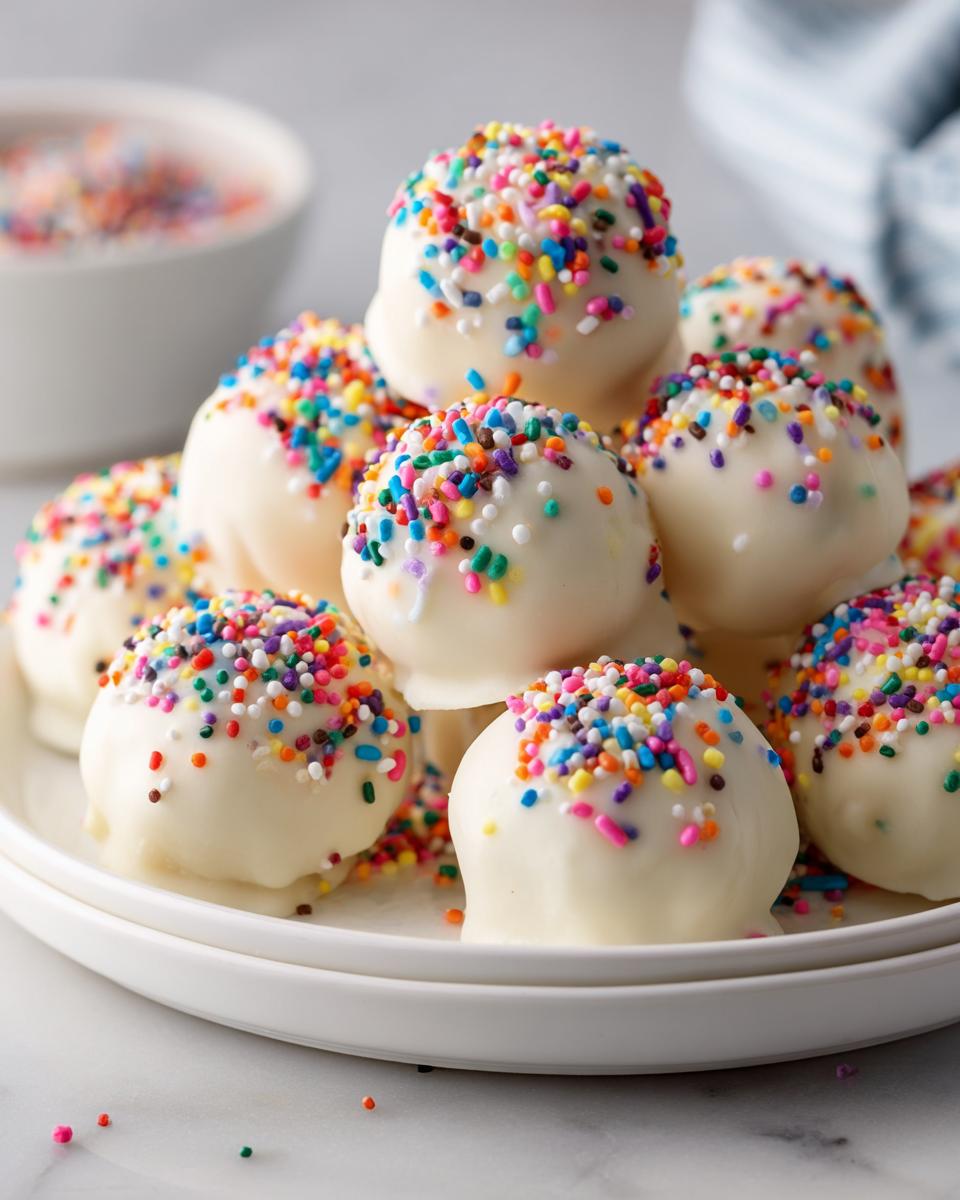
When the holidays roll around—or any time you need a quick **party dessert idea**—these shine. They look elegant enough for your fanciest dessert table, but they’re easy enough to make in bulk for last-minute **gifting desserts**. Because they only use four main ingredients, they are fantastic candidates for **make ahead desserts**; just keep them chilled until you’re ready to serve!
Gathering Ingredients for Your Sugar Cookie Truffles
Okay, here is the best part: pulling this whole creation together requires almost no effort, which is why I consider this my favorite **quick sweet treat** recipe. You absolutely need some very specific things on hand to ensure these become perfect **cream cheese truffles**. Remember, we’re using store-bought soft cookies, which does half the work for us!
For the filling, you’ll need that 16-ounce package of soft **sugar cookie truffles**—think the fluffy, frosted kind, often called Lofthouse style, though any soft store-bought cookie works beautifully. Alongside that, make sure you have 4 ounces of cream cheese that’s fully softened, the one thing that needs planning, and a teaspoon of vanilla extract for that wonderful aroma.
For the coating, grab 12 ounces of white chocolate melting wafers. I also throw in a tiny bit of coconut oil—just one teaspoon—because it makes the final shell so much smoother for dipping, but that’s totally optional!
Ingredient Notes and Substitutions
When I say soft sugar cookies, I really mean it. If you use hard, crisp cookies, the truffle dough won’t bind correctly and you’ll end up with crumbly balls. If you happen to have leftover frosted **Lofthouse cookie recipe hack** favorites, even better! Just scrape off any thick frosting first. The cream cheese *must* be completely soft; no cold clumps allowed, or it won’t mix nicely into our base.
For the chocolate coating, I strongly recommend the melting wafers over standard baking chocolate chips if you want that professional finish. If you use chips, you’ll definitely need that optional coconut oil or a tablespoon of shortening to help that coating stay fluid and glossy when you dip. This makes achieving those professional-looking **homemade candy recipes** results much easier!
How to Make Sugar Cookie Truffles Step-by-Step
This is where the real work—if you can even call it work!—happens. Don’t panic if you’ve never made **how to make truffles** before; this process is incredibly straightforward. We are moving from a pile of crumbs to a perfectly rolled ball, and the timing here is crucial, especially regarding the chilling step. If you followed the ingredient list, you’re ready to move on to baking joy without actually baking anything! If you enjoy learning precise mixing techniques, you might also want to check out my recipe for Italian ricotta cookies, which relies on similar attention to detail.
Creating the **Cream Cheese Truffles** Base
First things first: get those cookies crushed! Whether you’re pulsing them in a food processor or lovingly crushing them in a zip-top bag with a rolling pin, you need fine crumbs. Once they look like coarse sand, dump in that softened cream cheese and vanilla. Now, this is my personal vote: ditch the spoon and just use your hands! Kneading the mixture until it holds together like a thick, pliable dough is the best way to ensure everything is totally uniform. Pay attention to that texture; no dry pockets allowed!
Chilling and Preparing the **Easy Truffle Coating**
Once your **cream cheese truffles** mixture is combined, roll those little beauties into one-inch balls and get them on a parchment sheet. They must chill for at least 30 minutes—don’t skip this! If they are even slightly warm, they will absolutely fall apart in the hot chocolate dip. While the dough firms up, melt your white chocolate wafers gently. I microwave mine in short, 30-second bursts, stopping to stir completely in between each zap. If you overheat white chocolate, it seizes up on you, and trust me, nobody wants lumpy **easy truffle coating**!
Dipping and Decorating Your **Sugar Cookie Truffles**
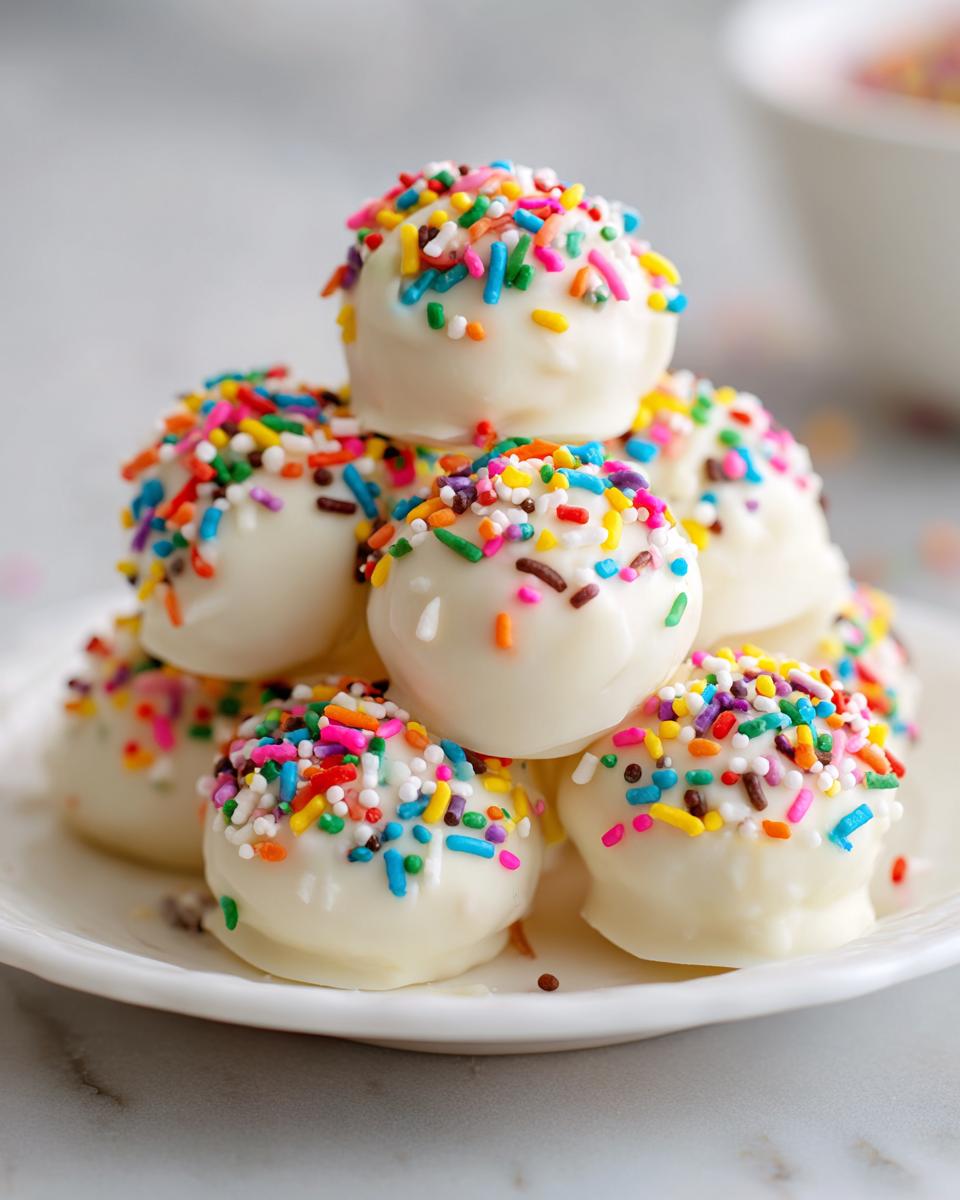
Once the balls are rock solid from the fridge, it’s dipping time! Work quickly here. Dip one truffle at a time, completely coating it, and lift it out using a fork. Hold it over the bowl for a second or two, letting the extra chocolate drip back in—this keeps your final **sugar cookie truffles** looking neat. The trick to fantastic decoration is doing it *immediately*. As soon as that truffle hits the parchment paper, toss your sprinkles or drizzle on colored melts. If you wait even five minutes, your decorations won’t stick to that hardening chocolate shell!
Tips for Perfect Sugar Cookie Truffles Every Time
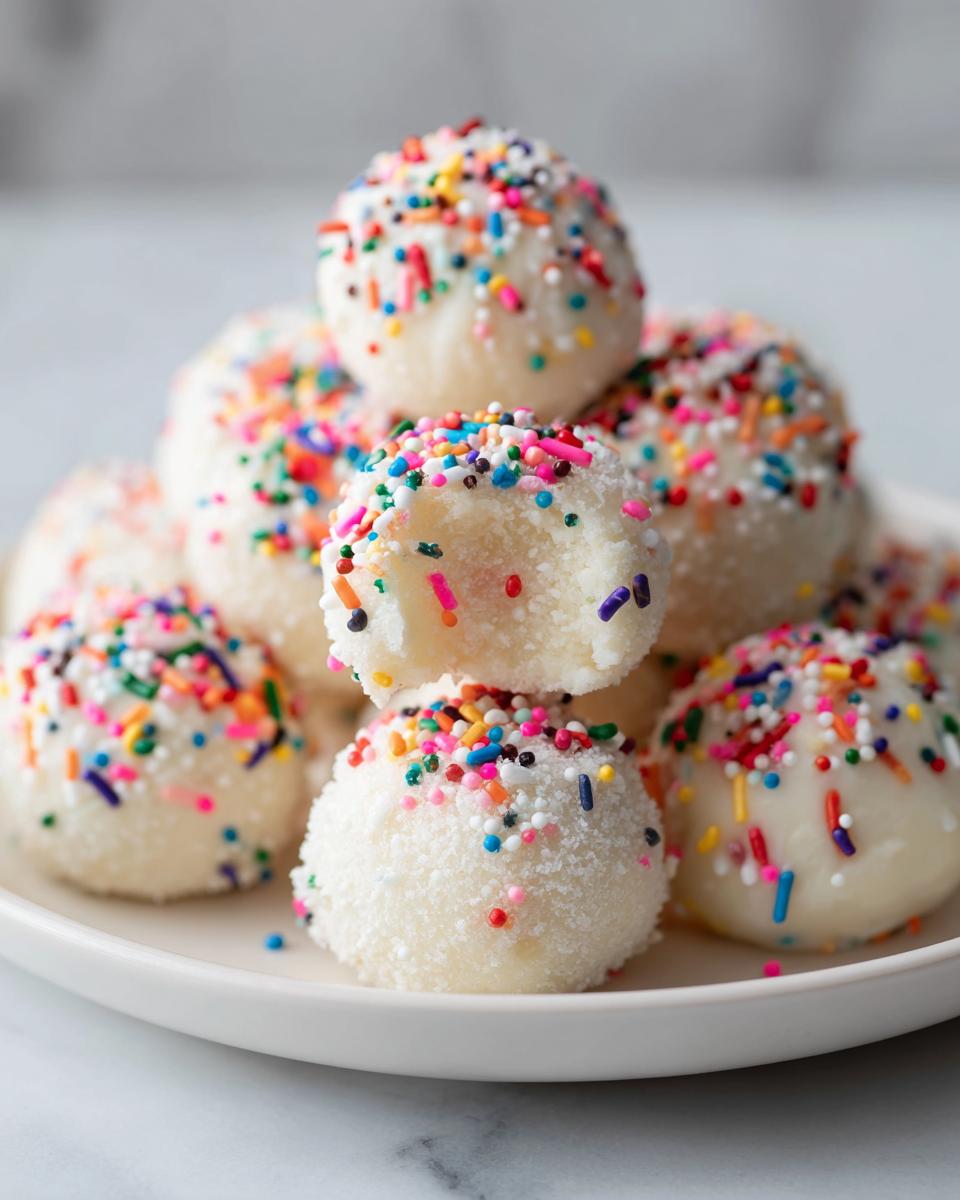
You’ve got the dough made and the chocolate melted. Now, let me give you my top three rules for keeping everything smooth, stable, and beautiful! If you follow these tiny tips, you’ll avoid 99% of the headaches people run into when making these **sugar cookie truffles**. First, remember that chilling time for the balls isn’t optional; it’s non-negotiable structure insurance. If the centers are even slightly soft, they’ll turn into sad little puddles when they hit that warm coating.
Second, watch that white chocolate like a hawk in the microwave. White chocolate is way more temperamental than milk or dark chocolate. If you see it start to get thick or grainy *before* it’s fully liquid, pull it out immediately! A minute too long, and you’ve ruined your **easy truffle coating**. Stirring really gently really helps here.
Finally, if you want that perfectly round shape without an uneven chocolate pool at the bottom, use a dipping fork or even a standard dinner fork! Tilt the fork slightly as you lift the finished truffle off the parchment paper to let the excess drip back into the bowl. It really does make a visual difference when you’re serving these gorgeous
decadent cookie bites. For other fun, decorative baking ideas that rely on technique, check out my melted snowman cookies post!
Storage and Making Make Ahead Desserts with Sugar Cookie Truffles
I absolutely love storing these little morsels because they fit perfectly into my routine for **make ahead desserts**. Since they contain cream cheese, we do need to keep them chilled, which is great because cold truffles taste even better!
Store your finished **sugar cookie truffles** in an airtight container. If you’re stacking them, place a small piece of wax paper between layers so those pretty white chocolate coatings don’t stick together. They hold up wonderfully in the fridge for about a week. If you’re prepping for a big holiday party, you can probably push that to ten days, but I wouldn’t risk more than that with the cream cheese inside.
They are fantastic for **gifting desserts**, too! Just box them up beautifully just a day or two before you plan to give them away. If you need an idea for something similar but baked, you absolutely have to look at my post on amazing cream cheese brownies—a different kind of make-ahead win!
Serving Suggestions for These Bite Sized Desserts
Now that you have your beautiful batch of **sugar cookie truffles**, we have to figure out the best way to show them off! These **bite sized desserts** are so versatile, they fit perfectly wherever you need a little sweet something. They look fantastic piled high on a silver platter for your next big get-together—definitely top-tier **party dessert ideas** material!
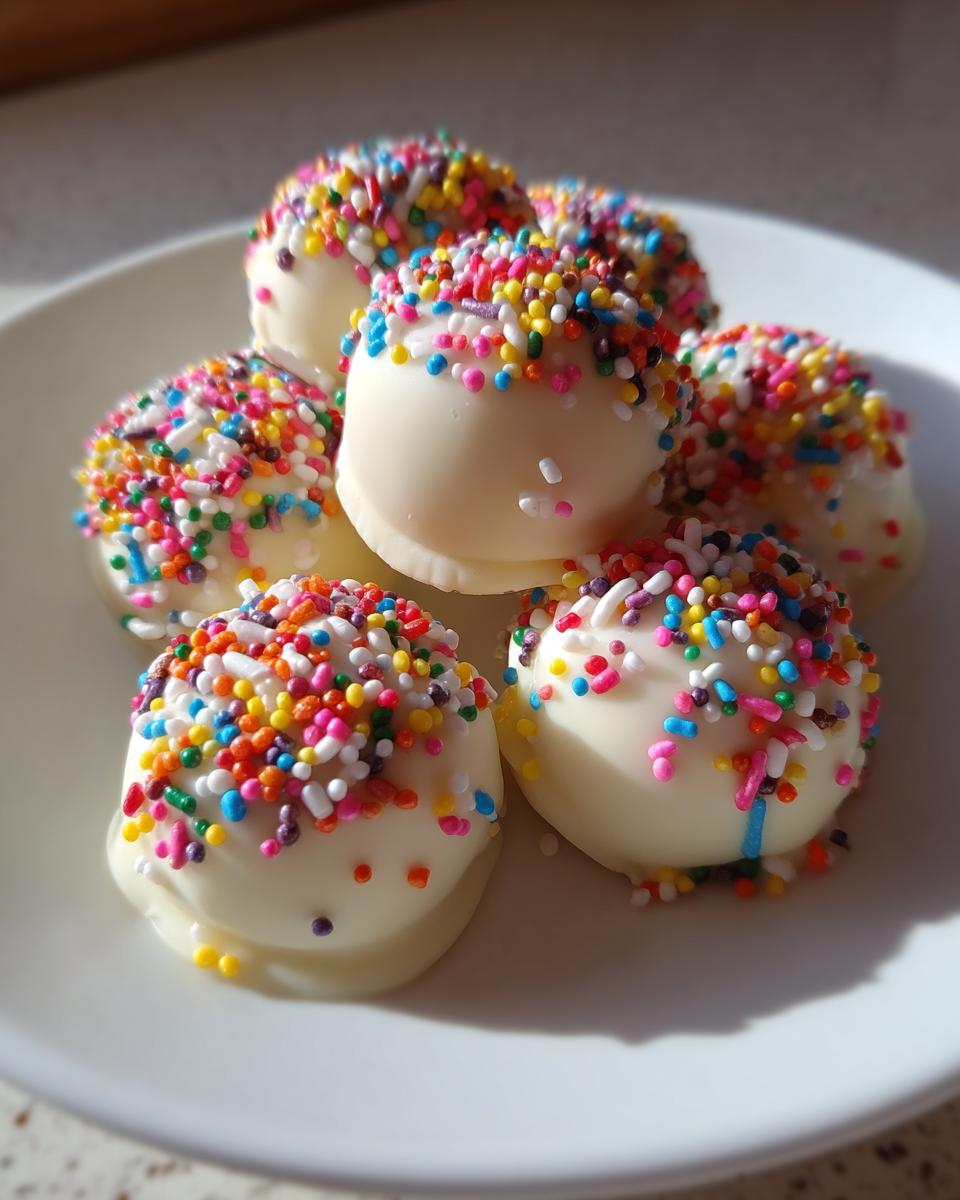
But honestly, my favorite way to enjoy one is completely low-key. Make a fresh pot of coffee in the afternoon, grab one of these rich, creamy bites, and enjoy that quiet moment. Since they are so sweet and dense, one truffle is usually enough to satisfy that sugar craving! If you’re ever looking for fantastic savory ideas to balance out all this sweetness, I’ve got a killer recipe for easy homemade French bread that crushes it alongside soup.
Frequently Asked Questions About Cookie Ball Recipe Variations
I always get so many questions when readers try making these for the first time, and that’s totally normal! This is a simple concept, but the details really help move it from good to absolutely stunning. I hope these quick answers that touch on **how to make truffles** help clear up any last-minute doubts before you dive into your **cookie ball recipe**!
Can I use homemade sugar cookies instead of store-bought for these sugar cookie truffles?
Oh, absolutely! In fact, sometimes homemade cookies give you the best flavor, but there’s a big catch. If you bake your own, they need to be completely, totally cooled down—like, room temperature or even slightly cooler. If you’re using leftover frosted cookies, really try to scrape off most of that thick frosting first, as it can make your truffle dough too soft and sticky to roll. Keep that dough firmer than you think you need!
What is the best way to get a smooth coating on my white chocolate truffles?
For the smoothest shell on your **white chocolate truffles**, stick to good quality melting wafers if you can; they are designed not to seize up easily. If you only have chips, you absolutely need to thin them out. That tiny bit of coconut oil I mention in the recipe really helps loosen them when melted. And remember my warning? Melt low and slow—no high power here! Stirring frequently is the secret weapon for preventing lumps.
Are these **cream cheese truffles** safe to leave out at room temperature for a party?
This is an important one, because we are dealing with dairy! Since these **cream cheese truffles** rely on cream cheese for that creamy center, you really shouldn’t leave them out for more than about two hours total, especially if your kitchen is warm. If you are hosting a long party, keep the bulk of them chilled and only put out a small platter at a time. For storing them long-term, the fridge is your friend. This is something I always keep in mind when planning my creamy spinach artichoke dip for gatherings too!
Estimated Nutritional Data for Sugar Cookie Truffles
I always get questions about the nutrition side of these **sugar cookie truffles**, and while I’m not a certified nutritionist, I pulled the estimated data based on the ingredients we used here. Remember, since we’re using store-bought cookies and melting wafers, these numbers are just a good guideline, not an absolute fact!
- Serving Size: 1 truffle
- Calories: 180
- Sugar: 18g
- Sodium: 95mg
- Fat: 11g (7g Saturated Fat)
- Carbohydrates: 19g
- Protein: 2g
So, they are definitely sweet! But they are tiny, which makes portion control easy, right? Just consider these estimates—if you swap white chocolate for dark chocolate, for example, the numbers will change a bit. Enjoy them guilt-free!
Share Your Decadent Cookie Bites Creations
That’s really all there is to it! In less than an hour you’ve made a batch of the most wonderful **decadent cookie bites**—perfect **party dessert ideas** that required zero stress. I truly hope you love making these **sugar cookie truffles** as much as I do. I’m so excited for you to try these out, especially if you’re looking for those **quick sweet treats** for a gathering!
When you finish your batch, please come on back and leave me a rating! Five stars if you loved them, of course, but I genuinely want to hear what you think in the comments below. Did you stick with the white chocolate, or did you try a fun coating like dark chocolate? If you snapped a photo of your beautifully decorated **melt in your mouth desserts**, tag me over on social media! It truly makes my day to see my recipes showing up in your kitchens, bringing people together over something sweet. For the next time you need a crowd-pleasing savory dish, you know where to find me for a great soup recipe, like my simple easy potato cheese soup.
If you found this recipe especially helpful, maybe share it with a friend who always needs a reliable **no bake truffles** secret weapon. You can always check out other people’s amazing results over at Kwikare Recipes too, but I hope you’ll tell me all about *your* experience here first!
PrintEasy No-Bake Sugar Cookie Truffles
You can make these rich, bite-sized sugar cookie truffles quickly using just a few ingredients. They require no oven time and coat perfectly in melted chocolate for a decadent, melt-in-your-mouth dessert.
- Prep Time: 20 min
- Cook Time: 5 min
- Total Time: 25 min
- Yield: 28 truffles 1x
- Category: Dessert
- Method: No-Bake
- Cuisine: American
- Diet: Vegetarian
Ingredients
- 1 (16 ounce) package store-bought soft sugar cookies (or Lofthouse style cookies)
- 4 ounces cream cheese, softened
- 1 teaspoon vanilla extract
- 12 ounces white chocolate melting wafers (or high-quality white chocolate chips)
- 1 teaspoon coconut oil (optional, for smoother coating)
- Sprinkles or colored candy melts for decoration (optional)
Instructions
- Place the sugar cookies in a large bowl or food processor. Crush the cookies until they form fine crumbs. If using a food processor, pulse until fine. If crushing by hand, place them in a zip-top bag and crush with a rolling pin.
- Add the softened cream cheese and vanilla extract to the cookie crumbs. Mix with a sturdy spoon or use your hands to combine everything until a uniform, thick dough forms.
- Roll the dough into small balls, about 1 inch in diameter. You should get about 24 to 30 truffles. Place the rolled balls on a parchment-lined baking sheet.
- Chill the cookie balls in the refrigerator for at least 30 minutes. This step helps them firm up so they do not fall apart when dipping.
- Prepare the coating. Place the white chocolate melting wafers (and coconut oil, if using) in a microwave-safe bowl. Microwave in 30-second intervals, stirring well after each interval, until the chocolate is completely smooth and melted. Do not overheat.
- Dip each chilled truffle into the melted white chocolate, using a fork or a dipping tool to roll it completely in the coating. Lift the truffle out, allowing excess chocolate to drip off.
- Place the coated truffle back onto the parchment-lined sheet. Immediately add sprinkles or decorations before the chocolate sets.
- Allow the truffles to set completely at room temperature, or place them in the refrigerator for about 15 minutes to speed up the setting process.
Notes
- If you use leftover homemade sugar cookies, make sure they are completely cooled before crushing them.
- For a different flavor, you can use milk chocolate or dark chocolate for the coating instead of white chocolate.
- These make excellent make ahead desserts for parties or holiday baking gift baskets.
Nutrition
- Serving Size: 1 truffle
- Calories: 180
- Sugar: 18
- Sodium: 95
- Fat: 11
- Saturated Fat: 7
- Unsaturated Fat: 4
- Trans Fat: 0
- Carbohydrates: 19
- Fiber: 0
- Protein: 2
- Cholesterol: 15