
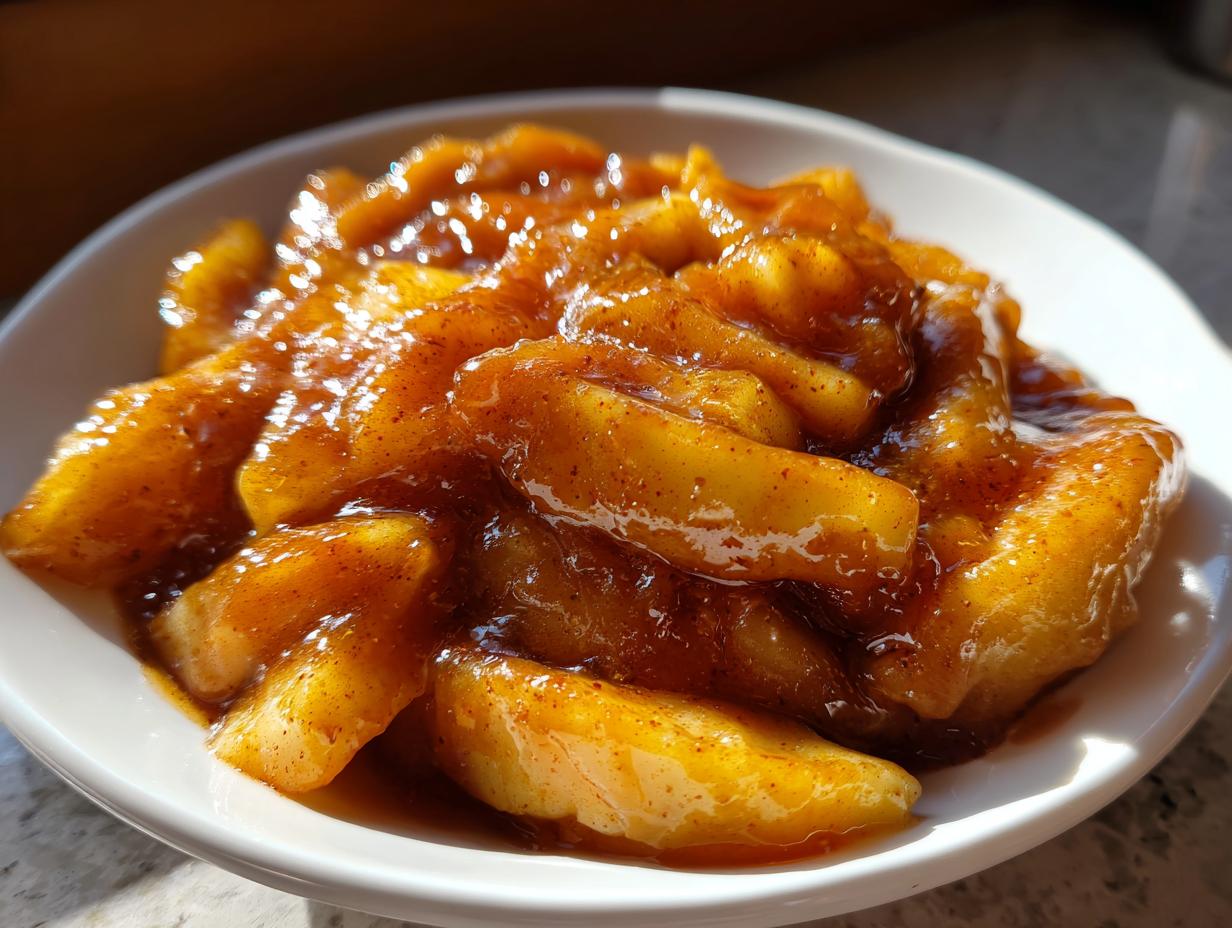

Welcome! I’m Sarah, and I’m so happy you’re here with me today. If you’ve ever pulled out a beautiful double-crust pie only to find a watery puddle underneath, trust me, I’ve been there! My grandmother spent decades perfecting her pie secrets, and I learned early on that a great apple pie filling needs attention, even when you’re racing the clock.
That’s why I’m sharing this gem: my **Quick & Easy Homemade Apple Pie Filling with Perfectly Spiced, Thick Sauce**. This isn’t some thirty-minute compromise; this is rich, just-right spiced filling that sets up beautifully thanks to a little trick I learned trying to speed things up on a busy weeknight. It’s pure comfort food magic, ready before you can even finish arguing with the kids about whose turn it is to set the table.
- Why This is the Best Homemade Apple Pie Filling
- Gathering Ingredients for Your Apple Pie Filling
- Step-by-Step Instructions for Quick Apple Pie Filling
- Versatility: Using Your Apple Pie Filling for Crisps and Toppings
- Tips for Perfect Apple Pie Filling Every Time
- Storage and Make-Ahead for Your Apple Pie Filling
- Frequently Asked Questions About Apple Pie Filling
- Nutritional Estimates for this Apple Pie Filling
- Share Your Comfort Food Apple Filling Creations
Why This is the Best Homemade Apple Pie Filling
I know you’ve seen dozens of recipes promising the world, but truly, this is the **Best Homemade Apple Pie Filling**. My childhood memories are full of pies that weeped onto the plate—that dreaded watery mess! That never happens here. We focus on flavor, texture, and speed. If you want a filling that holds its shape and tastes like it simmered all afternoon, you need this stovetop method.
And if you want to see how to wrap this incredible filling in a beautiful crust, check out my recipe for the perfect pie crust. It’s the ideal partner for this sauce!
Quick Stovetop Apple Filling Ready in Minutes
Forget letting the apples stew for an hour. This method gives you the melt-in-your-mouth apples you crave in just about ten minutes on the stove. It’s the perfect solution for when you decide an apple pie is a non-negotiable dessert about an hour before your guests arrive. This **Quick Stovetop Apple Filling** saves the day, every time.
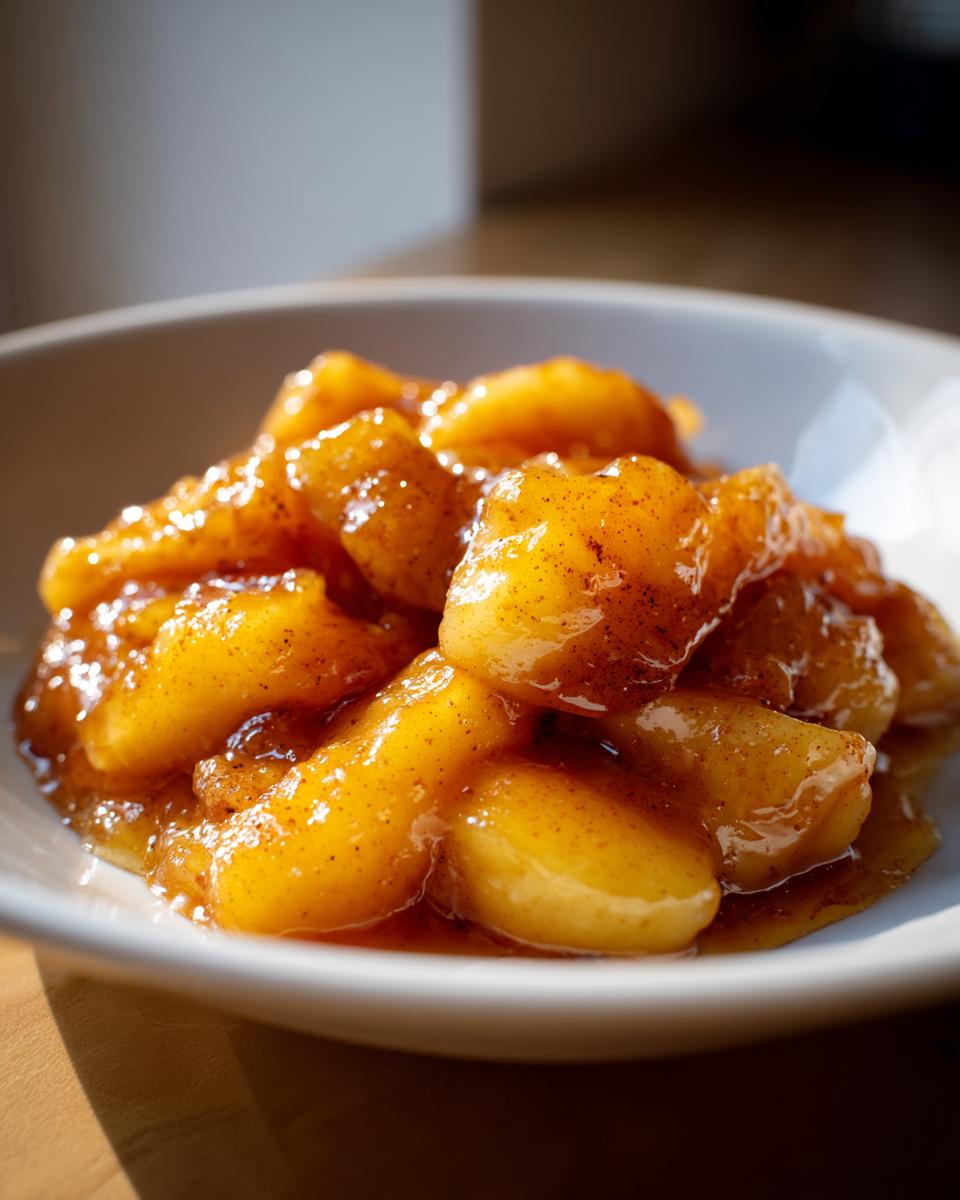
Thick Apple Pie Filling Secrets Revealed
The absolute key to **Thick Apple Pie Filling Secrets** is making sure you have the right thickener ready to go. I use just a touch of cornstarch whisked right into the sugars. It’s foolproof! When you hit that heat, that little bit of magic activates, enveloping every apple slice in a syrupy coating. You get that perfect, rich sauce you’re looking for, guaranteeing you achieve **No Watery Apple Pie Filling**.
Gathering Ingredients for Your Apple Pie Filling
Okay, let’s talk about what makes this **apple pie filling** shine! For a truly great result, we need to be specific about our apples and our spice game. I always grab my biggest bowls first, because we want everything coated well. Quality ingredients mean quality memories, right? Trust me, skipping the proper prep here just makes extra work later.
You’ll want to gather everything up before you even turn on the stove. You can check out my recipe for apple cinnamon oatmeal if you happen to be out of nutmeg, because the principles of mixing spices well are the same!
Apple Selection and Preparation
The type of apple you choose is huge! It determines if your filling holds up or turns to soup. I always use a blend—something tart like Granny Smith next to a sweeter one like Honeycrisp provides the best texture contrast. Remember, every apple needs to be peeled, cored, and sliced exactly 1/4-inch thick. If they are too thin, they disappear; too thick, and they won’t soften evenly.
Creating the Simple Apple Pie Spice Mix
Before those slick apples hit the butter, we have to create our flavor base! Grab a small bowl and whisk together both sugars—yes, we use brown sugar for that deep molasses flavor—with all those wonderful spices: cinnamon, nutmeg, and that secret touch of allspice. Whisk them thoroughly until everything is uniform. This ensures every single apple slice gets a perfect dusting and you don’t end up with huge pockets of just cinnamon!
Step-by-Step Instructions for Quick Apple Pie Filling
Alright, deep breath! We’ve got our ingredients prepped, and now we are moving fast. This is where the “quick” part of this **apple pie filling** really shines. I promise you, from start to finish on the stove, you are looking at maybe 8 to 10 minutes of cooking before this filling is ready to cool or head straight into a crust. Have your pie shells ready to go because things move quickly once the heat is on!
If you like making butters ahead of time, you might want to bookmark my recipe for easy pear butter—it uses similar techniques, just without the intense time crunch! And if you are looking for other ways to preserve apples, check out how I make easy apple butter too; those canning skills always come in handy!
Coating Apples and Mixing Dry Ingredients
First thing’s first: grab that bowl of sliced apples you prepped. Drizzle that tablespoon of lemon juice right over them and toss them gently. The lemon stops any browning while we get the spice mix ready. Now, take your small bowl where you whisked all the sugars and spices—that dry mixture needs to be incorporated completely. Add the sugar blend to the apples and toss, toss, toss! Make sure every single slice is coated with that gorgeous cinnamon-sugar blend.
Cooking the Spiced Apple Filling for Pies
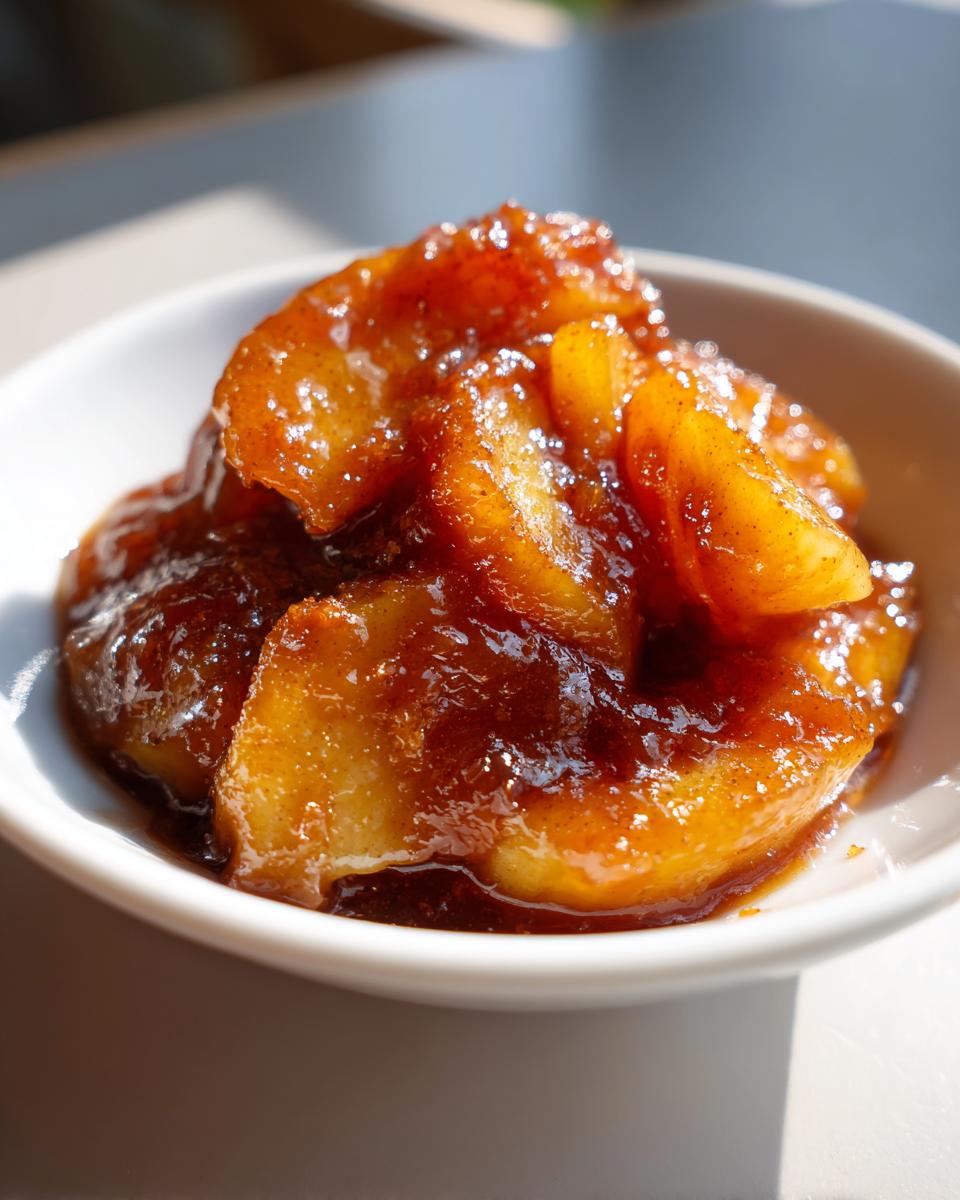
Time for the heat! Drop your two tablespoons of butter into a heavy saucepan over medium heat. Once it melts and shimmers, dump in all those coated apples and the 1/4 cup of water. Stir this constantly! It seems like a lot of liquid now, but trust me, as the cornstarch activates and heats up, the sauce will thicken up beautifully. You’re looking for tender apples, not applesauce—so keep stirring and watch that sauce go from thin to velvety slick. Once it starts bubbling thickly, pull it right off the burner. It’s done!
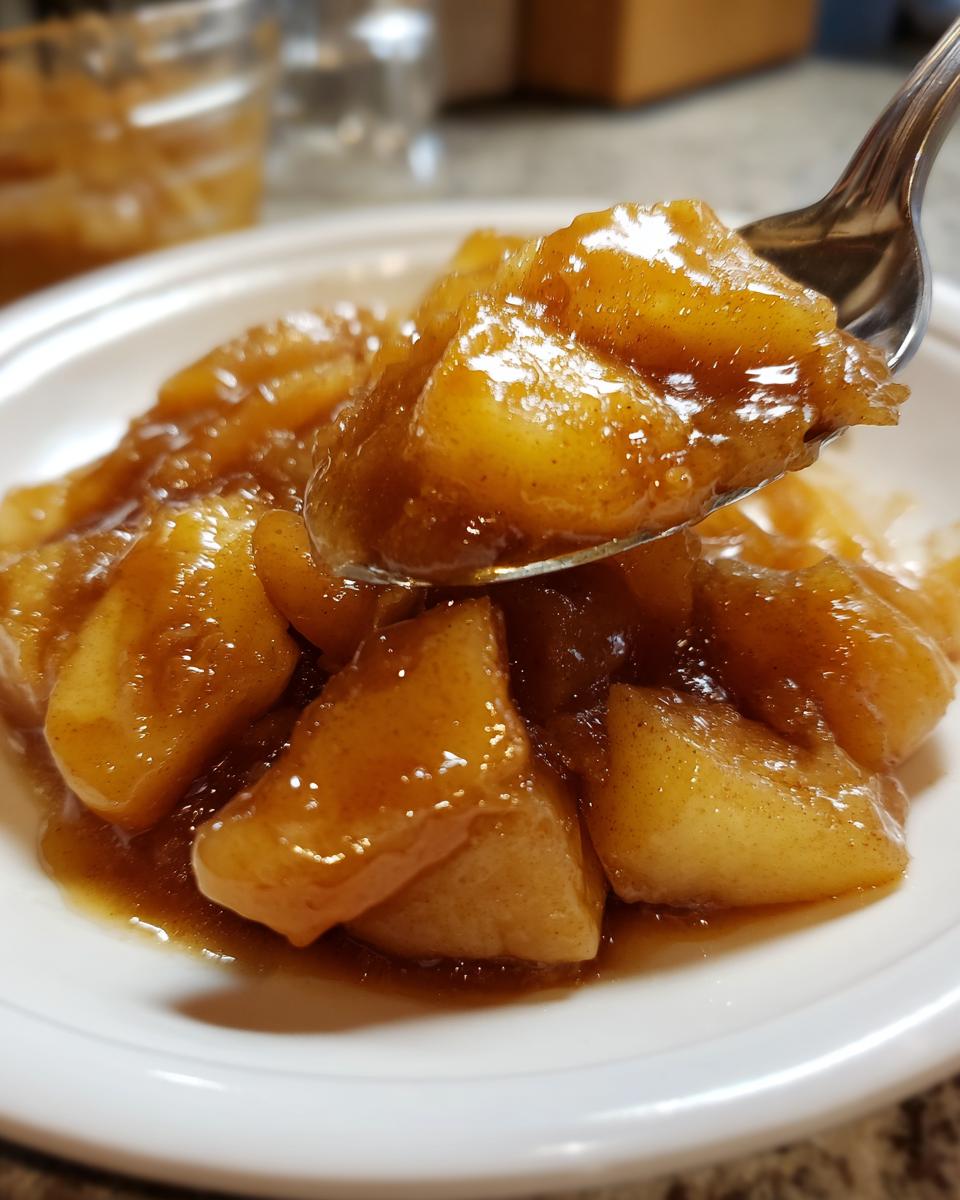
Versatility: Using Your Apple Pie Filling for Crisps and Toppings
One of the best parts about making a great **apple pie filling from scratch** is knowing you aren’t locked into just one type of dessert! If you’re not baking a full pie shell, or maybe you just made too much (which happens to me all the time, oops!), you are in luck. This rich **Cinnamon Apple Dessert Filling** is amazing used in other ways.
Next time you need a quick, cozy weeknight dessert, try putting this filling into small ramekins and topping it with a crunchy oat topping for an instant crisp. Seriously, check out my apple crisp recipe—it’s so easy.
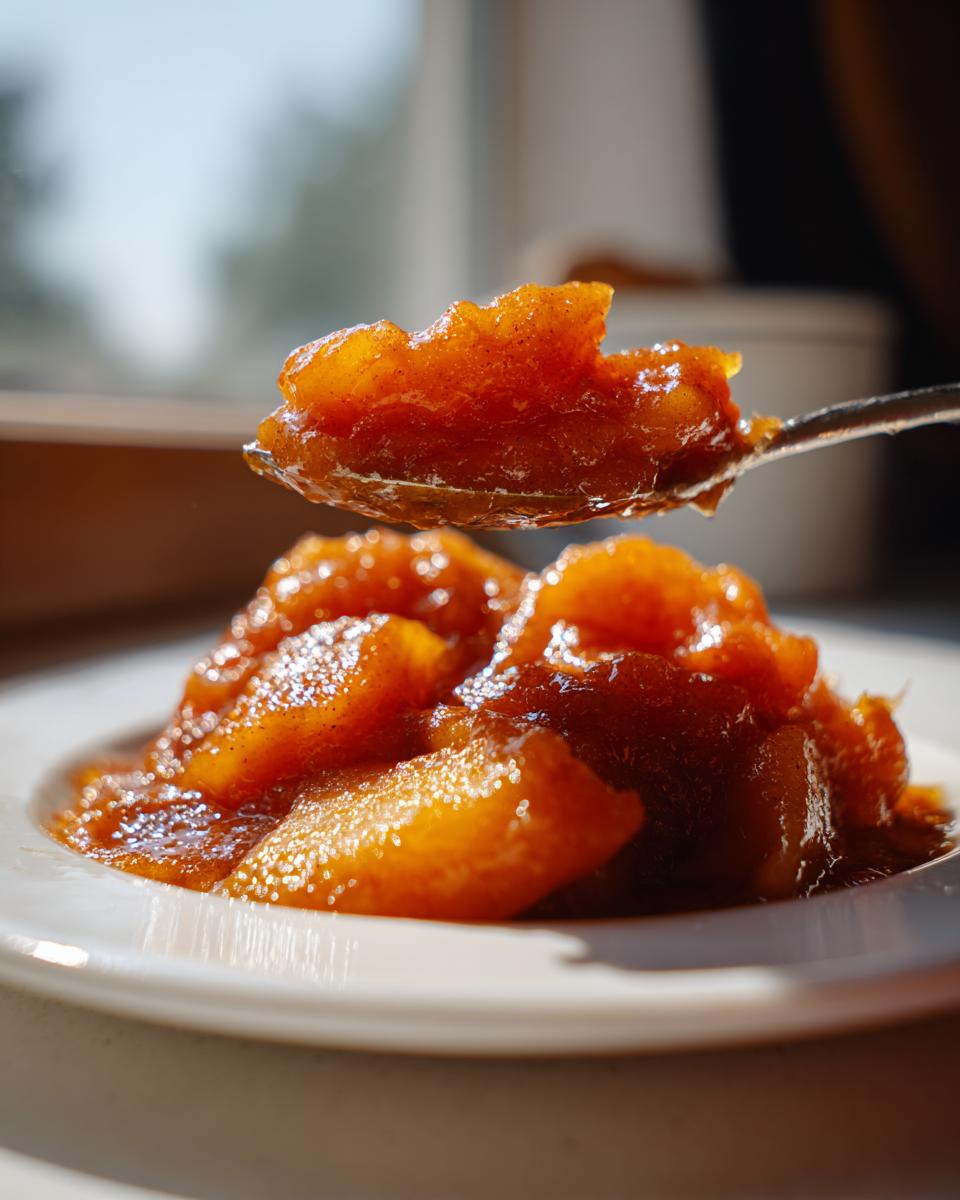
It’s also the best **Homemade Apple Topping Recipe**! Drizzle it over pancakes on a slow Sunday morning, layer it on top of vanilla ice cream for a quick treat, or even stir it into a bowl of plain yogurt. That thick, spiced sauce clings perfectly to everything!
Tips for Perfect Apple Pie Filling Every Time
Making this **From Scratch Apple Filling** is simple, but a few little tricks will take it from great to absolutely legendary. Because we aren’t baking this filling for an hour inside a pie crust, the texture setting up on the stovetop is everything. Pay close attention to your apples and your spices, and you’ll never resort to the can again. I promise! If you love apples baked in creative ways, you absolutely must try my Swedish apple cake recipe—it’s unbelievably moist.
Apple Choice and Texture Control
Remember what I said about using a mix of apples? That’s critical. If you use only soft apples, like McIntosh, they just dissolve into mush when they hit the heat. You need those firm apples—Granny Smith or Honeycrisp—to hold their shape. If you only have soft apples available, just slice them a little thicker than 1/4 inch. They’ll need a minute or two longer to soften, but at least they won’t disappear on you!
Flavor Boosts for Your Homemade Fall Dessert Filling
While the **Simple Apple Pie Spice Mix** we made is perfect, sometimes you want an extra layer of warmth, especially when serving this as a topping in the winter. My favorite addition is a teaspoon of vanilla extract—add it right at the end when you take the pan off the heat. It just enhances all those warm notes. For a real showstopper in a **Homemade Fall Dessert Filling**, try grating in a tiny bit of fresh orange zest along with the cinnamon; it brightens everything up beautifully!
Storage and Make-Ahead for Your Apple Pie Filling
One huge perk of making this filling on the stovetop is that it’s so easy to double the batch! If you’re doing holiday baking, you absolutely should make extra. This keeps beautifully, which means you can have homemade dessert ready to go for weeks. It’s handy to pull out a quick portion for an impromptu topping or to save time when you decide on a spur-of-the-moment batch of mini pies.
Store your cooled filling in an airtight container in the fridge. It stays perfect for about a week, though honestly, it rarely lasts that long in my house! If you want to plan even further ahead, this freezes like a dream. I love making a big batch right after apple picking season. If you’re interested in another great make-ahead apple recipe, check out my applesauce cake recipe—it’s perfect for batch cooking!
Frequently Asked Questions About Apple Pie Filling
I get so many questions on my social feeds once people start making this **Easy Apple Pie Filling Recipe**! These are the ones I hear most often when folks are perfecting their **apple pie filling** for baking. If you’re using this for a big holiday pie, getting these little details right makes all the difference in the final slice!
Can I make this Easy Apple Pie Filling Recipe without cornstarch?
That’s a great question, especially if you’re trying to adjust ingredients! You absolutely can skip the cornstarch, but you have to be prepared for a slightly different outcome. Cornstarch provides that luscious, clear body we love. If you skip it, you can try using regular flour, but you’ll need about one tablespoon more than the cornstarch called for, and it might make the sauce a tiny bit cloudier. You could also use arrowroot powder, which acts a lot like cornstarch, but make sure you only add it once the mixture is cooling down, or it can break down on high heat.
How long does this Quick Apple Pie Filling last in the fridge?
This **Quick Apple Pie Filling** is fantastic for meal prep! Once it has cooled down entirely, you can store it in an airtight container in the refrigerator for up to one full week. Seriously, it tastes just as good on day seven as it does right off the stove. Make sure it’s in a container that seals well so it doesn’t pick up any weird fridge smells. Keep in mind that it will release a touch more liquid when you reheat it, so give it a good stir before spooning it into that pie shell!
If you’re looking for another amazing spiced apple classic, you have to try my recipe for Jewish Apple Cake—it lets the apples shine completely differently!
Nutritional Estimates for this Apple Pie Filling
I always stress that when we are cooking from scratch like this, the actual nutritional content can swing wildly based on the type of apple you pick or exactly how much butter melts into the sauce. So, please take these numbers with a grain of salt!
These estimates are based on dividing the whole recipe yield from the ingredients list above into 5 equal servings. Since this is such a versatile **Homemade Apple Filling**, remember these numbers reflect just the filling—not a whole pie with crust, which would obviously change things significantly!
- Serving Size: 1/5 of filling
- Calories: 245
- Sugar: 42g (That’s mostly coming from the fruit and the added brown sugar!)
- Sodium: 3mg
- Fat: 3g
- Saturated Fat: 2g
- Carbohydrates: 56g
- Fiber: 3g
- Protein: 0g
You’ll notice the fat is quite low because we only use two tablespoons of butter for the entire batch—compared to older, richer recipes that call for a stick! That’s one of the modern tweaks that keeps this truly a **Quick Dessert Filling Idea** that feels indulgent but isn’t too heavy.
Share Your Comfort Food Apple Filling Creations
Whew! Now that you’ve got this incredible batch of **Comfort Food Apple Filling** simmering on your stovetop, I really want to hear about it. Seriously, this is the best part of my day—seeing what you all create! Did you use a mix of apples I suggested, or did you sneak in some extra vanilla like I mentioned in the tips?
Don’t be shy! Head down to the comments below and drop me a rating. Five stars if this quick method saved your dessert plans! It helps other home cooks like you know that this recipe is reliable and delicious. I read every single comment, and your feedback helps me keep improving my kitchen stories and recipes here on Cut Cook Taste.
If you end up taking a picture—maybe of your finished pie, or maybe you drizzled this over some amazing pancakes—please tag me on social media! Seeing my recipes come to life in your homes is why I do this whole thing. If you’re looking for even more ideas on what to bake next, you can always check out my main blog page for inspiration. Happy baking, friends!
PrintQuick & Easy Homemade Apple Pie Filling with Perfectly Spiced, Thick Sauce

Welcome! I’m Sarah, and I’m so happy you’re here. This recipe delivers the best homemade apple pie filling—thick, perfectly spiced, and ready fast. It avoids watery results and works great in pies, crisps, or as a topping.
- Prep Time: 15 min
- Cook Time: 10 min
- Total Time: 25 min
- Yield: About 5 cups filling (enough for one 9-inch pie) 1x
- Category: Dessert
- Method: Stovetop
- Cuisine: American
- Diet: Vegetarian
Ingredients
- 6 medium apples (like Granny Smith or Honeycrisp), peeled, cored, and sliced 1/4-inch thick
- 3/4 cup granulated sugar
- 1/4 cup packed brown sugar
- 2 tablespoons cornstarch (for a thick apple pie filling secret)
- 1 teaspoon ground cinnamon
- 1/4 teaspoon ground nutmeg
- 1/8 teaspoon ground allspice
- 1 tablespoon lemon juice
- 2 tablespoons unsalted butter
- 1/4 cup water
Instructions
- Combine the sliced apples and lemon juice in a large bowl. Toss gently to coat.
- In a separate small bowl, whisk together the granulated sugar, brown sugar, cornstarch, cinnamon, nutmeg, and allspice. This is your simple apple pie spice mix.
- Add the sugar and spice mixture to the apples. Toss until all the apple slices are evenly coated.
- Place the butter in a large saucepan or Dutch oven over medium heat. Once melted, add the apple mixture and the water.
- Cook, stirring frequently, for 8 to 10 minutes. The sauce will thicken as the cornstarch activates and the apples soften slightly. You are aiming for tender apples, not mush.
- Remove the pan from the heat. The filling will continue to thicken as it cools.
- Use this quick stovetop apple filling immediately in your pie crusts, or let it cool completely before using it in crisps or cobblers.
Notes
- For the best texture, use a mix of tart and sweet apples. Avoid using only soft varieties, as they break down too much.
- If you prefer a richer flavor, substitute 1 tablespoon of the water with 1 tablespoon of vanilla extract added at the end of cooking.
- This filling freezes well. Cool completely, store in an airtight container, and use within three months.
Nutrition
- Serving Size: 1/5 of filling
- Calories: 245
- Sugar: 42g
- Sodium: 3mg
- Fat: 3g
- Saturated Fat: 2g
- Unsaturated Fat: 1g
- Trans Fat: 0g
- Carbohydrates: 56g
- Fiber: 3g
- Protein: 0g
- Cholesterol: 6mg