
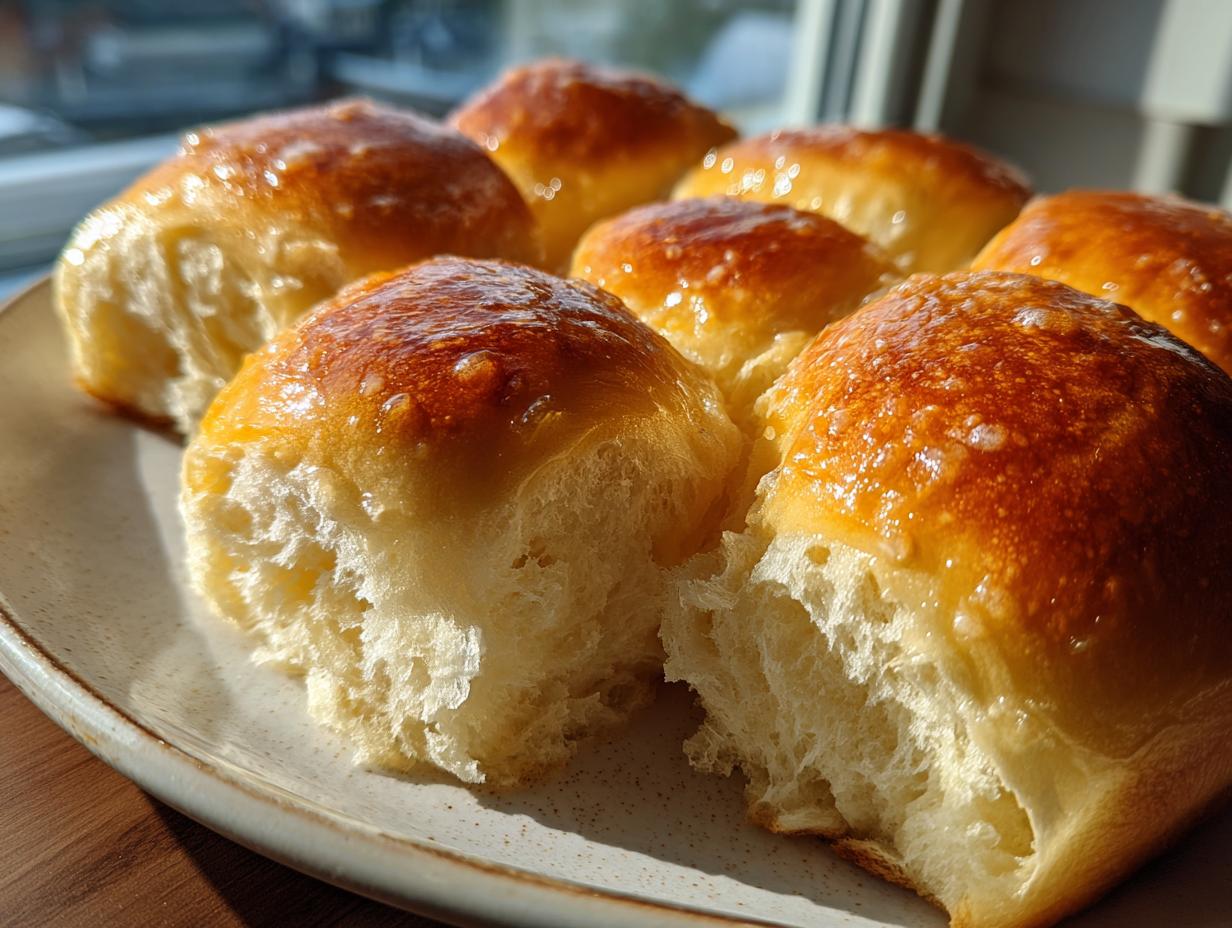

Welcome! I’m Sarah, and I’m so happy you’re here at Cut Cook Taste. If you’re like me, you keep that sourdough starter fed out of habit, only to find yourself staring down a big bowl of bubbly, slightly tangy discard feeling a familiar pang of guilt. We hate waste in my kitchen, I promise you that! That’s why I’ve worked overtime perfecting these sourdough discard rolls—they are soft, fluffy, and most importantly, ready on the same day. Trust me, after years of testing breads from my grandmother’s farm and exploring quick meal solutions for busy weeknights, this recipe nailed the efficiency and the flavor we all crave. If you’ve ever wanted to see how fantastic a quick bread can be, check out my recipe for sourdough discard pancakes too!
- Why You Need These Quick Sourdough Discard Rolls Today
- Ingredients for Fluffy Sourdough Discard Rolls
- Step-by-Step Guide to Making Sourdough Discard Rolls
- Expert Tips for Perfect Sourdough Discard Rolls Texture
- Ingredient Notes and Substitutions for Sourdough Discard Rolls
- Serving Suggestions for Your Homemade Soft Rolls
- Storage and Reheating Sourdough Discard Rolls
- Frequently Asked Questions About Quick Sourdough Rolls
- What to Make Next with Your Sourdough Discard Baked Goods
Why You Need These Quick Sourdough Discard Rolls Today
I know what you’re thinking: sourdough means patience, right? Forget that! If you’re chasing that incredible homemade softness without the 24-hour commitment, these quick sourdough rolls are your new best friend. They truly bridge the gap between quick yeast rolls and authentic flavor.
Here’s why these are the best way to use up your excess starter:
- Same Day Sourdough Bread: Yes, you read that right! From mixing to oven, we are clocking in under an hour. Perfect for last-minute dinner plans.
- Ridiculously Fluffy Texture: We use baking soda and powder to give these the lift they need immediately, resulting in rolls lighter than most rustic sourdough breads.
- Easy for Beginners: These are incredibly forgiving. They rely on discard rather than a perfectly timed main levain, making them truly beginner friendly sourdough success.
If you want to compare this texture to another fluffy favorite, check out my recipe for soft and fluffy Texas Roadhouse Rolls!
Ingredients for Fluffy Sourdough Discard Rolls
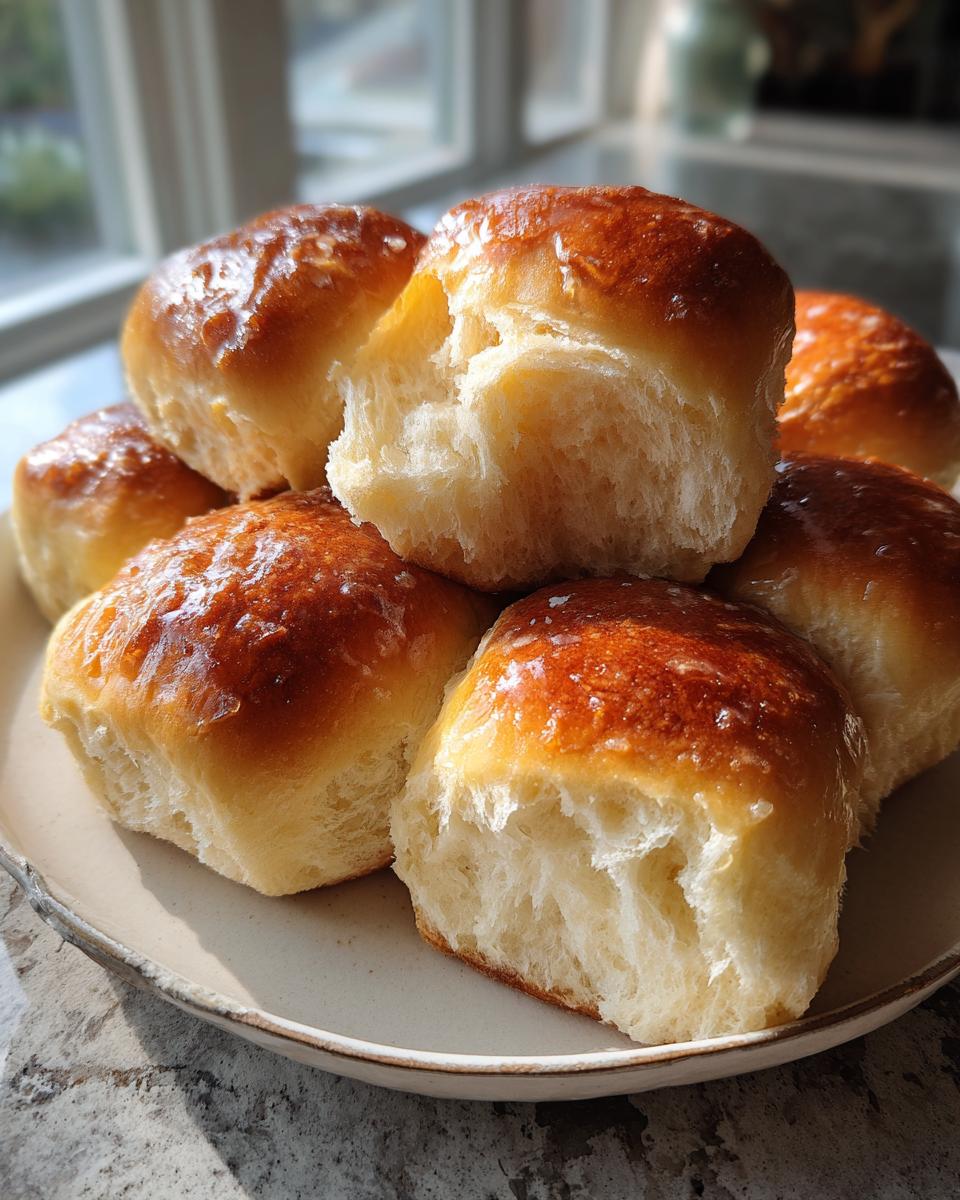
When we focus on speed, we don’t want a laundry list of weird specialty flours. Nope! This recipe keeps things simple, relying on pantry staples to turn that discard into something beautiful for your table. It’s amazing what a little bit of sugar and some chemical leaveners can do to move things along quickly for these soft sourdough discard buns. Remember how my dad always said the best flavor comes from simplifying? It holds true here!
I’ve pulled the exact measurements from my test kitchen notes for you below. It’s critical everything plays nicely together!
- 1 cup active sourdough discard (this is just unfed starter straight from the fridge or counter)
- 1 cup warm milk (aim for that sweet spot between 105°F and 115°F—too cold and the yeast won’t cheer up, too hot and we kill it!)
- 2 tablespoons unsalted butter, melted (let it cool for just a minute so it doesn’t scramble the egg!)
- 1 large egg, room temperature if you can manage it
- 3 cups all-purpose flour, plus more for dusting whatever surface you choose to work on
- 1/4 cup granulated sugar (we need a little food for the remaining active yeast, plus sweetness!)
- 1 teaspoon salt
- 1 teaspoon baking soda
- 1 teaspoon baking powder
- 2 tablespoons melted butter, for brushing (this is the secret to that gorgeous soft, shiny top!)
If you’re looking for another great beginner bake that uses pantry staples, you absolutely have to try my recipe for easy homemade French bread!
Step-by-Step Guide to Making Sourdough Discard Rolls
I’ve tried every shortcut under the sun, and honestly, the secret to getting these done fast without sacrificing texture is just being organized. Don’t rush the basic mixing, even if we are skipping the hours of fermentation! It keeps things straightforward, which is what we need when we’re aiming for a weeknight sourdough side dish.
Combining Wet and Dry Components for Sourdough Discard Rolls
We start by making sure everything is ready to incorporate smoothly. Grab your biggest bowl—we’re not being shy with the ingredients today! First, whisk together all your wet components: the sourdough discard, the warm milk (remember that 105°F to 115°F window!), that slightly cooled melted butter, and the egg. Whip it good until it looks happy and combined.
Now, for the dry stuff. In a separate bowl, whisk the flour, sugar, salt, baking soda, and baking powder together thoroughly. This ensures your leaveners are evenly distributed, preventing any weird patches in your final sourdough discard rolls. Once that’s done, gently pour the dry mixture right into the wet stuff. Mix it just until it comes together. Don’t overwork it here! At this stage, you’re aiming for something I call ‘shaggy’—it looks messy, maybe a little lumpy, and definitely not like smooth dough yet. That’s exactly what we want!
Kneading and Shaping Your Quick Sourdough Rolls
This is where our muscle comes in, but thank goodness, it’s a short workout! Turn out that shaggy mass onto a lightly floured counter. Now, knead it with purpose for about five to seven minutes. The goal is to develop the gluten so these rolls have structure, but stop as soon as it transforms into a dough that feels significantly smoother and has some elasticity. It will remain a little stickier than standard bread dough—don’t panic! That stickiness is part of what keeps them soft.
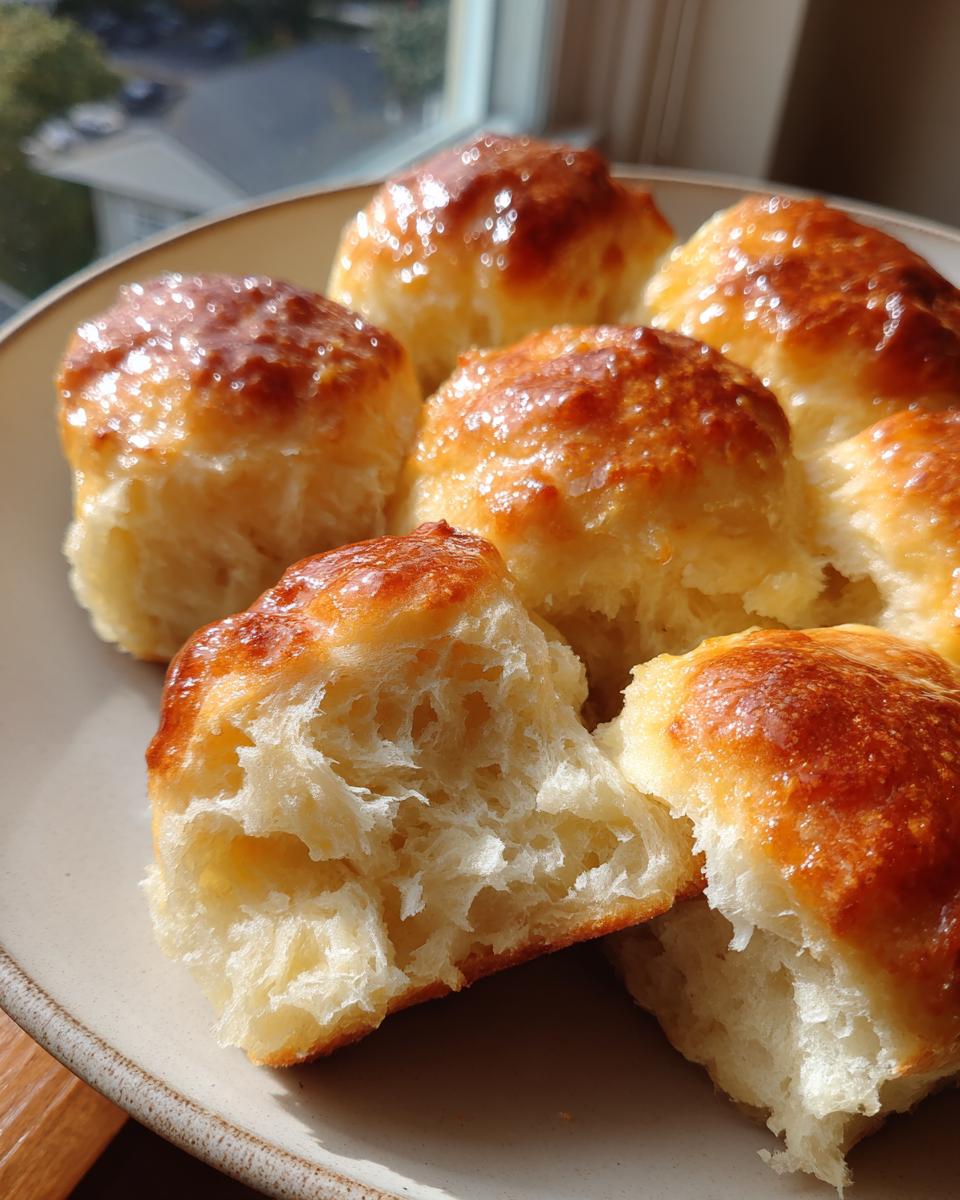
Once kneaded, it’s time to divide. I usually aim for 12 equal pieces—that gives you a perfect dinner roll size. Pinch and roll each piece firmly between your palms until you have a tight ball. If you plan on making pull-apart rolls, nestle these tight little spheres close together in your greased pan. If you want individual buns, space them out nicely on a baking sheet.
Resting, Baking, and Finishing Your Sourdough Discard Rolls
The shortest rest ever! Cover your pan loosely—I just use plastic wrap or a clean tea towel—and let them sit in a warm spot for 30 to 45 minutes. They won’t double in size like traditional yeasted bread, but they should gain some loft and look puffier. This quick proof makes all the difference for achieving those fluffy sourdough dinner rolls.
While they rest, crank that oven up to 375°F (190°C). Bake them for about 15 to 18 minutes. Keep an eye on them; you’re waiting for that beautiful golden brown color! The second they come out of the oven—and I mean immediately—brush the tops generously with the remaining melted butter. This step seals in moisture and gives the tops that irresistibly soft texture we worked so hard for in these sourdough discard rolls. Serve them warm! If you love buttery rolls, you’ll enjoy my instructions for easy soft pretzel bites too!
Expert Tips for Perfect Sourdough Discard Rolls Texture
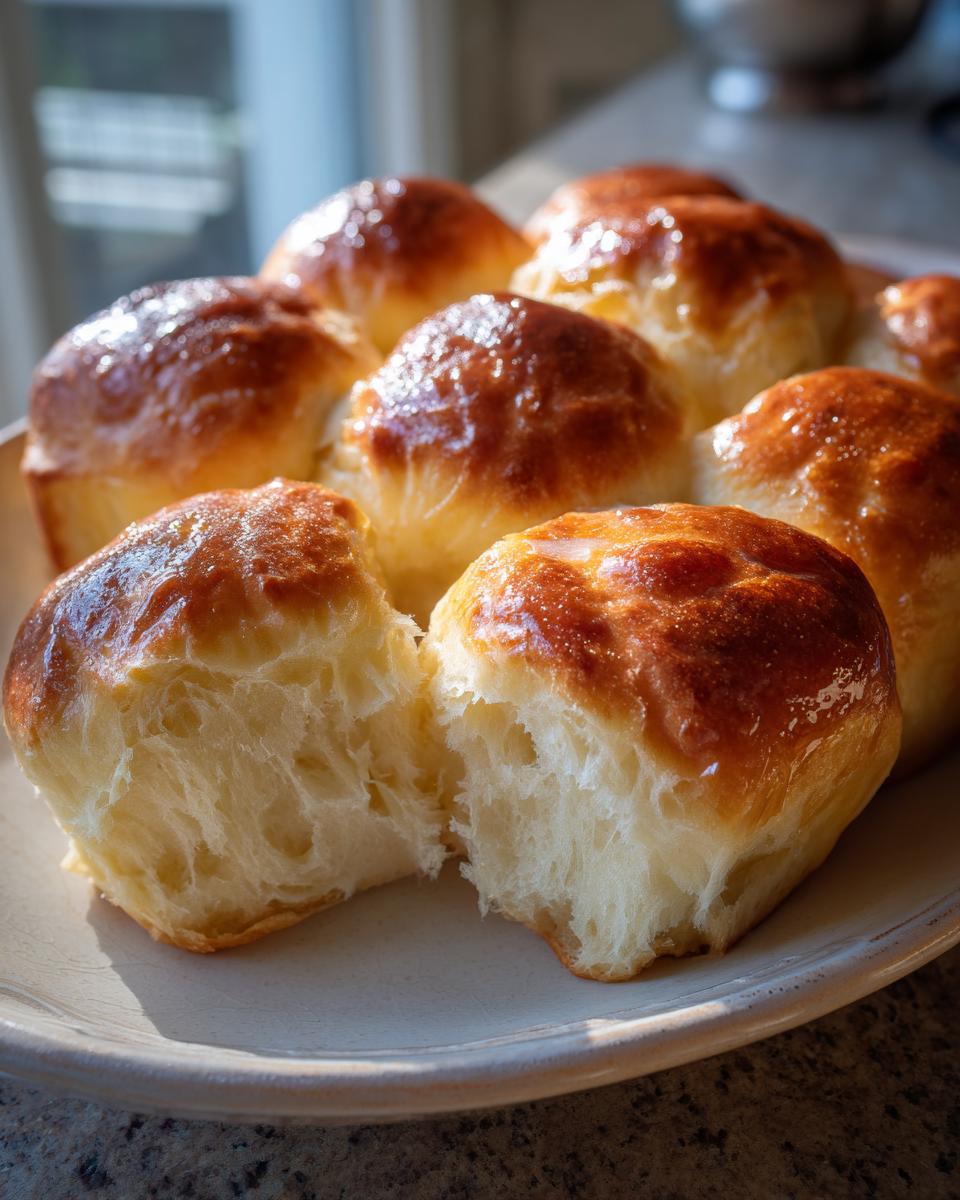
It’s easy to get great results with this recipe, but if you want that truly melt-in-your-mouth, tender bite every single time, you need to listen to a few of my hard-won secrets. This isn’t just about tossing everything together; it’s about technique, even in a quick sourdough rolls recipe.
First, let’s talk about the stickiness. Because this is a beginner friendly sourdough bake with chemical leaveners, the dough will feel looser than your standard rustic loaf. Don’t fall into the trap of adding cup after cup of extra flour! If the dough is sticking too much during kneading, just use a tiny bit of oil on your hands instead of flouring the counter heavily. That extra flour translates directly into a tougher roll.
When shaping, remember my advice from the kneading section: roll them tight! A tight ball traps the gas from the baking soda/powder, forcing it up through the dough beautifully when it hits the oven heat. This tight shaping is what turns them into truly soft sourdough discard buns rather than just sad, flat pancakes.
Finally, use that warm milk! If your milk is lukewarm, your rolls will just sit there looking sad during that short rest period. If you’re making these on a chilly day, heat your oven to 200°F, turn it off, and let the dough rest inside, covered. It’s a little trick I learned from my grandma when she couldn’t get the farmhouse stove hot enough!
For another quick recipe that comes together fast when you’re feeding a crowd, you must try my easy 30-minute pepper steak stir-fry.
Ingredient Notes and Substitutions for Sourdough Discard Rolls
The ingredient list for these sourdough discard rolls is pretty straightforward, but a few small tweaks can really elevate the final result. Remember how I mentioned my dad loves richness? Well, that spirit carries over here!
If you have the luxury of choosing between types of milk, go for whole milk over skim if you can. Whole milk contains more fat, and fat equals richer flavor and a softer crumb. It really transforms these basic dinner buns into something you’d happily serve at a holiday meal. But hey, if all you have is skim, use it! These rolls are so fast, they’re great for the nights when you just need food on the table.
One thing you might consider substituting, especially if you are out of granulated sugar, is using **light brown sugar** instead. You’ll get a slightly deeper, molasses-tinged flavor, which pairs wonderfully with the slight tang from the discard. Just use the same amount—1/4 cup—and watch how beautifully they brown!
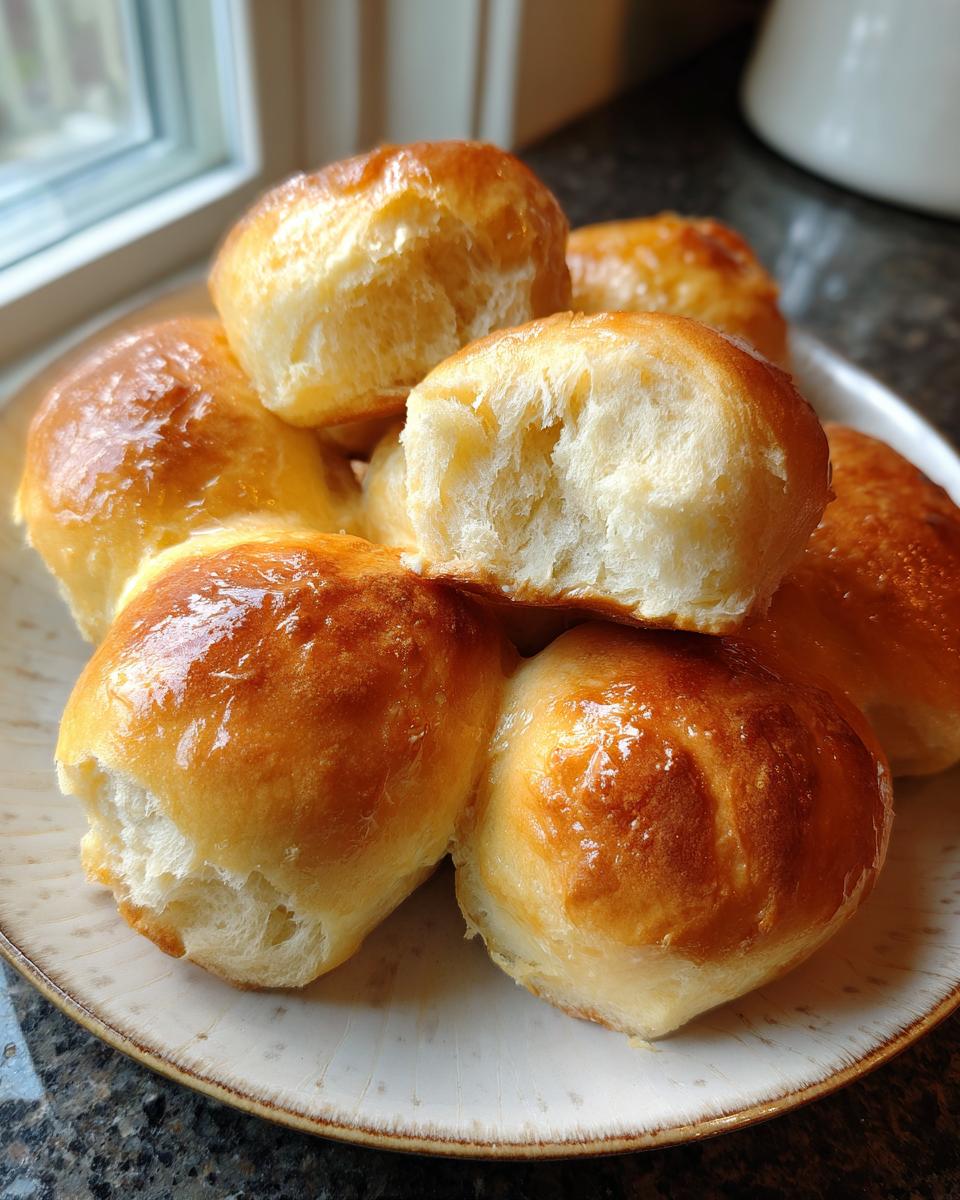
Since these aren’t meant to ferment overnight, the chemical leaveners (baking soda and powder) are doing the heavy lifting. Make sure yours are fresh! Old leaveners are the number one reason why quick recipes like these fail to rise. If you want to see how I make another creamy, rich side dish, you should look at my recipe for ultimate creamy mashed sweet potatoes!
Serving Suggestions for Your Homemade Soft Rolls
Honestly, once these homemade soft rolls come out of the oven, they disappear fast! They aren’t just for big holiday spreads, though. They are absolutely perfect for making your standard weeknight sourdough rolls feel special. I love setting a basket of these alongside a big bowl of chili or soup—they are the ultimate sourdough side dish.
My absolute favorite way to serve them dipping-style is with a hearty stew or my creamy easy potato cheese soup. Don’t forget, they make fantastic little slider buns too if you happen to have any leftover pulled pork!
Storage and Reheating Sourdough Discard Rolls
Because these sourdough discard rolls get made so fast, they often taste best eaten warm right out of the oven. But if you’re smart like I try to be, you’ll bake a double batch! Luckily, they store beautifully, though you definitely need to know the trick to making them soft again after a day or two.
For short-term storage—say, you want them fresh for lunch the next day—just keep them in an airtight container at room temperature. Don’t put them in the fridge! Cold temperatures dry out bread faster than you can say ‘yeast.’
If you want to keep your amazing sourdough discard rolls for the long haul, freezing is the way to go. After they have cooled completely (this is crucial; never freeze warm bread!), wrap them tightly in plastic wrap first, and then snuggle that bundle into a heavy-duty freezer bag. I’ve found this double layer really locks in that fresh texture. They should keep happily for about three months.
When you’re ready to eat them again, the trick is moisture. Pop the frozen rolls directly onto a baking sheet and stick them in a 350°F oven for about 10 minutes. If they’ve been sitting on the counter for a day, just wrap them loosely in foil and microwave them for about 15 seconds, or better yet, give them a quick 5-minute reheat in a toaster oven. That heat revives the buttery exterior we brushed on! If you love easy meals that freeze well, check out my recipe for a quick tuna pasta salad—perfect for pairing with a leftover roll!
Frequently Asked Questions About Quick Sourdough Rolls
It’s natural to have a few questions when you’re trying out a recipe that promises speed on something usually slow, like sourdough! I’ve pulled together the most common things people ask me about these quick yeast rolls, so you can bake with confidence.
Can I make these if my discard is very wet or very stiff (high or low hydration)?
That’s a great question! Since this recipe already includes milk and other liquid, it’s designed to handle pretty standard discard consistency—usually around 100% hydration (equal parts flour and water by weight). If your starter is stiffer, say 70%, you might need to add an extra tablespoon or two of milk to get that shaggy dough to come together. If it’s very soupy, you might need an extra tablespoon of flour. The key here is always the feel of the dough after five minutes of kneading, not the exact measurement of the discard itself!
Why do these rolls rise so fast if they use sourdough?
That’s the magic of swapping long fermentation for chemical power! Traditional sourdough gets its rise from the slow work of wild yeast thriving over many hours. Here, we are creating a hybrid. We use the discard for mild sourdough flavor, but the quick rise comes almost entirely from the baking soda and baking powder reacting with the milk and discard. This lets you skip the overnight proof and jump straight to enjoying your homemade soft rolls!
How can I make these a savory sourdough discard side dish instead of sweet?
Easy peasy! The sugar in the recipe is mostly for the yeast and a little sweetness, but we can cut it way back if you prefer savory. I’d cut the sugar from 1/4 cup down to just 1 tablespoon. Then, increase the salt slightly to 1 1/4 teaspoons, and toss in some dried herbs like rosemary or garlic powder along with the dry ingredients! They are absolutely delicious this way as a side to chili or soup, just like my creamy white chicken lasagna soup.
Is this truly a no yeast sourdough rolls recipe?
It is! You don’t need to add any additional commercial yeast to this recipe at all. The rise and flavor complexity come from the active yeast and bacteria already present in your sourdough discard, paired with the baking soda and powder for the immediate lift. It’s the perfect blend for those evenings when you realize you forgot the bread basket!
What to Make Next with Your Sourdough Discard Baked Goods
See? That wasn’t so hard! You took a bubbly handful of what was destined for the trash can and turned it into a basket of warm, buttery heaven. Doesn’t it make you feel like you’ve unlocked a secret culinary cheat code? Now that your mind is expanded, and you realize that your sourdough discard isn’t waste, but a resource, there are so many other awesome things we can make together.
This recipe for sourdough discard rolls is just the beginning of the journey into “zero-waste” baking. If you’re ready to keep that discard jar busy, I have tons of other easy sourdough discard recipes that are just as fast and flavorful.
You can jump over to my main recipe index to explore more, or if you’re still craving quick bakes, check out the incredibly popular one-hour sourdough discard rolls recipe I referenced earlier to see how others approach this same-day magic. Happy baking, friend!
PrintOne Hour Sourdough Discard Rolls: Quick and Fluffy Dinner Buns

Transform your sourdough discard into soft, fluffy dinner rolls ready in about an hour. This easy, same-day recipe minimizes waste and delivers delicious homemade buns perfect for any meal.
- Prep Time: 15 min
- Cook Time: 18 min
- Total Time: 58 min
- Yield: 12 rolls 1x
- Category: Side Dish
- Method: Baking
- Cuisine: American
- Diet: Vegetarian
Ingredients
- 1 cup active sourdough discard (unfed starter)
- 1 cup warm milk (about 105-115°F)
- 2 tablespoons unsalted butter, melted
- 1 large egg
- 3 cups all-purpose flour, plus more for dusting
- 1/4 cup granulated sugar
- 1 teaspoon salt
- 1 teaspoon baking soda
- 1 teaspoon baking powder
- 2 tablespoons melted butter, for brushing
Instructions
- In a large bowl, whisk together the sourdough discard, warm milk, 2 tablespoons melted butter, and the egg until combined.
- In a separate bowl, whisk together the flour, sugar, salt, baking soda, and baking powder.
- Gradually add the dry ingredients to the wet ingredients, mixing until a shaggy dough forms.
- Turn the dough out onto a lightly floured surface. Knead for 5 to 7 minutes until the dough is smooth and elastic. It will be slightly sticky.
- Divide the dough into 12 equal pieces. Roll each piece into a tight ball.
- Arrange the dough balls close together in a greased 9×13 inch baking pan for pull-apart rolls, or spaced apart on a baking sheet for individual rolls.
- Cover the pan or sheet loosely with plastic wrap or a clean kitchen towel. Let the rolls rest in a warm spot for 30 to 45 minutes. They will puff up slightly.
- Preheat your oven to 375°F (190°C).
- Bake for 15 to 18 minutes, or until the tops are golden brown.
- Immediately brush the tops of the hot rolls with the remaining 2 tablespoons of melted butter.
- Serve warm as a side dish or for sandwiches.
Notes
- For a richer flavor, use whole milk in this recipe.
- If your kitchen is cold, place the covered dough in a slightly warm oven (turned off) to speed up the resting time.
- These rolls freeze well after cooling; simply reheat in the oven or microwave to refresh.
Nutrition
- Serving Size: 1 roll
- Calories: 210
- Sugar: 4
- Sodium: 300
- Fat: 6
- Saturated Fat: 3.5
- Unsaturated Fat: 2.5
- Trans Fat: 0
- Carbohydrates: 35
- Fiber: 1
- Protein: 5
- Cholesterol: 25