
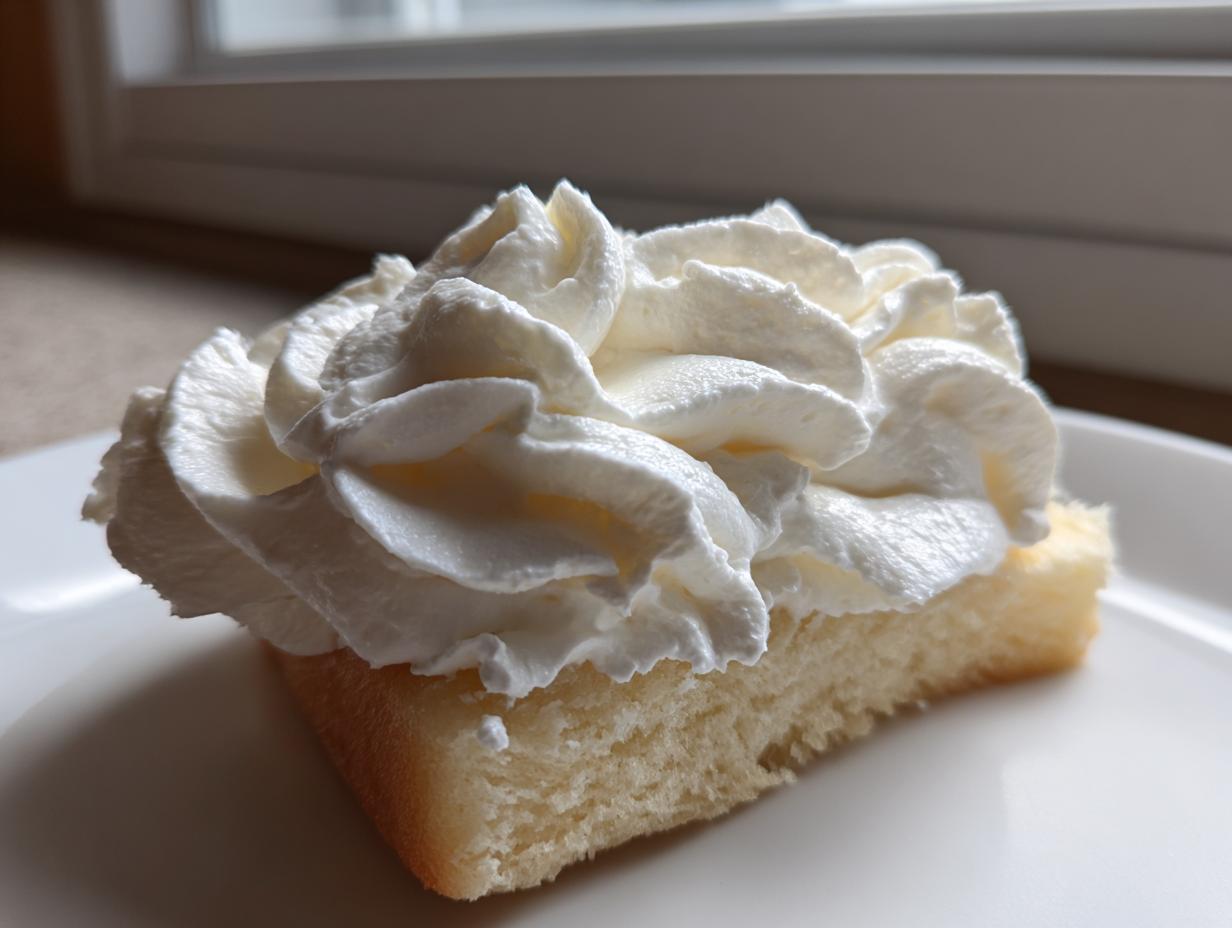

If your frosting always ends up lumpy, runny, or tasting like pure sugar, stop right there, because I have pulled back the curtain on my absolute favorite recipe! Seriously, forget every sad batch you’ve ever made. This, my friends, is the ultimate vanilla buttercream that is fluffy, sturdy for piping, and actually tastes like luxurious vanilla, not just sugar dust. I spent years wrestling with frosting stability, but once I perfected this method, everything changed. Trust me, once you try this creamy version, you’ll never look back for your cakes and cupcakes.
- Why This is the Best Vanilla Buttercream Frosting Recipe
- Ingredients for the Ultimate Fluffy Vanilla Buttercream
- How to Make Vanilla Buttercream: Step-by-Step American Buttercream Tutorial
- Tips for Success When Making Vanilla Buttercream
- Storage & Reheating Instructions for Your Vanilla Buttercream
- Serving Suggestions for Classic Vanilla Icing
- Frequently Asked Questions About Vanilla Buttercream
- Nutritional Estimates for Homemade Vanilla Buttercream
- Share Your Fluffy Vanilla Buttercream Creations
Why This is the Best Vanilla Buttercream Frosting Recipe
What makes this recipe better than the rest? It really comes down to the texture and stability. I designed this to fix all the common complaints people have about homemade frosting. Seriously, throw out those gritty batches! This American buttercream is known for being light without collapsing three hours later.
- It’s guaranteed fluffy because we whip the butter for ages before adding anything else.
- It’s incredibly creamy—we tackle grit head-on by sifting everything carefully.
- It holds its shape like a dream. I’ve used this for tall borders on wedding cakes!
- The flavor balances perfectly; it’s sweet, yes, but the salt and real vanilla keep it from tasting like a sugar cube.
If you’re making sugar cookies or decorating a birthday cake, you need frosting you can truly rely on. This is it.
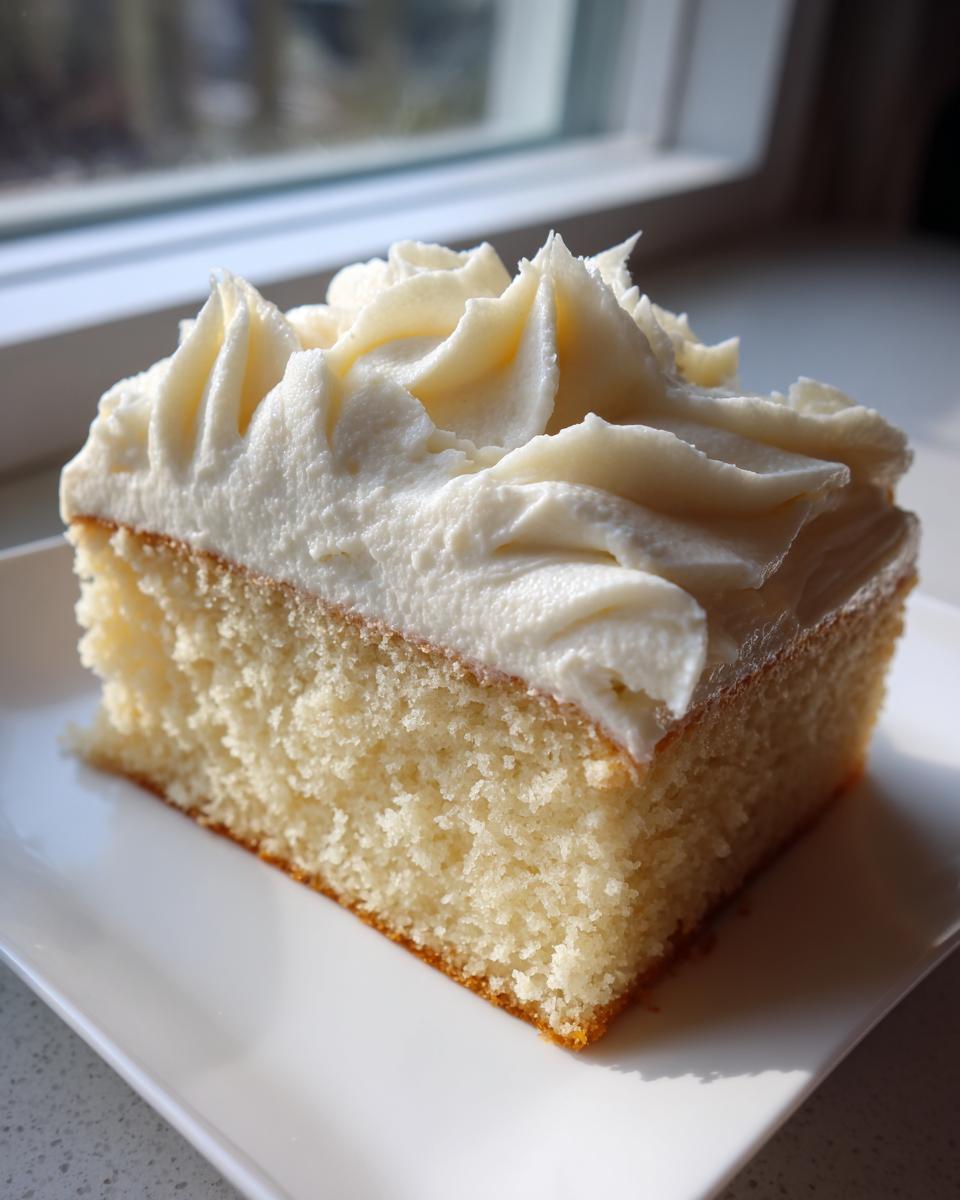
Achieving Perfect Piping Consistency with this Vanilla Buttercream
The ratio of fat to liquid is everything here. We start stiff with just butter, then we slowly introduce the powdered sugar to build structure. The heavy cream or milk is the key adjuster, which is why it’s added last!
I always tell people to check the consistency just after adding the vanilla. If it looks like it barely moves when you tilt the bowl, you’re close. The final whip incorporates tons of air, transforming that stiff base into the perfect piping buttercream consistency needed for sharp edges on your cupcakes.
Ingredients for the Ultimate Fluffy Vanilla Buttercream
Honestly, this recipe shines because the ingredient list is short and sweet, which makes it a real winner when you need an easy homemade vanilla frosting fast. You don’t need a million things, just the right stuff handled the right way. Here are the core components you need ready to go before you even flip the mixer switch.
- 1 cup (2 sticks or 226g) unsalted butter, softened to room temperature—this is important!
- 4 cups (480g) powdered sugar, sifted—do not skip the sifting step!
- 1 teaspoon pure vanilla extract (the better the vanilla, the better your flavor)
- 3 to 4 tablespoons heavy cream or milk (you decide the final texture)
- 1/4 teaspoon salt (this is my secret weapon against oversweetness)
Ingredient Notes and Substitutions for Creamy Buttercream
Let’s talk about making sure your ingredients cooperate. First off, the butter temperature! If it’s melted, your frosting will turn into soup, trust me. It needs to be soft enough that your finger leaves an imprint, but still feel cool. That’s your go-to sign.
The reason I stress sifting the powdered sugar is huge for achieving no grit buttercream tips. Those lumps never dissolve in the cold butter, and you end up with a bumpy mess. If you absolutely *need* the stiffest, most stable frosting for piping intricate details, swap out one tablespoon of the heavy cream for one tablespoon of shortening. It changes the flavor slightly, but the structure is rock solid!
How to Make Vanilla Buttercream: Step-by-Step American Buttercream Tutorial
Okay, here is where the magic happens, and you’ll see how this becomes your go-to quick vanilla frosting recipe. While the ingredient list is short, the actual mechanics of mixing are what make the difference between good and *great* results. We’re aiming for 10 minutes total here, but don’t rush that initial butter beating!
First things first, grab your paddle attachment. You need to spend a solid two minutes beating that softened butter until it’s incredibly smooth—no lumps allowed! Then, start adding your sifted powdered sugar slowly, just one cup at a time, scraping down the bowl until it’s mostly incorporated. This slow introduction is key to avoiding a sugar explosion across your kitchen!
Once all the sugar is in, boost that speed up to medium-high. This is the secret to an airy, light topping, not heavy, dense icing. Now’s the time to add your vanilla and salt. Stir that in, and then we move to the final stage where we create true fluff.
Whipping for Fluffy Buttercream Recipe Texture
This final whipping stage is non-negotiable if you want that gorgeous fluffy buttercream recipe texture. After adding your cream or milk (start with three tablespoons!), you need to let the mixer run on medium-high speed for a good minimum of three to five minutes—maybe even more!
Why the long whipping time? You are actively beating air into the mixture. As the butter and sugar molecules incorporate those tiny air pockets, the frosting literally changes its structure. It gets lighter in color, triples slightly in volume, and goes from tasting heavy to tasting wonderfully soft and cloud-like. If it seems stiff, add that last tablespoon of cream slowly, just a teaspoon at a time, until it flows off the spatula beautifully.
Tips for Success When Making Vanilla Buttercream
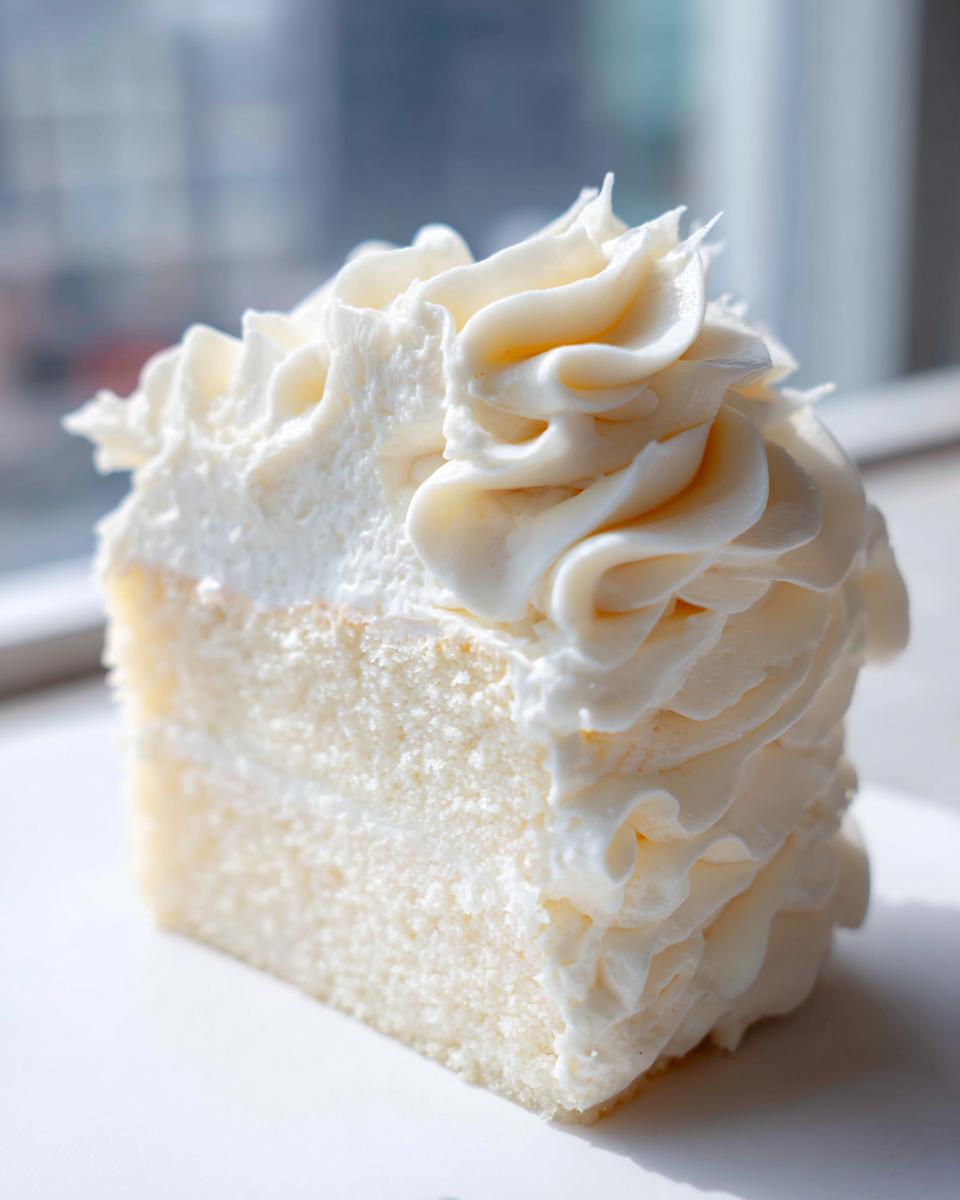
Even with the best recipe, sometimes frosting throws a little tantrum. Don’t panic! This is where knowing a few quick fixes saves your dessert. The biggest stress point for most people is that gritty feeling. Remember what I said? You absolutely must sift that powdered sugar—no exceptions! If you didn’t, you might have to briefly whip the frosting with a tiny splash of hot water to help melt those stubborn grains.
Now, what if your beautiful buttercream seems too soft after mixing? That usually means your kitchen is too warm or your butter wasn’t chilled enough before creaming. Don’t reach for more sugar; that just makes it sweeter! Instead, pop the whole bowl into the fridge for about 15 minutes. When you bring it back out, give it a quick re-whip on medium speed, and it will firm right up.
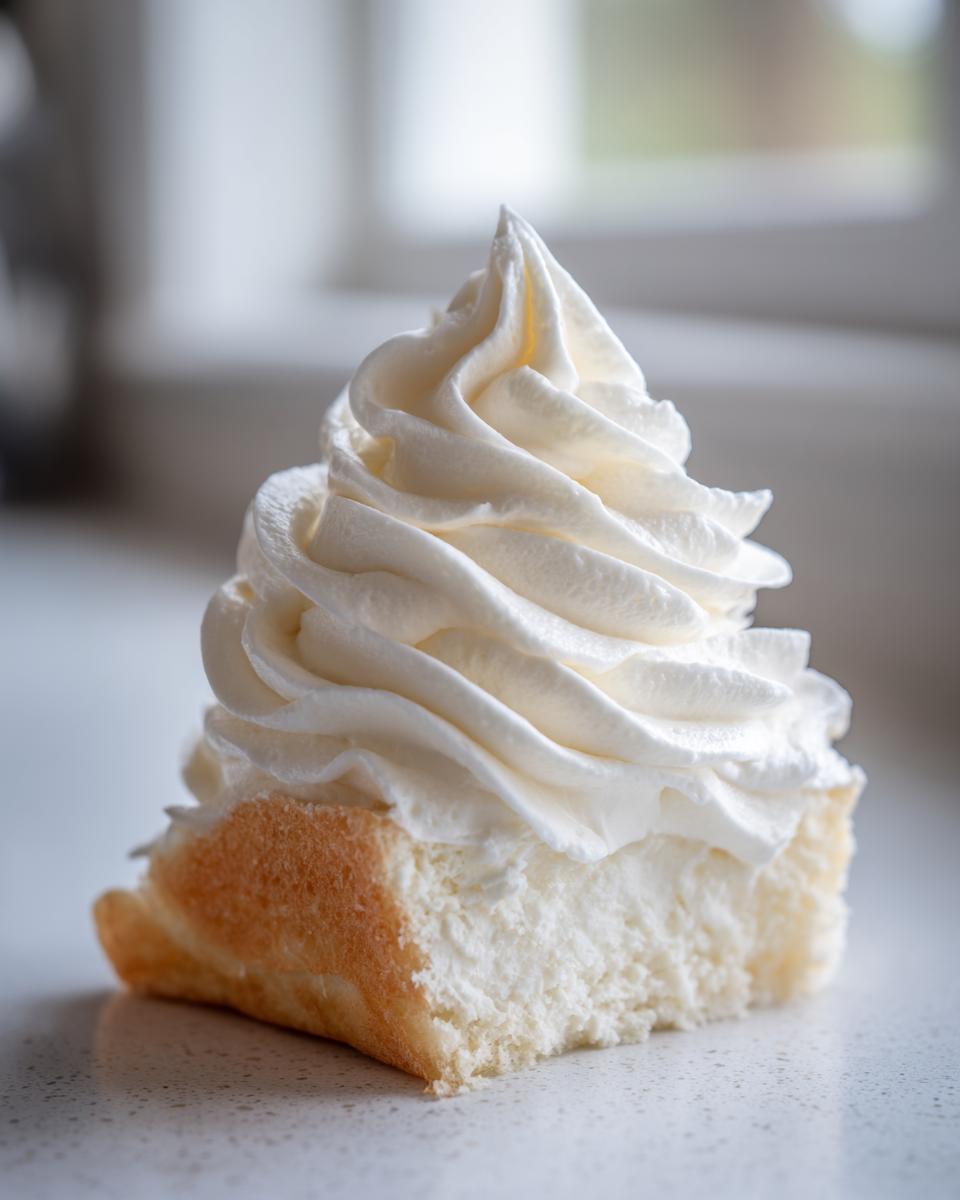
If your frosting is too stiff, just gently add milk or cream, one teaspoon at a time, until you get that perfect flow. And if it tastes too sweet? That little pinch of salt I insisted on earlier is your best friend. If you forgot it, just add another tiny pinch, or even a few drops of lemon juice, to cut the harsh sugar flavor.
Storage & Reheating Instructions for Your Vanilla Buttercream
So you made too much! Happens to me every single time I make a big batch of buttercream for cupcakes—it’s just too good to stop eating while mixing. If you need to save any of this gorgeous topping, you have to treat it right.
For short-term storage, say, if you are finishing decorating tomorrow, an airtight container at cool room temperature is usually fine for a day. But for anything longer, seal that frosting tight and tuck it into the fridge. Don’t worry about the container being huge; just press plastic wrap directly onto the surface of the frosting to prevent any skin from forming.
When it’s time to use it straight from the fridge, it will be rock solid, obviously! Don’t try to use it hard or scoop it out stiff. Let it sit on the counter for about 30 minutes to warm up a little, then you absolutely must bring it back to life by giving it a good, vigorous whip in the mixer again. That re-whipping incorporates the air back in, making it that smooth, glorious consistency all over again!
Serving Suggestions for Classic Vanilla Icing
This classic vanilla icing guide is meant to be used everywhere! Honestly, I think a great vanilla buttercream can improve almost any average dessert. Since this batch makes a generous amount, you’ll likely have some leftover, which is definitely not a problem.
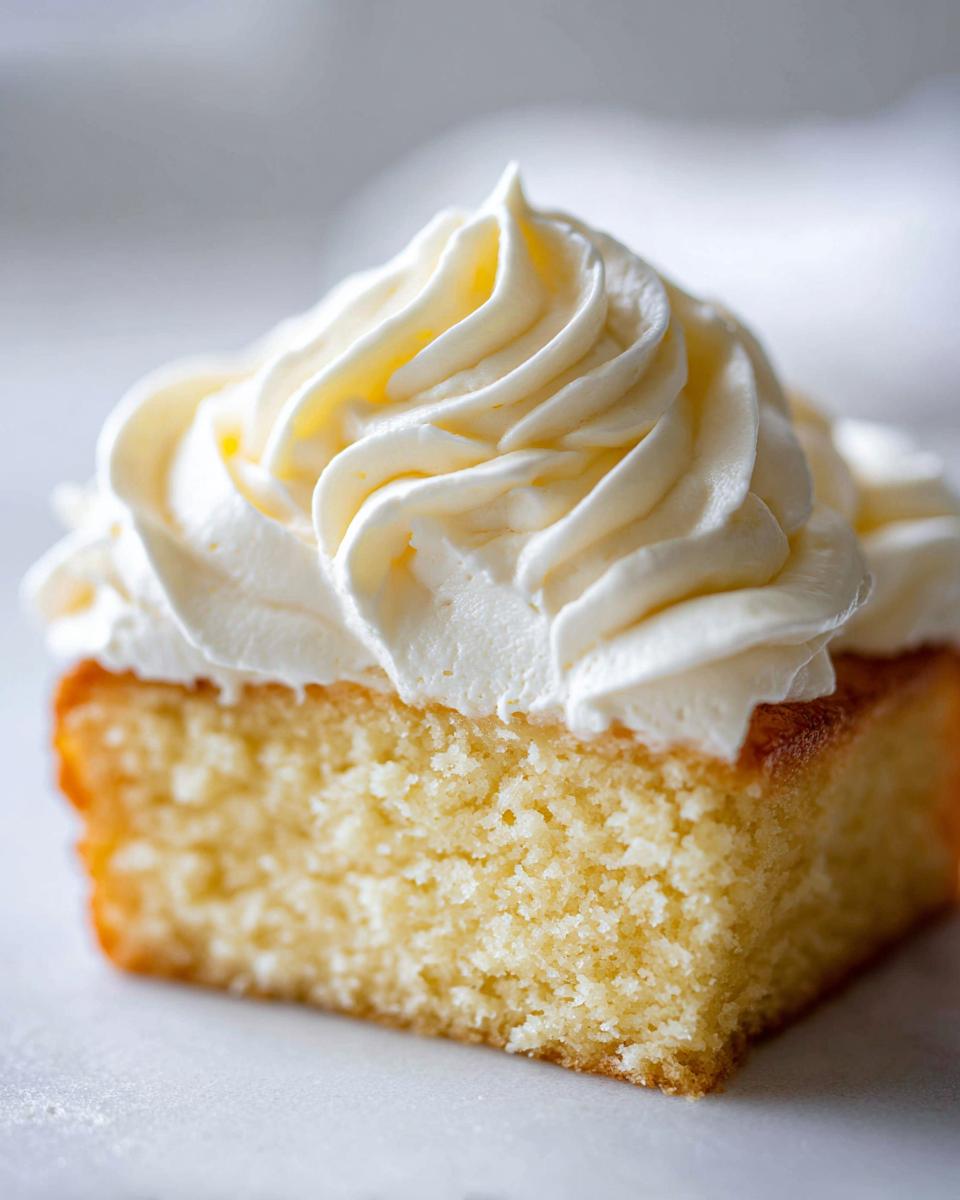
It’s thick enough that a small offset spatula can create tons of perfectly peaked swirls on your homemade cupcakes without them immediately deflating. If you’re topping a layer cake, it spreads like a dream and offers that stable barrier against crumbs while you work on the final coat.
My favorite way to use up extra batches is spreading a thick layer generously on classic, soft-baked sugar cookies. If you roll out the cookies slightly thicker, this frosting has the perfect height to look bakery-style. You can pipe fun little dollops or swirl it across the top, and it will set up beautifully at room temperature.
Frequently Asked Questions About Vanilla Buttercream
Can I turn this into a vegan vanilla buttercream?
Oh, I get this question a lot! While the core recipe relies heavily on the fat structure of real butter, you absolutely *can* substitute it! You’ll need to swap the unsalted butter for a firm, high-quality vegan butter stick that is designed for baking—not the spreadable tubs, or you’ll end up with soupy icing. You might also need to use shortening alongside the vegan butter to ensure you get that stabilized vanilla buttercream texture we talked about. Keep your liquid the same, maybe opting for cold oat milk instead of dairy cream.
My frosting is too soft and runny! What did I do wrong?
Nine times out of ten, this comes down to the butter temperature. If your kitchen is blazing hot or you let your butter get greasy instead of just ‘softened,’ the fat melts into the sugar instead of whipping with it. The fix is easy: scrape your bowl, put everything in the fridge for 20 minutes, and then bring it back out. You must re-whip it vigorously afterwards to reincorporate your air and turn it back into that beautiful creamy buttercream for cakes.
How long does this simple vanilla cake topping last?
This classic vanilla icing guide holds up really well. At cool room temperature, sealed airtight, it’s usually good for two days, especially if it’s going straight onto a finished cake. If you need longer, the fridge is your best friend for up to two weeks. Just remember the re-whip rule when you pull it out so it gets that necessary fluffiness back!
How do I eliminate that gritty texture I sometimes get?
That grit is the enemy of easy homemade vanilla frosting! It’s almost always un-dissolved powdered sugar. You must sift that sugar before it ever touches the mixer. If you forgot, you can try adding just one extra teaspoon of warm (not hot!) liquid and whipping it on the highest speed for about five minutes straight. That extra time and warmth can sometimes dissolve the tiny lumps, saving your batch.
Nutritional Estimates for Homemade Vanilla Buttercream
Now, this is usually the part where I tell you to stop looking at the numbers and just enjoy the frosting, but I know some of you like to keep track! Since this is purely butter, sugar, and a touch of dairy, it’s definitely a treat, not an everyday staple. But wow, is it a quality treat!
Here are the general estimates per 1/4 cup serving, based on the ingredients listed. Remember, these numbers are just guides. If you use vegan butter sticks or different types of cream, your totals will shift around a bit. This is just to give you a general idea of what you’re diving into!
- Serving Size: 1/4 cup
- Calories: 350
- Fat: 19g
- Saturated Fat: 12g
- Carbohydrates: 47g
- Sugar: 45g
- Protein: 1g
- Cholesterol: 60mg
I always say if you’re making something this purely delicious, you should just celebrate it! The best part about making your own vanilla buttercream is knowing exactly what went into it. Keep this close if you need it, but otherwise, get back to frosting those gorgeous cakes!
Share Your Fluffy Vanilla Buttercream Creations
Whew! We made something truly special together, didn’t we? Now that you’ve mastered this legendary easy homemade vanilla frosting and you’ve got those perfect swirls ready for your next bake, I absolutely need to see what you’ve whipped up!
Did you pipe magnificent rosettes on some chocolate cake? Did you use it to ice a big batch of shortbread cookies? I love hearing how my favorite recipes take on a life of their own in people’s kitchens.
When you’re finished decorating, please, please come back and leave me a star rating! Five stars if you loved the fluffiness! It helps other stressed-out bakers find the perfect recipe too.
And if you snapped a picture? Tag me on social media! I scroll through all the lovely things you create. It’s such a joy seeing this vanilla buttercream make someone’s celebration just a little bit sweeter. Happy decorating, sweet friend!
PrintUltimate Fluffy & Stable Vanilla Buttercream Frosting
This recipe provides instructions for making a classic American vanilla buttercream that is creamy, fluffy, and stable enough for piping and decorating cakes and cupcakes.
- Prep Time: 10 min
- Cook Time: 0 min
- Total Time: 10 min
- Yield: About 4 cups 1x
- Category: Dessert Topping
- Method: Mixing
- Cuisine: American
- Diet: Vegetarian
Ingredients
- 1 cup (2 sticks or 226g) unsalted butter, softened to room temperature
- 4 cups (480g) powdered sugar, sifted
- 1 teaspoon pure vanilla extract
- 3 to 4 tablespoons heavy cream or milk
- 1/4 teaspoon salt
Instructions
- Place the softened butter in the bowl of a stand mixer fitted with the paddle attachment. Beat the butter on medium speed until it is completely smooth and creamy, about 2 minutes. Scrape down the sides of the bowl.
- Gradually add the sifted powdered sugar, one cup at a time, mixing on low speed until incorporated after each addition. Stop and scrape down the bowl frequently.
- Once all the sugar is added, increase the mixer speed to medium-high. Beat for 3 minutes until the mixture is lightened in color and fluffy.
- Add the vanilla extract and salt. Mix to combine.
- Add the heavy cream or milk, starting with 3 tablespoons. Beat on medium-high speed for another 3 to 5 minutes until the frosting is light and fluffy. If the frosting seems too stiff, add the remaining tablespoon of cream, one teaspoon at a time, until you reach your desired piping consistency.
- Use immediately for frosting cakes, cupcakes, or cookies.
Notes
- For the best texture, ensure your butter is truly softened but not melted.
- Sifting the powdered sugar prevents lumps and grit in your final frosting.
- If your frosting seems too soft after mixing, chill it in the refrigerator for 15 minutes, then re-whip it briefly before using.
- If you need a very stiff frosting for detailed piping, use less cream or substitute one tablespoon of cream with one tablespoon of shortening.
Nutrition
- Serving Size: 1/4 cup
- Calories: 350
- Sugar: 45
- Sodium: 75
- Fat: 19
- Saturated Fat: 12
- Unsaturated Fat: 7
- Trans Fat: 0
- Carbohydrates: 47
- Fiber: 0
- Protein: 1
- Cholesterol: 60